1. สินค้าหมดview
The Lutron Maestro MS-OPS6M2N-DV-WH is an advanced occupancy/vacancy sensor switch designed to automatically control lighting in a room. This device utilizes passive infrared (PIR) technology to detect human motion and presence, ensuring lights are only on when needed. It combines the functionality of a standard light switch with an integrated motion sensor, offering convenience and energy savings.
คุณสมบัติหลัก:
- Passive infrared motion detection with Lutron XCT technology for fine motion sensing.
- 180-degree sensor field-of-view for comprehensive room coverage.
- Requires a neutral wire for installation.
- Occupancy version supports both auto-on/auto-off and manual-on/auto-off modes.
- Vacancy version is available to comply with CA Title 24 requirements.
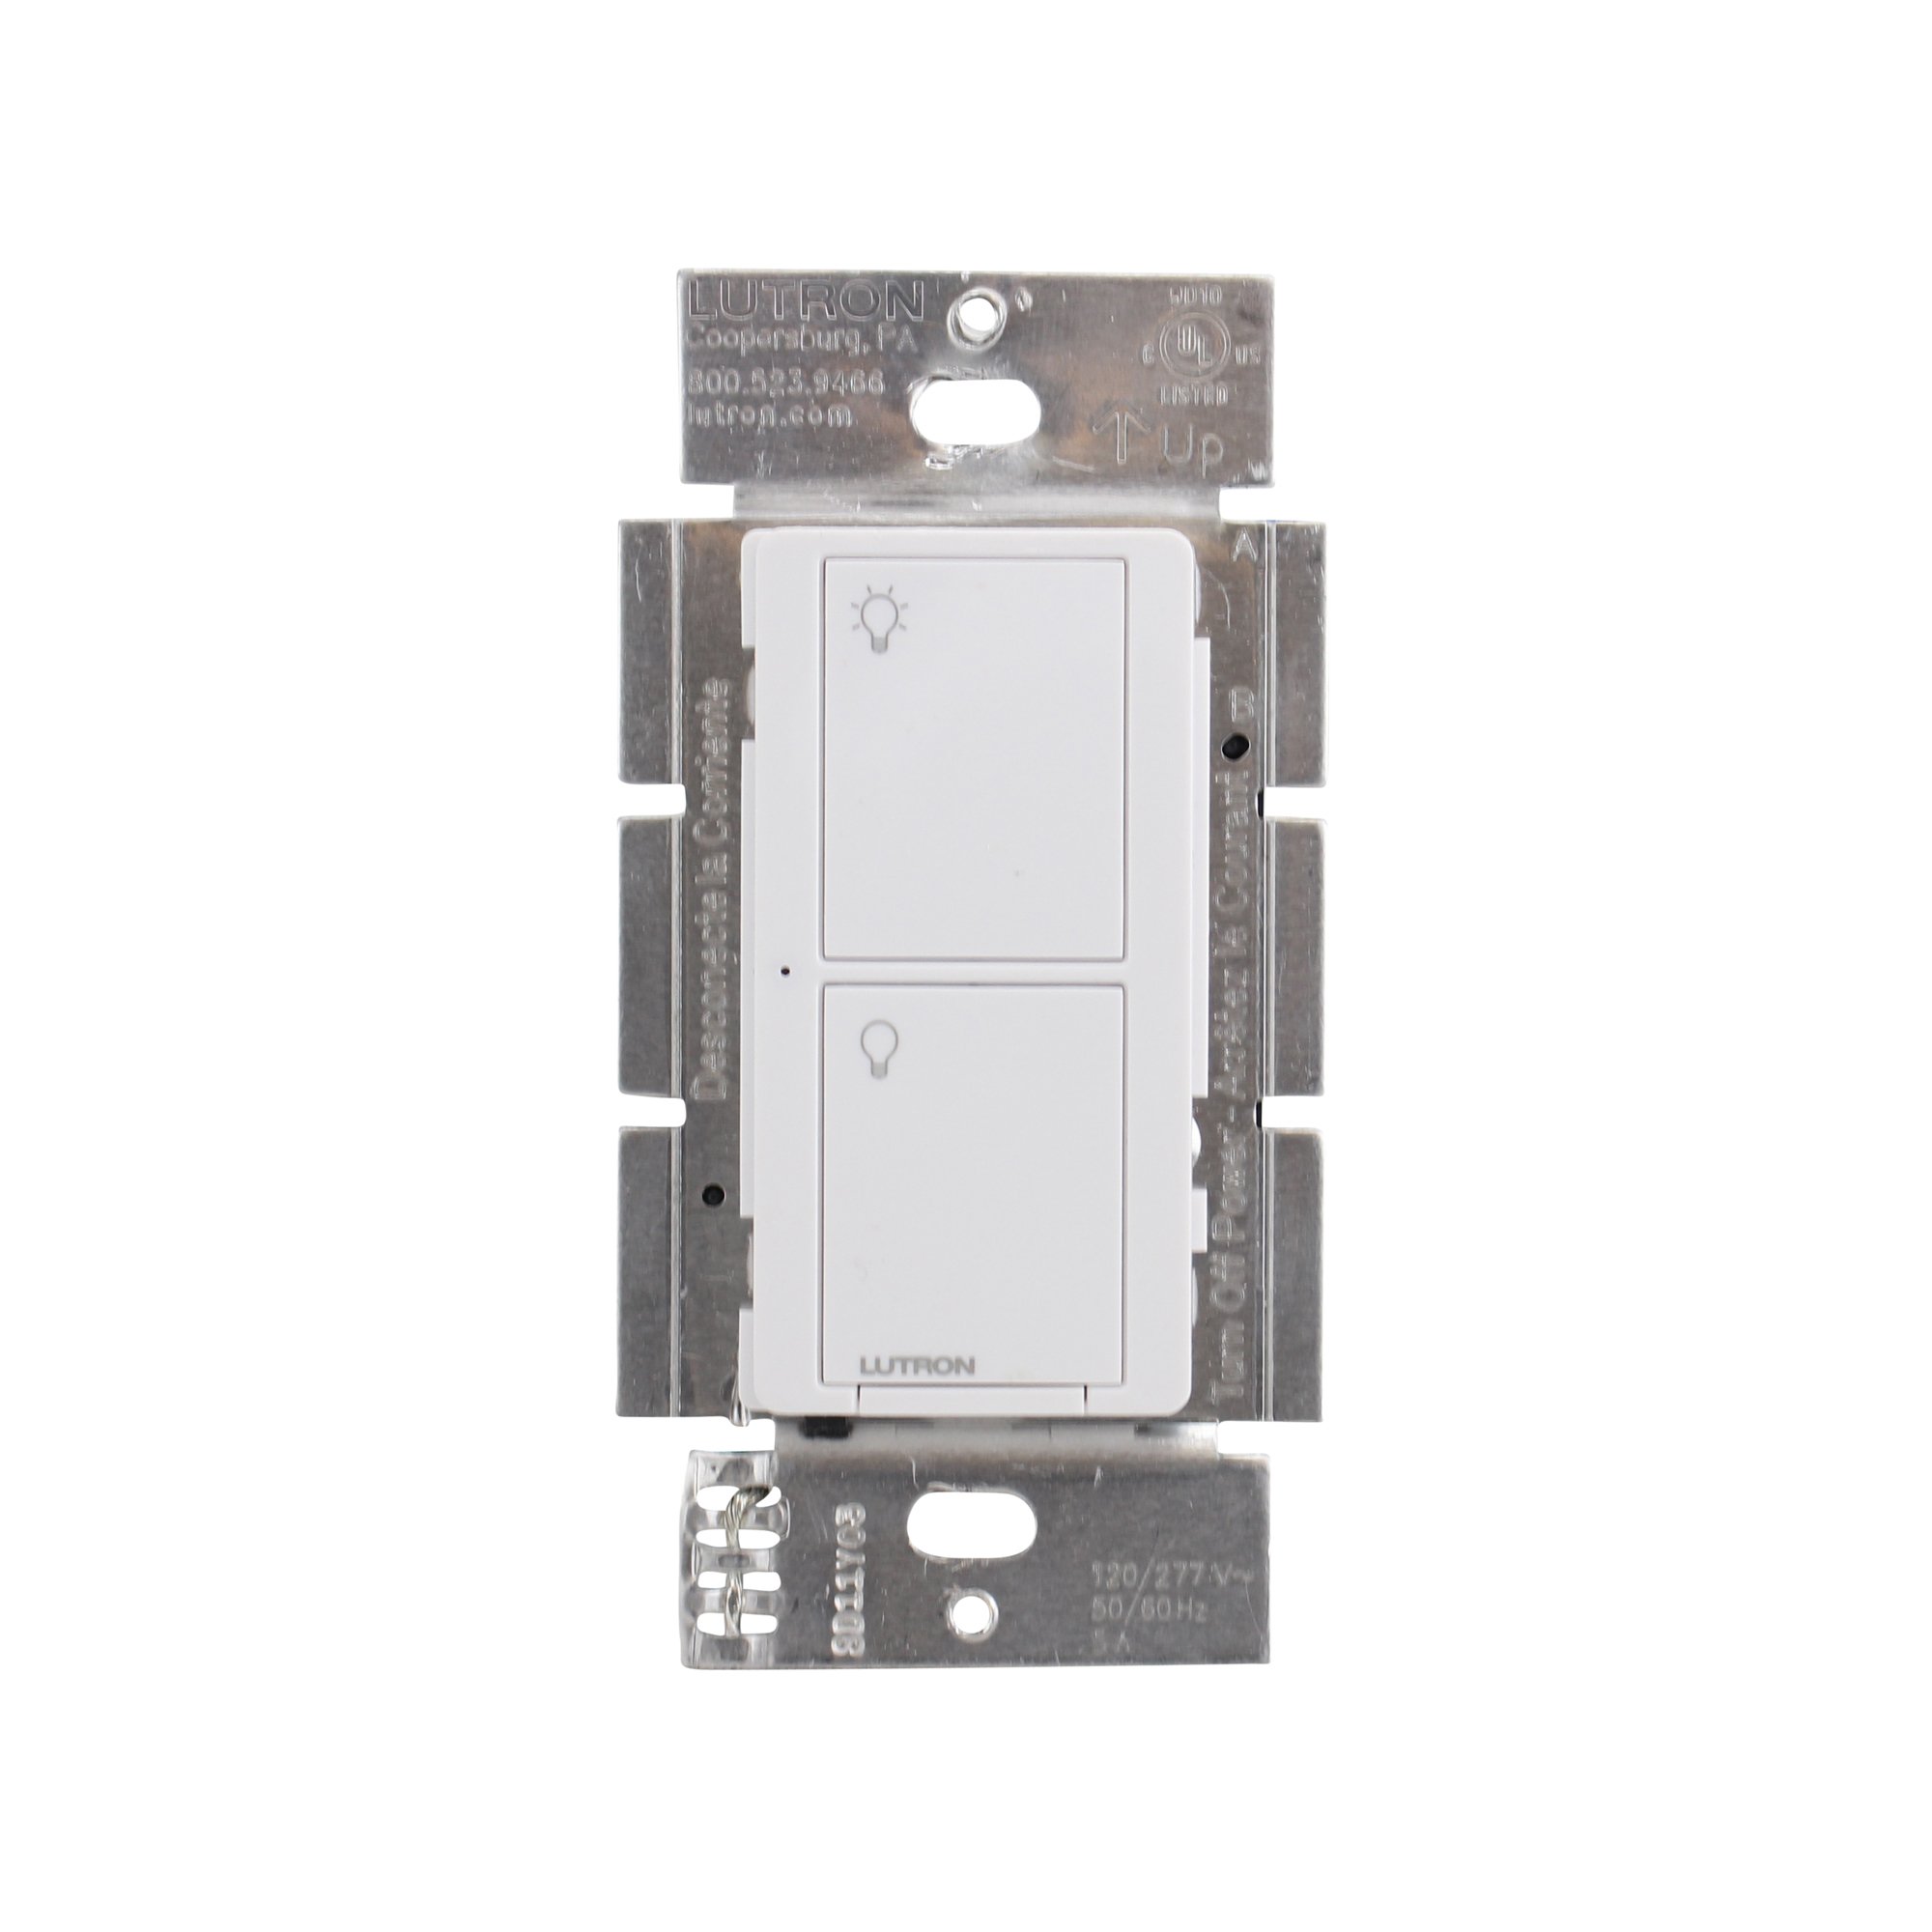
รูปที่ 1 : ด้านหน้า view of the Lutron Maestro MS-OPS6M2N-DV-WH sensor switch.
2. การตั้งค่าและการติดตั้ง
ข้อมูลด้านความปลอดภัยที่สำคัญ: Before beginning installation, turn off power at the circuit breaker or fuse box. Incorrect installation can lead to electrical shock or fire. If you are unsure about any part of these instructions, consult a qualified electrician.
เครื่องมือที่จำเป็น: Screwdriver (Phillips and flathead), wire strippers, electrical tape.
2.1 คำแนะนำในการเดินสายไฟ
- ปิดเครื่อง: หาตำแหน่งเบรกเกอร์ที่ควบคุมสวิตช์ที่คุณกำลังจะเปลี่ยน แล้วปิดเบรกเกอร์นั้น ตรวจสอบให้แน่ใจว่าไฟดับแล้วโดยใช้เครื่องวัดแรงดันไฟฟ้าtagอีผู้ทดสอบ
- ลบสวิตช์ที่มีอยู่: ถอดแผ่นปิดผนังออกอย่างระมัดระวัง และคลายสกรูสวิตช์เดิมออกจากกล่องติดผนัง ถอดสายไฟออกจากสวิตช์เก่า
- ระบุสายไฟ:
- Hot (Line) Wire: Typically black, brings power from the circuit breaker.
- สายโหลด: Typically black, connects to the light fixture.
- สายนิวทรัล: Typically white, required for this switch.
- สายดิน: โดยทั่วไปเป็นทองแดงเปลือยหรือสีเขียว
Note: If you are replacing a 3-way switch, you will also have traveler wires. This model supports 3-way circuits. Refer to the detailed wiring diagram for 3-way installations.
- Connect Wires to Maestro Switch:
- เชื่อมต่อ สายดิน from the wall box to the green ground wire on the Maestro switch.
- เชื่อมต่อ สายนิวทรัล from the wall box to the white neutral wire on the Maestro switch.
- เชื่อมต่อ hot (line) wire และ สายโหลด from the wall box to the two black wires on the Maestro switch. If the light does not function correctly, swap these two black wires.
- For 3-way applications, connect the traveler wires as per the specific 3-way wiring diagram provided with the product packaging.
- สวิตช์ความปลอดภัย: Carefully push the wired switch into the wall box, ensuring wires are not pinched. Screw the switch into place.
- ติดตั้งแผ่นผนัง: Attach the decorative wall plate.
- คืนค่าพลัง: เปิดไฟอีกครั้งที่เบรกเกอร์

รูปที่ 2: อดีตample wiring diagram for a single-pole installation. Consult the included manual for 3-way wiring.
3. คู่มือการใช้งาน
The Maestro sensor switch offers flexible operation modes to suit various needs.
3.1 โหมดการทำงาน
- Occupancy Mode (Auto-On/Auto-Off): In this mode, the lights automatically turn ON when motion is detected and automatically turn OFF after a set time delay when no motion is detected. This is ideal for high-traffic areas where hands-free operation is desired.
- Vacancy Mode (Manual-On/Auto-Off): In this mode, the lights must be manually turned ON by pressing the switch button. They will then automatically turn OFF after a set time delay when no motion is detected. This mode is often used to meet energy codes and provides more control over when lights are initially activated.
3.2 การปรับการตั้งค่า
The Maestro sensor switch typically has small buttons or dip switches behind the wall plate for adjusting settings such as:
- เวลาหน่วง: How long the lights remain on after the last detected motion (e.g., 1, 5, 15, 30 minutes).
- ความไว: The level of motion required to trigger the sensor.
- โหมดการทำงาน: Switching between Occupancy (Auto-On) and Vacancy (Manual-On) modes.
Refer to the detailed instructions included with your product for specific steps on how to access and adjust these settings.
4. การบำรุงรักษา
The Lutron Maestro sensor switch requires minimal maintenance to ensure optimal performance.
- การทำความสะอาด: To clean the surface of the switch, use a soft, damp ใช้ผ้าเช็ดทำความสะอาดเท่านั้น ห้ามใช้สารทำความสะอาดที่มีฤทธิ์กัดกร่อน ตัวทำละลาย หรือสารเคมีรุนแรง เพราะอาจทำให้พื้นผิวหรือชิ้นส่วนภายในเสียหายได้
- สิ่งกีดขวางเซ็นเซอร์: Ensure the sensor lens is not obstructed by furniture, curtains, or other objects that could block its field of view. A clear path to the sensor is crucial for accurate motion detection.
- การสะสมของฝุ่น: Periodically wipe the sensor lens to prevent dust accumulation, which can reduce sensitivity.
5 การแก้ไขปัญหา
If you encounter issues with your Maestro sensor switch, refer to the following common troubleshooting steps:
- Lights do not turn ON automatically (Occupancy Mode):
- ตรวจสอบขอบเขตการตรวจจับของเซ็นเซอร์ view ไม่ถูกกีดขวาง
- Check the sensitivity setting; it might be too low.
- Ensure the switch is in Occupancy (Auto-On) mode.
- Confirm power is supplied to the switch.
- Lights do not turn OFF:
- ตรวจสอบให้แน่ใจว่าไม่มีการเคลื่อนไหวต่อเนื่องภายในระยะการตรวจจับของเซ็นเซอร์
- Check the time delay setting; it might be set too long.
- Verify the switch is correctly wired, especially the load wire.
- Lights flicker or behave erratically:
- Confirm that a neutral wire is properly connected. This switch requires a neutral wire for stable operation.
- ตรวจสอบให้แน่ใจว่าการเชื่อมต่อสายไฟทั้งหมดแน่นหนา
- If in a 3-way setup, ensure compatible companion switches are used and wired correctly.
- สวิตช์ไม่ตอบสนอง:
- Turn off power at the circuit breaker for 15 seconds, then restore power. This can reset the switch.
- ตรวจสอบการเชื่อมต่อสายไฟทั้งหมดว่าหลวมหรือติดตั้งผิดตำแหน่งหรือไม่
If these steps do not resolve the issue, contact Lutron customer support for further assistance.
6. ข้อมูลจำเพาะ
| คุณสมบัติ | รายละเอียด |
|---|---|
| หมายเลขรุ่น | MS-OPS6M2N-DV-WH |
| ยี่ห้อ | ลูตรอน |
| โหมดการทำงาน | โดยอัตโนมัติ |
| ประเภทการติดต่อ | เปิดปกติ |
| ประเภทขั้วต่อ | ขั้วต่อสกรู |
| เทอร์มินัล | สกรู |
| ขนาดรายการ (ยาว x กว้าง x สูง) | 2.2 x 2.2 x 4.5 นิ้ว |
| ประเภทวงจร | 3 ทาง |
| ประเภทตัวกระตุ้น | ปุ่มกด |
| วัสดุติดต่อ | ทองแดง |
| การให้คะแนนการคุ้มครองระหว่างประเทศ | IP54 |
| วิธีการควบคุม | สัมผัส |
| โปรโตคอลการเชื่อมต่อ | อินฟราเรด |
| สี | สีขาว |
| น้ำหนักสินค้า | 3.52 ออนซ์ |
| ต้องใช้สายนิวทรัล | ใช่ |
7. วิดีโอผลิตภัณฑ์
7.1 Lutron Maestro Sensor Switch Overview
วิดีโอ 1: จบแล้วview of the Lutron Maestro sensor switch features and benefits. This video provides a general introduction to the product's capabilities.
7.2 Advanced Features and Configuration
Video 2: A detailed look into the advanced features and configuration options of the Lutron Maestro sensor switch, including setting adjustments.
8. ข้อมูลการรับประกัน
Lutron products typically come with a limited warranty covering defects in materials and workmanship. For specific warranty terms and conditions applicable to your MS-OPS6M2N-DV-WH sensor switch, please refer to the warranty card included in the product packaging or visit the official Lutron webไซต์นี้ โปรดเก็บหลักฐานการซื้อไว้เพื่อใช้ยืนยันการรับประกัน
9. การสนับสนุนลูกค้า
For technical assistance, troubleshooting, or product inquiries, please contact Lutron customer support. You can find contact information on the official Lutron webเว็บไซต์หรือในเอกสารประกอบผลิตภัณฑ์
แหล่งข้อมูลออนไลน์:
- เยี่ยมชมอย่างเป็นทางการ ร้าน Lutron บน Amazon สำหรับผลิตภัณฑ์และข้อมูลเพิ่มเติม
- Refer to the comprehensive FAQs and support documents available on the Lutron corporate webเว็บไซต์.


