1. สินค้าหมดview
This manual provides detailed instructions for the Gamrombo Wireless Controller, designed for use with Xbox One, Xbox Series X|S, PC, and Windows 10/11 operating systems. Please read this manual carefully before use.
1.1 เนื้อหาบรรจุภัณฑ์
- Gamrombo Wireless Controller (x2)
- 2.4GHz USB Adapter (x2)
- สายชาร์จ USB Type-C (x2)
- คู่มือการใช้งาน (เอกสารนี้)
1.2 เค้าโครงตัวควบคุม
The Gamrombo Wireless Controller features a standard layout with responsive buttons, joysticks, and triggers for an enhanced gaming experience.

ภาพที่ 1.1: ด้านหน้า view of the Gamrombo Wireless Controllers and 2.4GHz USB Adapters.

ภาพที่ 1.2: รายละเอียด view of controller buttons, joysticks, and triggers.
2. การตั้งค่าและการเชื่อมต่อ
2.1 Connecting to Xbox Consoles (Xbox One, Xbox Series X|S)
- โปรดตรวจสอบให้แน่ใจว่าเครื่อง Xbox ของคุณเปิดอยู่
- Insert the 2.4GHz USB adapter into an available USB port on your Xbox console.
- Press and hold the Home button on the controller for 3 seconds to power it on. The indicator light on the controller will flash rapidly.
- Once the controller connects to the adapter, the indicator light will become solid, indicating a successful connection.
2.2 Connecting to PC (Windows 10/11)
- ตรวจสอบให้แน่ใจว่าพีซีของคุณเปิดอยู่
- Insert the 2.4GHz USB adapter into an available USB port on your PC. The system will automatically install the necessary drivers.
- Press and hold the Home button on the controller for 3 seconds to power it on. The indicator light on the controller will flash rapidly.
- Once the controller connects to the adapter, the indicator light will become solid. You can now use the controller for PC games.

Image 2.1: Controller compatibility with various platforms.
2.3 การชาร์จคอนโทรลเลอร์
To charge the controller, connect the included USB Type-C cable to the charging port on the controller and the other end to a USB power source (e.g., console, PC, or USB wall adapter). The indicator light will show charging status and turn off when fully charged.
3. คู่มือการใช้งาน
3.1 เปิด/ปิดเครื่อง
- เปิดเครื่อง: กดปุ่มโฮมค้างไว้ 3 วินาที
- หมดแรง: Press and hold the Home button for 5-8 seconds. The controller will automatically power off after 5 minutes of inactivity.
3.2 ฟังก์ชันเทอร์โบ
The Turbo function allows for rapid, repeated input of a button press, which can be beneficial in certain games.
- กดปุ่มเทอร์โบค้างไว้
- While holding the Turbo button, press the desired action button (e.g., A, B, X, Y, LB, RB, LT, RT). The Turbo function is now activated for that button.
- To deactivate Turbo for a specific button, repeat the process: press and hold the Turbo button, then press the action button again.

Image 3.1: Instructions for activating the Turbo function.
3.3 ระบบสั่นคู่
The controller features dual motors for vibration feedback, providing an immersive gaming experience. Vibration intensity can vary based on game support and in-game settings.

Image 3.2: Dual-motor vibration feedback levels.
3.4 ช่องเสียบหูฟังและปุ่มควบคุมระดับเสียง
The controller includes a standard 3.5mm stereo audio jack for connecting headsets. Volume can be adjusted directly on the controller.
- ปรับระดับเสียงขึ้น: Push the volume slider to the right (+).
- ลดเสียงลง: Push the volume slider to the left (-).
- ปิดเสียง: Press and hold the middle of the volume slider to mute audio.

Image 3.3: Audio jack and volume control details.
4. การบำรุงรักษา
- การทำความสะอาด: ใช้ผ้านุ่มและแห้งทำความสะอาดคอนโทรลเลอร์ หลีกเลี่ยงการใช้สารเคมีรุนแรงหรือวัสดุที่มีฤทธิ์กัดกร่อน
- พื้นที่จัดเก็บ: เก็บตัวควบคุมไว้ในที่แห้งและเย็น ห่างจากแสงแดดโดยตรงและอุณหภูมิที่สูงหรือต่ำมาก
- การดูแลแบตเตอรี่ To prolong battery life, avoid fully discharging the controller frequently. Charge the controller regularly, even if not in active use.
5 การแก้ไขปัญหา
5.1 ปัญหาการเชื่อมต่อ
- ตัวควบคุมไม่ได้เชื่อมต่อ: Ensure the 2.4GHz USB adapter is securely plugged into the console/PC. Make sure the controller is charged. Try re-pairing by powering off and on the controller.
- การเชื่อมต่อไม่ต่อเนื่อง: Ensure there are no strong wireless interference sources nearby. Try moving closer to the console/PC.
5.2 Controller Firmware Upgrade
If you experience persistent connection issues, particularly with Xbox consoles, a firmware upgrade may be required. The upgrade process is performed on a Windows PC.

Image 5.1: Information regarding controller firmware upgrade for connection issues.
- ดาวน์โหลดโปรแกรมอัปเกรด: we.tl/t-I78iIsdPhP
- Video Upgrade Steps: youtu.be/2Q_x2bhtcUU
- The upgrade typically takes 2-3 minutes and ensures continued compatibility with Xbox devices.
5.3 ประเด็นอื่นๆ
- ปุ่มไม่ตอบสนอง: Ensure the controller is powered on and connected. Restart the controller and try again.
- การสั่นสะเทือนไม่ทำงาน: ตรวจสอบการตั้งค่าในเกมเพื่อให้แน่ใจว่าได้เปิดใช้งานการสั่นสะเทือนแล้ว
6. ข้อมูลจำเพาะ
| คุณสมบัติ | รายละเอียด |
|---|---|
| การเชื่อมต่อ | 2.4GHz ไร้สาย |
| ความเข้ากันได้ | Xbox One, Xbox Series X|S, PC (Windows 10/11) |
| ความจุของแบตเตอรี่ | 650mAh |
| เวลาในการชาร์จ | 2-3 ชั่วโมง |
| เวลาดำเนินการ | 8-10 ชั่วโมง |
| แจ็คเสียง | 3.5 มม. สเตอริโอ |
| การสั่นสะเทือน | มอเตอร์คู่ |
| เซ็นเซอร์ตรวจจับความเคลื่อนไหว | 6-Axis (for supported games/platforms) |
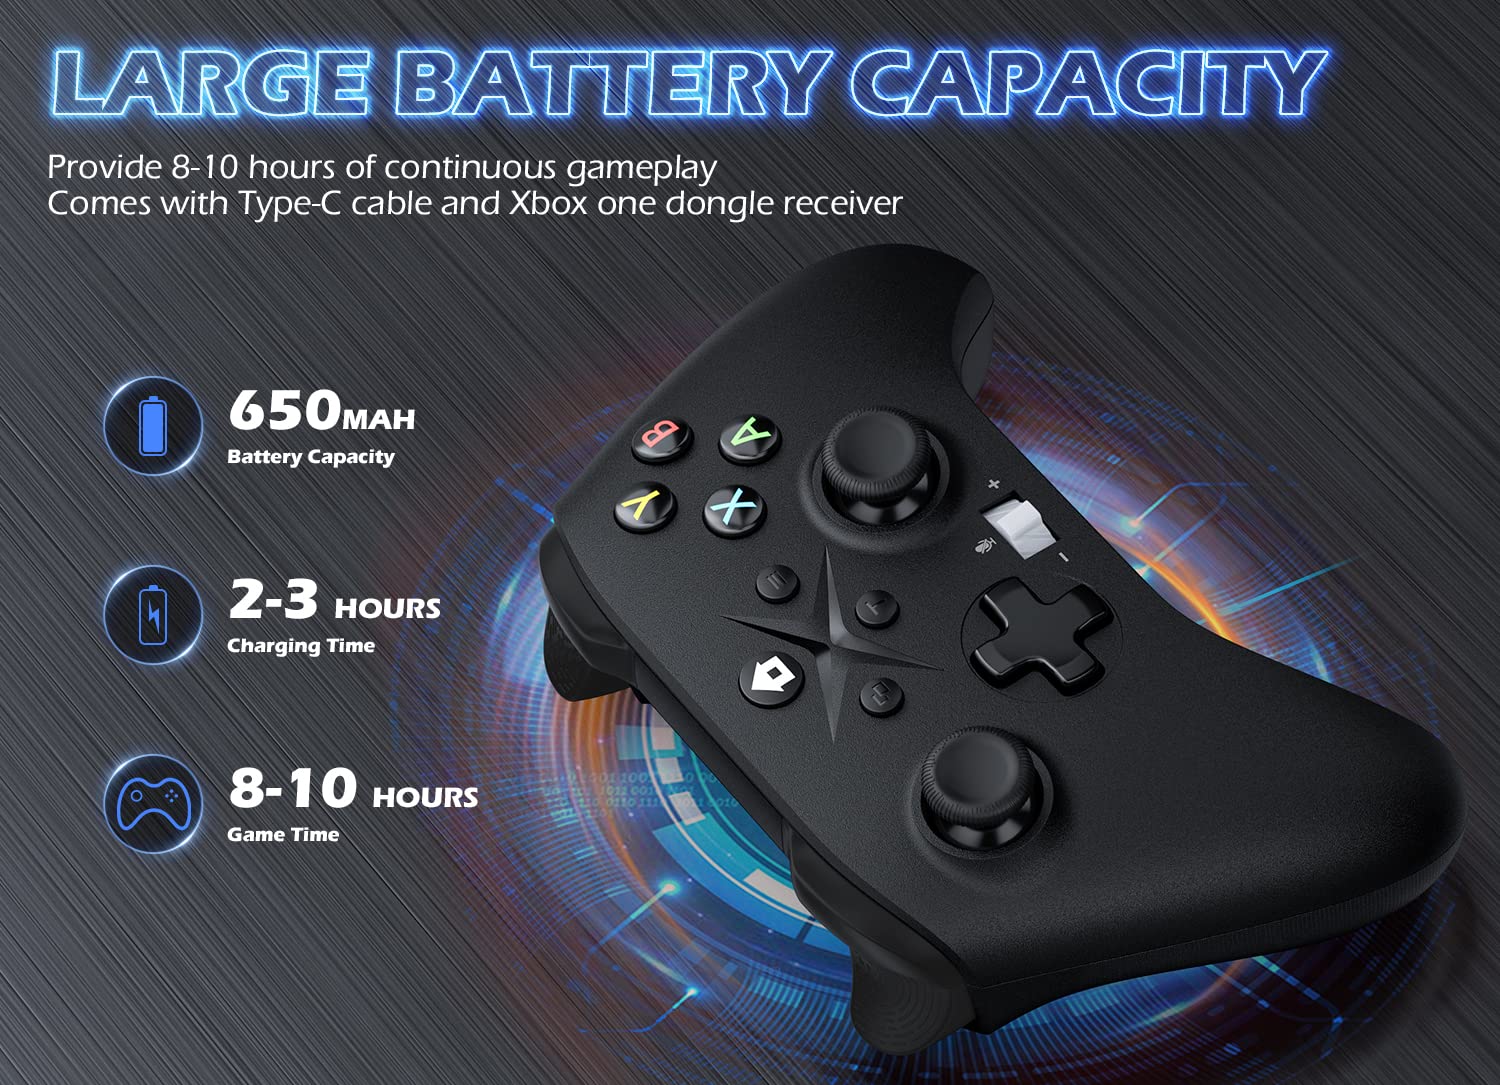
Image 6.1: Battery specifications.
7. ข้อมูลด้านความปลอดภัยที่สำคัญ
- ห้ามให้ตัวควบคุมสัมผัสกับอุณหภูมิที่สูงหรือความชื้นสูง หรือโดนแสงแดดโดยตรง
- หลีกเลี่ยงการทำตกหรือให้ตัวควบคุมได้รับแรงกระแทกรุนแรง
- ห้ามพยายามถอดประกอบหรือดัดแปลงตัวควบคุม เพราะอาจทำให้การรับประกันเป็นโมฆะและเกิดความเสียหาย
- Keep the controller and its accessories out of reach of small children.
- ใช้เฉพาะสายชาร์จที่ให้มาหรือที่เทียบเท่าที่ได้รับการรับรองเท่านั้น
8. การสนับสนุนลูกค้า
For further assistance or inquiries, please contact Gamrombo customer support through the retailer's platform or the official Gamrombo webเว็บไซต์.


