1. บทนำ
This manual provides detailed instructions for the setup, operation, and maintenance of your ATTACK SHARK X8 Ultra Wireless Gaming Mouse. Designed for high-performance gaming, the X8 Ultra features a lightweight design, multiple connectivity options, and advanced sensor technology.

ภาพที่ 1.1: ด้านบน view of the ATTACK SHARK X8 Ultra Wireless Gaming Mouse.
2. เนื้อหาบรรจุภัณฑ์
ตรวจสอบว่ามีรายการทั้งหมดอยู่ในแพ็คเกจของคุณ:
- ATTACK SHARK X8 Ultra Wireless Gaming Mouse
- 8K USB-C Receiver
- USB-A to USB-C Charging Cable (Paracord)
- Replacement Mouse Feet Skates
- เทปกริป
- คู่มือการใช้งาน (เอกสารนี้)
3. รูปแบบและคุณสมบัติของเมาส์
Familiarize yourself with the key components and features of your X8 Ultra mouse.

ภาพที่ 3.1: จบแล้วview of the X8 Ultra's internal components and external features.
- ปุ่มคลิกซ้าย/ขวา: Equipped with Omron micro switches for tactile feedback and durability.
- ล้อเลื่อน: Provides smooth scrolling with subtle tactile bumps.
- ปุ่มด้านข้าง: ปุ่มที่ตั้งโปรแกรมได้อยู่ทางด้านซ้ายสำหรับฟังก์ชั่นเพิ่มเติม
- ปุ่ม DPI: Located on the underside of the mouse, allows cycling through preset DPI levels.
- สวิตช์การเชื่อมต่อ: Located on the underside, allows switching between 2.4GHz wireless, Bluetooth, and wired modes.
- PAW3950MAX Sensor: เซ็นเซอร์แสงความแม่นยำสูงสำหรับการติดตามที่แม่นยำ
- Nordic 52840 MCU: Advanced microcontroller for efficient performance and low latency.
- Nano-Ice Coating: Surface treatment designed to keep grip cool during extended use.
4. คู่มือการติดตั้ง
4.1 การชาร์จเมาส์
- ต่อปลายสายชาร์จ USB-C เข้ากับเมาส์
- Connect the USB-A end of the charging cable to an available USB port on your computer or a USB wall adapter.
- The mouse LED indicator will show charging status. A full charge provides up to 300 hours of intermittent use.
4.2 การเชื่อมต่อเมาส์
The X8 Ultra supports three connection modes: 2.4GHz Wireless, Bluetooth, and Wired USB.
โหมดไร้สาย 2.4GHz:
- Locate the 8K USB-C receiver.
- เสียบตัวรับสัญญาณเข้ากับพอร์ต USB ที่มีอยู่ในคอมพิวเตอร์ของคุณ
- Set the connectivity switch on the underside of the mouse to the "2.4G" position.
- เมาส์ควรเชื่อมต่อโดยอัตโนมัติ

Image 4.1: The 8K USB-C receiver for 2.4GHz wireless connection.
โหมดบลูทู ธ :
- Set the connectivity switch on the underside of the mouse to the "BT" position.
- บนคอมพิวเตอร์ของคุณ เปิดการตั้งค่าบลูทูธและค้นหาอุปกรณ์ใหม่
- Select "ATTACK SHARK X8 Ultra" from the list of available devices to pair.
โหมด USB แบบมีสาย:
- ต่อปลายสายชาร์จ USB-C เข้ากับเมาส์
- เสียบปลายสายชาร์จด้าน USB-A เข้ากับพอร์ต USB ที่ว่างอยู่บนคอมพิวเตอร์ของคุณ
- Set the connectivity switch on the underside of the mouse to the "Wired" position.
- เมาส์จะทำหน้าที่เป็นอุปกรณ์แบบมีสายและชาร์จพร้อมกันได้
5. คู่มือการใช้งาน
5.1 การปรับ DPI
The X8 Ultra features a PixArt PAW3950MAX sensor with adjustable DPI from 50 to 42,000. To change DPI settings:
- Press the DPI button on the underside of the mouse to cycle through preset DPI levels.
- The LED indicator on the mouse will change color to indicate the current DPI setting.
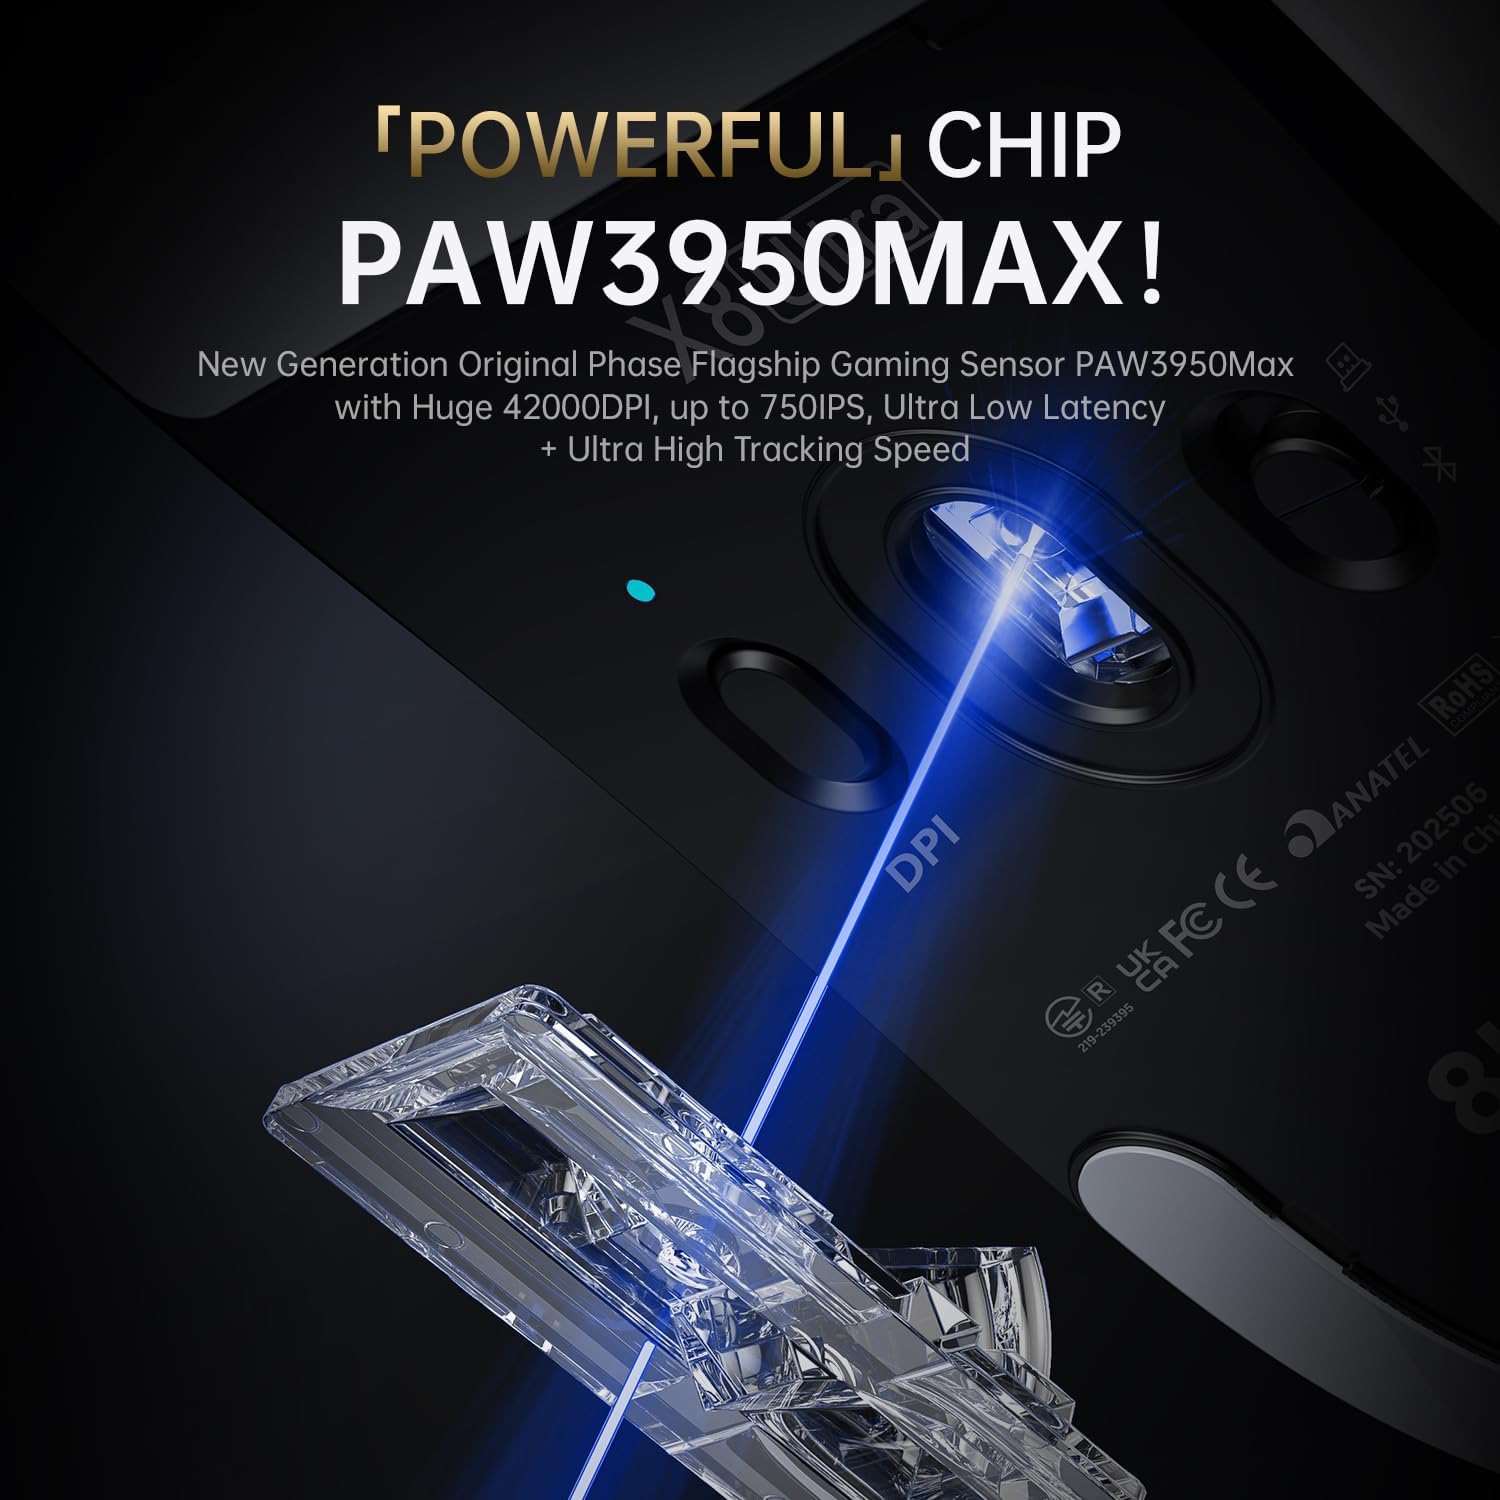
Image 5.1: The PixArt PAW3950MAX sensor for precise tracking.
5.2 Cloud Driver Software
For advanced customization, including DPI adjustment, polling rate, button remapping, macro recording, and competitive mode settings, use the web-based Cloud Driver software.
- Ensure your mouse is connected to your computer (preferably via 2.4GHz wireless or wired mode for full functionality).
- เปิดของคุณ web browser and navigate to the official ATTACK SHARK webไซต์ (เช่น www.attackshark.pro).
- Locate the Cloud Driver section for the X8 Ultra model.
- Follow the on-screen instructions to customize your mouse settings. Settings are saved directly to the mouse's memory.

Image 5.2: The Cloud Driver interface for advanced mouse configuration.
5.3 อัตราการสำรวจความคิดเห็น
The X8 Ultra supports an 8KHz wireless polling rate for ultra-low latency and faster response. In wired mode, it operates at 1KHz. The polling rate can be adjusted via the Cloud Driver software.

Image 5.3: Explanation of 8K Polling Rate technology.
6. การบำรุงรักษา
6.1 การทำความสะอาด
- ใช้ผ้าแห้งนุ่มเช็ดพื้นผิวของเมาส์
- สำหรับสิ่งสกปรกฝังแน่น ให้เช็ดออกเล็กน้อยampชุบผ้าด้วยน้ำหรือน้ำยาทำความสะอาดอ่อนๆ
- Avoid using harsh chemicals or abrasive materials that could damage the mouse's finish or sensor.
- Regularly clean the optical sensor area on the underside of the mouse with a cotton swab to ensure optimal tracking performance.
6.2 การดูแลแบตเตอรี่
- เพื่อยืดอายุการใช้งานแบตเตอรี่ ควรหลีกเลี่ยงการปล่อยแบตเตอรี่เมาส์จนหมดบ่อยครั้ง
- เก็บเมาส์ไว้ในที่แห้งและเย็นเมื่อไม่ได้ใช้งานเป็นเวลานาน
- If the mouse will not be used for a long time, charge it to about 50% before storage.
6.3 Replacing Mouse Feet Skates
The package includes replacement PTFE mouse feet skates for maintaining smooth glide. When the existing skates show significant wear:
- Carefully peel off the old mouse feet using a thin tool.
- ทำความสะอาดพื้นผิวบริเวณที่ติดรองเท้าสเก็ตเพื่อกำจัดคราบกาวที่เหลืออยู่
- Peel the backing from the new skates and carefully apply them to the corresponding areas on the mouse's underside.
- กดให้แน่นเพื่อให้แน่ใจว่ามีการยึดเกาะที่เหมาะสม

Image 6.1: PTFE anti-slip footpads for smooth mouse movement.
7 การแก้ไขปัญหา
| ปัญหา | วิธีแก้ปัญหาที่เป็นไปได้ |
|---|---|
| เมาส์ไม่ตอบสนองในโหมดไร้สาย |
|
| การเชื่อมต่อล่าช้าหรือขาดๆ หายๆ |
|
| Inaccurate tracking. |
|
| Cloud Driver software not detecting mouse. |
|
8. ข้อมูลจำเพาะ
Key technical specifications for the ATTACK SHARK X8 Ultra Wireless Gaming Mouse:

Image 8.1: Detailed technical specifications for the X8 Ultra and other X8 series models.
| คุณสมบัติ | รายละเอียด |
|---|---|
| แบบอย่าง | X8 อัลตร้า |
| เซ็นเซอร์ | PixArt PAW3950MAX |
| ช่วง DPI | 50 - 42,000 จุดต่อนิ้ว |
| ความเร็วในการเคลื่อนที่ | 750 IPS |
| การเร่งความเร็ว | 60จี |
| อายุการใช้งานของปุ่ม | 100 ล้านคลิก |
| ไมโครสวิตช์ | สวิตช์ออมรอน |
| อัตราการสำรวจความคิดเห็น | Wireless 8000Hz / Wired 1000Hz |
| มหาเทพ | Nordic 52840 |
| การเชื่อมต่อ | Wired / 2.4GHz Wireless / Bluetooth |
| น้ำหนัก | 55กรัม |
| ความจุของแบตเตอรี่ | 500 มิลลิแอมป์ |
| ขนาด | ประมาณ 125.5 x 63 x 40 มม. (4.96 x 2.5 x 1.6 นิ้ว) |
9. การรับประกันและการสนับสนุน
ATTACK SHARK products are designed for reliability and performance. For warranty information, technical support, or service inquiries, please refer to the official ATTACK SHARK webหรือติดต่อฝ่ายบริการลูกค้าโดยตรง
เป็นทางการ Webเว็บไซต์: www.attackshark.pro
ร้านค้าแบรนด์: ATTACK SHARK Amazon Store
โปรดเก็บหลักฐานการซื้อของคุณไว้เพื่อเรียกร้องการรับประกัน


