1. บทนำ
This manual provides detailed instructions for the installation, operation, and maintenance of your Fdit Programmable Thermostatic Heating Valve, Model Fditfkbedxoh3r. This device is designed to enhance comfort and energy efficiency in your home or hotel by intelligently controlling heating temperatures. Please read this manual thoroughly before use to ensure proper function and safety.
2. ข้อมูลด้านความปลอดภัย
- ตรวจสอบให้แน่ใจว่าได้ถอดแหล่งจ่ายไฟออกก่อนการติดตั้งหรือการบำรุงรักษา
- อย่าพยายามถอดประกอบหรือซ่อมแซมอุปกรณ์ด้วยตนเอง โปรดติดต่อช่างผู้ชำนาญการเพื่อขอรับบริการ
- ควรเก็บอุปกรณ์ให้ห่างจากน้ำและความชื้นสูง
- ทิ้งแบตเตอรี่ตามระเบียบข้อบังคับในท้องถิ่น
- This device includes a child lock feature for safety.
3. เนื้อหาบรรจุภัณฑ์
ตรวจสอบว่ามีรายการทั้งหมดอยู่ในแพ็คเกจ:
- 1 x Thermostatic Valve
- 9 x Installation Accessories (various adapters and rings)
- 1 x สกรู
- 1 x อ่อนนุช
- 1 x คู่มือผู้ใช้ (เอกสารนี้)
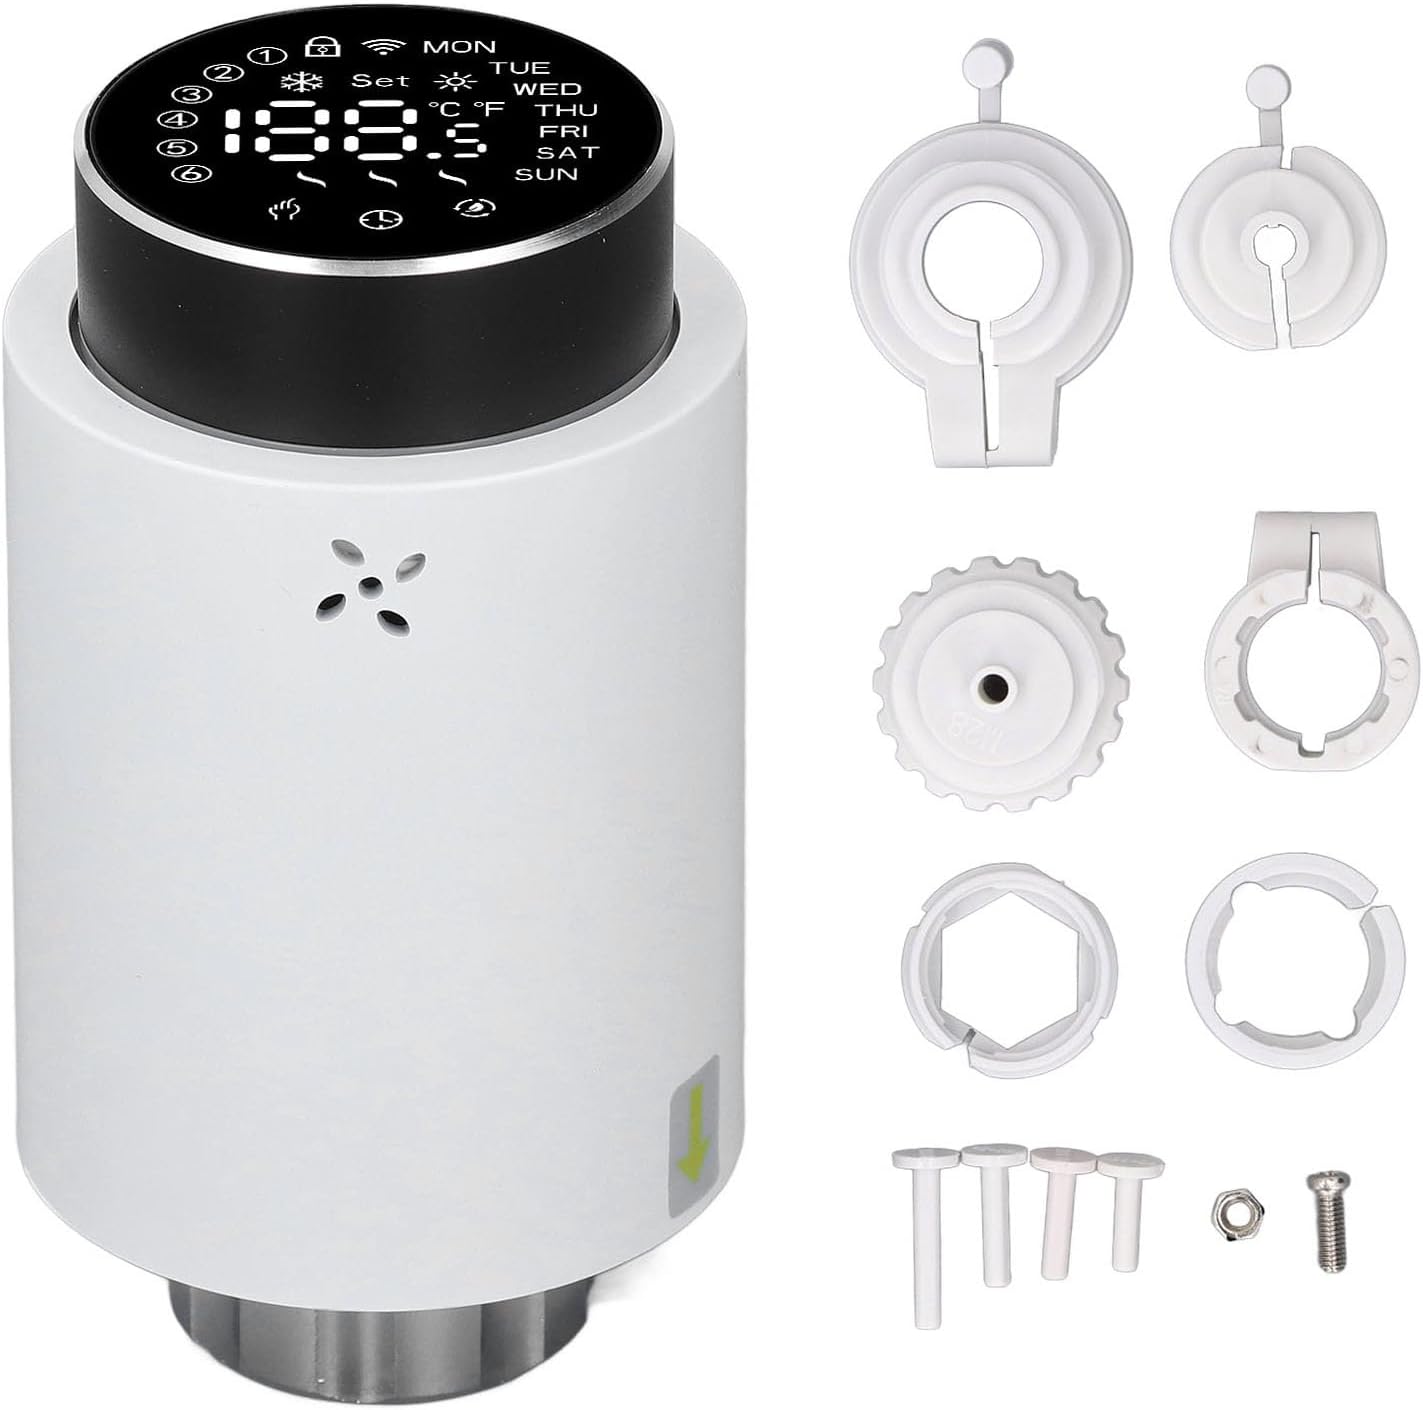
Image 3.1: The Fdit Thermostatic Valve shown with its complete set of installation accessories, including various adapters, rings, a screw, and a nut.
4. สินค้าหมดview
The Fdit Programmable Thermostatic Heating Valve features a clear LED display and a rotary knob for easy temperature adjustment and mode selection. It is designed for seamless integration with existing heating systems.

ภาพที่ 4.1: ด้านหน้า view of the thermostatic valve, highlighting the LED display which shows current temperature, day of the week, and various status icons.

Image 4.2: A detailed close-up of the valve's LED display, clearly showing temperature readings in both Celsius and Fahrenheit, along with day indicators (MON, TUE, WED, THU, FRI, SAT, SUN) and various operational icons.
5. การติดตั้ง
The Fdit Thermostatic Valve is designed for easy installation and is compatible with all common valves. No drainage or intervention in your heating system is required.
- เตรียมวาล์ว: Ensure your existing radiator valve is in the fully open position.
- ถอดหัวเก่าออก (ถ้ามี): If replacing an existing thermostatic head, carefully unscrew and remove it.
- เลือกอะแดปเตอร์: Choose the appropriate installation accessory (adapter) from the included set that matches your existing valve body.
- อะแดปเตอร์ติด: Securely attach the selected adapter to the valve body.
- Mount Thermostatic Valve: Align the Fdit Thermostatic Valve with the adapter and screw it on until it is firmly in place. Ensure a snug fit without overtightening.
- ใส่แบตเตอรี่: Open the battery compartment and insert 2 x AA batteries (not included), observing polarity.

ภาพที่ 5.1: ด้านล่าง view of the thermostatic valve, illustrating the threaded connection mechanism used for attachment to the radiator valve body.
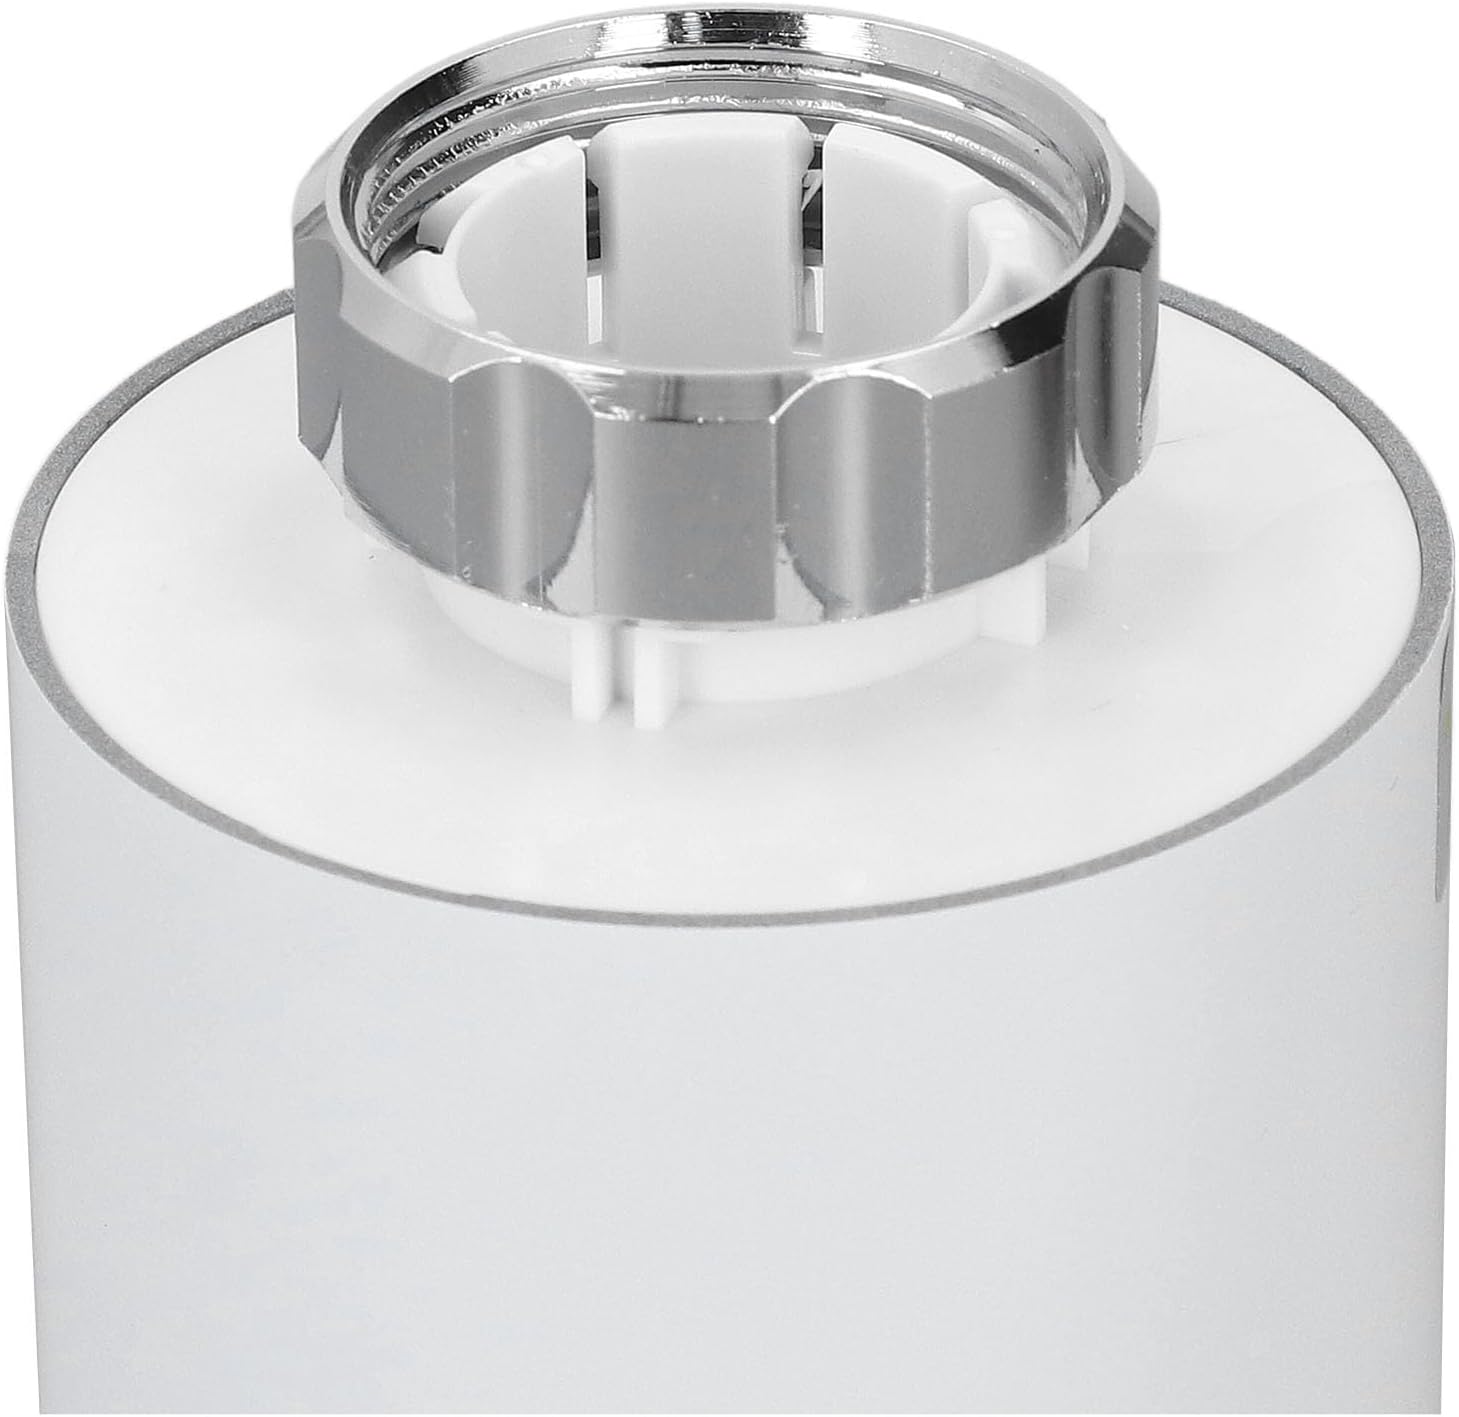
ภาพที่ 5.2: ภาพระยะใกล้ view of the valve's connection point, showing the internal structure and the metal ring for securing it to the radiator valve.
6. คู่มือการใช้งาน
The Fdit Thermostatic Valve offers both manual and smart control options for optimal temperature management.
6.1. การควบคุมด้วยตนเอง
Rotate the knob button on the top of the valve to manually adjust the desired temperature. The LED screen will display the set temperature.

Image 6.1: Close-up of the top rotary knob, used for manual temperature adjustments and menu navigation.
6.2. การควบคุมอัจฉริยะ (แอปพลิเคชันและเสียง)
Control the valve remotely using the application for Tuya and for Smart Life. The device also supports voice control for hands-free operation. Refer to the respective app's instructions for pairing and advanced settings.
6.3. Temperature Range & Quick Heating
The valve can adjust environmental temperatures between 5℃ and 45℃. Utilize the additional heating function for quick warmth, achieving desired temperatures within five minutes. The specially designed engine operates below 25 decibels for a quiet environment.
7. การบำรุงรักษา
7.1. การเปลี่ยนแบตเตอรี่
The device is powered by 2 x AA batteries. When the battery indicator appears on the display, replace the batteries promptly to ensure continuous operation. Open the battery compartment, remove old batteries, and insert new ones, ensuring correct polarity.
7.2. การทำความสะอาด
Wipe the exterior of the valve with a soft, dry cloth. Do not use abrasive cleaners or solvents, as these may damage the surface or internal components.
8 การแก้ไขปัญหา
- อุปกรณ์ไม่ตอบสนอง: Check battery levels and replace if necessary. Ensure the valve is securely attached to the radiator.
- การอ่านค่าอุณหภูมิไม่ถูกต้อง: Verify the sensor is not obstructed. Allow some time for the device to stabilize after initial setup.
- ปัญหาการเชื่อมต่อแอป: Ensure your smartphone is connected to the internet and the valve is within range of your Wi-Fi network (if applicable, for 3.0 hub). Restart the app and the valve if problems persist.
- ระบบทำความร้อนไม่ทำงาน: Confirm the set temperature is higher than the current room temperature. Check if the valve is in manual or automatic mode and adjust as needed.
9. ข้อมูลจำเพาะ
| พิมพ์ | วาล์วควบคุมอุณหภูมิ |
| วัสดุ | ABS, PC |
| แหล่งจ่ายไฟ | 3V, 2 x AA batteries (not included) |
| ไดรฟ์สูงสุด | Approx. 5.5 mm / 0.22 in |
| ความแม่นยำ | ± 0.5 & # XNUMX; |
| Established Temperature Range | 5-45°C / 41-113°F |
| Visualization Temperature Range | 0-70°C / 32-158°F |
| อุณหภูมิในการทำงาน | 0-45°C / 32-113°F |
| ความชื้นในการทำงาน | ความชื้นสัมพัทธ์ 5-95% (ไม่มีการควบแน่น) |
| อุณหภูมิในการจัดเก็บ | -10-85 ℃ / 14-185 ℉ |
| ข้อผิดพลาดเวลา | < 1% |
| ระดับความปลอดภัย | ไอพี 20 |
| ปุ่ม | ปุ่มลูกบิด |
| แอปพลิเคชัน | For Tuya and for Smart Life application |
| การเชื่อมต่อ | For Zigbee 3.0, requires Hub (hub not included) |
10. การรับประกันและการสนับสนุน
For warranty information, technical support, or service inquiries, please contact the seller or manufacturer directly. Retain your proof of purchase for warranty claims. You can visit the Fdit Store for more information: Fdit Store.