1. บทนำ
This manual provides essential information for the proper setup, operation, and maintenance of your INFIYA Z1 2K Outdoor Camera. Please read it thoroughly before using the product to ensure optimal performance and longevity.
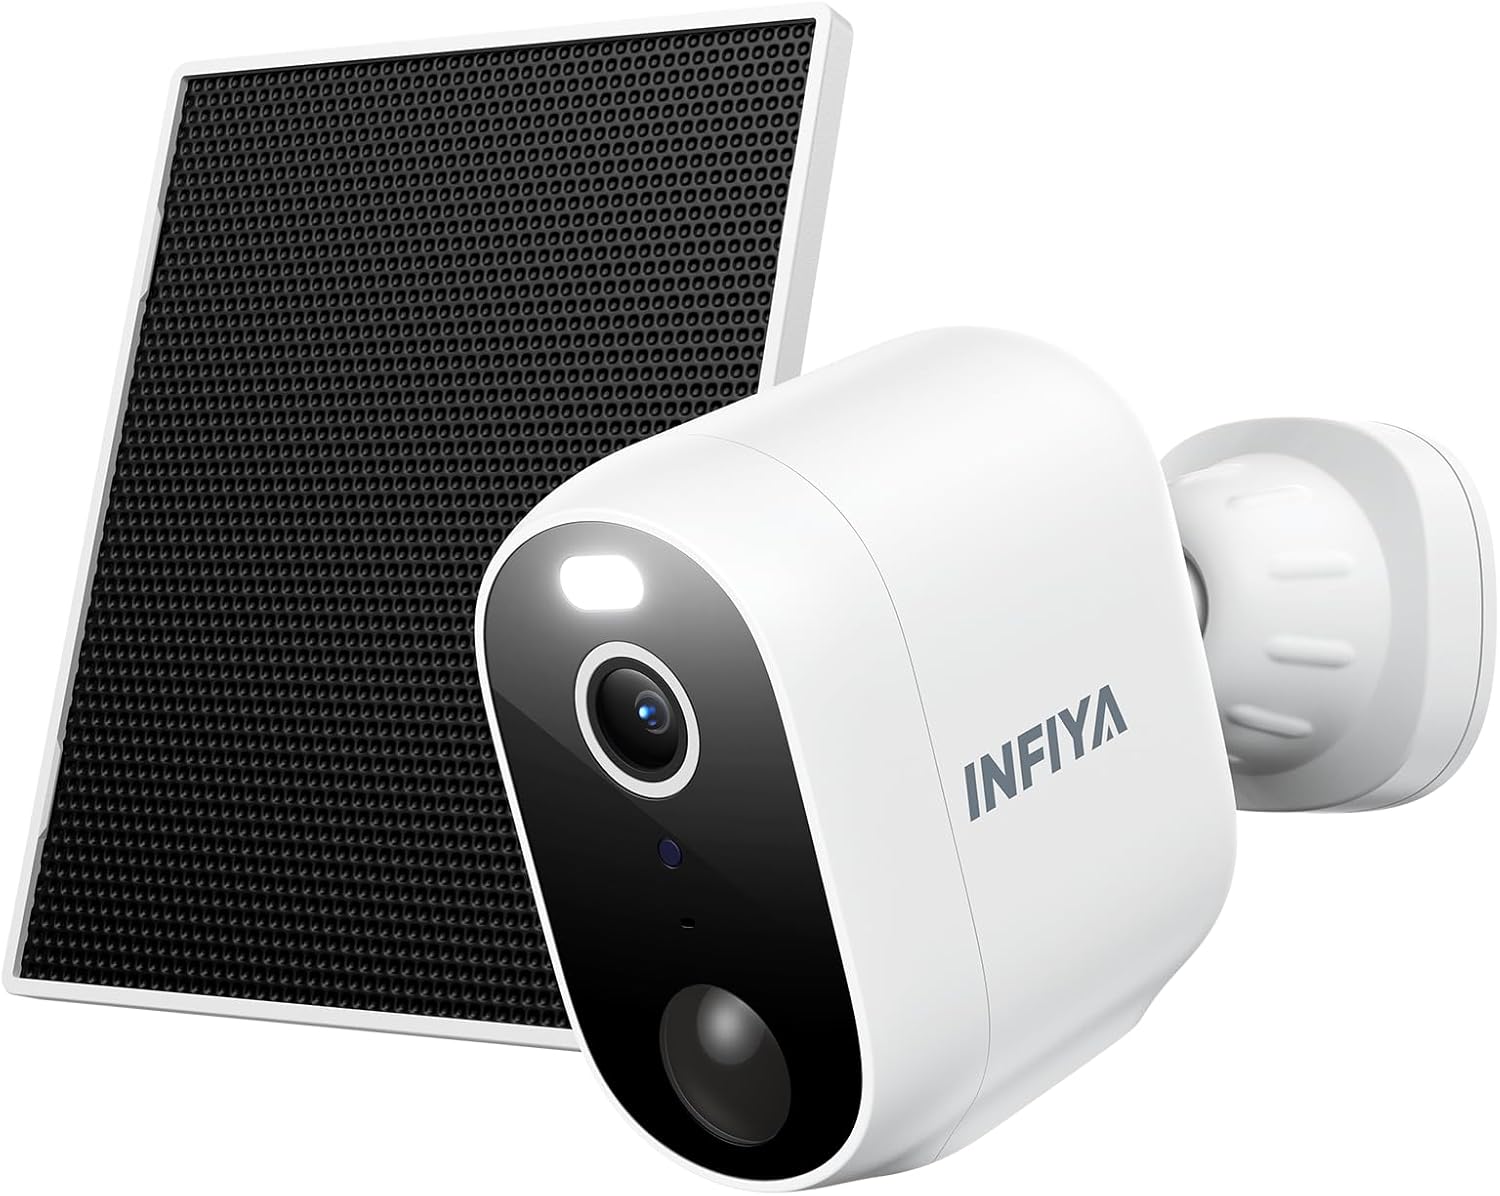
Figure 1: INFIYA Z1 2K Outdoor Camera with Solar Panel. This image displays the main components of the INFIYA Z1 camera system, including the camera unit and its accompanying solar panel, designed for outdoor surveillance.
2. อะไรอยู่ในกล่อง
ตรวจสอบว่าส่วนประกอบทั้งหมดที่ระบุไว้ด้านล่างนี้รวมอยู่ในแพ็คเกจของคุณ:
- กล้องพลังงานแสงอาทิตย์
- วงเล็บ
- คู่มือการติดตั้ง
- สกรูยึด
- การติดตั้งแม่แบบสติ๊กเกอร์
- สายไฟ Type-C
- แผงโซล่าเซลล์
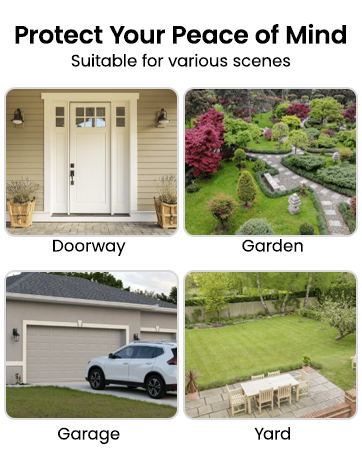
Figure 2: Package Contents. This image illustrates all items included in the INFIYA Z1 camera package, such as the camera, solar panel, mounting hardware, and documentation.
3. การตั้งค่า
3.1 การชาร์จครั้งแรกและการเปิดเครื่อง
Before initial use, fully charge the camera's built-in 5200 mAh battery using the provided Type-C power cord. Press and hold the power button for 5 seconds to turn it on.
3.2 App Download & Registration
- Download the 'Wansview Cloud' app from your device's app store (Google Play or Apple App Store).
- ลงทะเบียนบัญชีใหม่หรือเข้าสู่ระบบหากคุณมีบัญชีอยู่แล้ว

Figure 3: App Download and Setup. This image shows the steps to download the Wansview Cloud app and begin the setup process for the INFIYA Z1 camera.
3.3 การเชื่อมต่อ Wi-Fi
Place the camera near your 2.4GHz Wi-Fi router (within 3 feet). The INFIYA Z1 camera supports 2.4GHz Wi-Fi only (5GHz is not supported). Follow the in-app instructions to connect the camera to your Wi-Fi network.
Video 1: How to connect INFIYA Z1 camera. This video provides a step-by-step guide on connecting your INFIYA Z1 camera to your Wi-Fi network using the mobile application.
Video 2: Use soft-ap to connect your INFIYA Z1 camera. This video demonstrates an alternative method for connecting your INFIYA Z1 camera using soft-AP mode.
4. การติดตั้ง
The INFIYA Z1 camera is IP65 weather-resistant, suitable for both indoor and outdoor use. Choose a location with good Wi-Fi signal and adequate sunlight for the solar panel.
4.1 การติดตั้งกล้อง
- Use the mounting template sticker to mark drill holes on your desired surface (wall or ceiling).
- เจาะรูและใส่พุกยึดผนัง
- Attach the camera bracket to the surface using the mounting screws.
- Slide the camera onto the bracket until it clicks securely into place.
4.2 Mounting the Solar Panel
Mount the solar panel in a location that receives direct sunlight for at least a few hours a day. Connect the solar panel's Type-C cable to the camera's charging port.
Video 3: How to Install Your INFIYA Z1 Camera & Solar Panel. This video demonstrates the physical installation process for both the INFIYA Z1 camera and its solar panel.

Figure 4: IP65 Weather Resistance. The image shows the INFIYA Z1 camera with its solar panel installed outdoors during rain, highlighting its IP65 waterproof rating.
5. การใช้งานกล้อง
5.1 สด View & Pan/Tilt Control
Access the live 2K FHD video feed through the Wansview Cloud app. The camera offers 345° pan and 60° tilt functionality, allowing you to remotely adjust the viewมุมเอียงเพื่อการครอบคลุมอย่างครอบคลุม

Figure 5: 2K Clarity. This image compares the video quality of 2K 3MP resolution with 1080p, demonstrating the superior detail captured by the INFIYA Z1 camera.
5.2 การตรวจจับการเคลื่อนไหวและการแจ้งเตือน
The camera features AI Human Detection (up to 32ft) to reduce false alarms. When motion is detected, you will receive push notifications on your phone. You can customize detection settings and sensitivity within the app.
Video 4: How do I enable motion alert? This video guides users through the process of enabling and configuring motion alerts within the camera's mobile application.

Figure 6: AI Human Detection. This image illustrates the camera's AI human detection feature, showing how it identifies people and sends motion alerts.
5.3 Siren & Light Alarm
Configure the camera to automatically activate its siren and intelligent white light upon motion detection to deter potential intruders. These features can be controlled via the app.

Figure 7: Deter Potential Intruders. This image depicts the camera's siren and intelligent white light activating to deter an individual at night.
5.4 การมองเห็นตอนกลางคืน
The camera offers both color night vision (with built-in white light) and classical infrared night vision (black & white). You can switch between modes or set preferences in the app.

Figure 8: Color Night Vision. This image demonstrates the camera's ability to display color details even at night, contrasting it with traditional infrared night vision.
5.5 เสียงสองทาง
Utilize the built-in microphone and speaker for two-way communication. Speak to visitors or deter unwanted guests directly through the app.

Figure 9: Real-time Two-Way Talk. This image shows a user communicating with a delivery person via the camera's two-way audio feature.
5.6 ตัวเลือกการจัดเก็บข้อมูล
The camera supports local storage via a TF card (8GB~128GB, FAT32 format). Optional cloud storage with high-security encryption is also available via subscription for extended video history.
5.7 การรวม Alexa
The INFIYA Z1 camera is compatible with Alexa for live streaming. Use voice commands to view the camera feed on compatible Alexa-enabled devices.
Video 5: How to setup and navigate your INFIYA Z1 Surveillance Kit. This comprehensive video covers the setup process and navigation of the INFIYA Z1 surveillance kit, including app features and settings.
6. การบำรุงรักษา
6.1 Battery & Solar Charging
The built-in 5200 mAh battery is continuously charged by the solar panel, ensuring long standby times. Ensure the solar panel is clean and receives adequate sunlight for optimal charging.
6.2 การทำความสะอาด
ควรทำความสะอาดเลนส์กล้องและพื้นผิวแผงโซลาร์เซลล์เป็นระยะด้วยวัสดุที่อ่อนนุ่มและแห้งamp cloth to maintain clear image quality and efficient solar charging.
7 การแก้ไขปัญหา
- กล้องออฟไลน์: Check Wi-Fi connection and signal strength. Ensure the camera battery is charged.
- ไม่มีการแจ้งเตือนการเคลื่อนไหว: Verify motion detection is enabled in the app and sensitivity settings are appropriate. Check the detection distance.
- คุณภาพของภาพต่ำ: Clean the camera lens. Ensure adequate lighting for night vision.
- แผงโซลาร์เซลล์ไม่ชาร์จไฟ: Ensure the solar panel is clean and positioned to receive maximum direct sunlight. Check the connection cable.
8. ข้อมูลจำเพาะ
| ปณิธาน | 2K (1296p), 3 MP Effective Still Resolution |
| การเชื่อมต่อ | Wi-Fi 2.4GHz (ไม่รองรับ 5GHz) |
| แหล่งพลังงาน | Battery Powered (5200 mAh), Solar Powered |
| ทนทานต่อสภาพอากาศ | IP65 |
| การมองเห็นตอนกลางคืน | กล้องมองกลางคืนแบบสี, กล้องมองกลางคืนแบบอินฟราเรด (ระยะ 26 ฟุต) |
| การตรวจจับการเคลื่อนไหว | AI Human Detection (up to 32ft) |
| เสียง | ระบบเสียงสองทาง |
| พื้นที่จัดเก็บ | TF Card (8GB~128GB, FAT32), Optional Cloud Service |
| แพน/เอียง | แพน 345°, เอียง 60° |
| อุปกรณ์ที่รองรับ | Alexa Assistant (Live Streaming Only) |
9. การรับประกันและการสนับสนุน
For warranty information and technical support, please refer to the documentation included in your product packaging or visit the INFIYA official website. Contact details for customer service can typically be found in the installation guide.


