1. บทนำ
This manual provides essential instructions for the safe and effective operation of your OWON SDS220S Digital Oscilloscope. The SDS220S is a dual-channel digital oscilloscope featuring a 200MHz bandwidth, 1 GS/s real-time sampling rate, and an integrated 25MHz arbitrary waveform generator. It includes advanced functions such as FFT spectrum analysis, 30 automatic waveform measurements, and a 6-digit high-precision frequency counter. The device supports PC communication via USB, SCPI commands, and LabVIEW for remote control and secondary development.
2. สินค้าหมดview และส่วนประกอบ
Familiarize yourself with the main components and interfaces of the SDS220S oscilloscope.

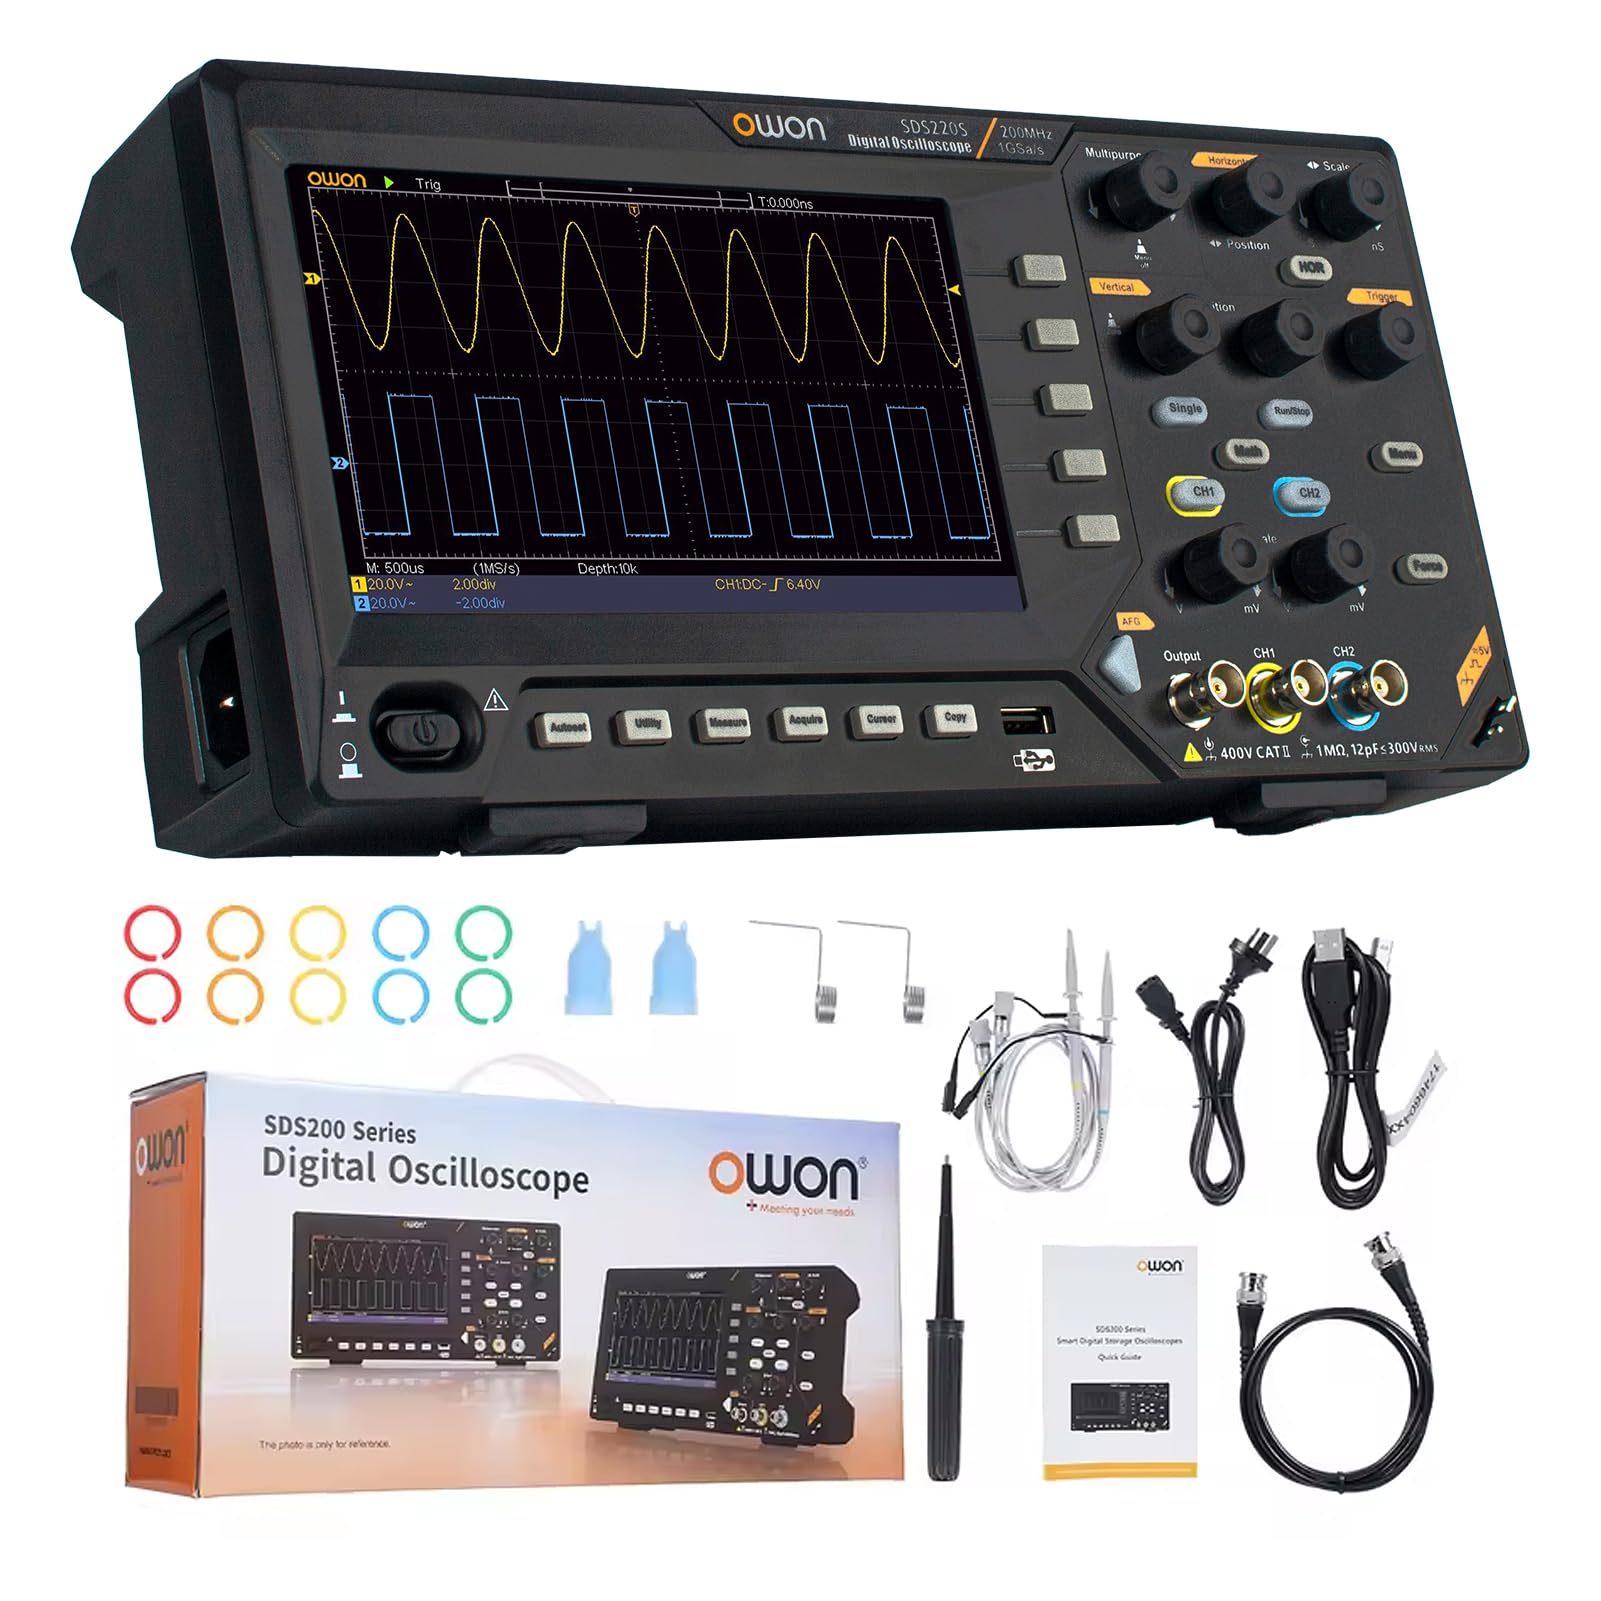
This image displays the front panel of the OWON SDS220S Digital Oscilloscope, highlighting the button and knob control area, oscilloscope signal input ports, signal generator output port, probe compensation, USB host interface, power switch, and function keys. The rear view shows the power socket, USB device interface, ventilation holes, and foldable handle.
ส่วนประกอบที่รวมอยู่:
The standard package for the OWON SDS220S includes the following items:
- OWON SDS220S Digital Oscilloscope Unit
- สายไฟ
- คู่มือแนะนำ
- สาย USB (สำหรับเชื่อมต่อกับคอมพิวเตอร์)
- Oscilloscope Probes (quantity may vary)
- สายบีเอ็นซี
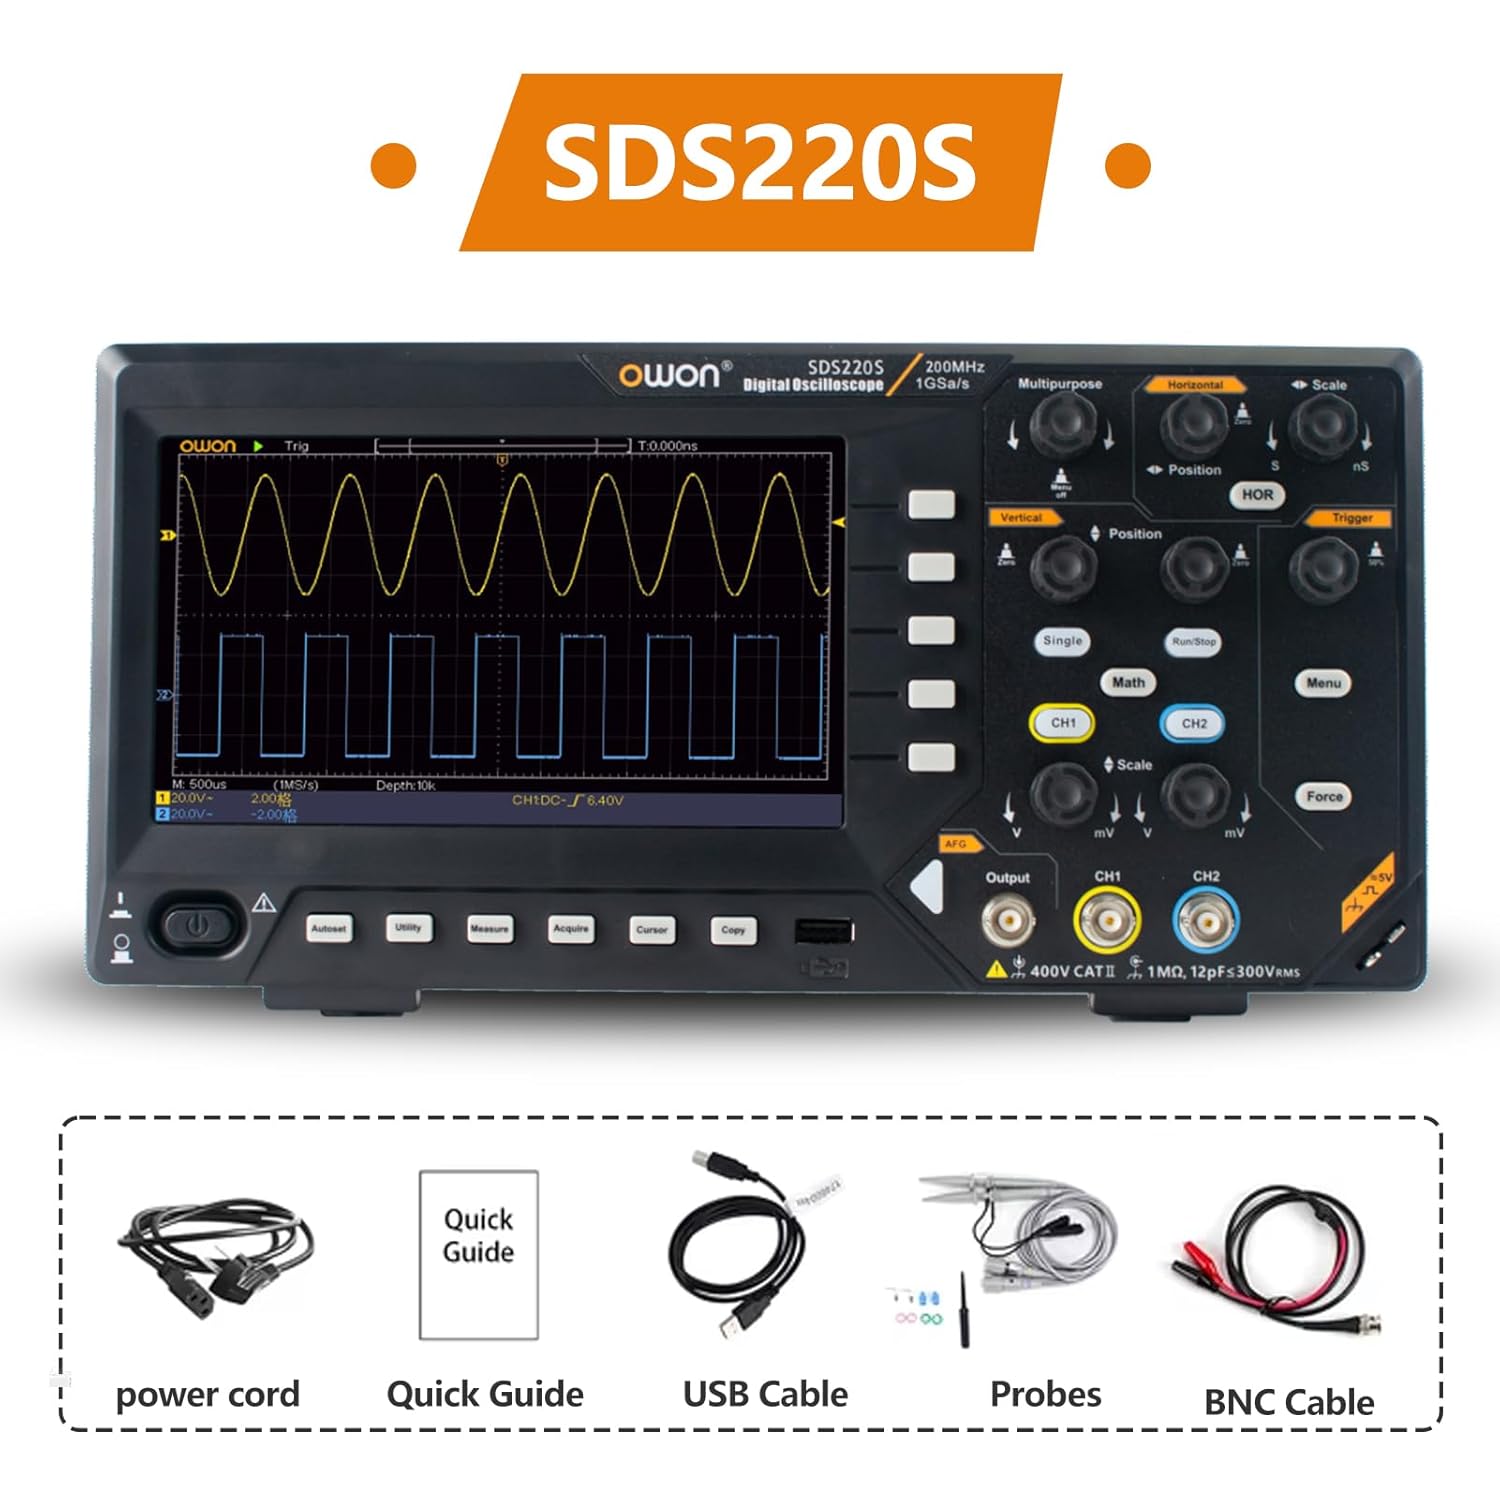
The OWON SDS220S package includes the digital oscilloscope unit, a power cord, a quick guide, a USB cable for PC connection, oscilloscope probes, and a BNC cable.
3. การตั้งค่า
3.1 การเชื่อมต่อสายไฟ
- ตรวจสอบให้แน่ใจว่าสวิตช์เปิด/ปิดของออสซิลโลสโคปอยู่ในตำแหน่งปิด
- Connect the provided power cord to the power socket on the rear panel of the oscilloscope.
- เสียบปลายอีกด้านของสายไฟเข้ากับเต้ารับไฟฟ้ากระแสสลับที่มีสายดิน
3.2 การเชื่อมต่อโพรบ
- Connect the BNC connector of the oscilloscope probe to the desired input channel (CH1 or CH2) on the front panel.
- ตรวจสอบให้แน่ใจว่าหัววัดหมุนเข้าที่อย่างแน่นหนาแล้ว
- ต่อคลิปกราวด์ของโพรบเข้ากับจุดกราวด์ของวงจร
- Set the attenuation switch on the probe (if applicable) to the desired setting (e.g., 1X or 10X). Remember to match this setting in the oscilloscope's channel menu.
3.3 การเปิดเครื่องครั้งแรก
After connecting power and probes, press the power switch on the front panel to turn on the oscilloscope. The device will perform a self-test and display the main waveform interface.
4. คู่มือการใช้งาน
4.1 แสดงผลเกินview
The SDS220S features a 7-inch TFT LCD display for clear visualization of waveforms and measurement data.
The 7-inch TFT LCD display of the OWON SDS220S provides a clear view of all signals and screen information. It features a same-screen display function, allowing users to zoom in and observe signal details effectively.
4.2 การรับสัญญาณรูปคลื่นพื้นฐาน
- Connect the probe to the signal source.
- Adjust the vertical scale (Volts/Div) and horizontal scale (Time/Div) knobs to display the waveform appropriately.
- Use the Trigger controls (Level, Mode) to stabilize the waveform on the screen.
- กดปุ่ม ออโต้ button for automatic setup of vertical, horizontal, and trigger systems.
4.3 FFT Spectrum Analysis
The FFT function converts time-domain signals into frequency-domain components, useful for analyzing harmonics, distortion, noise, and vibration.
- กดปุ่ม คณิตศาสตร์ ปุ่ม.
- เลือก เอฟเอฟที จากเมนู
- Adjust FFT settings such as source channel, window type, and display format as needed.
4.4 25MHz Arbitrary Waveform Generator (AWG)
The integrated AWG can generate various waveforms up to 25MHz.

This image highlights the 25MHz Arbitrary Waveform Generator (AWG) output port on the OWON SDS220S. The device supports USB Host and USB Device communication interfaces, along with SCPI and LabVIEW functions for advanced control and integration.
- Connect a BNC cable from the AWG output port to your desired circuit.
- กดปุ่ม เอาท์พุต button (or corresponding menu option) to access AWG settings.
- Select the desired waveform type (e.g., Sine, Square, Ramp, Pulse, Arbitrary).
- ปรับพารามิเตอร์ต่างๆ เช่น ความถี่ amplitude, and offset using the dedicated controls or menu options.
4.5 Automatic Waveform Measurements
The SDS220S supports 30 types of automatic waveform measurements, including time values, counts, deceleration and phase values, ampเสรีภาพและอื่น ๆ
- กดปุ่ม วัด ปุ่ม.
- Select the desired measurement type from the on-screen menu.
- The results will be displayed on the screen.
4.6 PC Communication and Remote Control
The oscilloscope can be connected to a PC for remote control and data transfer.

The OWON SDS220S can communicate with a PC via its USB Device interface. It supports SCPI and LabVIEW functions, providing free computer software and programming development demos, enabling remote control and secondary development of the instrument.
- Connect the oscilloscope to your PC using the provided USB cable via the USB Device interface.
- Install the necessary drivers and software from the OWON webเว็บไซต์หรือสื่อที่รวมอยู่ด้วย
- Utilize SCPI commands or LabVIEW functions for remote control, data logging, and custom application development.
5. การบำรุงรักษา
5.1 การทำความสะอาด
เพื่อรักษาประสิทธิภาพและรูปลักษณ์ของออสซิลโลสโคปของคุณ:
- ถอดสายไฟออกก่อนทำความสะอาด
- ใช้แบบนุ่มๆamp ผ้าที่มีผงซักฟอกอ่อนเพื่อทำความสะอาดพื้นผิวด้านนอก
- Do not use abrasive cleaners or solvents that could damage the plastic components or screen.
- ตรวจสอบให้แน่ใจว่าไม่มีของเหลวเข้าไปในอุปกรณ์
5.2 พื้นที่จัดเก็บ
When not in use, store the oscilloscope in a clean, dry environment, away from direct sunlight, extreme temperatures, and high humidity.
5.3 ข้อควรระวังเพื่อความปลอดภัย
- Always operate the device within its specified voltage and environmental limits.
- อย่าพยายามเปิด casing or perform unauthorized repairs. Refer servicing to qualified personnel.
- ตรวจสอบให้แน่ใจว่ามีการต่อสายดินอย่างเหมาะสมเพื่อป้องกันไฟฟ้าช็อต
6 การแก้ไขปัญหา
This section addresses common issues you might encounter with your SDS220S oscilloscope.
6.1 ไม่มีไฟฟ้า
- Check if the power cord is securely connected to both the oscilloscope and the AC outlet.
- ตรวจสอบว่าเต้ารับไฟฟ้าสามารถใช้งานได้
- Ensure the power switch on the oscilloscope is in the ON position.
6.2 No Waveform Display
- Check if the probe is correctly connected to the input channel and the signal source.
- Verify that the signal source is active and producing a signal.
- Adjust the vertical (Volts/Div) and horizontal (Time/Div) scales. The waveform might be off-screen.
- กดปุ่ม ออโต้ ปุ่มสำหรับปรับการตั้งค่าโดยอัตโนมัติ
- Ensure the trigger level is set correctly and the trigger mode is appropriate for the signal.
6.3 Unstable or Noisy Waveform
- Ensure the probe's ground clip is securely connected to the circuit's ground.
- Check for loose probe connections or damaged cables.
- Adjust the trigger level and trigger sensitivity.
- ลดการรบกวนทางแม่เหล็กไฟฟ้าจากภายนอกให้น้อยที่สุด
- Perform probe compensation if necessary.
7. ข้อมูลจำเพาะ
The following table outlines the key specifications for the OWON SDS200 series, including the SDS220S model.

This table compares the specifications of the OWON SDS200 series models, including SDS210S, SDS215S, and SDS220S. It details access channels (2CH for all), bandwidth (100MHz, 150MHz, 200MHz respectively), sampling rate (1GSa/S for all), storage depth (20M for all), vertical resolution (8 bit for all), and signal generator channels (1CH for all).
| คุณสมบัติ | Specification (SDS220S) |
|---|---|
| ผู้ผลิต | โอวอน |
| หมายเลขรุ่น | เอสดีเอส220เอส |
| แบนด์วิธ | 200 เมกะเฮิรตซ์ |
| ช่องทางการ | 2 |
| Sampเลอ อัตรา | 1 GS/s (แบบเรียลไทม์) |
| ความลึกในการจัดเก็บ | 20เมตร |
| ความละเอียดแนวตั้ง | 8 บิต |
| กำเนิดสัญญาณ | 25 MHz Arbitrary Waveform Generator (1 Channel) |
| แสดง | 7 นิ้ว TFT LCD |
| ความแม่นยำในการวัด | 0.005 |
| น้ำหนักสินค้า | 1.6 กิโลกรัม |
| ขนาดแพ็คเกจ | 37 x 18 x 11.5 ซม. |
8. การรับประกันและการสนับสนุน
8.1 ข้อมูลการรับประกัน
For detailed warranty information, please refer to the warranty card included with your product or visit the official OWON webไซต์นี้ โปรดเก็บหลักฐานการซื้อไว้เพื่อใช้ยืนยันการรับประกัน
8.2 การสนับสนุนด้านเทคนิค
If you encounter any issues not covered in this manual or require further assistance, please contact OWON customer support through their official webไซต์หรือข้อมูลการติดต่อที่ระบุไว้ในเอกสารผลิตภัณฑ์ของคุณ


