1. บทนำ
ขอขอบคุณที่คุณเลือกใช้ AMPAI WiFi Wall Touch Smart Switch. This smart switch is designed to upgrade your home lighting control with advanced features and convenience. It offers multiple control methods including touch panel, RF433 remote, and voice control via Alexa and Google Home. This manual provides detailed instructions for installation, operation, and troubleshooting to ensure optimal performance and safety.

รูปที่ 1: AMPAI WiFi Wall Touch Smart Switch (4 Gang) and included RF433 Remote.
2. ข้อมูลด้านความปลอดภัยที่สำคัญ
- ความปลอดภัยทางไฟฟ้า: Installation should be performed by a qualified electrician or a person with a thorough understanding of electrical systems. Always turn off power at the circuit breaker before installation or maintenance.
- ความเข้ากันได้: This switch is designed for standard on/off control only. It is NOT compatible with dimmable bulbs or fixtures. Attempting to use it with dimmable bulbs may cause damage to the bulbs or the switch.
- เครือข่ายไร้สาย: The smart switch operates on a 2.4GHz Wi-Fi network only. It is not compatible with 5GHz Wi-Fi networks. Ensure your router supports 2.4GHz.
- การเดินสายไฟ: This switch supports both neutral wire and no neutral wire (single fire) installations. Refer to the wiring diagrams carefully.
- Not a Traditional 3-Way Switch: While it offers 3-way control via multi-control methods (app, remote, voice), it does not function as a traditional mechanical 3-way switch requiring traveler wires between two switches.

Figure 2: Key attention points regarding 2.4GHz WiFi, wiring, and non-compatibility with traditional 3-way or dimmable setups.
3. เนื้อหาบรรจุภัณฑ์
กรุณาตรวจสอบสิ่งของภายในบรรจุภัณฑ์เมื่อเปิดออกเพื่อให้แน่ใจว่ามีสินค้าครบถ้วนและไม่ได้รับความเสียหาย:
- AMPAI WiFi Wall Touch Smart Switch (4 Gang)
- อุปกรณ์ติดตั้ง (สกรู)
- RF433 Remote Control (if included in your specific package)
- คู่มือการใช้งาน (เอกสารนี้)
4. การตั้งค่าและการติดตั้ง
4.1 คำแนะนำในการเดินสายไฟ
WARNING: Ensure power is OFF at the circuit breaker before beginning any wiring.
This smart switch supports two wiring methods: with a neutral wire or without a neutral wire (single fire). Identify your home's wiring configuration before proceeding.

Figure 3: Wiring diagrams for Neutral and Fire Line (left) and Single Fire (right) installations. A capacitor is required for single fire wiring.
- ปิดไฟ: หาตำแหน่งเบรกเกอร์ที่ควบคุมสวิตช์ไฟแล้วปิดสวิตช์ ตรวจสอบว่าไฟดับแล้วโดยใช้เครื่องวัดแรงดันไฟฟ้าtagอีผู้ทดสอบ
- ถอดสวิตช์เก่าออก: Carefully remove the existing wall plate and unscrew the old switch from the wall box. Disconnect the wires.
- ระบุสายไฟ: Identify the Live (Line), Load, and Neutral wires (if present). For single fire wiring, you will only have Live and Load.
- เชื่อมต่อสวิตช์อัจฉริยะ:
- Neutral and Fire Line Wiring: Connect the Live wire to the 'L' terminal, the Neutral wire to the 'N' terminal, and the Load wires to the 'L1', 'L2', 'L3', 'L4' terminals corresponding to your light circuits.
- Single Fire Wiring: Connect the Live wire to the 'L' terminal and the Load wires to the 'L1', 'L2', 'L3', 'L4' terminals. A capacitor must be connected across the Live and Load wires of the light fixture for stable operation.
- ติดตั้งสวิตช์: Secure the smart switch into the wall box using the provided screws. Attach the glass panel.
- คืนพลังงาน: เปิดไฟอีกครั้งที่เบรกเกอร์
4.2 App Installation and Pairing (Tuya Smart Life)
- ดาวน์โหลดแอพ: ดาวน์โหลดแอปพลิเคชัน "Smart Life" หรือ "Tuya Smart" ได้จาก App Store (iOS) หรือ Google Play Store (Android)
- ลงทะเบียน/เข้าสู่ระบบ: เปิดแอปและลงทะเบียนบัญชีใหม่หรือเข้าสู่ระบบหากคุณมีบัญชีอยู่แล้ว
- เพิ่มอุปกรณ์:
- ตรวจสอบให้แน่ใจว่าโทรศัพท์ของคุณเชื่อมต่อกับเครือข่าย Wi-Fi 2.4GHz
- ในแอป แตะไอคอน "+" ที่มุมขวาบนเพื่อเพิ่มอุปกรณ์
- Select "Electrical Switch" or "Wall Switch" from the device list.
- Follow the on-screen instructions to put the switch into pairing mode (usually by pressing and holding a button on the switch until an indicator light blinks rapidly).
- ตรวจสอบว่าไฟแสดงสถานะกะพริบอย่างรวดเร็วในแอปและป้อนรหัสผ่าน Wi-Fi ของคุณ
- The app will connect to the switch. Once connected, you can rename the switch and assign it to a room.
4.3 RF433 Remote Pairing
The included RF433 remote can be paired directly with the switch for local control without Wi-Fi.
- เข้าสู่โหมดจับคู่: On the smart switch, press and hold the touch button you wish to pair for approximately 5-7 seconds until you hear a "beep" sound or see a small indicator light flash.
- กดปุ่มรีโมท: Within 3 seconds, press the corresponding button (A, B, or C) on the RF433 remote.
- การยืนยัน: The switch will "beep" again or the light will stop flashing, indicating successful pairing.
5. การใช้งานสวิตช์อัจฉริยะ
5.1 การควบคุมแบบสัมผัส
Simply touch the corresponding icon on the glass panel to turn the connected light ON or OFF.

Figure 4: The smart switch supports multiple control methods for convenience.
5.2 Smart Life / Tuya App Control
Open the Smart Life or Tuya Smart app on your smartphone. From the device list, tap on your smart switch to access its control interface. You can turn lights ON/OFF, set schedules, and create scenes from anywhere with an internet connection.
5.3 การควบคุมด้วยเสียง (Alexa และ Google Home)
การ AMPAI Smart Switch is compatible with Amazon Alexa and Google Home for convenient voice control.
- เชื่อมโยงบัญชี: In the Alexa or Google Home app, enable the "Smart Life" or "Tuya Smart" skill/action and link your Smart Life/Tuya account.
- ค้นพบอุปกรณ์: Ask Alexa or Google Home to "Discover devices" or manually add them through the app.
- คำสั่งเสียง: เมื่อค้นพบแล้ว คุณสามารถใช้คำสั่งเช่น:
- "Alexa เปิด [ชื่อไฟ]"
- "เฮ้ กูเกิล ปิด [ชื่อหลอดไฟ] หน่อย"
- "Alexa, set [Light Name] to 50%" (Note: This switch does not support dimming, so dimming commands will not work.)

Figure 5: Enjoy hands-free control with Amazon Alexa and Google Assistant.
5.4 รีโมทคอนโทรล RF433
Use the paired RF433 remote to control the switch from a distance. Each button (A, B, C) on the remote can be paired to control a specific gang or group of gangs on the switch.

Figure 6: The RF433 remote provides an additional convenient control method.
5.5 Timer and Scene Functions
Utilize the Smart Life/Tuya app to set schedules and create custom scenes for your lighting. For example, you can set lights to turn on at sunset or off at a specific time, or create a "Movie Night" scene that turns off certain lights.
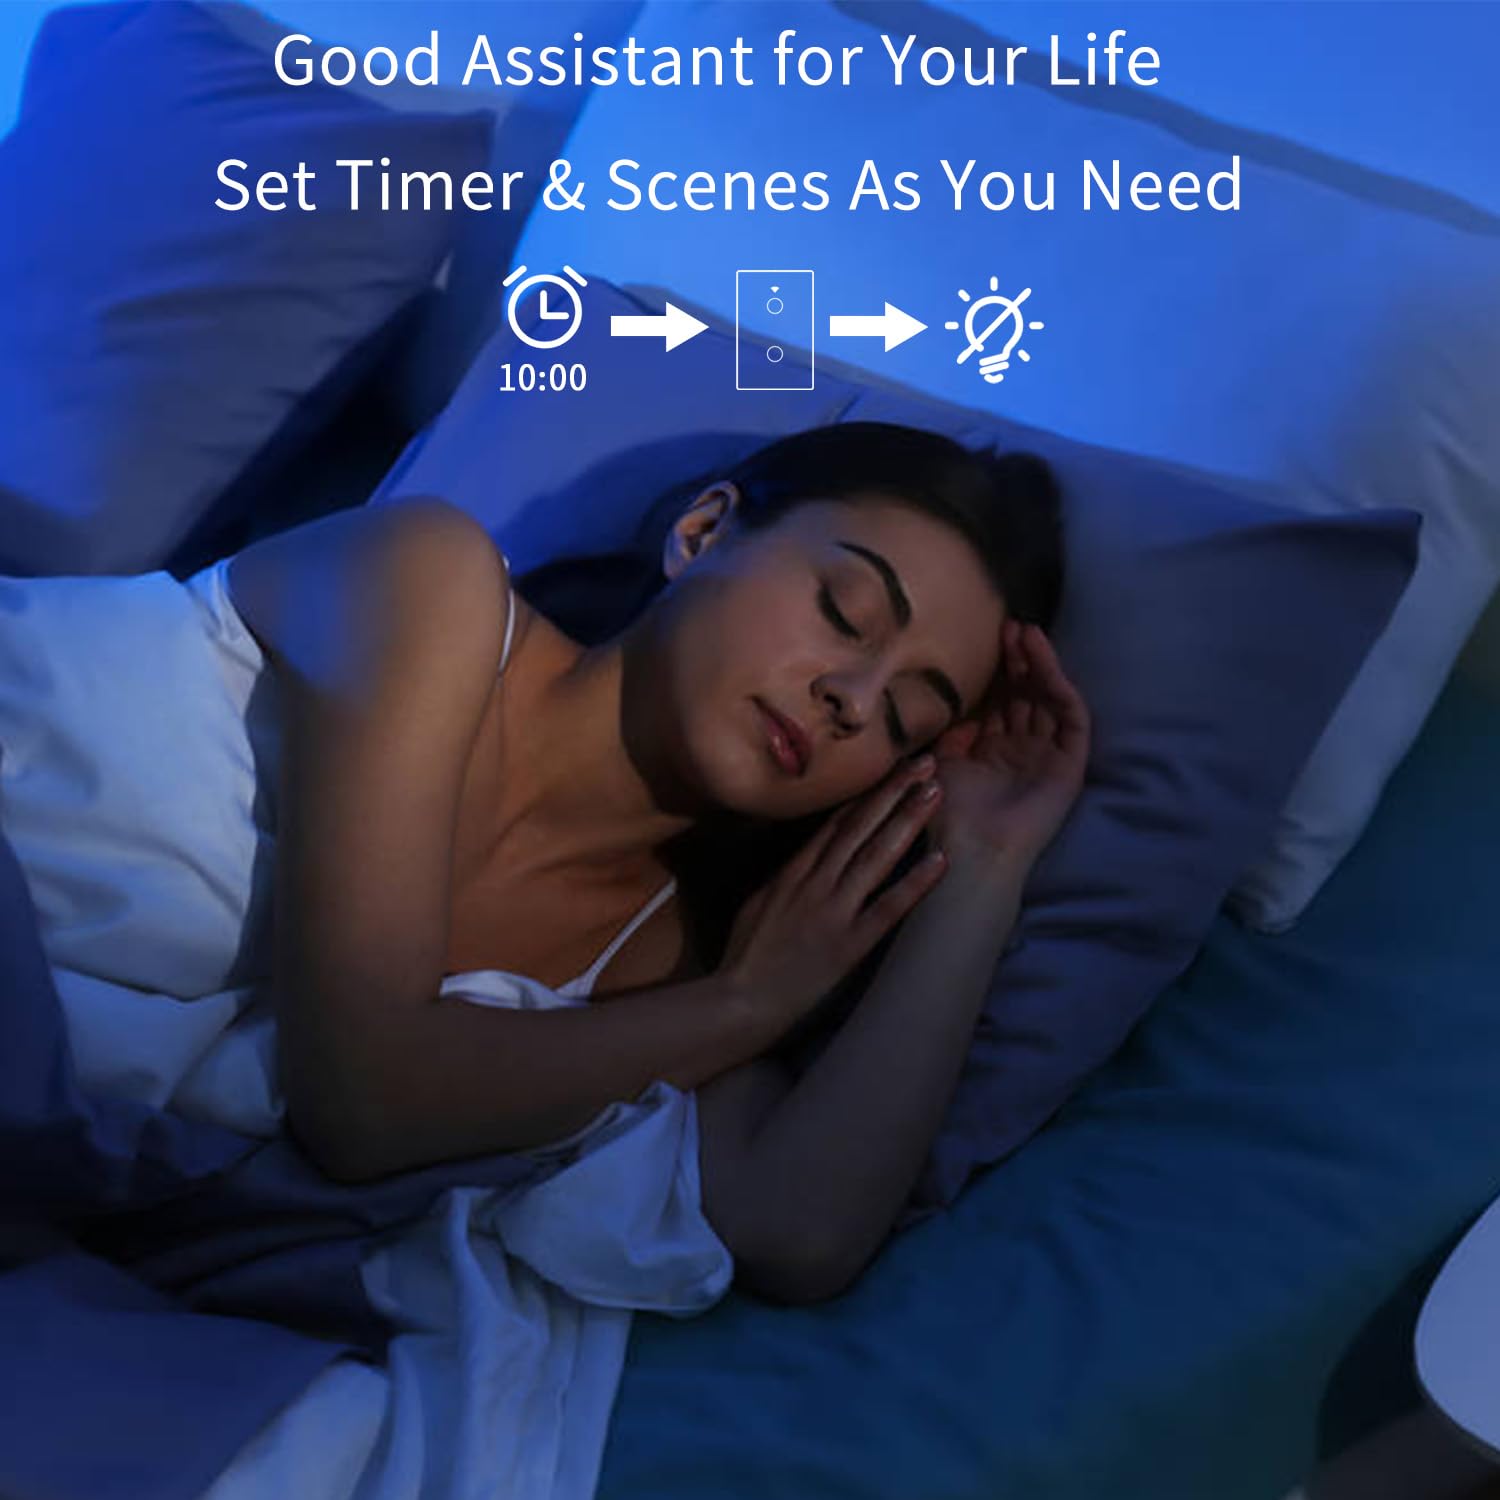
Figure 7: Set timers and scenes for automated lighting control.
6. การบำรุงรักษา
การ AMPAI Smart Switch requires minimal maintenance. To keep it clean and functioning properly:
- การทำความสะอาด: Gently wipe the glass panel with a soft, damp cloth. Avoid using abrasive cleaners or solvents, as they may damage the surface.
- วงจรไฟฟ้า: หากสวิตช์ไม่ตอบสนอง ให้ลองปิดไฟที่เบรกเกอร์เป็นเวลา 10 วินาที แล้วเปิดใหม่อีกครั้ง
- อัพเดตเฟิร์มแวร์: ตรวจสอบแอป Smart Life/Tuya เป็นระยะเพื่อดูการอัปเดตเฟิร์มแวร์ที่มีสำหรับสวิตช์ของคุณเพื่อให้แน่ใจถึงประสิทธิภาพและความปลอดภัยที่เหมาะสมที่สุด
7 การแก้ไขปัญหา
| ปัญหา | สาเหตุที่เป็นไปได้ | สารละลาย |
|---|---|---|
| สวิตช์ไม่ตอบสนองต่อการสัมผัส | No power; Loose wiring; Switch malfunction. | Check circuit breaker. Verify wiring connections. Power cycle the switch. If problem persists, contact support. |
| ไม่สามารถเชื่อมต่อ Wi-Fi ได้ | Incorrect Wi-Fi band (5GHz); Incorrect password; Router too far; Switch not in pairing mode. | Ensure your phone is on a 2.4GHz Wi-Fi network. Double-check Wi-Fi password. Move router closer or use a Wi-Fi extender. Re-enter pairing mode. |
| Lights flicker or do not turn off completely (single fire wiring). | Missing or incorrectly installed capacitor. | Ensure the capacitor is correctly installed across the Live and Load wires of the light fixture. |
| การควบคุมด้วยเสียงไม่ทำงาน | Account not linked; Device not discovered; Incorrect commands. | Ensure Smart Life/Tuya skill/action is enabled and linked in Alexa/Google Home app. Ask to "Discover devices." Use correct device names and commands. |
| RF433 remote not controlling switch. | Remote not paired; Battery low in remote. | Re-pair the remote following section 4.3. Replace remote battery if necessary. |
| Switch does not dim lights. | This switch is not designed for dimming. | This is an on/off switch only. It is not compatible with dimmable bulbs or fixtures. |
8. ข้อมูลจำเพาะ
| คุณสมบัติ | รายละเอียด |
|---|---|
| หมายเลขรุ่น | 4 แก๊งค์ |
| ยี่ห้อ | AMPAI |
| ขนาดสินค้า | 2.85 x 1.36 x 4.74 นิ้ว |
| ปฏิบัติการฉบับที่tage | 120 โวลต์ |
| คะแนนปัจจุบัน | 10 Amps |
| โหมดการทำงาน | ไร้สาย |
| การเชื่อมต่อ | Wi-Fi 2.4GHz, RF433MHz |
| ประเภทวงจร | 3-way (Multi-control) |
| ประเภทตัวกระตุ้น | แผงสัมผัส |
| ความเข้ากันได้ | Tuya Smart Life App, Amazon Alexa, Google Home |
| คุณสมบัติพิเศษ | No Neutral Wire Required (with capacitor) |
9. การรับประกันและการสนับสนุน
For warranty information and technical support, please contact AMPAI customer service. You can often find support contact details on the product packaging, the manufacturer's official website, or through your purchase platform (e.g., Amazon).
ผู้ผลิต: AMPAI
หากต้องการความช่วยเหลือเพิ่มเติม โปรดไปที่ AMPAI Store on Amazon.


