1. บทนำ
This manual provides detailed instructions for the installation, operation, and maintenance of your VIKVIZ 4MP Dual Lens Security Camera. Please read this manual thoroughly before using the product to ensure correct setup and optimal performance. Keep this manual for future reference.
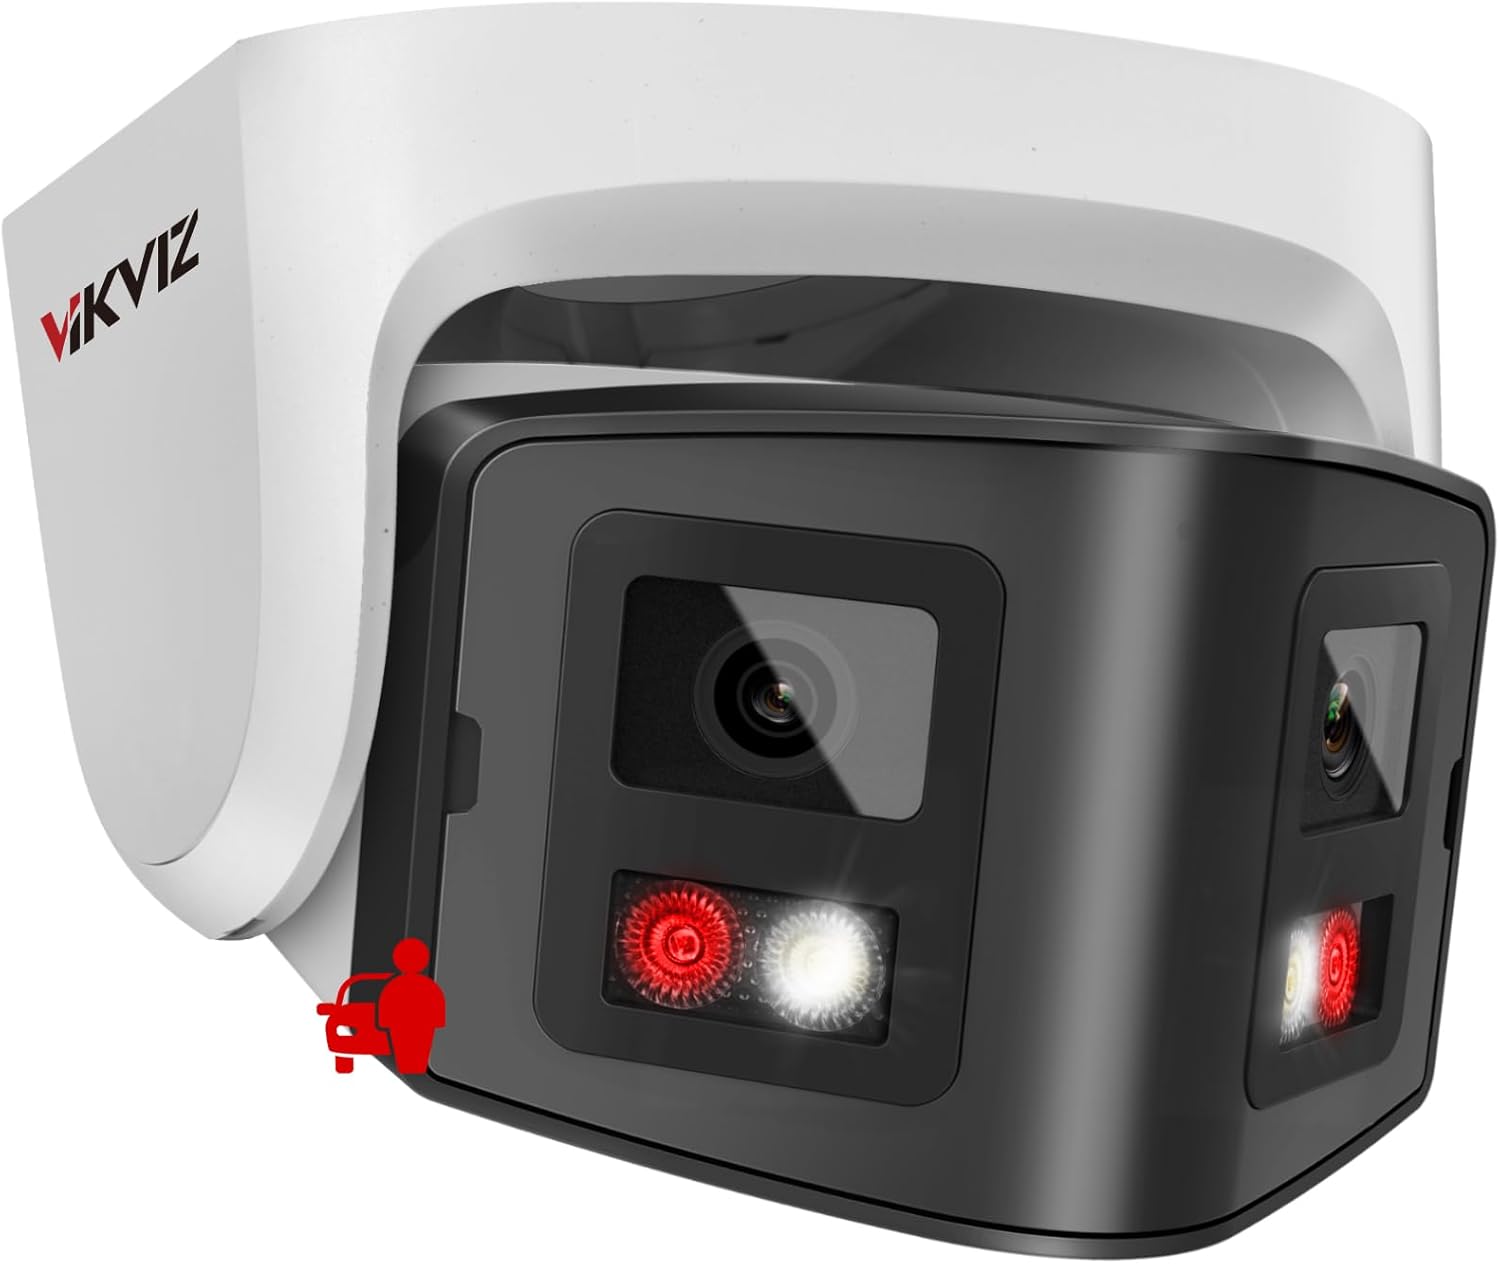
Image 1.1: VIKVIZ 4MP Dual Lens Security Camera overview.
2. อะไรอยู่ในกล่อง
ตรวจสอบว่ามีส่วนประกอบทั้งหมดอยู่ในแพ็คเกจ:
- VIKVIZ 4MP Dual Lens Security Camera
- คู่มือการใช้งาน
- สกรูยึด
- หมวกกันน้ำ

Image 2.1: Package contents including the camera, quick start guide, waterproof cap, and mounting screws.
3. การตั้งค่าและการติดตั้ง
3.1 การติดตั้งทางกายภาพ
The camera is designed for both indoor and outdoor use and features an IP67 waterproof rating. It supports wall mounting.
- เลือกตำแหน่งการติดตั้ง: เลือกตำแหน่งที่ให้ผลลัพธ์ที่ต้องการ viewing angle and is within reach of a Power over Ethernet (PoE) connection or a DC12V power source and Ethernet cable.
- ติดตั้งกล้อง: Use the provided mounting screws to securely attach the camera to the chosen surface.
- Connect Power and Network: Connect an Ethernet cable to the camera. If using PoE, this single cable provides both power and data. If not using PoE, connect a DC12V power adapter (not included) and a separate Ethernet cable. Ensure the waterproof cap is properly installed over the Ethernet connection for outdoor use.

Image 3.1: Illustrates the Power over Ethernet (PoE) connection, simplifying installation with a single cable for power and data.
3.2 การกำหนดค่าเครือข่ายเริ่มต้น
The camera is configured for DHCP by default. You may need to use a configuration tool to find its IP address and set a static IP if your network requires it.
- Discover Camera IP: Use a network scanning tool (e.g., SADP Tool, AJDevTools) on your PC to discover the camera's IP address on your local network.
- เข้าถึง Web อินเทอร์เฟซ: เปิด web browser (Chrome, Edge, Firefox recommended) and enter the camera's IP address.
- ตั้งรหัสผ่าน: Upon first access, you will be prompted to set a strong password. Remember this password as it is crucial for security and access.
- Configure Network Settings (Optional): If needed, change the network settings from DHCP to a static IP address within the camera's web อินเทอร์เฟซ
3.3 การติดตั้งซอฟต์แวร์และแอป
For remote access and advanced features, install the recommended software:
- แอปมือถือ: Download the VideoLink APP or Hik-connect from your smartphone's app store (Android/iOS).
- ไคลเอนต์พีซี: Download the LMS Client or IVMS-4200 for Windows or Mac from the official VIKVIZ support webเว็บไซต์.
- Search Tools: SADP Tool and AJDevTools are available for PC to assist with device discovery and initial configuration.

ภาพที่ 3.2: จบแล้วview of compatible applications and web browsers for remote access.
4. การดำเนินการ
4.1 มุมมองพาโนรามา 180° View
The camera features a dual-lens design providing a 180° panoramic view at 3840 × 1080 resolution at 20 fps. This wide-angle coverage is suitable for open areas such as squares, large warehouses, and construction sites. For optimal stitching, ensure a distance of at least 3 meters from the camera to the scene.

Image 4.1: Comparison of 180° panoramic view from the dual-lens camera versus other cameras.

ภาพที่ 4.2: อดีตamples of large areas suitable for the 180° panoramic view, such as squares and warehouses.
4.2 Dual Light Source Night Vision
The camera offers both infrared (IR) and color night vision modes. By default, it automatically switches between these modes at night:
- IR ไนท์วิชั่น: When no human objects are detected, the camera maintains infrared black and white night vision, with a range of up to 100ft.
- การมองเห็นสีกลางคืน: Upon human movement detection, warm LEDs activate, and the display converts to full-color night vision.
You can adjust the light mode settings via the camera's web อินเทอร์เฟซ

Image 4.3: Demonstrates the camera's dual night vision capabilities, showing both full-color and infrared (IR) modes.

Image 4.4: Visual comparison of night vision with white light activated versus infrared (IR) light activated.
4.3 Smart Detection (Human/Vehicle)
The camera is equipped with advanced human and vehicle motion detection, reducing false alarms by distinguishing between different object types. When motion is detected, the camera sends push notifications to your phone.

Image 4.5: Illustration of human and vehicle detection, filtering out irrelevant movements like birds or leaves.

Image 4.6: Smart AI motion detection accurately identifying people and vehicles while ignoring environmental factors.
4.4 การสนทนาสองทาง
A built-in microphone and speaker enable real-time two-way audio communication. This allows you to speak to individuals near the camera or deter unwanted visitors.

Image 4.7: Depiction of the two-way audio feature, showing microphone and speaker icons for communication.
4.5 Remote Access and Monitoring
เข้าถึงสด view and playback recordings anytime, anywhere using the VideoLink APP, IVMS-4200, LMS Client, or a web browser on your smartphone, tablet, or laptop. Receive instant app alarm push notifications and email alerts upon detection.

Image 4.8: Mobile access to camera feeds and management via the VideoLink app.
4.6 การสาธิตวิดีโอ
Video 4.1: A demonstration of the 180-degree panoramic PoE camera's functions, including wide-angle view, intelligent dual light, and smart human/vehicle detection.
5. การบันทึกและจัดเก็บข้อมูล
The camera supports 24/7 continuous recording and offers multiple storage methods:
- การ์ด SD: Supports up to 512GB Micro SD card (not included). The SD card slot is accessible for installation.
- เครื่องบันทึกภาพ: Compatible with most third-party Network Video Recorders (NVRs) that support ONVIF protocol.
- FTP/NAS: Can work with FTP/NAS for network storage.
The camera utilizes Smart H.265+ video encoding, which saves bandwidth and storage space by up to 60% compared to H.264, extending usage time.
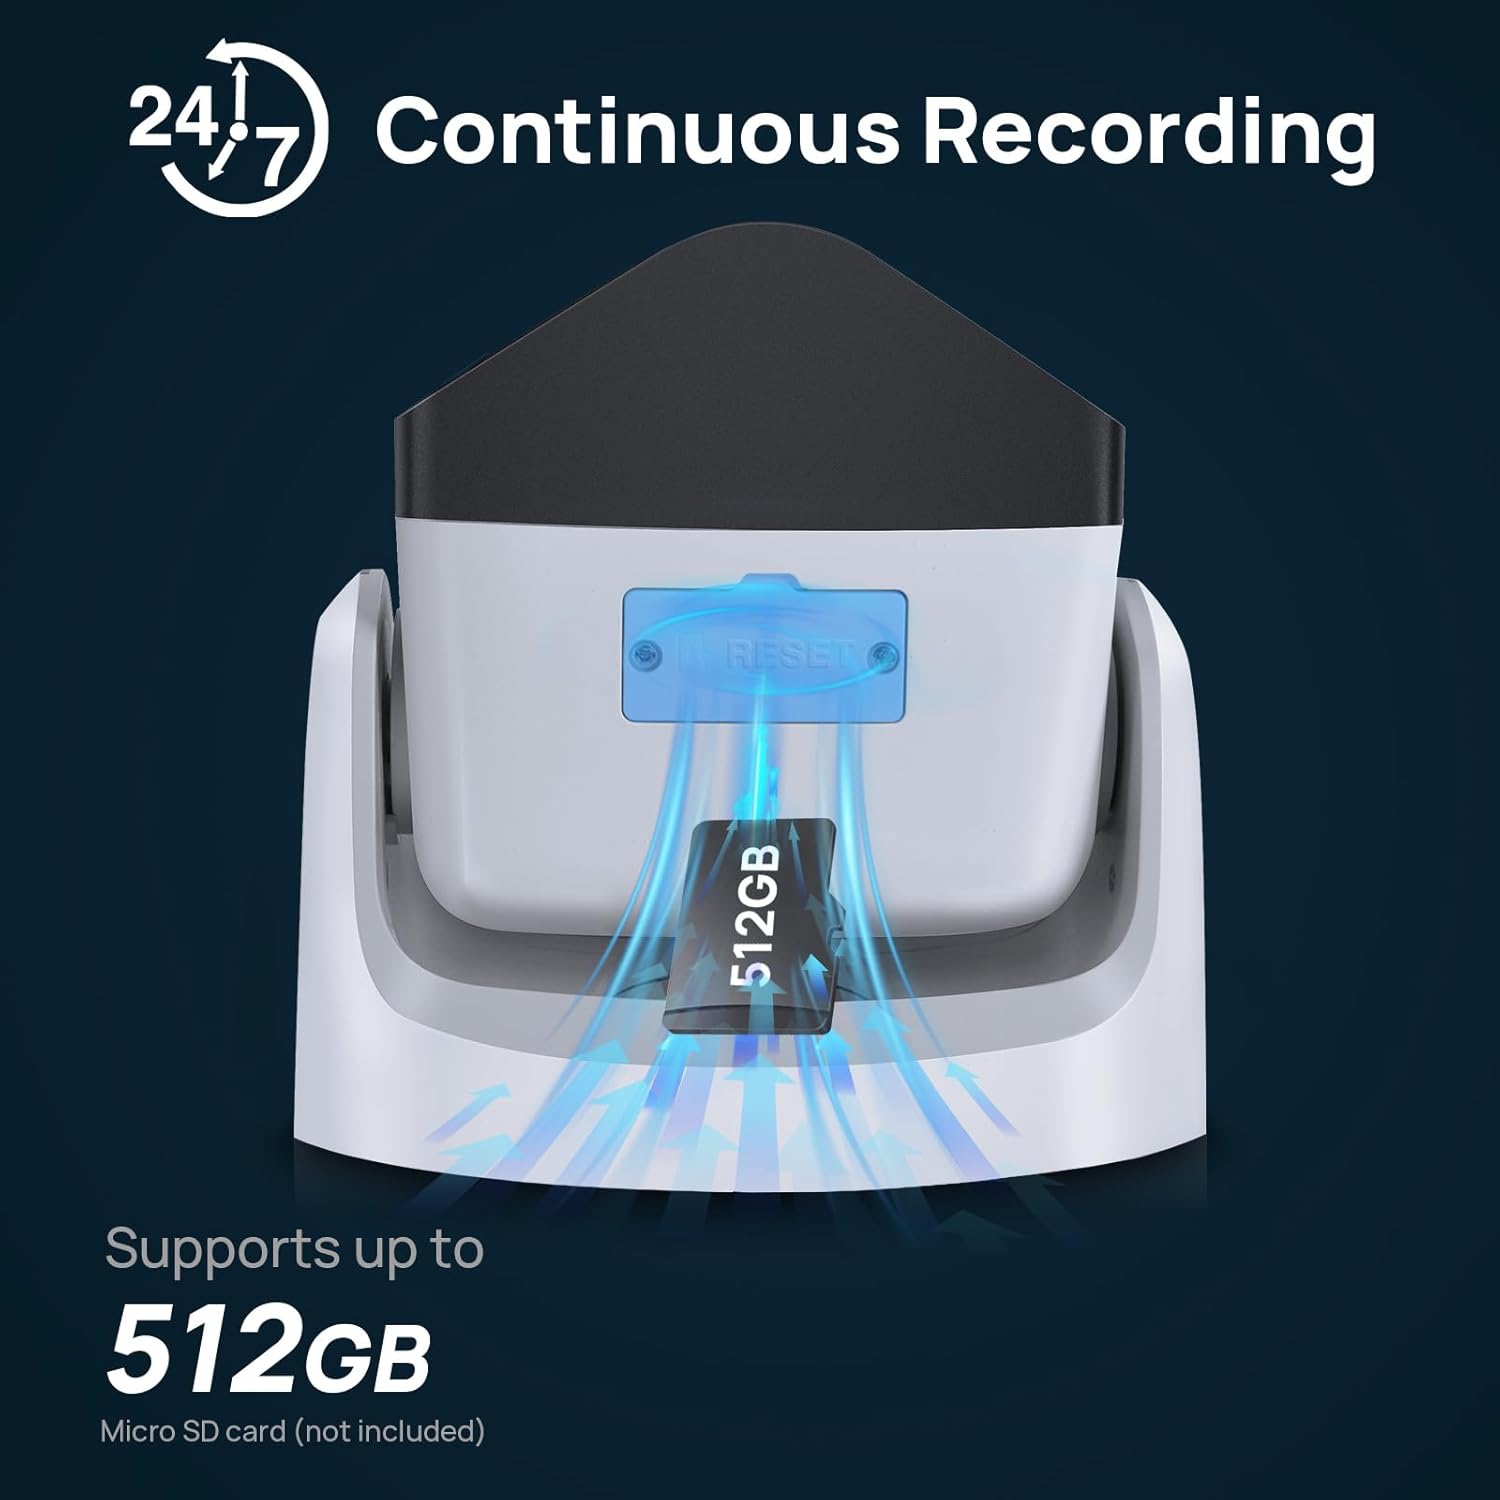
Image 5.1: Location of the SD card slot, supporting up to 512GB for local storage.

ภาพที่ 5.2: จบแล้วview of storage options: MicroSD card, third-party NVR compatibility, and FTP/NAS support.

Image 5.3: Comparison of H.265+ and H.264 video encoding, highlighting the storage efficiency of H.265+.
6. ข้อมูลจำเพาะ
| คุณสมบัติ | รายละเอียด |
|---|---|
| ชื่อรุ่น | PG2346IRCS-P |
| ความละเอียดในการจับภาพวิดีโอ | 4 ล้านพิกเซล (3840 × 1080) |
| อัตราเฟรม | 20 เฟรมต่อวินาที |
| Viewอิงแองเกิล | 180 องศา |
| ช่วงการมองเห็นตอนกลางคืน | 100 ฟุต |
| ประเภทแหล่งกำเนิดแสง | Infrared/LED (Dual Light Source) |
| เทคโนโลยีการเชื่อมต่อ | Wired / PoE |
| โปรโตคอลการเชื่อมต่อ | ออนวิฟ |
| แหล่งพลังงาน | DC12V OR POE |
| การใช้งานภายใน/ภายนอกอาคาร | ในร่ม, กลางแจ้ง |
| การให้คะแนนการคุ้มครองระหว่างประเทศ | IP67 (กันน้ำ) |
| การเข้ารหัสวิดีโอ | H.265+, H.265, H.264 |
| ขนาดหน่วยความจำแฟลชที่รองรับสูงสุด | 512 GB (Micro SD card) |
| ความสามารถในการบันทึกภาพและเสียง | Audio, Video (Two-Way Talk) |
| วัสดุ | โลหะ |
| น้ำหนักสินค้า | 1.5 ปอนด์ |
| ขนาดแพ็คเกจ | 7 x 6.8 x 4.9 นิ้ว |

Image 6.1: The camera's IP67 rating ensures protection against harsh weather conditions.
7 การแก้ไขปัญหา
- Camera Not Connecting to App:
Ensure the camera is properly powered and connected to the network. Verify that your smartphone is connected to the internet. Double-check the camera's IP address and network settings. Restart the camera and your router. - Web Interface Not Working in Chrome:
ในขณะที่ web interface is generally compatible with modern browsers, some older firmware versions or specific browser settings might cause issues. Try using a different browser like Edge or Firefox, or ensure your Chrome browser is updated. - ไม่มีภาพ/คุณภาพภาพต่ำ:
Check all cable connections. Ensure the lens is clean and free from obstructions. Verify power supply. For night vision issues, check the light mode settings. - สัญญาณเตือนการเคลื่อนไหวผิดพลาด:
Adjust the sensitivity settings for motion detection in the camera's configuration. Define specific motion detection zones to exclude areas with frequent irrelevant movement (e.g., trees swaying). - ลืมรหัสผ่าน:
Refer to the camera's reset procedure (often involving a physical reset button) or contact technical support for assistance. Note that a factory reset will erase all custom settings.
8. การรับประกันและการสนับสนุน
VIKVIZ provides a 2-year manufacturer maintenance ระยะเวลาและ การสนับสนุนทางเทคนิคตลอดอายุการใช้งาน for each customer. For any technical assistance, warranty claims, or further inquiries, please contact VIKVIZ customer support through their official channels.


