1. บทนำ
This manual provides detailed instructions for the installation, operation, and maintenance of the Novastar TU15PRO LED Vision Controller. Please read this manual thoroughly before using the device to ensure proper and safe operation. The TU15PRO is designed for controlling LED displays, offering robust performance and versatile connectivity.
2. ข้อมูลด้านความปลอดภัย
- แหล่งจ่ายไฟ: Use only the specified power adapter (AC100-240V 50/60Hz). Ensure the power source is stable and matches the device's requirements.
- สิ่งแวดล้อม: Operate the device in a dry, well-ventilated area. Avoid exposure to extreme temperatures, humidity, dust, or direct sunlight.
- การจัดการ: Do not drop, disassemble, or modify the device. Refer all servicing to qualified personnel.
- สาย: Ensure all cables are securely connected. Avoid placing heavy objects on cables or bending them sharply.
- การทำความสะอาด: ถอดปลั๊กไฟออกก่อนทำความสะอาด ใช้ผ้านุ่มและแห้ง ห้ามใช้น้ำยาทำความสะอาดชนิดน้ำหรือสเปรย์
3. เนื้อหาบรรจุภัณฑ์
โปรดตรวจสอบสิ่งของภายในกล่องทันทีที่เปิด หากมีสิ่งใดขาดหายหรือเสียหาย โปรดติดต่อผู้ขายโดยทันที
- Novastar TU15PRO LED Vision Controller
- อะแดปเตอร์แปลงไฟ
- สาย USB
- คู่มือการใช้งาน (เอกสารนี้)
4. สินค้าหมดview
The Novastar TU15PRO is a compact and powerful LED vision controller designed for various display applications. It features multiple input and output ports for flexible connectivity.
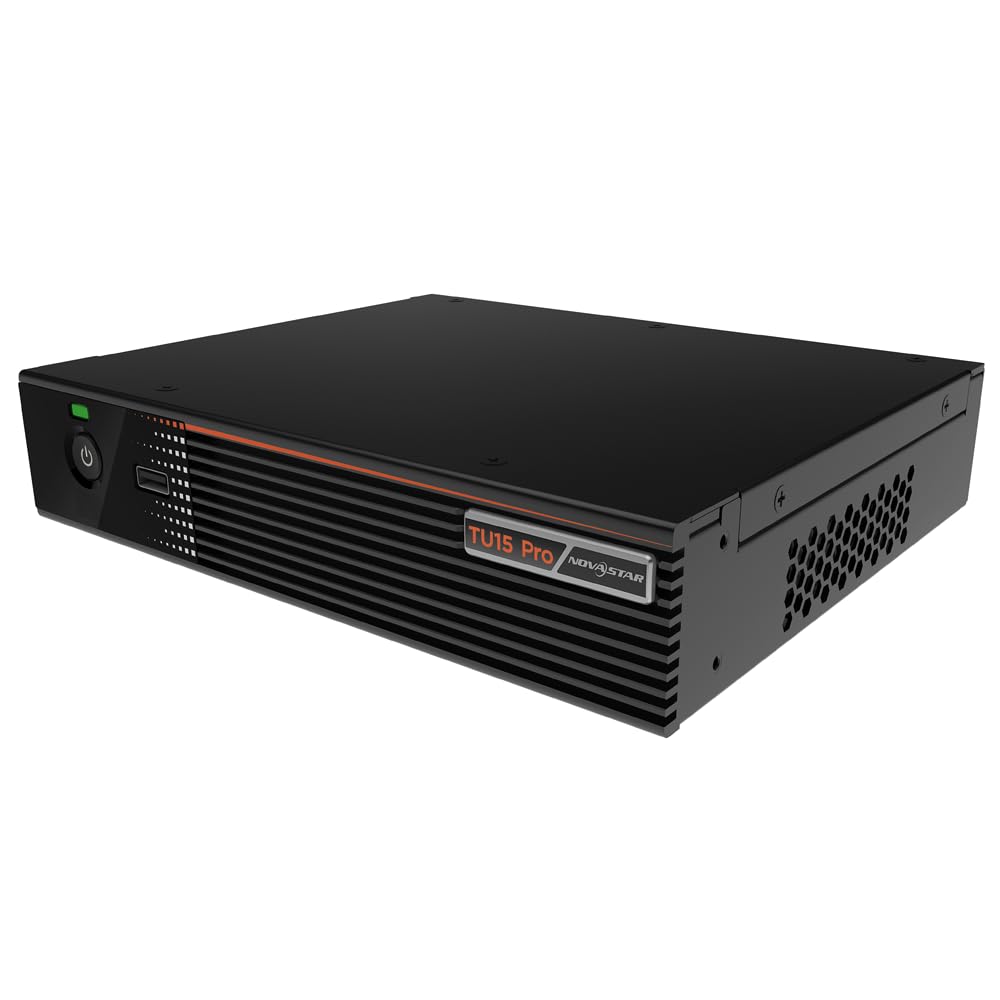
รูปที่ 4.1: มุม view of the Novastar TU15PRO LED Vision Controller, highlighting the rear panel with various input and output ports.

รูปที่ 4.2: จากบนลงล่าง view of the Novastar TU15PRO, showing the front panel with power button and USB port, and a detailed view ของช่องต่อแผงด้านหลัง
4.1. แผงด้านหน้า
- ปุ่มเปิด/ปิด: ใช้สำหรับเปิดหรือปิดอุปกรณ์
- พอร์ต USB 2.0: For connecting USB devices, such as a mouse or keyboard for control, or for firmware updates.
4.2. แผงด้านหลัง
- WIFI-AP (1, 2): Wi-Fi Access Point antennas for wireless control or network extension.
- WIFI-STA: Wi-Fi Station antenna for connecting the device to an existing Wi-Fi network.
- เซ็นเซอร์: Port for connecting an external sensor.
- IR / I/O G RELAY: Input/Output General Purpose Relay terminal block for external control signals.
- อีเธอร์เน็ต: Ethernet port for network connection and control.
- พอร์ต USB2.0 (x2): Additional USB ports for peripherals or data transfer.
- ช่องต่อ HDMI IN (2 ช่อง): HDMI input ports for video sources.
- HDMI ออก: HDMI output port for monitoring or cascading.
- สปดิฟ: เอาต์พุตเสียงดิจิตอล
- AUDIO 12V === 3A: Power input port (DC 12V, 3A).
5. การตั้งค่า
- แกะ: Carefully remove the TU15PRO controller from its packaging.
- เชื่อมต่อเสาอากาศ: Attach the Wi-Fi antennas to the WIFI-AP and WIFI-STA ports on the rear panel.
- เชื่อมต่อแหล่งวิดีโอ: Connect your video source (e.g., computer, media player) to one of the HDMI IN ports using an HDMI cable.
- เชื่อมต่อกับจอแสดงผล LED: Connect the controller's Network Ports (1-4) to your LED display receiving cards using Ethernet cables.
- เชื่อมต่อพลังงาน: เชื่อมต่ออะแดปเตอร์ไฟฟ้าที่ให้มาเข้ากับ AUDIO 12V === 3A port and then plug it into a power outlet.
- เปิดเครื่อง: กดปุ่มเปิด/ปิดที่แผงด้านหน้าเพื่อเปิดใช้งานอุปกรณ์
- Network Configuration (Optional): For network control, connect an Ethernet cable to the ETHERNET port or configure Wi-Fi settings.
6. คู่มือการใช้งาน
Once the device is set up, you can begin operating it. Detailed operation typically involves using dedicated software on a connected computer or through a web อินเทอร์เฟซ
- การติดตั้งซอฟต์แวร์: Install the Novastar control software on your computer. Refer to the software's documentation for installation and usage.
- การรับรู้อุปกรณ์: Ensure the software recognizes the TU15PRO controller. This may require network configuration or direct USB connection.
- การกำหนดค่าหน้าจอ: Configure your LED screen parameters within the software, including resolution, cabinet layout, and connection method.
- การเลือกแหล่งสัญญาณเข้า: Select the desired HDMI input source within the control software.
- แสดงเนื้อหา: Use the software to manage and display content on your LED screen.
7. การบำรุงรักษา
- การทำความสะอาดปกติ: Keep the device free from dust. Use a soft, dry cloth to wipe the exterior. Do not use harsh chemicals or abrasive materials.
- การระบายอากาศ : ตรวจสอบให้แน่ใจว่าช่องระบายอากาศไม่ได้ถูกปิดกั้นเพื่อป้องกันความร้อนสูงเกินไป
- อัพเดตเฟิร์มแวร์: Periodically check the Novastar official website for firmware updates to ensure optimal performance and access to new features. Follow the update instructions carefully.
- การจัดการสายเคเบิล: Keep cables organized and free from kinks or damage to prevent signal loss or power issues.
8 การแก้ไขปัญหา
- ไม่มีไฟฟ้า:
- ตรวจสอบว่าอะแดปเตอร์แปลงไฟเสียบเข้ากับอุปกรณ์และเต้ารับไฟฟ้าอย่างแน่นหนาแล้ว
- ตรวจสอบว่าเต้ารับไฟฟ้าใช้งานได้
- ไม่มีการแสดงผล:
- Ensure HDMI input source is active and correctly connected.
- Verify Ethernet cables to the LED display are properly connected.
- Check screen configuration in the control software.
- Device Not Recognized by Software:
- Confirm network settings (IP address, subnet mask) are correct if using Ethernet.
- Ensure USB cable is connected if using direct USB control.
- Temporarily disable firewall or antivirus software to check for interference.
- สัญญาณไม่ต่อเนื่อง:
- ตรวจสอบการเชื่อมต่อสายเคเบิลทั้งหมดว่าหลวมหรือเสียหายหรือไม่
- Ensure cables are of appropriate quality and length for the signal type.
9. ข้อมูลจำเพาะ
| คุณสมบัติ | คำอธิบาย |
|---|---|
| ยี่ห้อ | โนวาสตาร์ |
| แบบอย่าง | TU15PRO |
| กำลังไฟเข้า | AC100-240V 50 / 60Hz |
| Body Size (L×W×H) | 211.7มม. × 185.0มม. × 50.6มม. |
| Control Dots | 2,600,000 |
| Output LAN | Network Port × 4 |
| ความกว้างเอาต์พุตสูงสุด | 4096 พิกเซล |
| ความสูงของเอาต์พุตสูงสุด | 1920 พิกเซล |
| ASIN | B0D791C3C7 |
10. การรับประกันและการสนับสนุน
For warranty information and technical support, please refer to the official Novastar webหรือติดต่อตัวแทนจำหน่ายที่ได้รับอนุญาต เก็บใบเสร็จรับเงินไว้เป็นหลักฐานการซื้อสำหรับการเรียกร้องการรับประกัน
แหล่งข้อมูลออนไลน์: For the latest drivers, software, and additional documentation, please visit the official Novastar support page.


