การแนะนำ
This manual provides comprehensive instructions for the installation, operation, maintenance, and troubleshooting of your suevery 24-inch Curved Gaming Monitor (Model: SV240QC). Please read this manual thoroughly before using the product to ensure proper functionality and to maximize your viewประสบการณ์ เก็บคู่มือนี้ไว้ใช้อ้างอิงในอนาคต
คุณสมบัติผลิตภัณฑ์
- Immersive Curved Display: The 24-inch 3000R curved screen is designed to match the natural curvature of the human eye, providing an immersive visual experience. This is complemented by a Full HD (1920x1080) resolution, drawing users into the content.
- Ultra-Smooth Motion: An ultra-high 180Hz refresh rate combined with an ultra-fast 1ms (GTG) gray-to-gray response time, enhanced by FreeSync technology, effectively eliminates screen tearing, stuttering, and ghosting. This ensures seamless transitions in fast-paced games.
- Accurate Color Reproduction: With 100% sRGB color space coverage and precise reproduction of 16.7 million colors, the VA panel delivers excellent contrast and color layering. This results in vivid and realistic visuals for both gaming and multimedia.
- Flexible Connectivity and Installation: Equipped with DisplayPort (DP) and High-Definition Multimedia Interface (HDMI) ports, the monitor can easily connect to PCs, gaming consoles, laptops, and other devices. It supports VESA wall mounting, allowing for flexible placement in various environments.

Image: The suevery 24-inch Curved Gaming Monitor, showcasinด้วยดีไซน์ที่เรียบหรูและหน้าจอโค้งมน
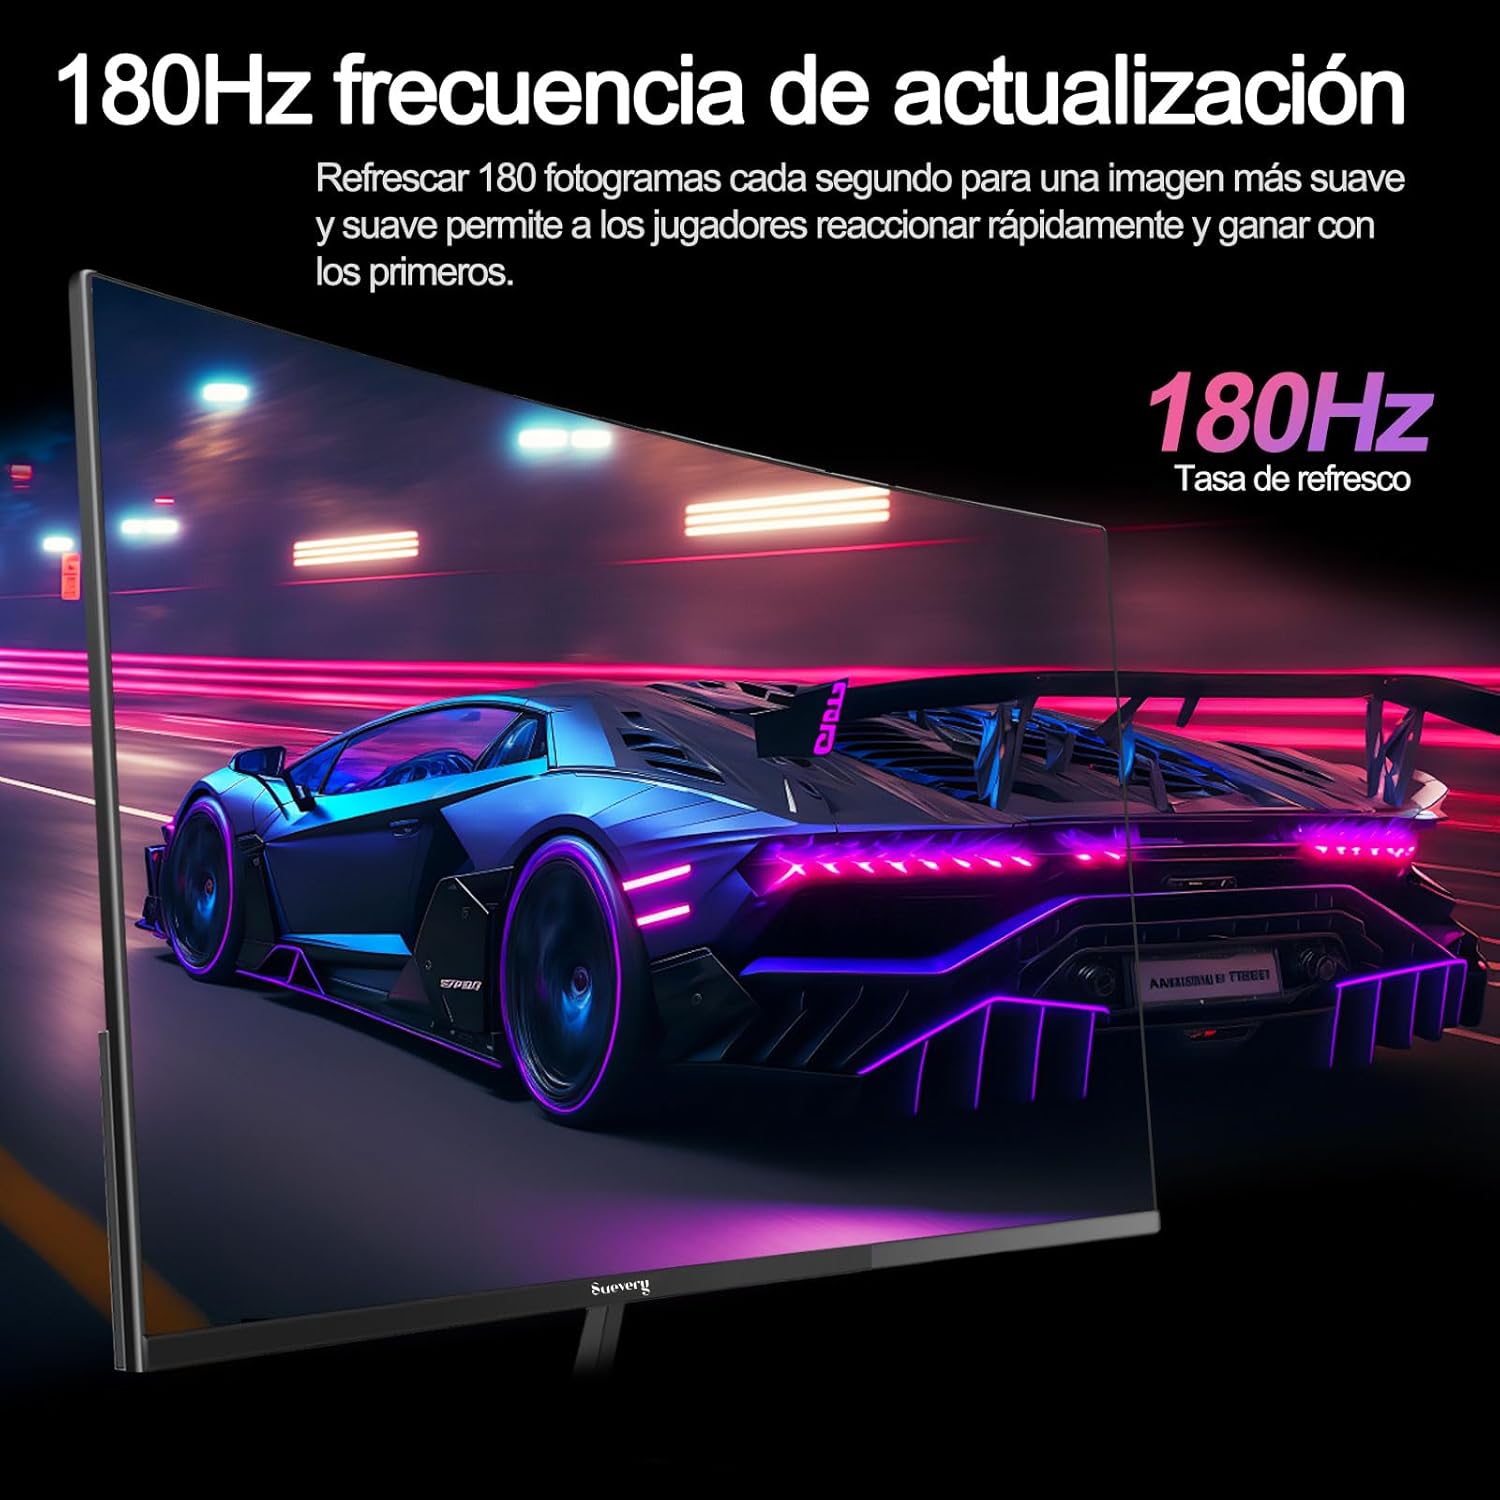
Image: A visual representation highlighting the 180Hz refresh rate, illustrating smooth motion in a racing game scene.

Image: An illustration demonstrating the monitor's wide color gamut (100% sRGB), 3000:1 contrast ratio, and 16.7 million colors for vibrant visuals.

Image: A split-screen comparison showing the visual difference with FreeSync OFF (screen tearing) and FreeSync ON (smooth image) during gameplay.
คำแนะนำการตั้งค่า
1. การแกะกล่องและการประกอบ
- นำส่วนประกอบทั้งหมดออกจากบรรจุภัณฑ์อย่างระมัดระวัง
- วางจอภาพคว่ำหน้าลงบนพื้นผิวที่นุ่มและสะอาดเพื่อป้องกันรอยขีดข่วน
- Attach the stand base to the stand neck, securing it with the provided screws.
- Attach the assembled stand to the back of the monitor panel. Ensure it clicks securely into place or is fastened with screws as per the design.
- อีกวิธีหนึ่ง สำหรับการติดตั้งแบบ VESA ให้ถอดขาตั้งออกและติดตัวยึดที่รองรับ VESA (75x75 มม.) เข้ากับแผงด้านหลังของจอภาพ
2. การเชื่อมต่อสายเคเบิล
ดูตำแหน่งพอร์ตได้จากแผนภาพด้านล่าง

Image: A diagram illustrating the monitor's rear panel, showing the HDMI, DisplayPort (DP), USB (if applicable), and power input ports, along with VESA mount dimensions (75x75mm).
- การเชื่อมต่อไฟฟ้า: Connect the power adapter to the monitor's power input port, then plug the power cable into a wall outlet.
- การเชื่อมต่อวิดีโอ: Connect one end of an HDMI or DisplayPort cable to the corresponding port on your monitor and the other end to your computer's graphics card or other video source. For optimal performance, especially at 180Hz, a DisplayPort connection is recommended.
- Audio (if applicable): If your monitor has a 3.5mm audio output, you can connect external speakers or headphones.
3. เปิดเครื่องครั้งแรก
- กดปุ่มเปิด/ปิดบนจอภาพ ไฟแสดงสถานะการทำงานควรจะสว่างขึ้น
- Turn on your connected computer or video source.
- จอภาพควรตรวจจับสัญญาณอินพุตโดยอัตโนมัติ หากไม่เป็นเช่นนั้น คุณอาจต้องเลือกแหล่งสัญญาณอินพุตด้วยตนเองโดยใช้เมนูแสดงผลบนหน้าจอ (OSD)
คำแนะนำการใช้งาน
1. เปิด/ปิดเครื่อง
Press the power button, usually located on the back or bottom of the monitor, to turn the monitor on or off.
2. เมนูการแสดงผลบนหน้าจอ (OSD)
The OSD menu allows you to adjust various monitor settings. Access the OSD menu using the joystick or buttons typically found on the back or bottom of the monitor.
- การนำทาง: ใช้จอยสติ๊กหรือปุ่มทิศทางเพื่อเลื่อนดูตัวเลือกในเมนู
- การเลือก: Press the joystick or a dedicated button to select an option or confirm a setting.
- ทางออก: Use the designated 'Exit' button or move the joystick in a specific direction to close the OSD menu.
3. การปรับการตั้งค่า
การตั้งค่าหลักที่คุณสามารถปรับเปลี่ยนได้ ได้แก่:
- ความสว่าง/คอนทราสต์: ปรับค่าเหล่านี้ให้เหมาะสมกับความต้องการของคุณ viewการปรับปรุงสิ่งแวดล้อม
- การตั้งค่าสี: ปรับเปลี่ยนอุณหภูมิสี แกมมา และค่า RGB แต่ละค่า
- แหล่งสัญญาณเข้า: เลือกอินพุตระหว่าง HDMI และ DisplayPort ด้วยตนเอง
- อัตราการรีเฟรช: Ensure your operating system and graphics card settings are configured to utilize the monitor's 180Hz refresh rate.
- ฟรีซิงค์: Enable FreeSync in the OSD menu and in your graphics card control panel for tear-free gaming.
- โหมดภาพ: Select from preset modes (e.g., Standard, Game, Movie) or customize your own.
การซ่อมบำรุง
1. การทำความสะอาดหน้าจอ
- ปิดจอภาพและถอดปลั๊กไฟ
- ค่อยๆ เช็ดหน้าจอด้วยผ้านุ่มไม่มีขุย
- สำหรับรอยฝังแน่น ให้เช็ดเบาๆampเทน้ำหรือน้ำยาทำความสะอาดหน้าจอชนิดพิเศษลงบนผ้า (อย่าฉีดลงบนหน้าจอโดยตรง)
- หลีกเลี่ยงการใช้สารเคมีรุนแรง น้ำยาทำความสะอาดที่มีฤทธิ์กัดกร่อน หรือสารละลายที่มีส่วนผสมของแอลกอฮอล์
2. การดูแลทั่วไป
- ควรวางจอภาพให้ห่างจากแสงแดดโดยตรง ความร้อนสูง และความชื้นสูง
- ตรวจสอบให้แน่ใจว่ามีการระบายอากาศที่เพียงพอรอบๆ จอภาพ
- หลีกเลี่ยงการวางวัตถุหนักบนจอภาพหรือสายเคเบิล
การแก้ไขปัญหา
หากคุณพบปัญหาเกี่ยวกับจอภาพ โปรดดูปัญหาและวิธีแก้ไขที่พบบ่อยต่อไปนี้:
| ปัญหา | วิธีแก้ปัญหาที่เป็นไปได้ |
|---|---|
| ไม่มีภาพบนหน้าจอ | Ensure the power cable is securely connected and the monitor is turned on. Verify the video cable (HDMI/DP) is properly connected to both the monitor and the computer. Check if the correct input source is selected in the OSD menu. |
| ภาพสั่นไหวหรือไม่เสถียร | Check the video cable connection. Ensure your graphics card drivers are up to date. Verify the refresh rate setting in your operating system is set correctly (e.g., 180Hz). Enable FreeSync if supported by your graphics card. |
| สีที่ปรากฏไม่ถูกต้อง | Adjust color settings (brightness, contrast, color temperature) in the OSD menu. Reset the monitor to factory default settings. |
| จอภาพไม่เปิด | Check the power cable and adapter connections. Try plugging the monitor into a different power outlet. |
หากปัญหายังคงมีอยู่หลังจากลองวิธีแก้ไขเหล่านี้แล้ว โปรดติดต่อฝ่ายสนับสนุนลูกค้า
ข้อมูลจำเพาะ
| คุณสมบัติ | ข้อมูลจำเพาะ |
|---|---|
| ยี่ห้อ | การฟ้องร้อง |
| หมายเลขรุ่น | SV240QC |
| ขนาดหน้าจอ | 24 นิ้ว |
| ความละเอียดการแสดงผล | 1920 x 1080 (ฟูลเอชดี) |
| อัตราการรีเฟรช | 180เฮิรตซ์ |
| เวลาตอบสนอง | 1ms (GTG) |
| ความโค้ง | 3000อาร์ |
| ช่วงสี | 100% sRGB |
| ประเภทแผง | VA |
| อัตราส่วนภาพ | 16:9 น. |
| การเชื่อมต่อ | 1x HDMI, 1x DisplayPort (DP) |
| ความเข้ากันได้ของเมาท์ VESA | 75x75มม. |
| ขนาดสินค้า | 59 x 39 x 11 ซม. (พร้อมขาตั้ง) |
| น้ำหนัก | 3.5 กก. |
การรับประกันและการสนับสนุน
ข้อมูลการรับประกัน
suevery provides a รับประกัน 12 เดือน for this monitor, covering manufacturing defects and malfunctions under normal use. Please retain your proof of purchase for warranty claims.
การสนับสนุนลูกค้า
If you encounter any damage, failure, or missing parts, or require technical assistance, please do not hesitate to contact suevery customer service. Our support team is available to assist you with any product-related inquiries.
For support, please refer to the contact information provided on the suevery official webไซต์หรือแพลตฟอร์มการซื้อของคุณ