1. บทนำ
Thank you for choosing the Phanteks XT Pro Ultra Mid-Tower Gaming Chassis. This manual provides essential information for setting up, operating, and maintaining your new PC case. Designed for high airflow and extensive component compatibility, the XT Pro Ultra offers a robust foundation for your gaming system.
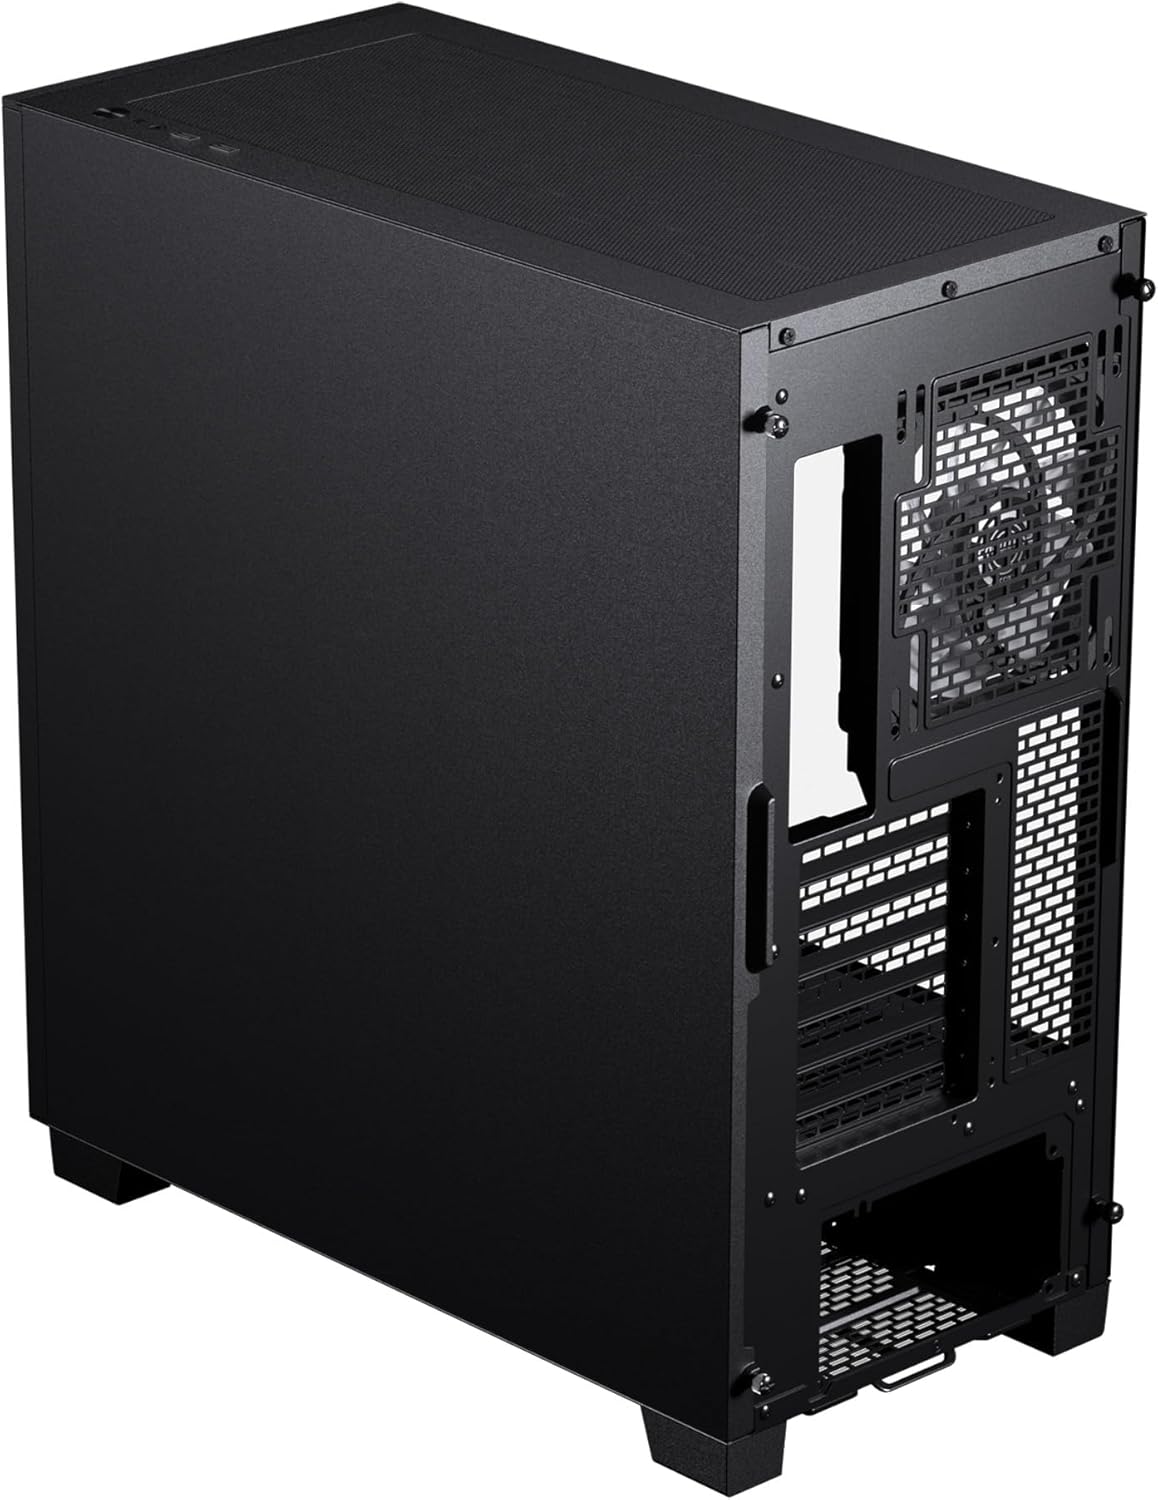
The Phanteks XT Pro Ultra is a mid-tower gaming chassis featuring a high-airflow performance mesh design and a tempered glass window. It comes equipped with four M25-140 DRGB fans for optimal cooling and aesthetic appeal. This chassis supports a wide range of components, including the latest rear-side connector mainboards and large graphics cards.

Figure 1: Phanteks XT Pro Ultra Mid-Tower Gaming Chassis (Black)
2. คุณสมบัติหลัก
- ความเข้ากันได้ของเมนบอร์ด: Supports E-ATX, ATX, Micro ATX, and Mini ITX motherboards, including the latest rear-side connector mainboards.
- Cooling Versatility: Accommodates up to 10x 120mm or 6x 140mm and 3x 120mm fan positions. Dedicated 360mm radiator support in the top without restrictions.
- การรองรับการ์ดกราฟิก: Designed to support the largest graphics cards without compromise.
- Included Fans: Comes with 4x M25-140 DRGB Fans for immediate high-performance cooling and vibrant lighting.
- ดีไซน์ระบายอากาศสูง: Performance mesh front and top panels ensure excellent ventilation.
- Tempered Glass Window: ให้ความกระจ่างใส view ของส่วนประกอบภายในของคุณ
- ด้านหน้า I / O: Features USB-C 3.2 Gen2 and USB 3.0 ports for modern connectivity.
3. คู่มือการติดตั้ง
3.1. การเตรียมโครงตัวถัง
Before installing components, ensure you have a clean, static-free workspace. Remove the side panels by unscrewing the thumbscrews at the rear of the chassis and gently sliding them off.

รูปที่ 2: ภายใน view ของตัวถัง
3.2. การติดตั้งเมนบอร์ด
Align your motherboard with the standoffs inside the chassis. Secure it using the provided screws. The XT Pro Ultra supports various motherboard form factors, including E-ATX.
3.3. การติดตั้งชุดจ่ายไฟ (PSU)
Install your power supply unit into the dedicated compartment at the bottom rear of the chassis. Secure it with screws from the rear. Route necessary cables through the cable management cutouts.
รูปที่ 3: ด้านหลังภายใน view with PSU mounting area
3.4. การติดตั้งไดรฟ์จัดเก็บข้อมูล
The chassis offers flexible storage options for 3.5" HDDs and 2.5" SSDs. Utilize the designated mounting points behind the motherboard tray and within the PSU shroud area.

Figure 4: Storage drive mounting locations
3.5. การติดตั้งกราฟิกการ์ด
Install your graphics card into the appropriate PCIe slot on your motherboard. The XT Pro Ultra provides ample space for even the largest graphics cards.
3.6. Cooling System Setup (Fans & Radiators)
The chassis supports various fan and radiator configurations for optimal thermal performance. The included 140mm DRGB fans are pre-installed for convenience.

Figure 5: Fan and Radiator Support Diagram
3.7. การเชื่อมต่อ I/O ด้านหน้า
Connect the front panel cables (USB 3.0, USB-C 3.2 Gen2, Audio, Power, Reset) to their respective headers on your motherboard. Refer to your motherboard manual for specific header locations.

Figure 6: Front I/O Port Layout
4. คู่มือการใช้งาน
Once all components are securely installed and cables are connected, you can power on your system. Press the power button located on the top front panel of the chassis.
4.1. การควบคุมแสง RGB
The included M25-140 DRGB fans feature addressable RGB lighting. Connect the fan RGB cables to a compatible motherboard header or a dedicated RGB controller (if included or purchased separately) to customize lighting effects. Refer to your motherboard's software or RGB controller's manual for detailed instructions on managing lighting.
4.2. ประสิทธิภาพการไหลของอากาศ
The XT Pro Ultra is designed for optimal airflow. Ensure that no obstructions block the front mesh panel or the top ventilation area to maintain efficient cooling. The pre-installed fans are configured to provide a balanced airflow path.
5. การบำรุงรักษา
5.1. การทำความสะอาดแผ่นกรองฝุ่น
Regularly clean the dust filters located on the front, top, and bottom of the chassis to prevent dust buildup and maintain optimal airflow. Filters can typically be removed by hand for easy cleaning with water and mild soap, or by vacuuming.
5.2. การทำความสะอาดทั่วไป
ใช้แบบนุ่มๆamp cloth to clean the exterior surfaces of the chassis. Avoid abrasive cleaners or solvents that may damage the finish or tempered glass. For internal cleaning, use compressed air to remove dust from components and fans.
6 การแก้ไขปัญหา
6.1. ระบบไม่เปิดเครื่อง
- ตรวจสอบว่าสายไฟเชื่อมต่อกับแหล่งจ่ายไฟ (PSU) และเต้ารับที่ผนังอย่างแน่นหนาหรือไม่
- ตรวจสอบให้แน่ใจว่าสวิตช์ของแหล่งจ่ายไฟ (PSU) อยู่ในตำแหน่ง 'เปิด'
- ตรวจสอบให้แน่ใจว่าสายเคเบิลปุ่มเปิดปิดด้านหน้าเชื่อมต่อกับหัวต่อบนเมนบอร์ดอย่างถูกต้องแล้ว
- Confirm all internal power connections (24-pin ATX, CPU, GPU) are seated properly.
6.2. พัดลมไม่หมุน / ไฟ RGB ไม่ติด
- Check if fan power cables are securely connected to the motherboard fan headers or fan controller.
- Verify that RGB cables are correctly connected to the motherboard RGB headers or RGB controller.
- Ensure any fan or RGB controllers are receiving power.
6.3. พอร์ต USB ไม่ทำงาน
- Confirm that the USB 3.0 and USB-C 3.2 Gen2 front panel cables are correctly connected to their respective motherboard headers.
- ตรวจสอบการตั้งค่า BIOS/UEFI ของเมนบอร์ดเพื่อให้แน่ใจว่าพอร์ต USB เปิดใช้งานอยู่
For further assistance, please refer to the Phanteks official support resources.
7. ข้อมูลจำเพาะ
| คุณสมบัติ | รายละเอียด |
|---|---|
| ยี่ห้อ | แฟนเท็กส์ |
| ชุด | เอ็กซ์ที โปร อัลตร้า |
| หมายเลขรุ่น | PH-XT523P1_DBK01 |
| ประเภทเคส | มิดทาวเวอร์ |
| สี | สีดำ |
| วัสดุ | Steel Chassis, Tempered Glass Window, ABS plastic |
| น้ำหนักสินค้า | 18.01 ปอนด์ |
| ขนาดสินค้า (กxยxส) | 17.7 x 9.05 x 19.68 นิ้ว |
| ความเข้ากันได้ของเมนบอร์ด | Extended ATX, Mini ITX, micro ATX, M-ATX, MINH-IIX, Mini ATX |
| จำนวนพอร์ต USB 3.0 | 1 |
| จำนวนพอร์ต USB 2.0 | 1 |
| ประเภทการติดตั้งแหล่งจ่ายไฟ | การติดตั้งด้านล่าง |
| วิธีการทำความเย็น | อากาศ |

Figure 7: Chassis Dimensions
8. การรับประกันและการสนับสนุน
For detailed warranty information, please refer to the warranty card included with your product or visit the official Phanteks webไซต์นี้ โปรดเก็บหลักฐานการซื้อไว้เพื่อใช้ยืนยันการรับประกัน
For technical support or further inquiries, please visit the Phanteks support page or contact their customer service directly. Contact information can typically be found on the official Phanteks webเว็บไซต์.


