1. บทนำ
This manual provides essential information for the safe and efficient use of your iiyama XUB2792QSU-B6 27-inch IPS QHD monitor. Please read these instructions thoroughly before operating the device and retain them for future reference. The iiyama XUB2792QSU-B6 is a high-performance 27-inch monitor featuring an IPS panel, QHD (2560x1440) resolution, and a 100Hz refresh rate, designed for clear visuals and smooth performance.

รูปที่ 1 : ด้านหน้า view of the iiyama XUB2792QSU-B6 monitor.
2. อะไรอยู่ในกล่อง
Verify that all components are present and in good condition upon unpacking. If any items are missing or damaged, contact your retailer.
- iiyama XUB2792QSU-B6-27IPS2560x1440/100Hz1H1DPHAS Monitor
- สายไฟ
- สาย HDMI
- สายเคเบิล DisplayPort
- สาย USB
- คู่มือการใช้งาน (เอกสารนี้)
- 1 year technical support information

Figure 2: Cables included with the monitor.
3. การตั้งค่า
3.1. การประกอบขาตั้ง
- ถอดส่วนประกอบของจอภาพและขาตั้งออกจากบรรจุภัณฑ์อย่างระมัดระวัง
- ติดฐานขาตั้งเข้ากับเสาขาตั้ง แล้วยึดให้แน่นด้วยสกรูที่ให้มา
- Mount the assembled stand to the back of the monitor, ensuring it clicks securely into place or is fastened with screws as per the quick setup guide.
3.2. การเชื่อมต่อสายเคเบิล
โปรดตรวจสอบให้แน่ใจว่าจอภาพและคอมพิวเตอร์ของคุณปิดอยู่ก่อนทำการเชื่อมต่อใดๆ
- สายไฟ: ต่อปลายด้านหนึ่งของสายไฟเข้ากับช่องเสียบสายไฟของจอภาพ และต่อปลายอีกด้านหนึ่งเข้ากับเต้ารับไฟฟ้า
- สายวิดีโอ: Connect either the HDMI or DisplayPort cable from your computer's video output to the corresponding input on the monitor.
- สาย USB: Connect the upstream USB cable from your computer to the monitor's USB upstream port to enable the monitor's USB hub functionality.

Figure 3: Rear input ports of the monitor.

Figure 4: Side USB ports for convenient access.

Figure 5: Connection diagram for the monitor.
3.3. เปิดเครื่อง
After all cables are connected, power on your computer, then press the power button on the monitor. The monitor should automatically detect the input signal.
4. การใช้งานจอภาพ
4.1. ปุ่มควบคุม
The control buttons are typically located on the rear or bottom right side of the monitor. These buttons allow you to navigate the On-Screen Display (OSD) menu and adjust settings.

รูปที่ 6: ด้านหลัง view highlighting control button location.
4.2. เมนูการแสดงผลบนหน้าจอ (OSD)
Press the 'Menu' button to access the OSD. Use the navigation buttons to browse through options such as Picture Settings, Color Settings, Input Select, and System Settings. Press 'Enter' or the corresponding button to select an option and 'Exit' to leave the menu.
4.3. การเลือกอินพุต
If you have multiple devices connected, use the 'Input' button or navigate through the OSD menu to select the desired input source (HDMI, DisplayPort).
4.4. Picture Adjustments
Within the OSD, you can adjust various picture settings:
- ความสว่าง/คอนทราสต์: ปรับความสว่างโดยรวมและความแตกต่างระหว่างบริเวณสว่างและบริเวณมืด
- การตั้งค่าสี: ปรับเปลี่ยนอุณหภูมิสี แกมมา และระดับ RGB แต่ละระดับ
- ความคมชัด: Enhance or soften image details.
- อัตราส่วนภาพ: Select between various display modes (e.g., Full, 1:1).
4.5. การปรับตามหลักสรีรศาสตร์
ขาตั้งจอภาพสามารถปรับได้หลากหลายตามหลักสรีรศาสตร์ เพื่อการใช้งานที่เหมาะสมที่สุด viewประสบการณ์การ:
- การปรับความสูง: ยกหรือลดจอภาพให้อยู่ในระดับสายตา
- เอียง: ปรับมุมแนวตั้งของหน้าจอ (ไปข้างหน้า/ข้างหลัง)
- หมุน: หมุนจอภาพในแนวนอนบนฐาน
- หมุน: หมุนหน้าจอ 90 องศาเพื่อแนวตั้ง viewการไอเอ็นจี

Figure 7: Portrait orientation.

Figure 8: Tilted backward.
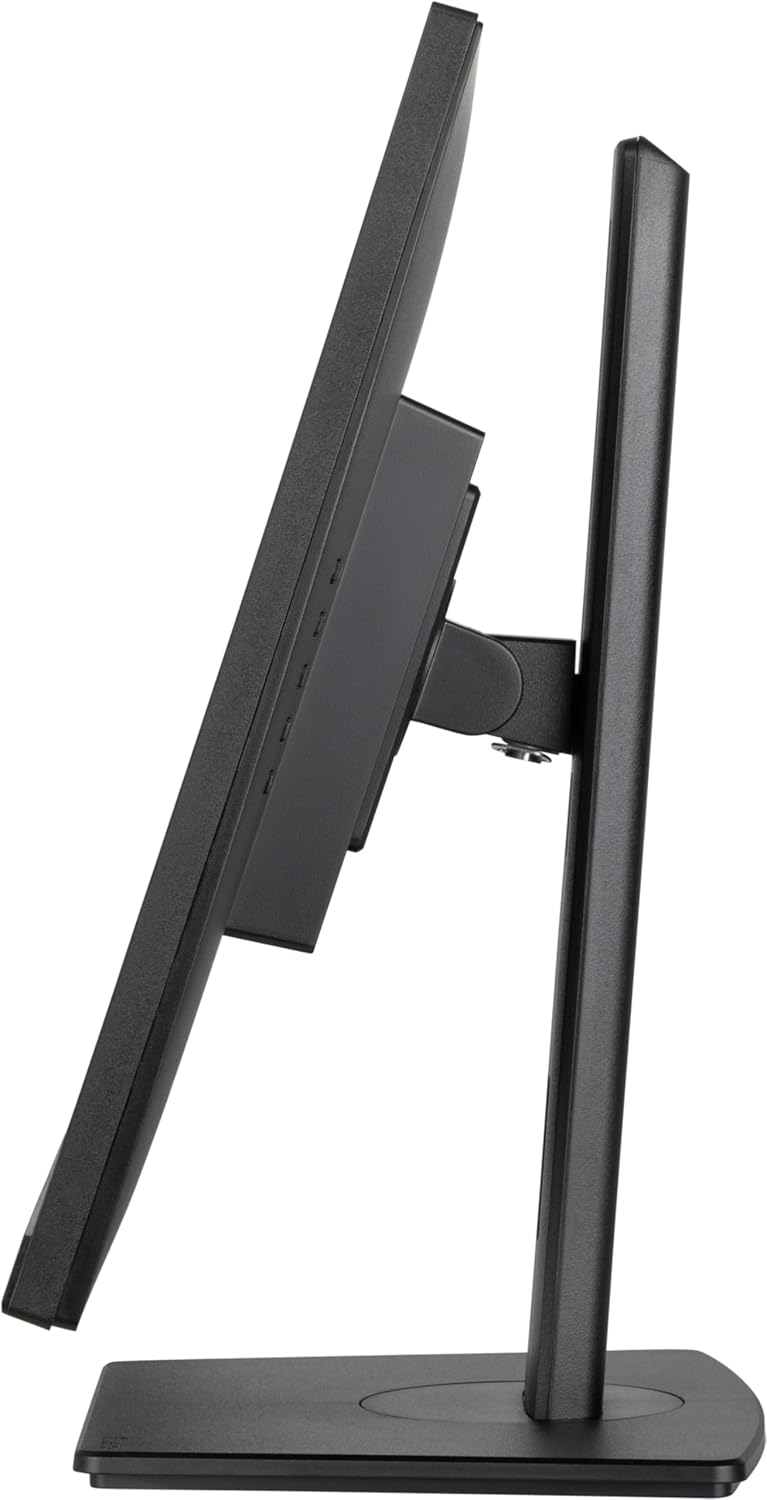
Figure 9: Tilted forward.
5. การบำรุงรักษา
5.1. การทำความสะอาดจอภาพ
- ควรถอดปลั๊กจอภาพออกจากเต้ารับไฟฟ้าทุกครั้งก่อนทำความสะอาด
- ใช้ผ้านุ่มไม่เป็นขุยค่อยๆ งampเคลือบด้วยน้ำหรือน้ำยาทำความสะอาดหน้าจอชนิดอ่อนที่ไม่กัดกร่อน
- ห้ามฉีดน้ำยาทำความสะอาดลงบนหน้าจอโดยตรง
- Avoid using benzene, thinner, ammonia-based cleaners, or abrasive materials, as these can damage the screen surface.
6 การแก้ไขปัญหา
หากคุณพบปัญหาเกี่ยวกับจอภาพของคุณ โปรดดูปัญหาทั่วไปและวิธีแก้ไขต่อไปนี้:
- ไม่มีไฟฟ้า: Ensure the power cable is securely connected to both the monitor and a working power outlet. Check the power indicator light on the monitor.
- ไม่มีสัญญาณ: Verify that the video cable (HDMI or DisplayPort) is correctly connected to both the monitor and your computer. Ensure the correct input source is selected via the OSD menu.
- ภาพสั่นไหวหรือบิดเบี้ยว: Check the video cable for damage. Ensure your computer's graphics card drivers are up to date. Try adjusting the refresh rate or resolution in your computer's display settings.
- Image Too Dark/Bright: Adjust the brightness and contrast settings in the OSD menu.
- Colors Incorrect: Reset color settings to default in the OSD, or adjust color temperature and individual RGB values.
If the problem persists after trying these steps, contact technical support.
7. ข้อมูลจำเพาะ
| คุณสมบัติ | ข้อมูลจำเพาะ |
|---|---|
| ยี่ห้อ | อิยามะ |
| หมายเลขรุ่น | XUB2792QSU-B6 |
| ขนาดหน้าจอ | 27 นิ้ว |
| ประเภทแผง | ไอพีเอส |
| ปณิธาน | 2560x1440 (QHD) |
| ความละเอียดหน้าจอสูงสุด | 2560 x 1440 พิกเซล |
| อัตราการรีเฟรช | 100เฮิรตซ์ |
| อัตราส่วนภาพ | 16:9 น. |
| การเชื่อมต่อ | 1x HDMI, 1x DisplayPort, 4x USB 3.0 Ports |
| น้ำหนักสินค้า | 13.42 ปอนด์ |
| ขนาดสินค้า (กxยxส) | 8.25 x 24.13 x 15.53 นิ้ว |
| สี | นีโร |
| เล่มที่tage | 240 โวลต์ |
8. การรับประกันและการสนับสนุน
Your iiyama XUB2792QSU-B6 monitor comes with a standard manufacturer's warranty. Please refer to the warranty card included in your product packaging for specific terms and conditions. For technical assistance, troubleshooting, or warranty claims, please contact iiyama customer support or visit the official iiyama website for support resources. One year of technical support is included with your purchase.


