การแนะนำ
Thank you for choosing the Sharp Digital Alarm Clock. This manual provides detailed instructions for setting up, operating, and maintaining your new alarm clock. Designed for clarity and convenience, this clock features an easy-to-read LCD display with an optional always-on backlight, dual alarm settings, and a USB charging port for your devices. Please read this manual thoroughly before use to ensure optimal performance and longevity of your product.

ด้านหน้า view of the Sharp Digital Alarm Clock, displaying time, month, date, day, and temperature on its colorful LCD screen.
ข้อมูลด้านความปลอดภัย
Please observe the following safety precautions to prevent damage to the unit or personal injury:
- อย่าวางเครื่องไว้ในที่ที่มีอุณหภูมิสูงหรือต่ำเกินไป แสงแดดโดยตรง หรือความชื้นสูง
- หลีกเลี่ยงการทำตกหรือให้เครื่องได้รับแรงกระแทกรุนแรง
- อย่าใช้แบตเตอรี่เก่าและใหม่ผสมกัน หรือแบตเตอรี่ประเภทต่างๆ
- ถอดแบตเตอรี่ออกหากจะไม่ได้ใช้งานเครื่องเป็นเวลานานเพื่อป้องกันการรั่วไหล
- เก็บเครื่องให้ห่างจากน้ำและของเหลวอื่นๆ
- อย่าพยายามถอดประกอบหรือซ่อมแซมเครื่องด้วยตัวเอง แนะนำให้ส่งช่างผู้ชำนาญการไปรับบริการทั้งหมด
เนื้อหาแพ็คเกจ
ตรวจสอบว่ามีรายการทั้งหมดอยู่ในแพ็คเกจ:
- Sharp Digital Alarm Clock (Model SPC5028AMZ)
- คู่มือการใช้งาน (เอกสารนี้)
Note: 3 x AAA batteries are required and not included.
สินค้าเกินview
จอแสดงผลด้านหน้า

Diagram illustrating key features of the alarm clock, including atomic accuracy, 1.5-inch tall time display, on/off display nightlight, indoor temperature display, calendar display, bright color display, wall mountable or tabletop viewing, and battery operation (3x AAA batteries).
The front of the clock features a clear LCD display that shows the time, month, date, day of the week, and indoor temperature. The main time display is approximately 1.5 inches tall for easy readability.
แผงด้านหลังและปุ่มควบคุม

รายละเอียด view of the clock's rear panel, showing the location of the battery compartment, various control buttons (Calendar, Time, Alarm, 12/24, Up, °C/°F, Down, Wave), the ON/OFF switch for the nightlight, and the backstand for tabletop viewing. Dimensions (6.45"W x 5"H) are also indicated.
- CALENDAR Set Button: Used to set the date and year.
- TIME Set Button: Used to set the time manually.
- ALARM Set & ON/OFF Button: Used to set and activate/deactivate alarms.
- ปุ่ม 12/24: Toggles between 12-hour and 24-hour time formats.
- ปุ่มขึ้น: Adjusts settings upwards.
- ปุ่ม °C/°F: สลับการแสดงอุณหภูมิระหว่างองศาเซลเซียสและองศาฟาเรนไฮต์
- ปุ่มลง: Adjusts settings downwards.
- WAVE (Atomic Search) Button: Initiates a manual search for the atomic time signal.
- ON/OFF Switch (Nightlight): Controls the always-on backlight feature.
- ช่องใส่แบตเตอรี่: ใช้แบตเตอรี่ AAA 3 ก้อน
- Backstand: For tabletop viewการไอเอ็นจี
- Wall Mount Hole: For hanging the clock on a wall.
การตั้งค่า
การติดตั้งแบตเตอรี่
- Open the battery compartment cover on the rear of the clock.
- Insert 3 new AAA batteries, ensuring correct polarity (+ and -).
- ปิดฝาช่องใส่แบตเตอรี่ให้แน่น
เปิดเครื่องเบื้องต้น
Upon battery installation, the clock will power on and attempt to synchronize with the atomic time signal.
Atomic Time Synchronization (WWVB)
The Sharp Digital Alarm Clock is designed to automatically synchronize with the WWVB atomic time signal broadcast from Fort Collins, Colorado, ensuring precise timekeeping.

Map of the United States showing the WWVB radio broadcast signal originating from Fort Collins, Colorado, which the atomic clock uses for synchronization.
- The clock will automatically attempt to receive the signal daily, typically overnight when electronic interference is minimal.
- For optimal reception, place the clock near a window and orient its front or rear panel towards Fort Collins, Colorado.
- A signal strength indicator (antenna icon) on the display will show the reception status.
- To manually initiate a signal search, press the คลื่น ปุ่มบนแผงด้านหลัง

Graphic depicting a full moon, with text 'LESS ELECTRONIC INTERFERENCE AT NIGHT SET BY MORNING', indicating optimal atomic clock synchronization occurs during nighttime hours.
Setting Time Zone
Even with atomic synchronization, you must manually select your local time zone for the correct hourly time display.
- กดปุ่มค้างไว้ เวลา button until the time zone indicator flashes.
- ใช้ UP or ลง buttons to select your desired time zone (e.g., PST, MST, CST, EST).
- กดปุ่ม เวลา ปุ่มอีกครั้งเพื่อยืนยันและออก
Manual Time and Date Setting
If atomic synchronization is not desired or available, you can set the time and date manually.
- ในการตั้งเวลา: กดปุ่มค้างไว้ เวลา button until the hour flashes. Use UP/ลง เพื่อปรับแต่ง กด เวลา to move to minutes, then adjust. Press เวลา อีกครั้งเพื่อบันทึก
- ตั้งวันที่: กดปุ่มค้างไว้ ปฏิทิน button until the year flashes. Use UP/ลง เพื่อปรับแต่ง กด ปฏิทิน to move to month, then day, adjusting each. Press ปฏิทิน อีกครั้งเพื่อบันทึก
- รูปแบบ 12/24 ชั่วโมง: กดปุ่ม 12/24 ปุ่มสำหรับสลับระหว่างรูปแบบเวลา 12 ชั่วโมง (พร้อมตัวบ่งชี้ AM/PM) และ 24 ชั่วโมง
คำแนะนำการใช้งาน
Adjusting Display Brightness and Backlight
The clock features an optional always-on backlight with adjustable brightness for optimal viewในสภาพแสงต่างๆ
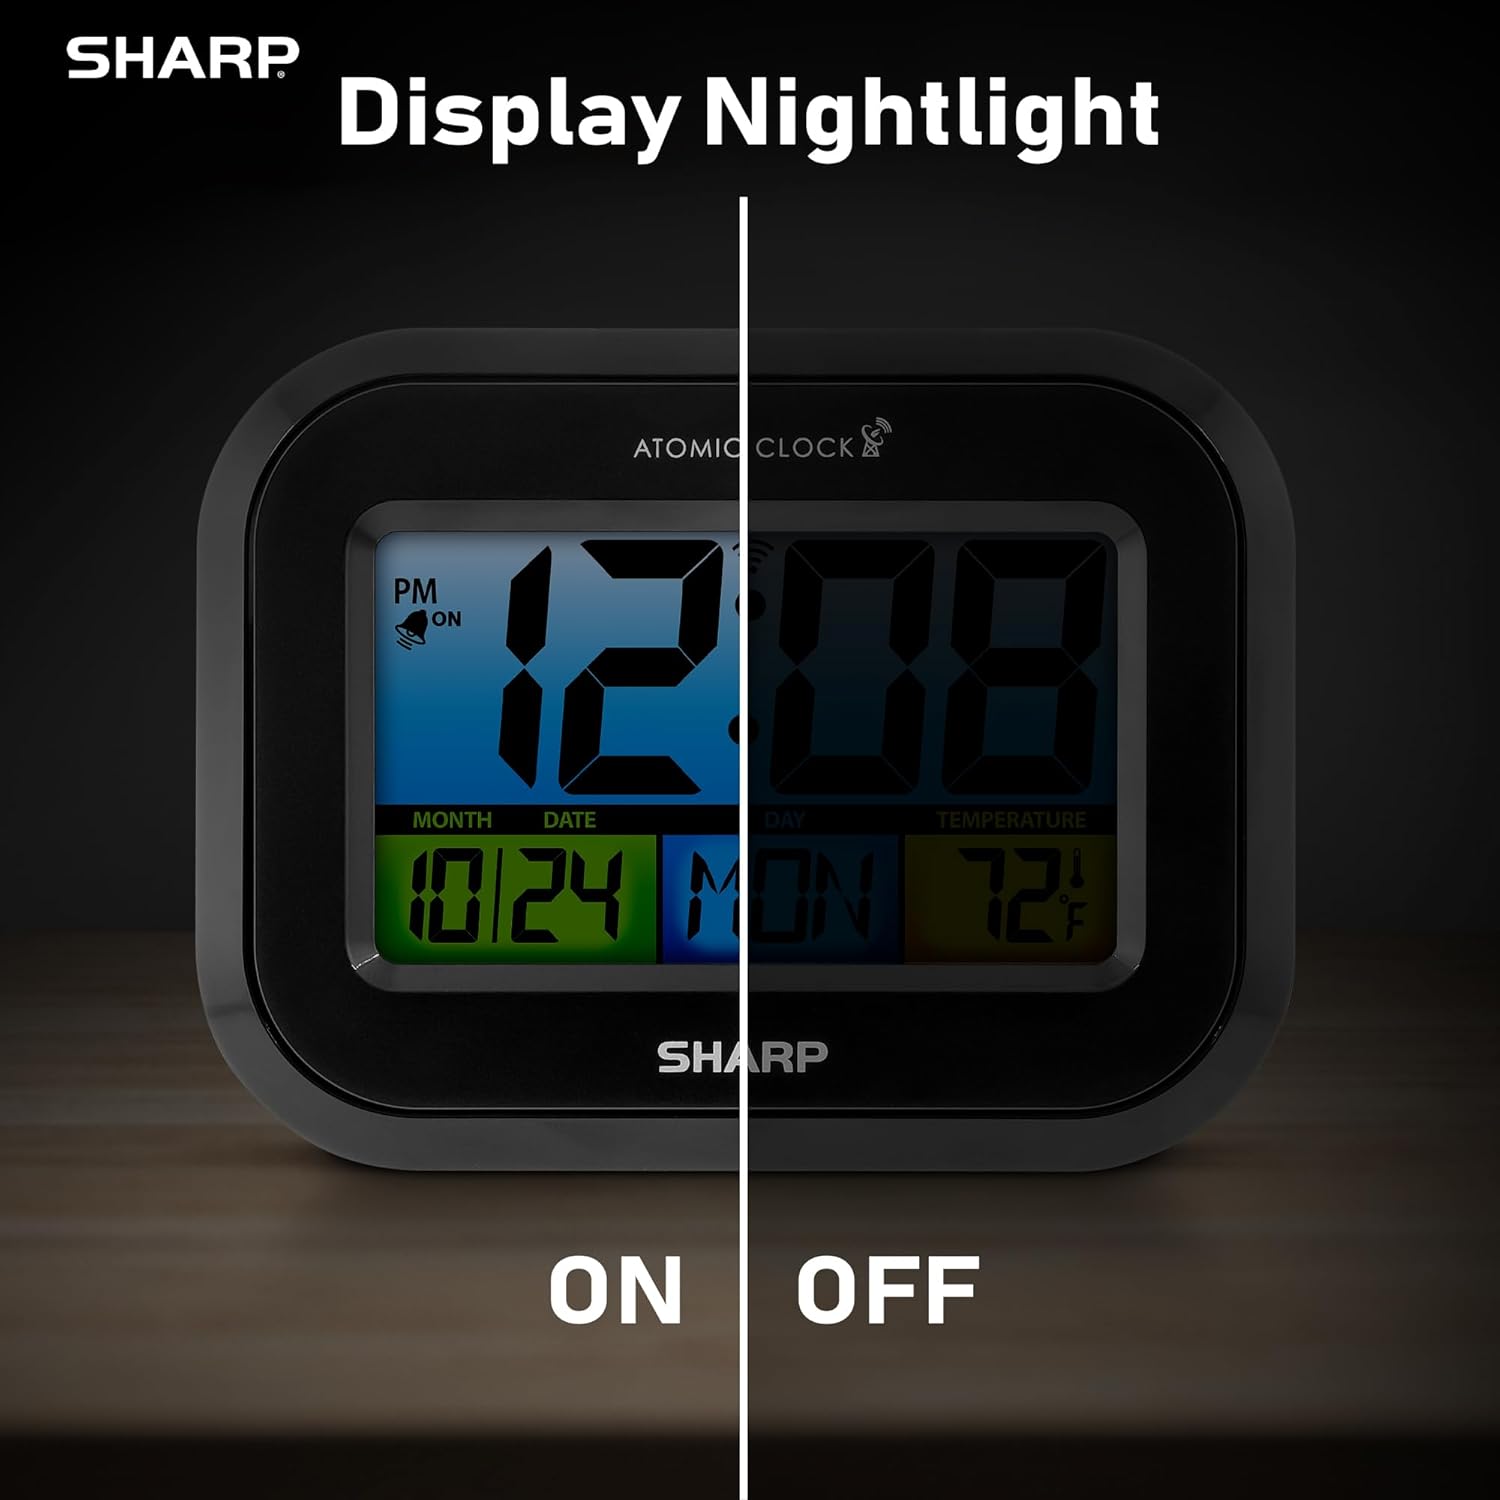
Comparison image showing the clock's display with the nightlight off (dim) and on (illuminated) in both day and night settings.
- Always-On Backlight: ใช้ สวิตซ์เปิด/ปิด on the rear panel to activate or deactivate the continuous backlight. When ON, the display will have a soft glow.
- ไฟแบ็คไลท์ตามความต้องการ: Even if the always-on backlight is OFF, you can momentarily illuminate the display by pressing the ไฟแบ็คไลท์ button (usually located on the top edge, though not explicitly labeled in the provided image, it's a common feature). This provides a brighter illumination for a few seconds.

Image highlighting the physical ON/OFF switch on the rear of the clock for controlling the display nightlight, indicating its function for soft glowing backlight in the dark.
Setting Dual Alarms
นาฬิกาเรือนนี้รองรับการตั้งค่านาฬิกาปลุกอิสระสองแบบ
- กดปุ่ม เตือน กดปุ่มหนึ่งครั้งเพื่อเลือก Alarm 1 กดอีกครั้งเพื่อเลือก Alarm 2
- While the alarm time is displayed, press and hold the เตือน กดปุ่มจนกว่าเข็มชั่วโมงจะกระพริบ
- ใช้ UP or ลง ปุ่มสำหรับปรับชั่วโมง กด เตือน to move to minutes, then adjust.
- กด เตือน again to save the alarm time.
- หากต้องการเปิด/ปิดสัญญาณเตือน ให้กดปุ่ม เตือน button repeatedly until the alarm icon (bell) appears/disappears for the desired alarm.
การใช้พอร์ตชาร์จ USB
The clock includes a USB charging port for convenient charging of small electronic devices. Locate the USB port on the side or rear of the unit (specific location not detailed in provided images, but implied by feature bullets). Connect your device's USB cable to this port to begin charging.
Temperature Display (°C/°F)
The clock displays the indoor temperature. To switch between Celsius and Fahrenheit, press the ° C / ° F ปุ่มบนแผงด้านหลัง
Viewing Angle Optimization
Like most LCD screens, this display is best viewed from the front or slightly above. Visibility may appear reduced at sharp side or low angles. For the best viewing experience, use the built-in kickstand to position the clock to face you.

Illustration demonstrating the optimal viewing angle for the LCD display, showing that the clock is best viewed from above or straight on, with a built-in kickstand to position it.
Wall Mounting and Tabletop Use
The clock is designed for versatile placement. Use the integrated backstand for tabletop viewing or the wall mount hole on the rear for hanging it on a wall.

The Sharp Digital Alarm Clock displayed in a home office setting, showing its versatility for both wall mounting and tabletop placement.
การซ่อมบำรุง
การทำความสะอาด
เช็ดนาฬิกาด้วยผ้าแห้งเนื้อนุ่ม ห้ามใช้สารทำความสะอาดที่มีฤทธิ์กัดกร่อนหรือตัวทำละลาย เพราะอาจทำให้พื้นผิวเสียหายได้
การเปลี่ยนแบตเตอรี่
When the display becomes dim or the clock stops functioning, it's time to replace the batteries. Follow the battery installation steps in the Setup section. It is recommended to replace all three AAA batteries at the same time with new ones.
การแก้ไขปัญหา
| ปัญหา | วิธีแก้ปัญหาที่เป็นไปได้ |
|---|---|
| จอแสดงผลมืดหรือว่างเปล่า | Check battery polarity and ensure batteries are fresh. Replace all 3 AAA batteries. Ensure the backlight ON/OFF switch is in the 'ON' position if continuous illumination is desired. |
| เวลาอะตอมไม่ตรงกัน | Ensure the clock is placed near a window and oriented towards Fort Collins, Colorado. Avoid placing near electronic devices that may cause interference. Try initiating a manual search by pressing the WAVE button. Synchronization is often best overnight. |
| Time or date is incorrect after battery change. | Manually set the time zone. Allow time for atomic synchronization, or manually set the time and date using the TIME and CALENDAR buttons. |
| Display is hard to read from certain angles. | This is a characteristic of LCD technology. Adjust the clock's position using the kickstand to ensure it is viewed straight-on or from slightly above eye level. |
| สัญญาณเตือนภัยไม่ดัง | Ensure the alarm is set and activated (bell icon visible). Check battery level. |
ข้อมูลจำเพาะ
| คุณสมบัติ | ค่า |
|---|---|
| ยี่ห้อ | คม |
| หมายเลขรุ่น | SPC5028AMZ |
| ประเภทจอภาพ | จอแอลซีดี |
| สี | สีดำ |
| ขนาดสินค้า | กว้าง 6.45 นิ้ว x สูง 5 นิ้ว |
| น้ำหนักสินค้า | 10.8 ออนซ์ (0.31 กิโลกรัม) |
| แหล่งพลังงาน | ใช้พลังงานจากแบตเตอรี่ (3 x AAA, ไม่รวมอยู่ในชุด) |
| โหมดการทำงาน | อะตอม |
| คุณสมบัติพิเศษ | Cordless, Dual Alarm, USB Charging Port, Indoor Temperature Display, Always-On Backlight |
| ประเภทการติดตั้ง | ติดผนัง, โต๊ะ |
| วัสดุกรอบ | พลาสติก |
การรับประกันและการสนับสนุน
Sharp products are manufactured to the highest quality standards. For warranty information or technical support, please refer to the documentation included with your purchase or visit the official Sharp webไซต์ โปรดเก็บใบเสร็จรับเงินไว้เป็นหลักฐานการซื้อสำหรับการเรียกร้องการรับประกัน

Sharp Time Solutions


