สินค้าเกินview
The HyperX Pulsefire Haste 2 is a wired gaming mouse designed for high-performance gaming. It features an ultra-lightweight design, a high-precision sensor, and durable switches, optimized for speed and responsiveness.
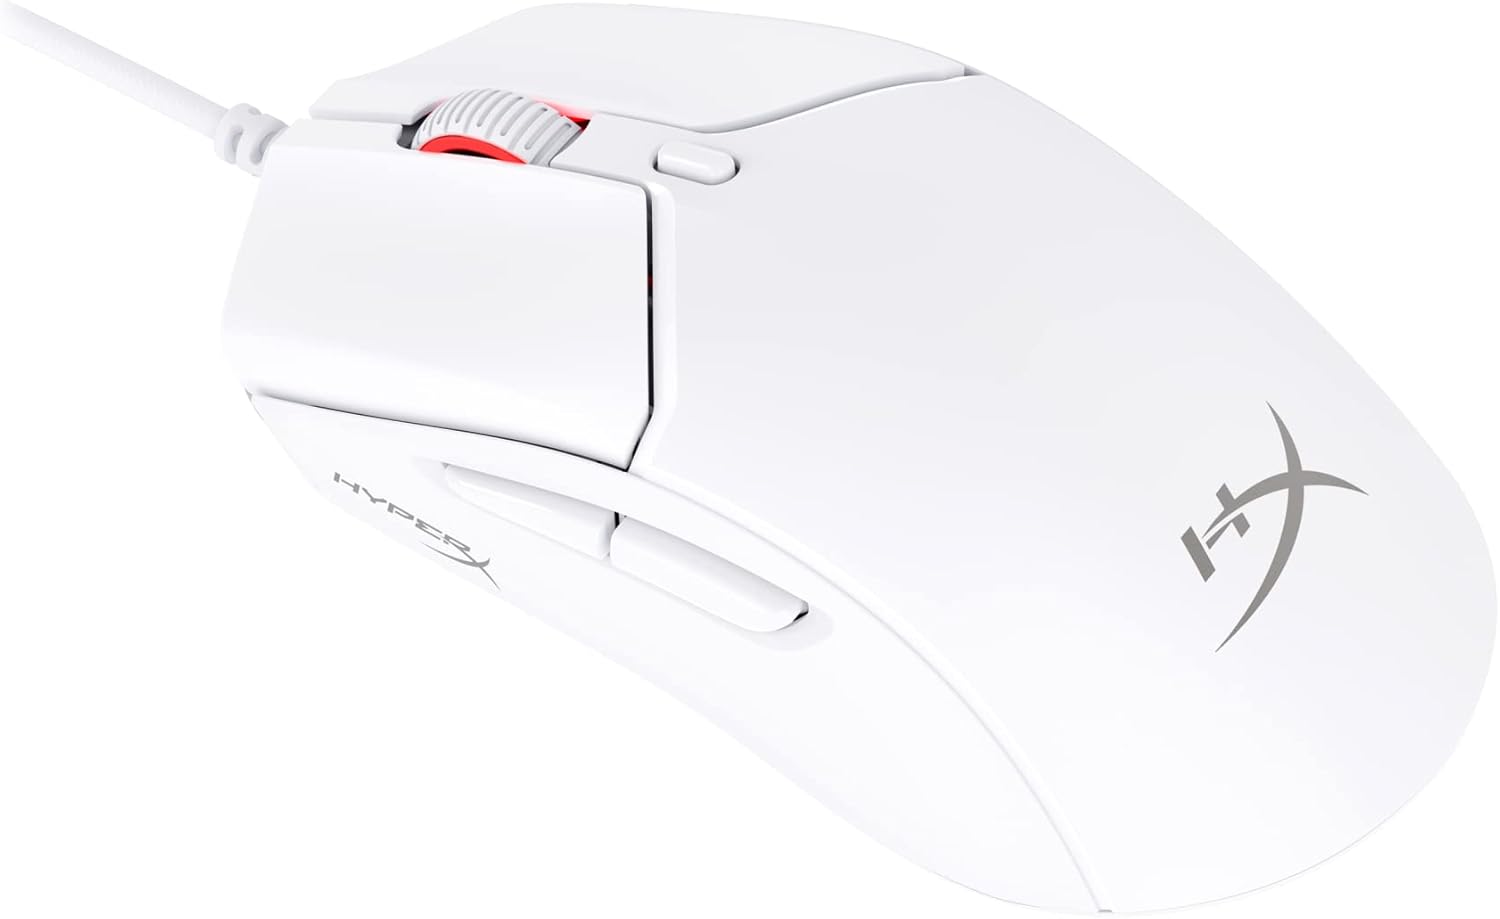
Figure 1: HyperX Pulsefire Haste 2 Wired Gaming Mouse (White)
เนื้อหาแพ็คเกจ
ตรวจสอบว่ามีรายการทั้งหมดอยู่ในแพ็คเกจ:
- HyperX Pulsefire Haste 2 Wired Gaming Mouse
- HyperX Grips (pre-applied or in package)
- รองเท้าสเก็ต PTFE เสริม
- Quick Start Guide (refer to the official PDF user guide for full details: คู่มือการใช้งาน PDF)
การตั้งค่า
การเชื่อมต่อเมาส์
- ค้นหาพอร์ต USB ที่มีอยู่ในคอมพิวเตอร์ของคุณ
- Plug the USB connector of the HyperX Pulsefire Haste 2 mouse into the USB port.
- The mouse is plug-and-play and should be recognized automatically by your operating system (Windows, macOS, Linux).
Applying Grip Tape (Optional)
The mouse includes optional grip tape for enhanced control and comfort. To apply:
- ตรวจสอบให้แน่ใจว่าพื้นผิวที่วางเมาส์สะอาดและแห้ง
- ค่อยๆ ลอกแผ่นรองด้านหลังของแผ่นเทปกันลื่นออกอย่างระมัดระวัง
- Align and firmly press the grip tape onto the designated areas (left/right mouse buttons, left/right sides of the mouse).

Figure 2: Anti-Slip Grip Tape Application Area
การใช้งานเมาส์
ฟังก์ชั่นพื้นฐาน
The HyperX Pulsefire Haste 2 features standard mouse buttons and a scroll wheel:
- คลิกซ้าย: การดำเนินการหลัก
- คลิกขวา: เมนูการดำเนินการรอง/บริบท
- ล้อเลื่อน: เลื่อนขึ้น/ลง คลิกตรงกลาง
- ปุ่มด้านข้าง: โดยทั่วไปใช้สำหรับการนำทางไปข้างหน้า/ย้อนกลับใน web browsers or customizable functions.
- ปุ่ม DPI: Located behind the scroll wheel, cycles through preset DPI (sensitivity) levels.
ซอฟต์แวร์ HyperX NGENUITY
To unlock the full potential of your Pulsefire Haste 2, download and install the HyperX NGENUITY software. This software allows for:
- Customizing DPI settings (up to 26,000 DPI).
- Programming the 6 buttons with macros or custom functions.
- Personalizing RGB lighting effects.
- Adjusting polling rate (up to 8000Hz).

Figure 3: HyperX NGENUITY Software Interface
For software download and detailed instructions, visit the official HyperX webเว็บไซต์.
การซ่อมบำรุง
ทำความสะอาดเมาส์
- ถอดเมาส์ออกจากคอมพิวเตอร์ของคุณก่อนทำความสะอาด
- ใช้ผ้านุ่มไม่เป็นขุยเช็ดเล็กน้อยampชุบน้ำหรือน้ำยาทำความสะอาดอ่อนๆ เพื่อเช็ดพื้นผิว
- หลีกเลี่ยงการใช้สารเคมีรุนแรง สารกัดกร่อน หรือตัวทำละลาย
- For the sensor area, use a cotton swab or compressed air to gently remove dust and debris.
การเปลี่ยนรองเท้าสเก็ต PTFE
The HyperX Pulsefire Haste 2 comes with extra PTFE skates. If the original skates show significant wear, they can be replaced for optimal glide performance.
- Carefully peel off the old PTFE skates using a thin, non-abrasive tool.
- Ensure the mouse's underside is clean and free of adhesive residue.
- Peel the backing from the new PTFE skates and align them precisely with the recesses on the mouse's bottom.
- กดให้แน่นเพื่อให้แน่ใจว่ามีการยึดเกาะที่เหมาะสม

Figure 4: Mouse Underside with PTFE Skates
การแก้ไขปัญหา
| ปัญหา | สาเหตุที่เป็นไปได้ | สารละลาย |
|---|---|---|
| เมาส์ไม่ตอบสนอง | การเชื่อมต่อ USB หลวม, พอร์ต USB ชำรุด, มีปัญหากับไดรเวอร์ |
|
| การเคลื่อนไหวของเคอร์เซอร์ไม่แน่นอนหรือกระตุก | เซ็นเซอร์สกปรก พื้นผิวแผ่นรองเมาส์ไม่เหมาะสม |
|
| ปุ่มหรือล้อเลื่อนไม่ทำงาน | ความขัดแย้งของซอฟต์แวร์, สิ่งกีดขวางทางกายภาพ |
|
| ไฟ RGB ไม่ทำงาน | การตั้งค่าซอฟต์แวร์ ปัญหาด้านพลังงาน |
|
ข้อมูลจำเพาะ
| คุณสมบัติ | รายละเอียด |
|---|---|
| ชื่อรุ่น | HyperX Pulsefire Haste 2 Wired Gaming Mouse |
| หมายเลขรุ่น | 6N0A8AA |
| การเชื่อมต่อ | สาย USB |
| เซ็นเซอร์ | เซ็นเซอร์ HyperX 26K |
| ดีพีไอ | Up to 26,000 (native) |
| ความเร็วในการติดตาม | สูงถึง 650 ไอพีเอส |
| อัตราการสำรวจความคิดเห็น | สูงถึง 8000Hz |
| ปุ่ม | 6 ปุ่มตั้งโปรแกรมได้ |
| สวิตซ์ | HyperX Switches (rated for 100 million clicks) |
| สายเคเบิล | HyperFlex 2 Cable (Paracord) |
| รองเท้าสเก็ต | Virgin PTFE Skates |
| น้ำหนัก | Approx. 53g (mouse only) |
| ขนาด (กxยxส) | 124 x 67 x 38 มม. (4.9 x 2.6 x 1.5 นิ้ว) |
| ความเข้ากันได้ของระบบปฏิบัติการ | วินโดวส์, แมคโอเอส, ลินุกซ์ |

Figure 5: HyperX Pulsefire Haste 2 Dimensions and Weight
การรับประกันและการสนับสนุน
HyperX products are backed by a limited warranty. For specific warranty terms and conditions, please refer to the warranty information included with your product or visit the official HyperX webเว็บไซต์.
For technical support, driver downloads, and frequently asked questions, please visit the HyperX support page:
ฝ่ายสนับสนุนอย่างเป็นทางการของ HyperX
You can also refer to the official PDF user guide for additional details: คู่มือการใช้งาน PDF


