1. บทนำ
Thank you for choosing the CREATE NETBOT S40 Robot Vacuum and Mop. This manual provides essential information for the safe operation, maintenance, and troubleshooting of your device. Please read it thoroughly before first use and retain it for future reference.
2. คำแนะนำด้านความปลอดภัย
เพื่อลดความเสี่ยงต่อการบาดเจ็บหรือความเสียหาย โปรดปฏิบัติตามข้อควรระวังด้านความปลอดภัยดังต่อไปนี้:
- เด็กอายุตั้งแต่ 8 ปีขึ้นไป รวมไปถึงบุคคลที่มีความบกพร่องทางร่างกาย ประสาทสัมผัส หรือจิตใจ หรือขาดประสบการณ์และความรู้ สามารถใช้เครื่องใช้ไฟฟ้านี้ได้ หากมีการดูแลหรือได้รับคำแนะนำเกี่ยวกับการใช้เครื่องใช้ไฟฟ้าในลักษณะที่ปลอดภัย และเข้าใจถึงอันตรายที่อาจเกิดขึ้น
- เด็กไม่ควรเล่นเครื่องใช้ไฟฟ้านี้ ไม่ควรทำความสะอาดและบำรุงรักษาเครื่องโดยเด็กโดยไม่มีผู้ดูแล
- Ensure the robot is placed on a stable, level surface.
- ห้ามนำหุ่นยนต์ไปสัมผัสกับน้ำหรือของเหลวอื่นๆ
- เก็บผม เสื้อผ้าที่หลวม นิ้ว และส่วนต่างๆ ของร่างกายให้ห่างจากช่องเปิดและชิ้นส่วนที่เคลื่อนไหว
- ห้ามใช้งานหุ่นยนต์ในบริเวณที่มีเปลวไฟหรือวัสดุระเบิด
- Use only the original charging adapter and battery provided by the manufacturer.
- Before cleaning or maintenance, always switch off the robot and unplug it from the power source.
3. เนื้อหาบรรจุภัณฑ์
ตรวจสอบว่ามีรายการทั้งหมดอยู่ในแพ็คเกจของคุณ:
- CREATE NETBOT S40 Robot Vacuum and Mop
- แท่นชาร์จ
- อะแดปเตอร์แปลงไฟ
- รีโมทคอนโทรล
- แปรงด้านข้าง (2 คู่)
- Main Brush (pre-installed + 1 spare)
- ถังขยะ
- ถังเก็บน้ำพร้อมแผ่นถูพื้น
- เครื่องมือทำความสะอาด
- คู่มือการใช้งาน
4. สินค้าหมดview
Familiarize yourself with the components of your CREATE NETBOT S40.

ภาพที่ 4.1: ด้านบน view of the CREATE NETBOT S40 robot vacuum, showing the main unit, a roller brush, a smartphone displaying the control app, and the remote control.

ภาพที่ 4.2: ด้านล่าง view of the robot, illustrating the main brush, side brushes, wheels, and various sensors.
ส่วนประกอบของหุ่นยนต์
- ฝาครอบด้านบน: Houses the dust bin/water tank.
- ปุ่มเปิด/ปิด/สตาร์ท: Initiates or pauses cleaning.
- หน้าสัมผัสการชาร์จ: For automatic charging at the dock.
- แปรงด้านข้าง: Sweep debris into the main brush path.
- แปรงหลัก: เก็บฝุ่นและเศษขยะจากพื้น
- ถังขยะ: เก็บเศษขยะแห้ง
- ถังเก็บน้ำ: Holds water for mopping.
- แผ่นม็อบ: ติดกับถังน้ำเพื่อการทำความสะอาดแบบเปียก
- เซ็นเซอร์หน้าผา: Detect edges and prevent falls.
- กันชน: Detects obstacles.
- ล้อขับเคลื่อน: Propel the robot.
- ล้อสากล: Provides steering.

Image 4.3: Close-up of the robot's top cover, showing the 'CREATE NETBOT S40' branding.
5. การตั้งค่า
5.1 การวางตำแหน่งแท่นชาร์จ
Place the charging dock against a wall in an open, uncluttered area. Ensure there is at least 1 meter (3 feet) of clear space on both sides and 2 meters (6 feet) in front of the dock. Plug the power adapter into the dock and then into a wall outlet.

Image 5.1: The robot positioned next to its charging dock, illustrating proper placement.
5.2 การชาร์จเริ่มต้น
Place the robot onto the charging dock, ensuring the charging contacts align. The robot will emit a sound and the indicator light will illuminate, indicating it is charging. Fully charge the robot for 4-6 hours before its first use.
5.3 App Connection (Wi-Fi & Alexa)
For full functionality, download the CREATE Home app from your smartphone's app store. Follow the in-app instructions to connect your NETBOT S40 to your home Wi-Fi network. Once connected, you can link the app to Alexa for voice control.
- Download the 'CREATE Home' app.
- ลงทะเบียนหรือเข้าสู่ระบบบัญชีของคุณ
- Add your device by selecting 'Robot Vacuum' and following the pairing instructions.
- ตรวจสอบให้แน่ใจว่าเครือข่าย Wi-Fi ของคุณเป็น 2.4GHz

Image 5.2: The robot shown alongside a smartphone displaying the CREATE Home app interface, indicating successful connection and mapping capabilities.
6. คู่มือการใช้งาน
6.1 การเริ่ม/หยุดการทำความสะอาด
- จากหุ่นยนต์: Press the power button on the robot's top cover.
- From Remote Control: Press the 'Start/Pause' button.
- จากแอป: Tap the 'Start' button in the CREATE Home app.
โหมดทำความสะอาด 6.2 โหมด
The NETBOT S40 offers various cleaning modes:
- ทำความสะอาดอัตโนมัติ: หุ่นยนต์จะนำทางและทำความสะอาดพื้นที่ทั้งหมดอย่างชาญฉลาด
- การทำความสะอาดเฉพาะจุด: Concentrates cleaning on a specific small area.
- การทำความสะอาดขอบ: ทำความสะอาดตามผนังและขอบเฟอร์นิเจอร์
- การทำความสะอาดตามกำหนดเวลา: ตั้งเวลาให้หุ่นยนต์ทำความสะอาดอัตโนมัติผ่านแอปพลิเคชันได้ตามต้องการ
6.3 ฟังก์ชันถูพื้น
การใช้งานฟังก์ชันถูพื้น:
- Fill the water tank with clean water. Do not use detergents or harsh chemicals.
- ติดแผ่นม็อบเข้ากับถังน้ำให้แน่น
- Insert the filled water tank into the robot.
- เริ่มรอบการทำความสะอาด หุ่นยนต์จะดูดฝุ่นและถูพื้นไปพร้อมกัน

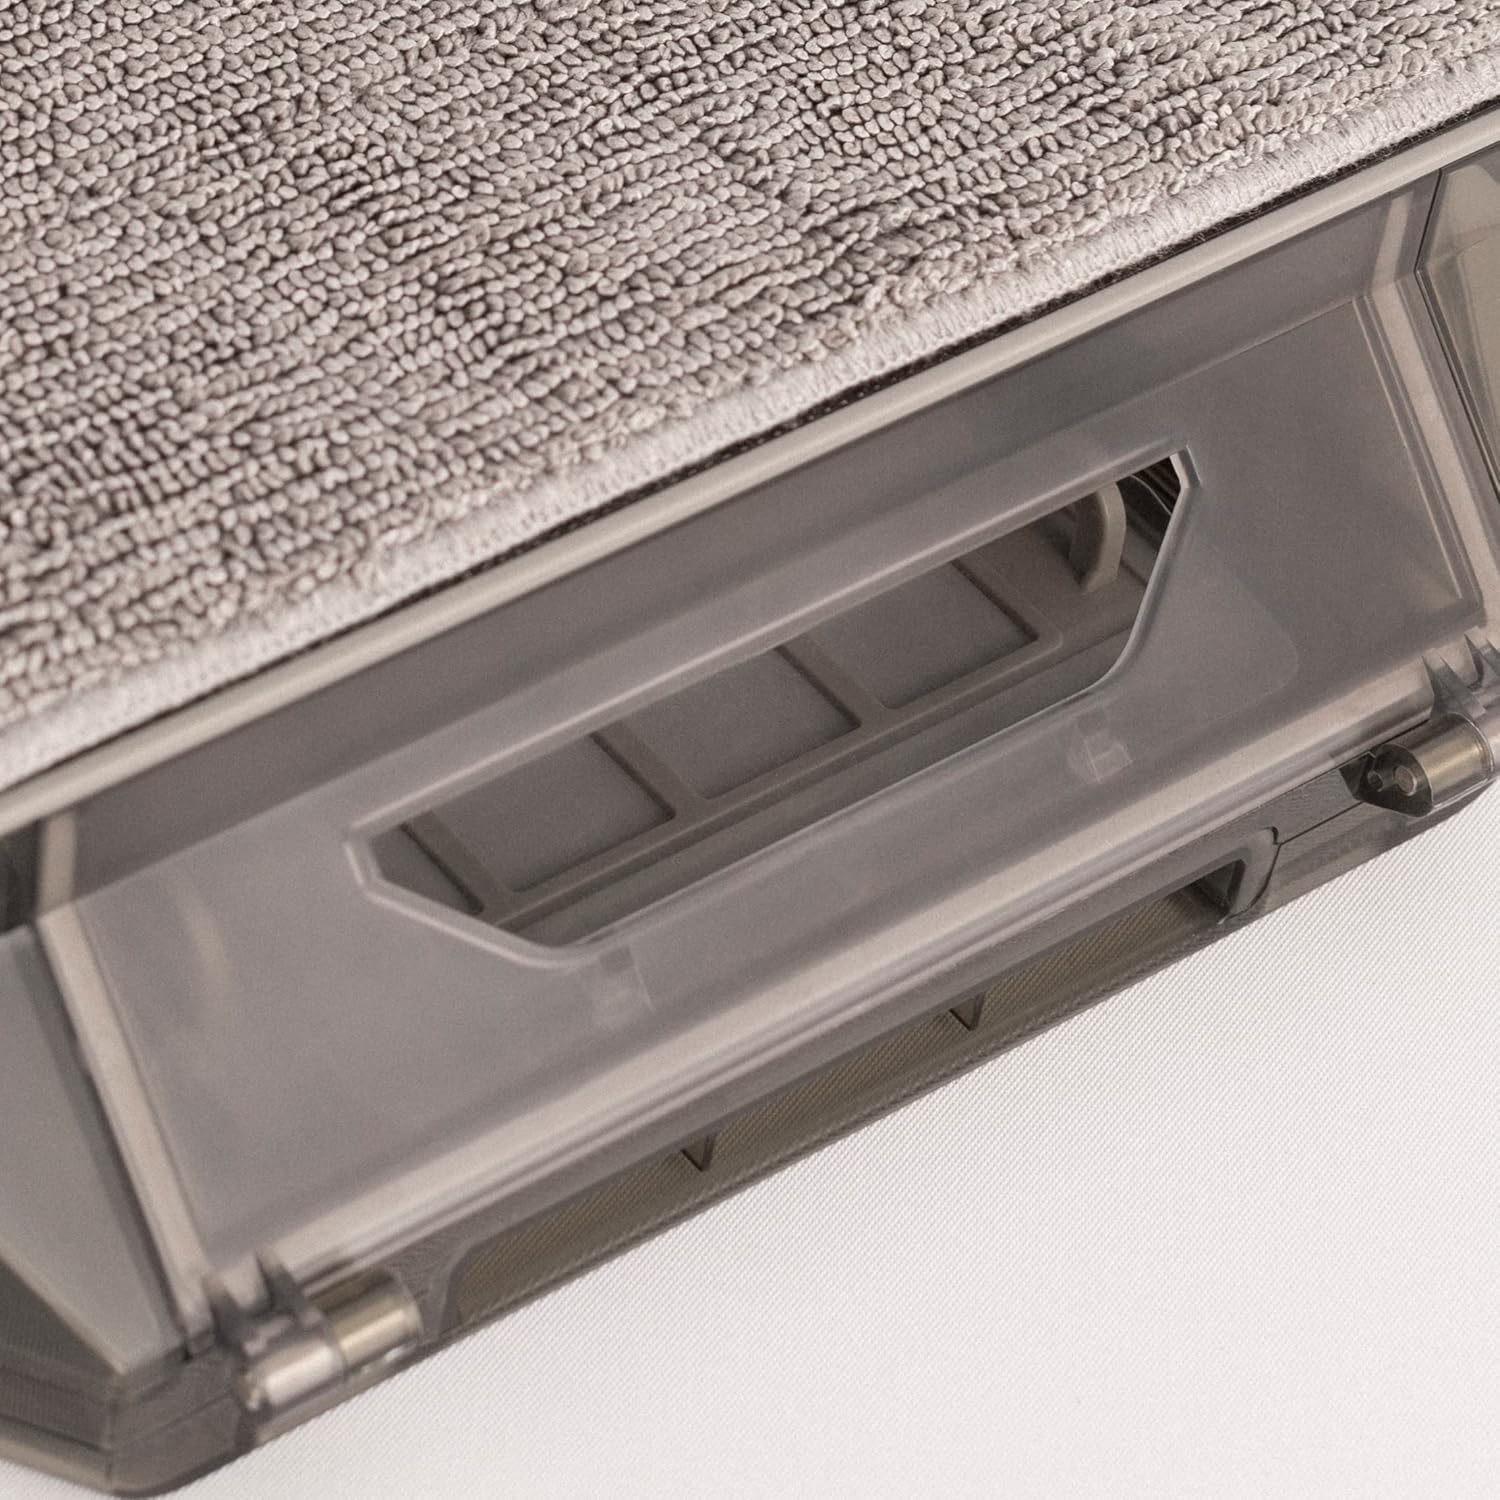
ภาพที่ 6.1: ภาพระยะใกล้ view of the mop pad attached to the water tank, ready for installation into the robot.
7. การบำรุงรักษา
การบำรุงรักษาตามปกติจะช่วยให้หุ่นยนต์ทำงานได้อย่างเหมาะสมที่สุดและยืดอายุการใช้งานของหุ่นยนต์ของคุณ
7.1 การทำความสะอาดถังเก็บฝุ่นและแผ่นกรอง
Empty the dust bin after each use and clean the filter regularly.
- Press the release button to remove the dust bin.
- เปิดฝาถังขยะและเทสิ่งของภายในออก
- Remove the filter and tap it gently to remove dust. Do not wash the HEPA filter with water.
- หากจำเป็น ให้ล้างถังเก็บฝุ่นด้วยน้ำสะอาด และตรวจสอบให้แน่ใจว่าแห้งสนิทก่อนติดตั้งกลับเข้าไปใหม่
ภาพที่ 7.1: รายละเอียด view of the dust bin and its filter compartment, showing how it integrates into the robot.
7.2 การทำความสะอาดแปรงหลัก
Clean the main brush weekly to remove tangled hair and debris.
- Turn the robot over and locate the main brush cover.
- Remove the cover and lift out the main brush.
- Use the provided cleaning tool to cut and remove tangled hair.
- ติดตั้งแปรงหลักและฝาครอบกลับเข้าที่
7.3 การทำความสะอาดแปรงด้านข้าง
Inspect side brushes regularly for wear and tear, and clean them as needed.
- ค่อยๆ ดึงแปรงด้านข้างขึ้นด้านบนเพื่อถอดออก
- กำจัดขนหรือเศษสิ่งสกปรกออก
- If brushes are damaged, replace them with new ones.
- Press the new brushes firmly onto their posts until they click into place.
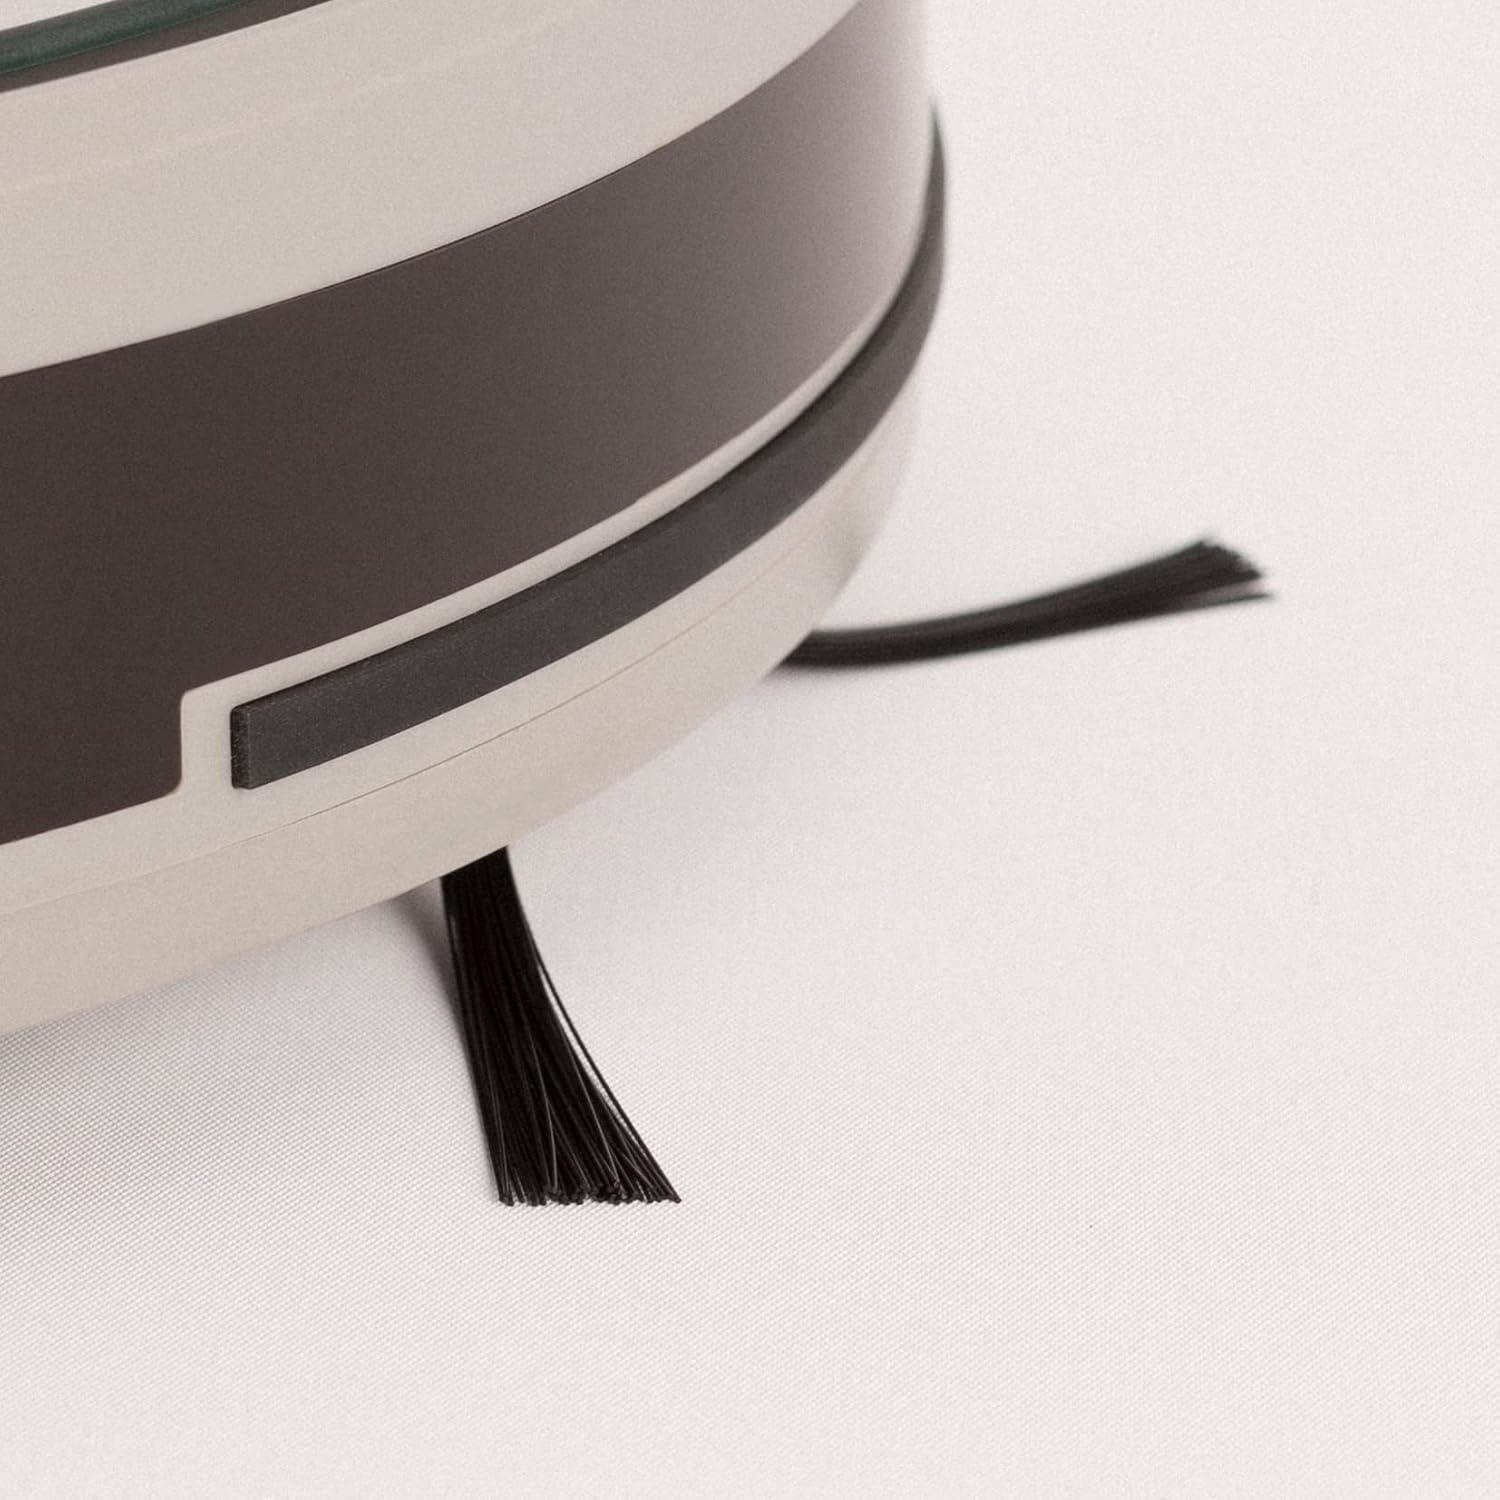
Image 7.2: Close-up of a side brush, showing its bristles and attachment point.
7.4 Water Tank and Mop Pad Cleaning
หลังจากถูพื้นเสร็จแต่ละครั้ง:
- เทน้ำที่เหลืออยู่ออกจากถัง
- Remove the mop pad and rinse it thoroughly with water. Allow it to air dry.
- ทำความสะอาดถังน้ำด้วยโฆษณาamp ผ้า.
7.5 การทำความสะอาดเซ็นเซอร์
Wipe all sensors (cliff sensors, bumper sensor) with a clean, dry cloth monthly to ensure proper navigation.
8 การแก้ไขปัญหา
If you encounter issues with your robot, refer to the following table:
| ปัญหา | สาเหตุที่เป็นไปได้ | สารละลาย |
|---|---|---|
| หุ่นยนต์ไม่เปิดขึ้น | แบตเตอรี่ต่ำ; ปิดสวิตช์ไฟ | ชาร์จหุ่นยนต์ ตรวจสอบให้แน่ใจว่าสวิตช์เปิดปิดเปิดอยู่ |
| หุ่นยนต์ไม่สามารถชาร์จได้ | หน้าสัมผัสการชาร์จสกปรก แท่นชาร์จไม่เปิด | Clean charging contacts; Check power adapter connection |
| ประสิทธิภาพการทำความสะอาดไม่ดี | ถังเก็บฝุ่นเต็ม; แปรงพันกัน; ตัวกรองอุดตัน | Empty dust bin; Clean main/side brushes; Clean/replace filter |
| หุ่นยนต์ติดขัดบ่อยมาก | Obstacles on floor; Cliff sensors dirty | พื้นที่โล่ง เซ็นเซอร์หน้าผาสะอาด |
| การเชื่อมต่อแอปล้มเหลว | รหัสผ่าน Wi-Fi ไม่ถูกต้อง; เราเตอร์อยู่ไกลเกินไป; Wi-Fi 5GHz | Verify password; Move robot closer to router; Ensure 2.4GHz Wi-Fi |
หากปัญหายังคงมีอยู่ โปรดติดต่อฝ่ายสนับสนุนลูกค้า
9. ข้อมูลจำเพาะ
- ยี่ห้อ: สร้าง
- ชื่อรุ่น : NETBOT S40
- หมายเลขรุ่น: 130436_269434
- พลังดูด: 4000 Pa (as per product description)
- อายุการใช้งานแบตเตอรี่: Up to 220 minutes (as per product description)
- การเชื่อมต่อ: Wi-Fi, App Control, Alexa compatible
- ขนาด : 64 x 40 x 12 cm (package dimensions)
- น้ำหนักสินค้า: 116 Grams (as per specifications, likely product weight is higher, but using provided data)
- รวมแบตเตอรี่: ใช่
10. การรับประกันและการสนับสนุน
Your CREATE NETBOT S40 comes with a standard manufacturer's warranty. Please refer to the warranty card included in your package for specific terms and conditions, including warranty period and coverage.
For technical support, troubleshooting assistance, or to inquire about replacement parts, please contact CREATE customer service through their official webไซต์หรือข้อมูลการติดต่อที่ระบุไว้ในเอกสารผลิตภัณฑ์ของคุณ


