1. สินค้าหมดview
This manual provides instructions for the XTOOL OBD2 Main Test Cable, designed for connecting XTOOL diagnostic scanners to vehicles. This cable facilitates communication between your scanner and the vehicle's On-Board Diagnostics (OBD2) system, enabling diagnostic functions.
The cable features a VGA (DB15) connector for the scanner side and a standard OBD2-16 pin connector for the vehicle side. It is constructed from durable, braided materials to ensure longevity and reliable performance.
2. คุณสมบัติหลัก
- เข้ากันได้สากล: Designed for use with various XTOOL scanners including IP508, IP508S, IP608, IP616, IP819, D7, and D7S. It is also compatible with other scanners utilizing the same VGA (DB15) interface.
- โครงสร้างทนทาน: Made with premium nylon braided material, offering resistance to wear and tear for extended service life.
- การเชื่อมต่อที่ปลอดภัย: Features a 16V rated male-to-male connection, ensuring stable and safe diagnostic operations.
- ความยาวที่เหมาะสม: Approximately 60 inches (152 cm) in length, providing flexibility during use.
- การออกแบบแบบบูรณาการ: This is a single-piece cable, eliminating the need for additional connectors.
3. การตั้งค่าและการติดตั้ง
- ค้นหาพอร์ต OBD2: Identify the OBD2 diagnostic port in your vehicle. This port is typically located under the dashboard on the driver's side, but its exact position may vary by vehicle model. Refer to your vehicle's owner's manual if needed.
- เชื่อมต่อกับยานพาหนะ: Plug the OBD2-16 pin connector end of the XTOOL Main Test Cable into the vehicle's OBD2 port. Ensure a firm and secure connection.
- Connect to Scanner: Plug the VGA (DB15) connector end of the cable into the corresponding port on your XTOOL diagnostic scanner. Tighten any screws on the VGA connector if present to secure the connection.
Once both ends are securely connected, the cable is ready for use with your diagnostic scanner.

Image: Connection diagram for the XTOOL OBD2 Main Test Cable, illustrating the VGA connector for the scanner and the OBD2-16 pin connector for the vehicle.

Image: The XTOOL OBD2 Replacement Cable shown connected to a diagnostic device, highlighting its direct use as an integral part without needing another connector. Compatible XTOOL scanner models (IP508, IP508S, IP608, IP616, IP819, D7) are displayed.
4. คู่มือการใช้งาน
The XTOOL OBD2 Main Test Cable acts as a conduit for data transfer between your vehicle and the diagnostic scanner. Its operation is integrated with your specific XTOOL scanner model.
- เปิดใช้งานเครื่องสแกน: After connecting the cable to both the vehicle and the scanner, power on your XTOOL diagnostic scanner. The scanner typically draws power directly from the vehicle's OBD2 port.
- Initiate Diagnostics: Follow the instructions on your XTOOL scanner's interface to select the desired diagnostic functions (e.g., read fault codes, view live data, perform special functions).
- การถ่ายโอนข้อมูล: The cable will facilitate the secure and stable transfer of diagnostic data between the vehicle's ECU and your scanner.
For detailed operational procedures specific to your diagnostic tasks, refer to the user manual of your XTOOL scanner.
วิดีโอ: จบแล้วview of the XTOOL OBD2 Scanner Cable, demonstrating its features and compatibility with various XTOOL diagnostic tools. This video provides visual guidance on the cable's design and intended use.
5. การบำรุงรักษา
- พื้นที่จัดเก็บ: Store the cable in a clean, dry place away from direct sunlight and extreme temperatures. Avoid kinking or tightly coiling the cable to prevent internal wire damage.
- การทำความสะอาด: Wipe the cable and connectors with a soft, dry cloth. Do not use harsh chemicals or abrasive cleaners, as these can damage the cable's insulation or connectors.
- การตรวจสอบ: Periodically inspect the cable for any signs of wear, cuts, or damage to the connectors. If any damage is observed, discontinue use and replace the cable to ensure safe and reliable operation.
- การจัดการ: Always grasp the connector ends when plugging or unplugging the cable. Avoid pulling directly on the cable itself, as this can strain the connections and lead to damage.
6 การแก้ไขปัญหา
If you encounter issues while using the XTOOL OBD2 Main Test Cable, consider the following:
- ไม่มีการสื่อสาร:
- Ensure both the OBD2 and VGA connectors are securely plugged into the vehicle and scanner, respectively.
- Verify that the vehicle's ignition is on (or engine running, as required by your scanner/diagnostic task).
- Check your XTOOL scanner's settings to ensure it is configured correctly for the vehicle type.
- Inspect the cable for visible damage. A damaged cable may prevent communication.
- การเชื่อมต่อไม่ต่อเนื่อง:
- Ensure the VGA connector screws (if present) are tightened to prevent accidental disconnection.
- Avoid excessive movement or strain on the cable during diagnostic procedures.
- เครื่องสแกนเนอร์ไม่เปิดเครื่อง:
- Confirm the vehicle's OBD2 port is supplying power. Some vehicles may require the ignition to be in the 'ON' position.
- Check the vehicle's fuse for the OBD2 port if the scanner does not receive power.
If troubleshooting steps do not resolve the issue, contact XTOOL customer support for further assistance.
7. ข้อมูลจำเพาะ
| คุณสมบัติ | รายละเอียด |
|---|---|
| ชื่อรุ่น | XD-OBD2CABLE |
| ยี่ห้อ | เอ็กซ์ทูล |
| ประเภทขั้วต่อ | DB15 (VGA) to OBD2-16 Pin |
| ประเภทสายเคเบิล | OBD2 Main Test Cable |
| อุปกรณ์ที่รองรับ | XTOOL IP508, IP508S, IP608, IP616, IP819, D7, D7S, and other compatible scanners |
| คุณสมบัติพิเศษ | Braided outer material |
| สี | Black (cable), Red (connectors) |
| เพศของตัวเชื่อมต่อ | ชายกับชาย |
| รูปร่าง | กลม |
| จำนวนพิน | 16 (OBD2 side) |
| ปริมาณสูงสุดtage | 16 โวลต์ |
| วัสดุภายนอก | Nylon or Steel (braided) |
| น้ำหนักสินค้า | 7.8 ออนซ์ |
| ขนาดแพ็คเกจ | 8.74 x 6.38 x 2.09 นิ้ว |
| การใช้งานภายใน/ภายนอกอาคาร | ในร่ม, กลางแจ้ง |
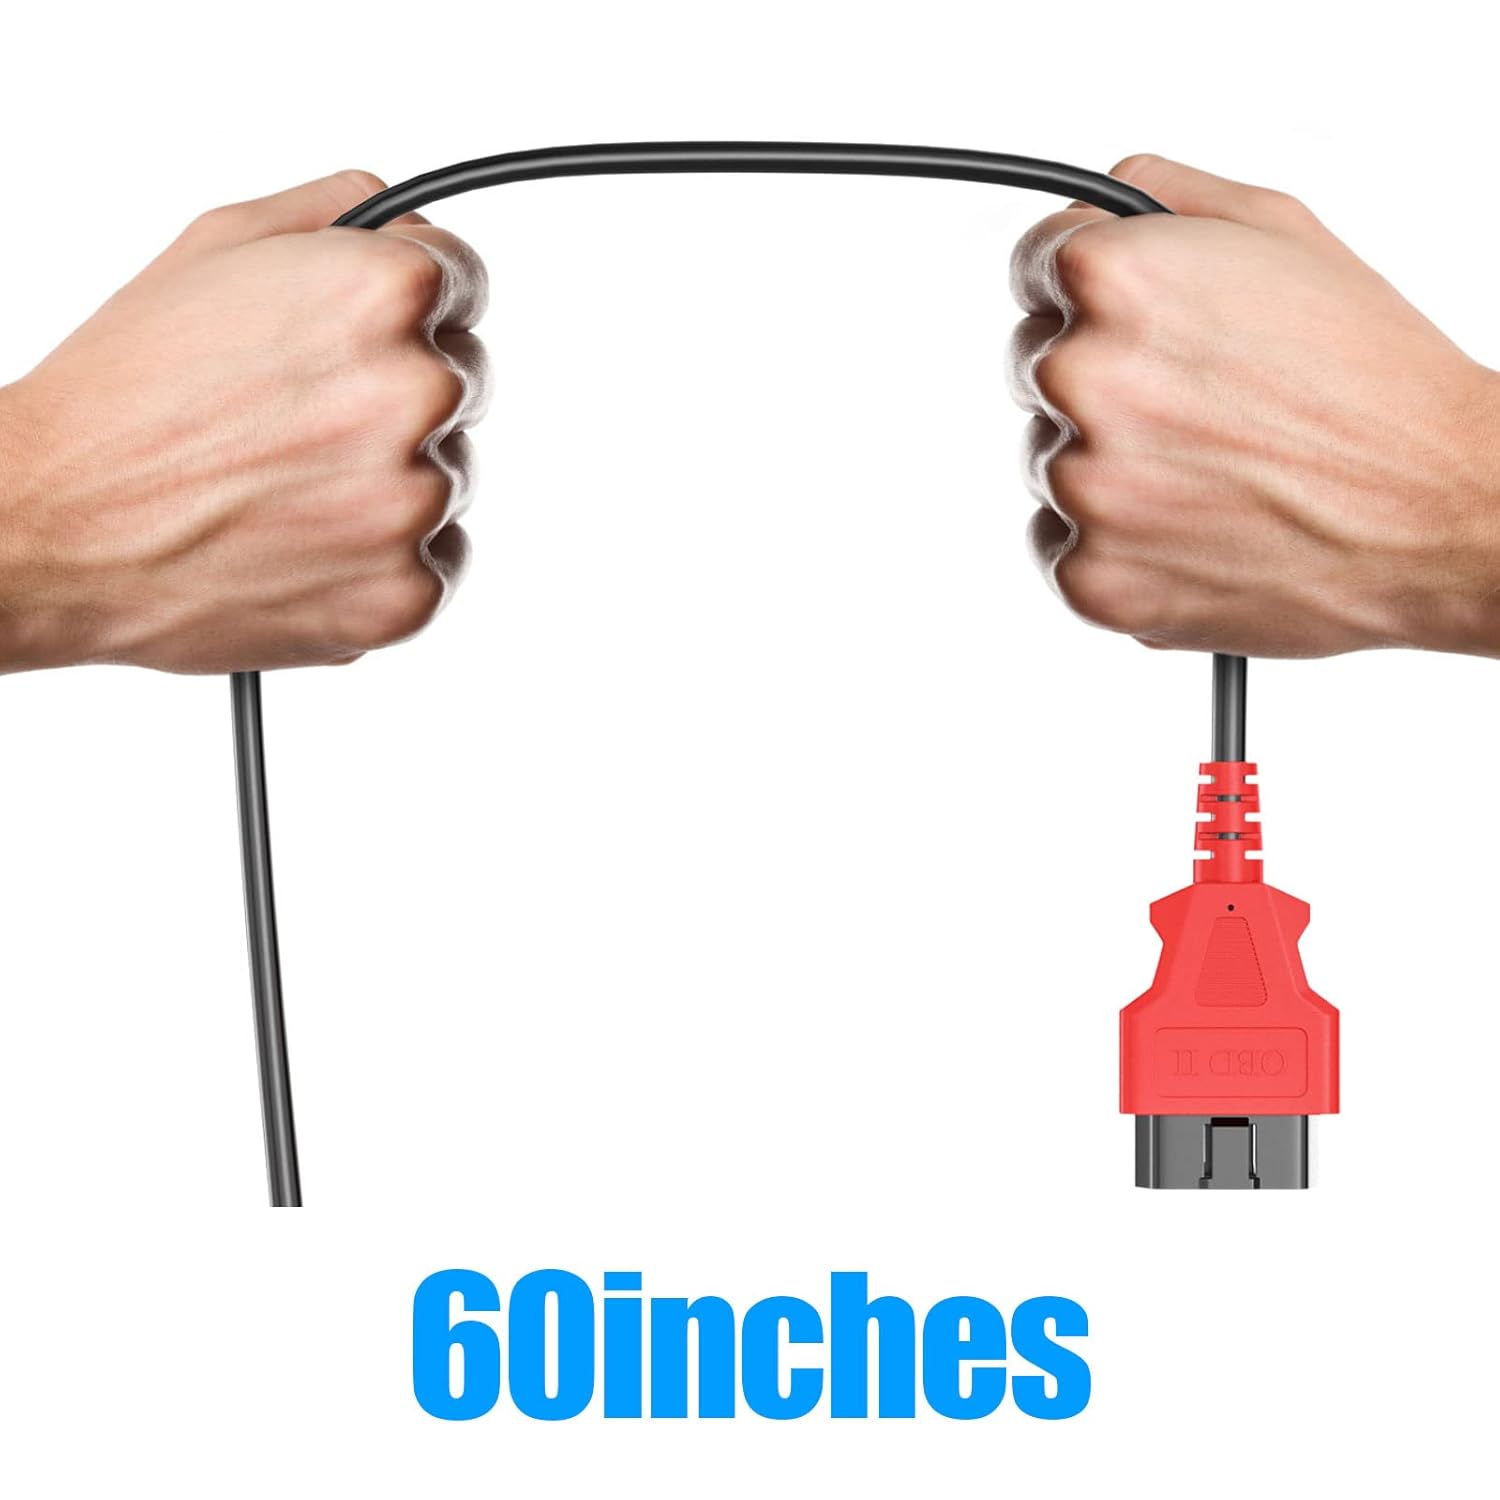
Image: The XTOOL OBD2 Main Test Cable, approximately 60 inches long, held by hands to illustrate its flexible and durable design.
8. การรับประกันและการสนับสนุน
For information regarding product warranty, returns, or technical support, please refer to the official XTOOL website or contact your authorized XTOOL dealer. Keep your purchase receipt as proof of purchase for any warranty claims.
XTOOL is committed to providing reliable products and customer service. If you experience any issues not covered in this manual, please reach out to their support team for expert assistance.


