1. บทนำ
This manual provides comprehensive instructions for the safe and effective operation, setup, maintenance, and troubleshooting of your Stayer MIG 131 Multi Welding Equipment. This versatile electronic welding machine supports Flux Core (FCAW) welding without gas, TIG Lift Arc welding, and coated electrode (MMA) welding. Please read this manual thoroughly before using the equipment to ensure proper function and safety.
2. ข้อมูลด้านความปลอดภัย
คำเตือน: การเชื่อมโลหะเป็นอันตราย โปรดปฏิบัติตามข้อควรระวังด้านความปลอดภัยเสมอเพื่อป้องกันการบาดเจ็บหรือเสียชีวิต
- ควรสวมใส่อุปกรณ์ป้องกันส่วนบุคคล (PPE) ที่เหมาะสมเสมอ ซึ่งรวมถึงหมวกนิรภัยสำหรับงานเชื่อมที่มีแผ่นบังแดดที่เหมาะสม เสื้อผ้ากันไฟ ถุงมือสำหรับงานเชื่อม และรองเท้าเซฟตี้
- Ensure adequate ventilation to avoid inhaling welding fumes, which can be hazardous to your health.
- Protect bystanders from arc rays and hot metal. Use welding screens or barriers.
- ห้ามเชื่อมโลหะใกล้กับวัสดุไวไฟหรือในบริเวณที่มีอากาศอาจเกิดการระเบิดได้
- ตรวจสอบให้แน่ใจว่าเครื่องเชื่อมต่อสายดินอย่างถูกต้อง
- โปรดถอดปลั๊กไฟก่อนทำการบำรุงรักษาหรือเปลี่ยนอุปกรณ์เสริมใดๆ
- ห้ามสัมผัสชิ้นส่วนที่มีกระแสไฟฟ้า
- ห้ามเด็กและบุคคลที่ไม่ได้รับอนุญาตเข้าใกล้บริเวณงานเชื่อม
3. เนื้อหาบรรจุภัณฑ์
ตรวจสอบว่ารายการทั้งหมดที่ระบุไว้ด้านล่างนี้รวมอยู่ในแพ็คเกจของคุณ:
- Stayer MIG 131 Multi Welding Equipment with integrated torch
- Power cable (3m x 1.5mm²)
- สายดินพร้อมสายคลamp (1.5m x 10mm²)
- Electrode cable with clamp (2.5m x 10mm²)
- คู่มือผู้ใช้และข้อมูลการรับประกัน
4. สินค้าหมดview
The Stayer MIG 131 Multi is a compact and lightweight welding machine designed for versatility. It features an integrated torch for Flux Core welding and connections for MMA and TIG Lift Arc welding.

รูปที่ 1 : ด้านหน้า view of the Stayer MIG 131 Multi Welding Equipment, showing the integrated MIG torch, control panel, and cable connections.
4.1 แผงควบคุม
The control panel features classic analog controls for precise adjustment of welding parameters.

Figure 2: Close-up of the control panel, indicating mode selection (MMA, Flux, Lift TIG), current/voltage adjustment, and wire speed control.
- ตัวเลือกโหมด: Switch between MMA (Coated Electrode), FLUX (Flux Core), and LIFT TIG (TIG Lift Arc) welding modes.
- ปัจจุบัน/ฉบับที่tage การปรับ: Dial to set the welding current for MMA/TIG or voltage for Flux Core.
- Wire Speed Adjustment: Dial to control the wire feed speed for Flux Core welding.
- ตัวบ่งชี้: Power, Overheat, and Welding Mode indicators.
5. การตั้งค่า
5.1 การเชื่อมต่อสายไฟ
- ตรวจสอบให้แน่ใจว่าสวิตช์เปิดปิดของเครื่องเชื่อมอยู่ในตำแหน่งปิด
- Connect the power cable to a suitable AC power outlet (230V). The machine is suitable for use with generators, tolerating +/-15% for MIG/TIG and AC 210V - 264V for MMA.
5.2 Flux Core Welding Setup
- Open the side panel to access the wire feeder compartment.
- Install a flux-cored wire spool (up to 1kg, 0.8mm to 1.0mm diameter, e.g., 0.9mm E71T-GS) onto the spindle.
- Thread the wire through the feeder mechanism and into the integrated torch liner.
- ต่อสายดิน clamp เข้ากับชิ้นงานเพื่อให้มีการสัมผัสทางไฟฟ้าที่ดี

Figure 3: Installation of a flux-cored wire spool into the internal wire feeder.
5.3 MMA (Coated Electrode) Welding Setup
- Connect the electrode cable with its clamp to the positive (+) terminal on the front panel.
- Connect the ground cable with its clamp to the negative (-) terminal on the front panel.
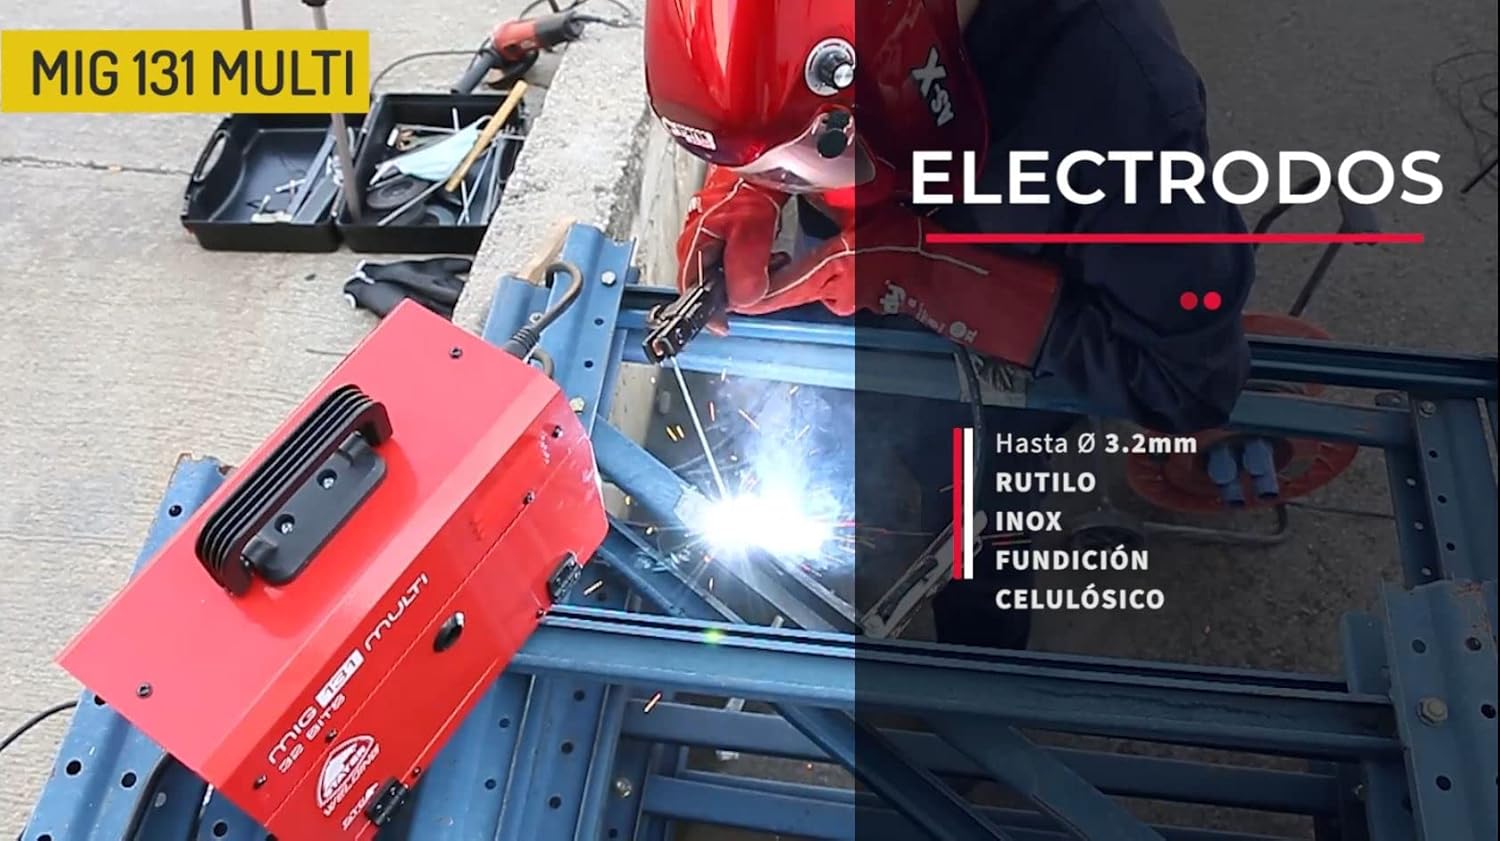
- Securely insert the desired coated electrode (up to Ø 3.2mm, suitable for Rutile, Stainless Steel, Cast Iron, Cellulosic) into the electrode holder.
- ต่อสายดิน clamp สู่ชิ้นงาน
5.4 TIG Lift Arc Welding Setup
- Connect the TIG torch (not included, but the integrated torch is for MIG/Flux) to the negative (-) terminal. The product description mentions an integrated torch for versatility, but TIG Lift Arc typically uses a separate TIG torch. For TIG Lift Arc, the TIG torch must go to the negative terminal.
- Connect the ground cable with its clamp ไปยังขั้วบวก (+)
- Install a tungsten electrode (maximum 2.0mm diameter) into the TIG torch.
- If using inert gas (e.g., Argon), connect the gas hose from the regulator to the TIG torch.
- ต่อสายดิน clamp สู่ชิ้นงาน
6. คู่มือการใช้งาน
6.1 Flux Core Welding (FCAW)
- เปิดเครื่องเชื่อม
- Select the 'FLUX' mode on the control panel.
- ปรับระดับเสียงtage and wire speed according to the wire diameter and material thickness. Start with recommended settings and fine-tune as needed. The machine offers adjustable wire speed with current and voltage, up to 120A and 11m/min.
- Position the integrated torch at the start of the weld joint.
- Press the trigger on the torch to start welding. Maintain a consistent travel speed and arc length.
6.2 MMA (Coated Electrode) Welding
- เปิดเครื่องเชื่อม
- Select the 'MMA' mode on the control panel.
- Adjust the current (Amperage) based on the electrode type and diameter, and the material thickness. The machine supports electrodes from 1.6mm to 3.2mm.
- จุดประกายไฟโดยแตะอิเล็กโทรดลงบนชิ้นงานเบาๆ แล้วยกขึ้นเล็กน้อยอย่างรวดเร็วเพื่อสร้างประกายไฟ
- Maintain a consistent arc length and travel speed to create a uniform weld bead.
รูปที่ 4: อดีตample of MMA (Coated Electrode) welding in action.
6.3 TIG Lift Arc Welding
- เปิดเครื่องเชื่อม
- Select the 'LIFT TIG' mode on the control panel.
- Adjust the current (Amperage) based on the tungsten electrode diameter and material thickness. The machine supports tungsten electrodes up to 2.0mm.
- Initiate the arc by gently touching the tungsten electrode to the workpiece and then lifting it slightly. The arc will ignite without high-frequency start.
- Maintain a short arc length and feed filler rod (if required) into the weld puddle.

รูปที่ 5: อดีตample of TIG Lift Arc welding, suitable for carbon steel and stainless steel.
7. การบำรุงรักษา
Regular maintenance ensures the longevity and optimal performance of your welding equipment.
- การทำความสะอาด: Periodically clean the machine's exterior with a dry, soft cloth. Use compressed air to blow out dust from inside the machine, especially from cooling vents, ensuring the power is disconnected first.
- การตรวจสอบสายเคเบิล: Regularly inspect all cables (power, ground, electrode, torch) for cuts, fraying, or damage. Replace damaged cables immediately.
- การบำรุงรักษาหัวเชื่อม: For Flux Core, regularly check and clean the contact tip and nozzle. For TIG, ensure the tungsten electrode is sharp and free of contamination.
- พื้นที่จัดเก็บ: Store the welding machine in a clean, dry environment, protected from dust and moisture.
8 การแก้ไขปัญหา
This section addresses common issues you might encounter with your Stayer MIG 131 Multi welding equipment.
| ปัญหา | สาเหตุที่เป็นไปได้ | สารละลาย |
|---|---|---|
| ไม่มีไฟเข้าเครื่อง | Power cable disconnected, faulty outlet, tripped circuit breaker. | Check power cable connection, test outlet, reset circuit breaker. |
| No arc (MMA/TIG) | การต่อสายดินไม่ดี การตั้งค่ากระแสไฟไม่ถูกต้อง damp electrode (MMA), contaminated tungsten (TIG). | Ensure good ground contact, adjust current, use dry electrodes, clean/sharpen tungsten. |
| Wire feeding issues (Flux Core) | Incorrect wire tension, clogged liner, wrong contact tip size, tangled wire spool. | Adjust wire tension, clean/replace liner, use correct contact tip, untangle wire. |
| ไฟแสดงสถานะความร้อนสูงเกินติดสว่าง | Exceeded duty cycle, blocked cooling vents. | Allow machine to cool down, ensure proper ventilation, clear any obstructions from vents. |
| คุณภาพการเชื่อมไม่ดี | การตั้งค่าไม่ถูกต้อง (กระแสไฟ, ระดับเสียง)tage, wire speed), improper technique, dirty workpiece. | Adjust settings, practice technique, clean workpiece thoroughly. |
9. ข้อมูลจำเพาะ
Technical specifications for the Stayer MIG 131 Multi Welding Equipment:
| คุณสมบัติ | ข้อมูลจำเพาะ |
|---|---|
| ผู้ผลิต | ผู้เข้าพัก |
| หมายเลขรุ่น | 1.2682 |
| กระบวนการเชื่อม | Flux Core (FCAW), TIG Lift Arc, MMA (Coated Electrode) |
| ประเภทพลังงาน | ไฟฟ้ากระแสสลับ (230V) |
| ไม่มีโหลดVoltage | 60 Vdc |
| Current Range (X=30%) | 20-120 A |
| Flux Core Wire Diameter | 0.8mm - 1.0mm (up to 1kg spool) |
| MMA Electrode Diameter | 1.6มม. - 3.2มม. |
| TIG Tungsten Electrode Diameter | สูงสุด 2.0มม. |
| ขนาด (กว้าง x ยาว x สูง) | 26.8 x 16.6 x 36.2 cm (Package: 39.7 x 30.1 x 24.7 cm) |
| น้ำหนัก | 5.8 kg (Package: 7.26 kg) |
| สี | สีแดง |
| ประเทศต้นกำเนิด | ประเทศเยอรมนี |
| มาตรฐานยุโรป | 2011/65/EU, 2014/35/EU, 2014/30/EU, EN 60974 |
10. การรับประกันและการสนับสนุน
Your Stayer MIG 131 Multi Welding Equipment comes with a manufacturer's warranty. Please refer to the warranty information included in your package for details on coverage and duration. For technical support, spare parts, or service inquiries, please contact your authorized Stayer dealer or visit the official Stayer webเว็บไซต์.
ขณะนี้ยังไม่มีข้อมูลเกี่ยวกับความพร้อมของอะไหล่


