การแนะนำ
The Yamaha AG03MK2 Live Streaming Kit is a comprehensive setup designed for high-quality audio streaming and recording. This kit includes the AG03MK2 3-channel mixer, a YCM01 Cardioid Condenser microphone, YH-MT1 high-fidelity studio headphones, and an XLR mic cable. This manual provides essential information for setting up, operating, and maintaining your equipment to ensure optimal performance.
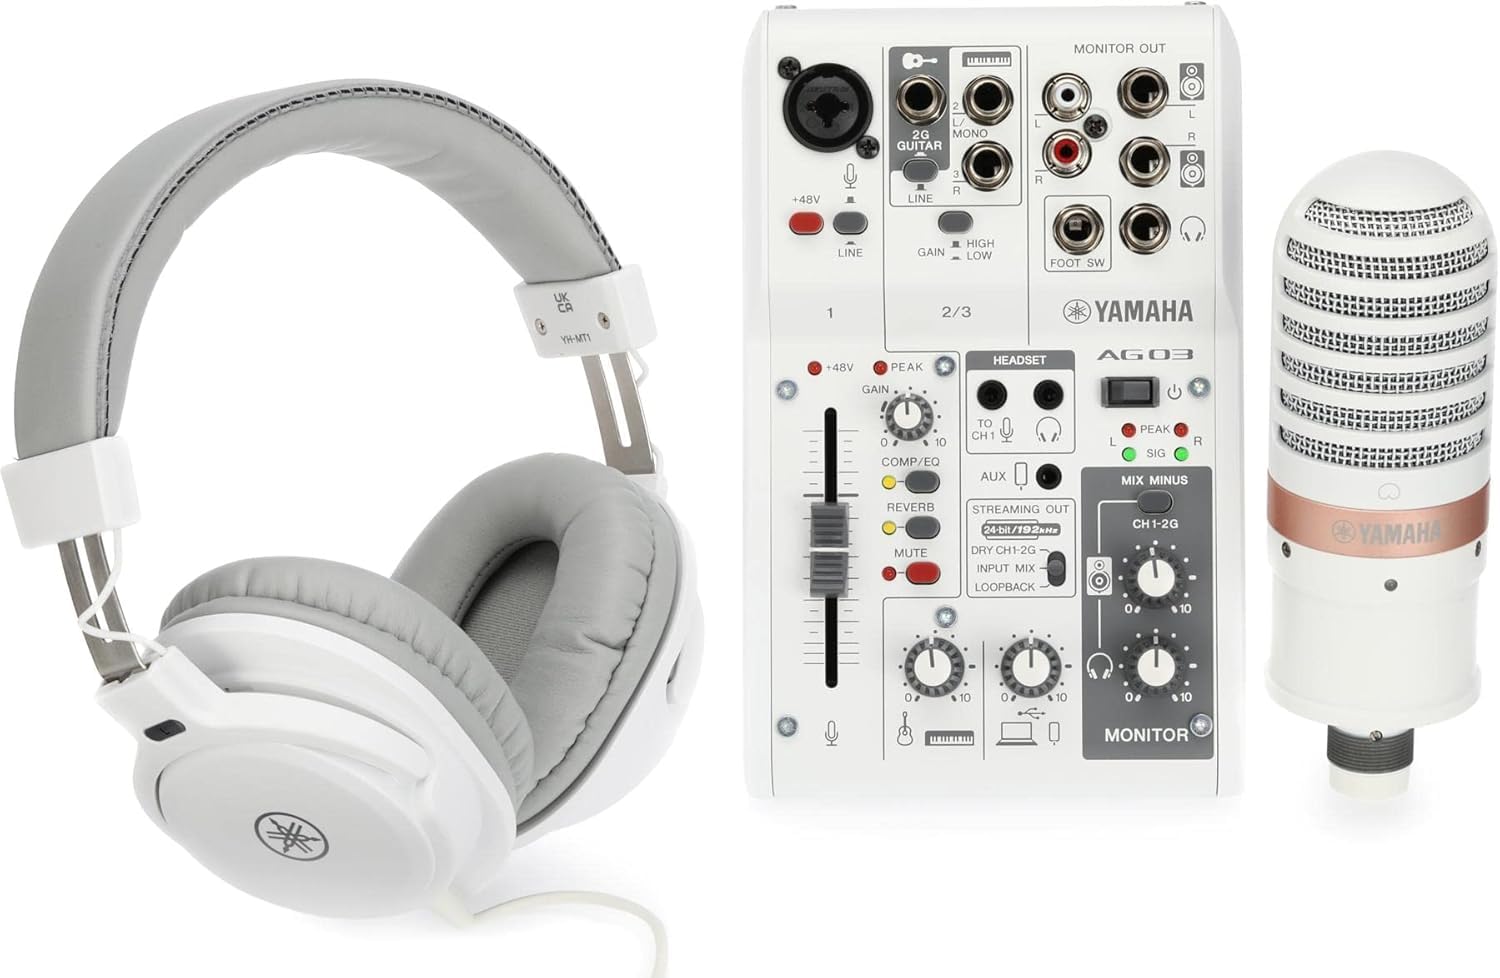
Image: The Yamaha AG03MK2 Live Streaming Kit, showcasing the mixer, microphone, and headphones.
มีอะไรอยู่ในกล่อง
Your Yamaha AG03MK2 Live Streaming Kit includes the following components:
- Yamaha AG03MK2 3-channel mixer/USB interface
- YCM01 Cardioid Condenser microphone
- YH-MT1 high-fidelity studio quality headphones
- สายไมค์ XLR
- Power adapter (for mixer)
- USB cable (for mixer to computer connection)
การตั้งค่า
Follow these steps to set up your Yamaha AG03MK2 Live Streaming Kit:
- การเชื่อมต่อไฟฟ้า: Connect the supplied AC power adapter to the mixer and plug it into a power outlet. Ensure the mixer's power switch is in the OFF position before connecting.
- การเชื่อมต่อ USB: Connect the mixer to your computer using the provided USB cable. This enables audio transfer and power if using USB bus power.
- การเชื่อมต่อไมโครโฟน: Connect the YCM01 condenser microphone to Channel 1 of the AG03MK2 mixer using the XLR mic cable. Ensure the +48V Phantom Power switch is engaged for the condenser microphone to function.
- การเชื่อมต่อหูฟัง: Plug the YH-MT1 headphones into the PHONES jack on the mixer for monitoring your audio.
- อินพุตเพิ่มเติม: The AG03MK2 offers flexible connectivity for various instruments and devices. You can connect a guitar or line instrument to the 1/4-inch jack input, and a smartphone via the 4-pole mini jack (TRRS) for input and output capabilities.

Image: Flexible connectivity options for the AG03MK2, including microphone, guitar/stereo line, USB to host, headset, and 4-pole mini input/output.

Image: The LOOPBACK function diagram, showing how audio from the microphone and computer music can be mixed and streamed.
Video: A Closer Look at the Yamaha AG03MK2
Video Description: This video provides a closer look at the Yamaha AG03MK2 mixer, highlighting its features and design.
คำแนะนำการใช้งาน
The AG03MK2 mixer offers intuitive controls for managing your audio. Familiarize yourself with the following:
- เฟเดอร์และลูกบิด: Adjust input levels, effects, and monitoring volumes using the dedicated faders and rotary knobs.
- COMP/EQ: Utilize the built-in compressor and equalizer to shape your sound for clarity and presence.
- ผล: Apply various digital effects like reverb to add depth and atmosphere to your vocals or instruments.
- ฟังก์ชันการวนซ้ำ: This feature allows you to mix all input signals (microphone, instruments) with audio playback from your computer and send the combined signal back to your streaming software. This is ideal for live streaming with background music or sound effects.
- AG Controller Software: For precise control over DSP effects and other parameters, download and install the AG Controller software on your computer. This software provides both Simple and Detail modes for adjusting settings.

Image: A hand adjusting a fader on the AG03MK2 mixer, demonstrating simple and intuitive sonic control.

Image: A smartphone displaying the AG Controller app, offering precise control over mixer settings.
Video: Yamaha AG MKII Streaming Mixers and Microphones Overview
คำอธิบายวิดีโอ: วิดีโอนี้ให้ข้อมูลโดยรวมview of the AG MKII series streaming mixers and microphones, demonstrating their use in various streaming scenarios.
การซ่อมบำรุง
To ensure the longevity and optimal performance of your Yamaha AG03MK2 Live Streaming Kit, follow these maintenance guidelines:
- การทำความสะอาด: Use a soft, dry cloth to clean the mixer, microphone, and headphones. Avoid using liquid cleaners or solvents, as they may damage the finish or internal components.
- พื้นที่จัดเก็บ: When not in use, store the kit in a cool, dry place away from direct sunlight and extreme temperatures. Protect the microphone from dust and moisture.
- การดูแลสายเคเบิล: Avoid bending or twisting cables excessively. Store them neatly to prevent damage.
- อัพเดตเฟิร์มแวร์: ตรวจสอบ Yamaha เป็นระยะ website for any available firmware updates for your AG03MK2 mixer to ensure you have the latest features and bug fixes.
การแก้ไขปัญหา
If you encounter issues with your AG03MK2 Live Streaming Kit, refer to the following common troubleshooting tips:
- No Sound/Faint Sound:
- ตรวจสอบให้แน่ใจว่าสายเคเบิลทั้งหมดเชื่อมต่ออย่างแน่นหนา
- Check that the mixer is powered on.
- Verify that input gain and channel level knobs are set appropriately.
- For condenser microphones, confirm that +48V Phantom Power is enabled.
- If using USB audio, ensure the USB button is depressed and the correct input/output device is selected in your computer's sound settings.
- Distorted/Noisy Sound:
- Lower the GAIN and LEVEL knobs to prevent clipping (indicated by PEAK LEDs).
- Engage the PAD switch for high-output devices to reduce input sensitivity.
- Activate the HPF (High-Pass Filter) to reduce unwanted low-frequency noise.
- Effects Not Applied:
- Ensure the FX ON switch is engaged.
- Adjust the FX RTN LEVEL knob to an appropriate level.
- ปัญหาซอฟต์แวร์/ไดรเวอร์: If experiencing issues with computer integration, ensure you have the latest Yamaha Steinberg USB Driver installed. For macOS users, be aware that some older drivers might require disabling System Integrity Protection for full functionality, which is a security consideration.
ข้อมูลจำเพาะ
| คุณสมบัติ | ข้อมูลจำเพาะ |
|---|---|
| น้ำหนักสินค้า | 1.76 ปอนด์ (0.8 กิโลกรัม) |
| ขนาดสินค้า | 18.85 x 10.1 x 5.95 นิ้ว |
| หมายเลขรุ่น | AG03MK2 W LSPK |
| ชื่อสี | สีขาว |
| อุปกรณ์ที่รองรับ | หูฟัง |
| ประเภทขั้วต่อ | ขั้วต่อ USB, XLR |
| ประเภทวัสดุ | สแตนเลส |
| แหล่งพลังงาน | สายไฟ |
| จำนวนช่องสัญญาณ | 3 |
| เทคโนโลยีการเชื่อมต่อ | ยูเอสบี |
การรับประกันและการสนับสนุน
สำหรับข้อมูลการรับประกันและการสนับสนุนทางเทคนิค โปรดดูที่เว็บไซต์อย่างเป็นทางการของ Yamaha website or contact Yamaha customer service. Keep your proof of purchase for any warranty claims.


