การแนะนำ
This manual provides essential information for the proper setup, operation, and maintenance of your Smart Tech 24HN10T2 HD LED TV. Please read this manual thoroughly before using the television and retain it for future reference.
ข้อมูลด้านความปลอดภัย
- ตรวจสอบให้แน่ใจว่ามีการระบายอากาศที่เหมาะสมรอบๆ ทีวี
- อย่าให้ทีวีโดนฝนหรือความชื้น
- Avoid placing the TV near heat sources or in direct sunlight.
- ใช้เฉพาะสายไฟที่ให้มาพร้อมกับทีวีเท่านั้น
- อย่าเปิดทีวีasinง. ส่งต่อการบริการทั้งหมดให้กับบุคลากรที่มีคุณสมบัติ
- เก็บแบตเตอรี่ให้พ้นจากมือเด็ก
เนื้อหาแพ็คเกจ
ก่อนดำเนินการติดตั้ง โปรดตรวจสอบว่าบรรจุภัณฑ์มีรายการทั้งหมดหรือไม่:
- Smart Tech 24HN10T2 HD LED TV
- รีโมทคอนโทรล (พร้อมแบตเตอรี่ AAA 2 ก้อน)
- ชั้นวางทีวี (2 ชิ้น)
- สกรูสำหรับชุดขาตั้ง
- สายไฟ
- คู่มือการใช้งาน (เอกสารนี้)
การตั้งค่า
1. การติดตั้งขาตั้งทีวี
- วางทีวีคว่ำหน้าลงบนพื้นผิวที่นุ่มและสะอาดอย่างระมัดระวังเพื่อป้องกันไม่ให้หน้าจอเสียหาย
- จัดวางขาตั้งแต่ละชิ้นให้ตรงกับช่องที่ตรงกันที่ด้านล่างของทีวี
- ยึดขาตั้งด้วยสกรูที่ให้มา ตรวจสอบให้แน่ใจว่ายึดแน่น
- ยกทีวีขึ้นอย่างระมัดระวังแล้ววางบนพื้นผิวที่มั่นคงและระดับ
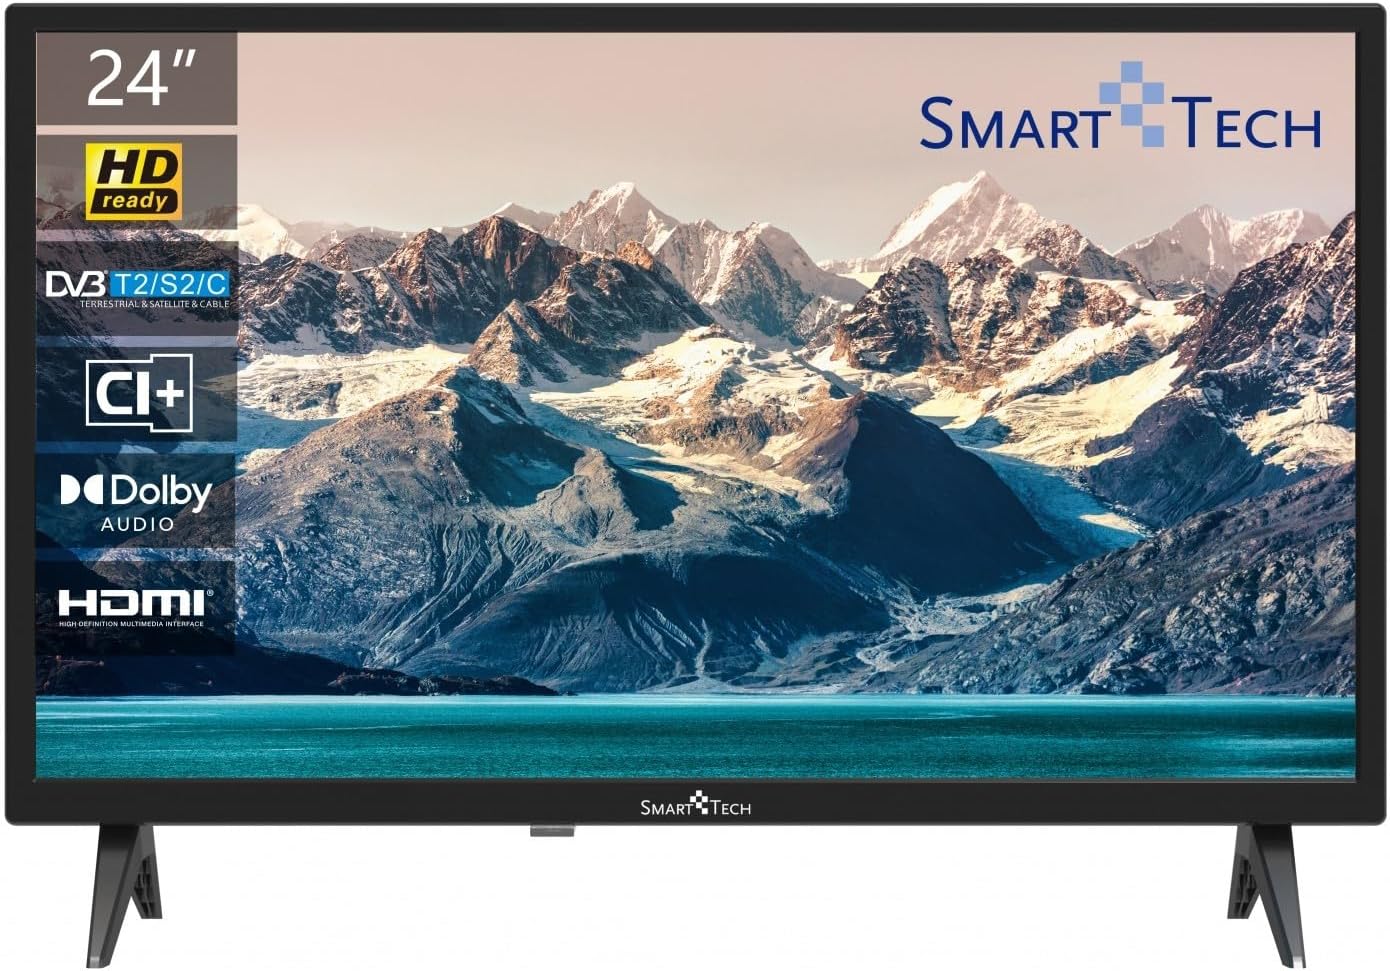
ภาพ: ด้านหน้า view of the Smart Tech 24HN10T2 HD LED TV with its attached side stands. The screen displays a scenic mountain and lake landscape. The TV features a slim bezel and the Smart Tech logo at the bottom center.
2. การเชื่อมต่อสายเคเบิล
- พลัง: เชื่อมต่อสายไฟเข้ากับช่องรับไฟของทีวี จากนั้นจึงเชื่อมต่อกับเต้ารับที่ผนัง
- เสาอากาศ/สายเคเบิล: Connect your antenna or cable TV signal to the "ANT IN" port.
- อุปกรณ์ HDMI: Connect external devices like a Blu-ray player, game console, or set-top box to one of the 3 HDMI ports.
- อุปกรณ์ยูเอสบี: Insert USB drives for media playback into one of the 2 USB ports.
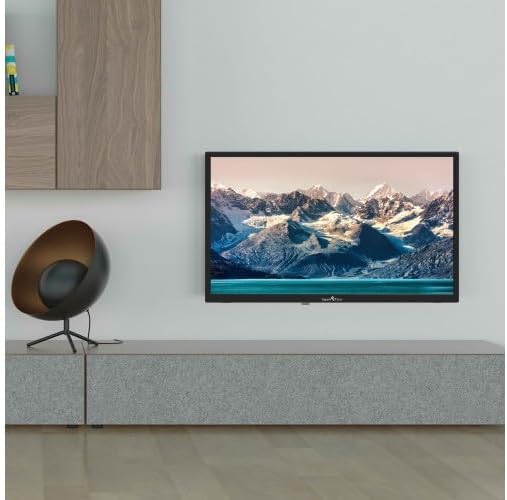
Image: The Smart Tech 24HN10T2 HD LED TV mounted on a wall above a media console, demonstrating its compatibility with VESA 100x100 wall mounts. A decorative chair is visible to the left.
3. การเปิดเครื่องครั้งแรก
After connecting all necessary cables, plug the TV into a power outlet. Press the power button on the remote control or on the TV itself to turn it on. The initial setup wizard will guide you through language selection, country, and channel scanning.
การใช้งานทีวี
การควบคุมระยะไกลมากกว่าview

Image: A diagram illustrating the dimensions of the Smart Tech 24HN10T2 HD LED TV (551mm width, 377mm height with stand, 180mm depth with stand) and an image of the included remote control, showing its various buttons for navigation, volume, channel, and input selection.
โปรดทำความคุ้นเคยกับปุ่มต่างๆ บนรีโมทคอนโทรล:
- ปุ่มเปิด/ปิด: เปิดหรือปิดทีวี
- ปุ่มอินพุต/แหล่งที่มา: Selects the input source (HDMI1, HDMI2, HDMI3, TV, USB).
- เพิ่ม/ลดระดับเสียง: ปรับระดับเสียง
- ช่องขึ้น/ลง: เปลี่ยนช่องทีวี
- ปุ่มนำทาง (ลูกศรและปุ่มตกลง): ใช้สำหรับนำทางเมนูและยืนยันการเลือก
- ปุ่มเมนู: เข้าถึงเมนูการตั้งค่าหลัก
- ปุ่มออก: ออกจากเมนูหรือฟังก์ชันปัจจุบัน
- การควบคุมการเล่นสื่อ: Play, Pause, Stop, Fast Forward, Rewind for USB media.
การเลือกแหล่งที่มาของข้อมูล
To switch between connected devices (e.g., a game console on HDMI1 or a Blu-ray player on HDMI2), press the ป้อนข้อมูล or แหล่งที่มา button on your remote control. Use the arrow keys to select the desired input and press OK.
การนำทางเมนูและการตั้งค่า
กดปุ่ม เมนู button to access TV settings. You can adjust picture settings (brightness, contrast, color), sound settings (Dolby Audio, equalizer), channel settings, and system settings (time, language, software update).
- การตั้งค่ารูปภาพ: Adjust modes like Standard, Dynamic, Movie, or customize settings manually.
- การตั้งค่าเสียง: Select sound modes (Standard, Music, Movie, User) and adjust bass/treble. The TV supports Dolby Audio for enhanced sound experience.
- การสแกนช่อง: If you haven't done so during initial setup, perform an auto-scan to find available channels via the Triple Tuner (DVB-T2/S2/C).
การเล่นสื่อ USB
Insert a USB flash drive into one of the TV's USB ports. The TV will typically prompt you to open the media browser. If not, select the USB input source. You can play various media formats including videos (H.265 supported), photos, and music.
การซ่อมบำรุง
การทำความสะอาดทีวี
- ควรถอดปลั๊กทีวีทุกครั้งก่อนทำความสะอาด
- ใช้ผ้าแห้งนุ่มและไม่ขุยเช็ดหน้าจอและตู้
- สำหรับรอยฝังแน่นบนหน้าจอ ให้เช็ดเบาๆampเทน้ำหรือน้ำยาทำความสะอาดหน้าจอชนิดพิเศษลงบนผ้า (อย่าฉีดลงบนหน้าจอโดยตรง)
- หลีกเลี่ยงการใช้สารทำความสะอาดที่มีฤทธิ์กัดกร่อน ขี้ผึ้งหรือตัวทำละลาย
พื้นที่จัดเก็บ
หากต้องเก็บรักษาโทรทัศน์เป็นเวลานาน ควรตัดการเชื่อมต่อจากปลั๊กไฟ ถอดแบตเตอรี่ออกจากรีโมท และเก็บไว้ในที่แห้งและเย็น โดยควรเก็บไว้ในบรรจุภัณฑ์เดิม
การแก้ไขปัญหา
| ปัญหา | สาเหตุที่เป็นไปได้ / วิธีแก้ไข |
|---|---|
| ไม่มีไฟฟ้า | ตรวจสอบว่าสายไฟเสียบเข้ากับทีวีและเต้ารับที่ผนังอย่างแน่นหนาหรือไม่ ตรวจสอบว่าเต้ารับมีไฟอยู่ ลองกดปุ่มเปิด/ปิดบนทีวีดู |
| ไม่มีภาพ / ไม่มีเสียง | Verify the correct input source is selected. Check cable connections (HDMI, antenna). For TV channels, perform a channel scan. |
| คุณภาพของภาพไม่ดี | Check antenna connection or signal strength. Adjust picture settings (brightness, contrast, sharpness) in the menu. Ensure the source device is outputting a high-quality signal. |
| รีโมตคอนโทรลไม่ทำงาน | Check and replace batteries (2 AAA). Ensure there are no obstructions between the remote and the TV's IR sensor. |
| USB media not playing | Ensure the USB drive is formatted correctly (FAT32 recommended). Check if the media file format is supported by the TV. Try a different USB port. |
ข้อมูลจำเพาะ
| คุณสมบัติ | รายละเอียด |
|---|---|
| ยี่ห้อ | สมาร์ทเทค |
| หมายเลขรุ่น | 24HN10T2 |
| ขนาดหน้าจอ | 24 นิ้ว (60 ซม.) |
| เทคโนโลยีการแสดงผล | นำ |
| ปณิธาน | ความคมชัดสูง (1366 x 768) |
| อัตราการรีเฟรช | 60 เฮิรตซ์ |
| คุณสมบัติพิเศษ | Triple Tuner (DVB-T2/S2/C), HEVC Advance, Dolby Audio |
| การเชื่อมต่อ | 3 x HDMI, 2 x ยูเอสบี |
| อัตราส่วนภาพ | 16:9 น. |
| ขนาดสินค้า (รวมขาตั้ง) | ขนาด 10D x 60W x 37H ซม. (โดยประมาณ) |
| แหล่งพลังงาน | ไฟฟ้ากระแสสลับ |
การรับประกันและการสนับสนุน
This product is covered by a standard manufacturer's warranty. For specific warranty terms and conditions, please refer to the warranty card included with your purchase or contact your retailer. For technical support or service inquiries, please contact Smart Tech customer service through their official webเว็บไซต์หรือข้อมูลติดต่อที่ระบุไว้ในเอกสารผลิตภัณฑ์ของคุณ
โปรดทราบว่า ขณะนี้ยังไม่มีข้อมูลเกี่ยวกับความพร้อมของอะไหล่และการรับประกันการอัปเดตซอฟต์แวร์


