1. บทนำ
Thank you for choosing the MEER 5G WiFi Mini Projector. This portable device is designed to provide a high-quality viewing experience for movies, games, and presentations, both indoors and outdoors. Featuring advanced 5G Wi-Fi connectivity, enhanced resolution, and a compact design, it offers versatile entertainment options. This manual provides detailed instructions for setup, operation, maintenance, and troubleshooting to ensure optimal performance and longevity of your projector.
2. ข้อมูลด้านความปลอดภัย
- แหล่งจ่ายไฟ: ใช้เฉพาะอะแดปเตอร์แปลงไฟที่ให้มาเท่านั้น ตรวจสอบให้แน่ใจว่าแหล่งจ่ายไฟตรงกับแรงดันไฟฟ้าtagข้อกำหนดที่ระบุไว้บนอะแดปเตอร์
- การระบายอากาศ : อย่าปิดกั้นช่องระบายอากาศ ตรวจสอบให้แน่ใจว่ามีการระบายอากาศรอบ ๆ โปรเจ็กเตอร์อย่างเพียงพอเพื่อป้องกันความร้อนสูงเกินไป
- น้ำและความชื้น: ควรเก็บโปรเจคเตอร์ให้ห่างจากน้ำ ฝน และความชื้นสูง ห้ามใช้งานขณะมือเปียก
- การปกป้องดวงตา: อย่ามองตรงเข้าไปในเลนส์โปรเจ็กเตอร์เมื่อลamp เปิดอยู่ แสงสว่างจ้าอาจทำให้ปวดตาหรือเกิดความเสียหายต่อดวงตาได้
- การทำความสะอาด: Disconnect the power before cleaning. Use a soft, dry cloth. Avoid liquid cleaners or abrasive materials.
- การจัดการ: โปรดใช้งานโปรเจคเตอร์อย่างระมัดระวัง หลีกเลี่ยงการทำตกหรือการกระแทกอย่างแรง
3. เนื้อหาบรรจุภัณฑ์
กรุณาตรวจสอบแพ็คเกจสำหรับรายการต่อไปนี้:
- MEER YG300 Pro-WIFI Mini Projector
- อะแดปเตอร์แปลงไฟ
- รีโมทคอนโทรล
- สาย HDMI
- เคเบิ้ล AV
- คู่มือการใช้งาน

Image: The MEER YG300 Pro-WIFI Mini Projector with its power adapter, remote controller, HDMI cable, and AV cable.
4. สินค้าหมดview
Familiarize yourself with the various parts and interfaces of your MEER Mini Projector.
ภาพ: โปรเจ็กเตอร์ฉายภาพasing its versatile connectivity ports, including HDMI, USB, and audio output.
- เลนส์: ฉายภาพขึ้นบนจอภาพ
- โฟกัสล้อ: ปรับความคมชัดของภาพที่ฉาย
- แผงควบคุม: Buttons for navigation and settings on the top of the projector.
- พอร์ต DC IN: เชื่อมต่อกับอะแดปเตอร์ไฟ
- พอร์ต HDMI: Connects to devices like laptops, gaming consoles, and TV sticks.
- พอร์ต USB: เชื่อมต่อกับอุปกรณ์ USB เพื่อเล่นสื่อต่างๆ
- ช่องเสียบการ์ด Micro SD: สำหรับเล่นสื่อโดยตรงจาก Micro SD การ์ด
- พอร์ต AV: เชื่อมต่อกับอุปกรณ์รุ่นเก่าโดยใช้สาย AV ที่ให้มาในชุด
- พอร์ตเอาต์พุตเสียง (3.5 มม.): เชื่อมต่อกับลำโพงภายนอกหรือหูฟัง
- ลำโพงในตัว: Provides audio output directly from the projector.
5. การตั้งค่า
- การเชื่อมต่อไฟฟ้า: Connect the power adapter to the DC IN port on the projector and then plug it into a power outlet. The power indicator light will illuminate.
- การจัดวาง: วางโปรเจ็กเตอร์บนพื้นผิวที่มั่นคงและเรียบ เพื่อประสิทธิภาพสูงสุด viewing, position it directly in front of the projection surface (wall or screen).
- เปิดเครื่อง: กดปุ่มเปิด/ปิดบนโปรเจ็กเตอร์หรือรีโมทคอนโทรลเพื่อเปิดอุปกรณ์
- การปรับโฟกัส: Rotate the focus wheel near the lens until the projected image appears clear and sharp.
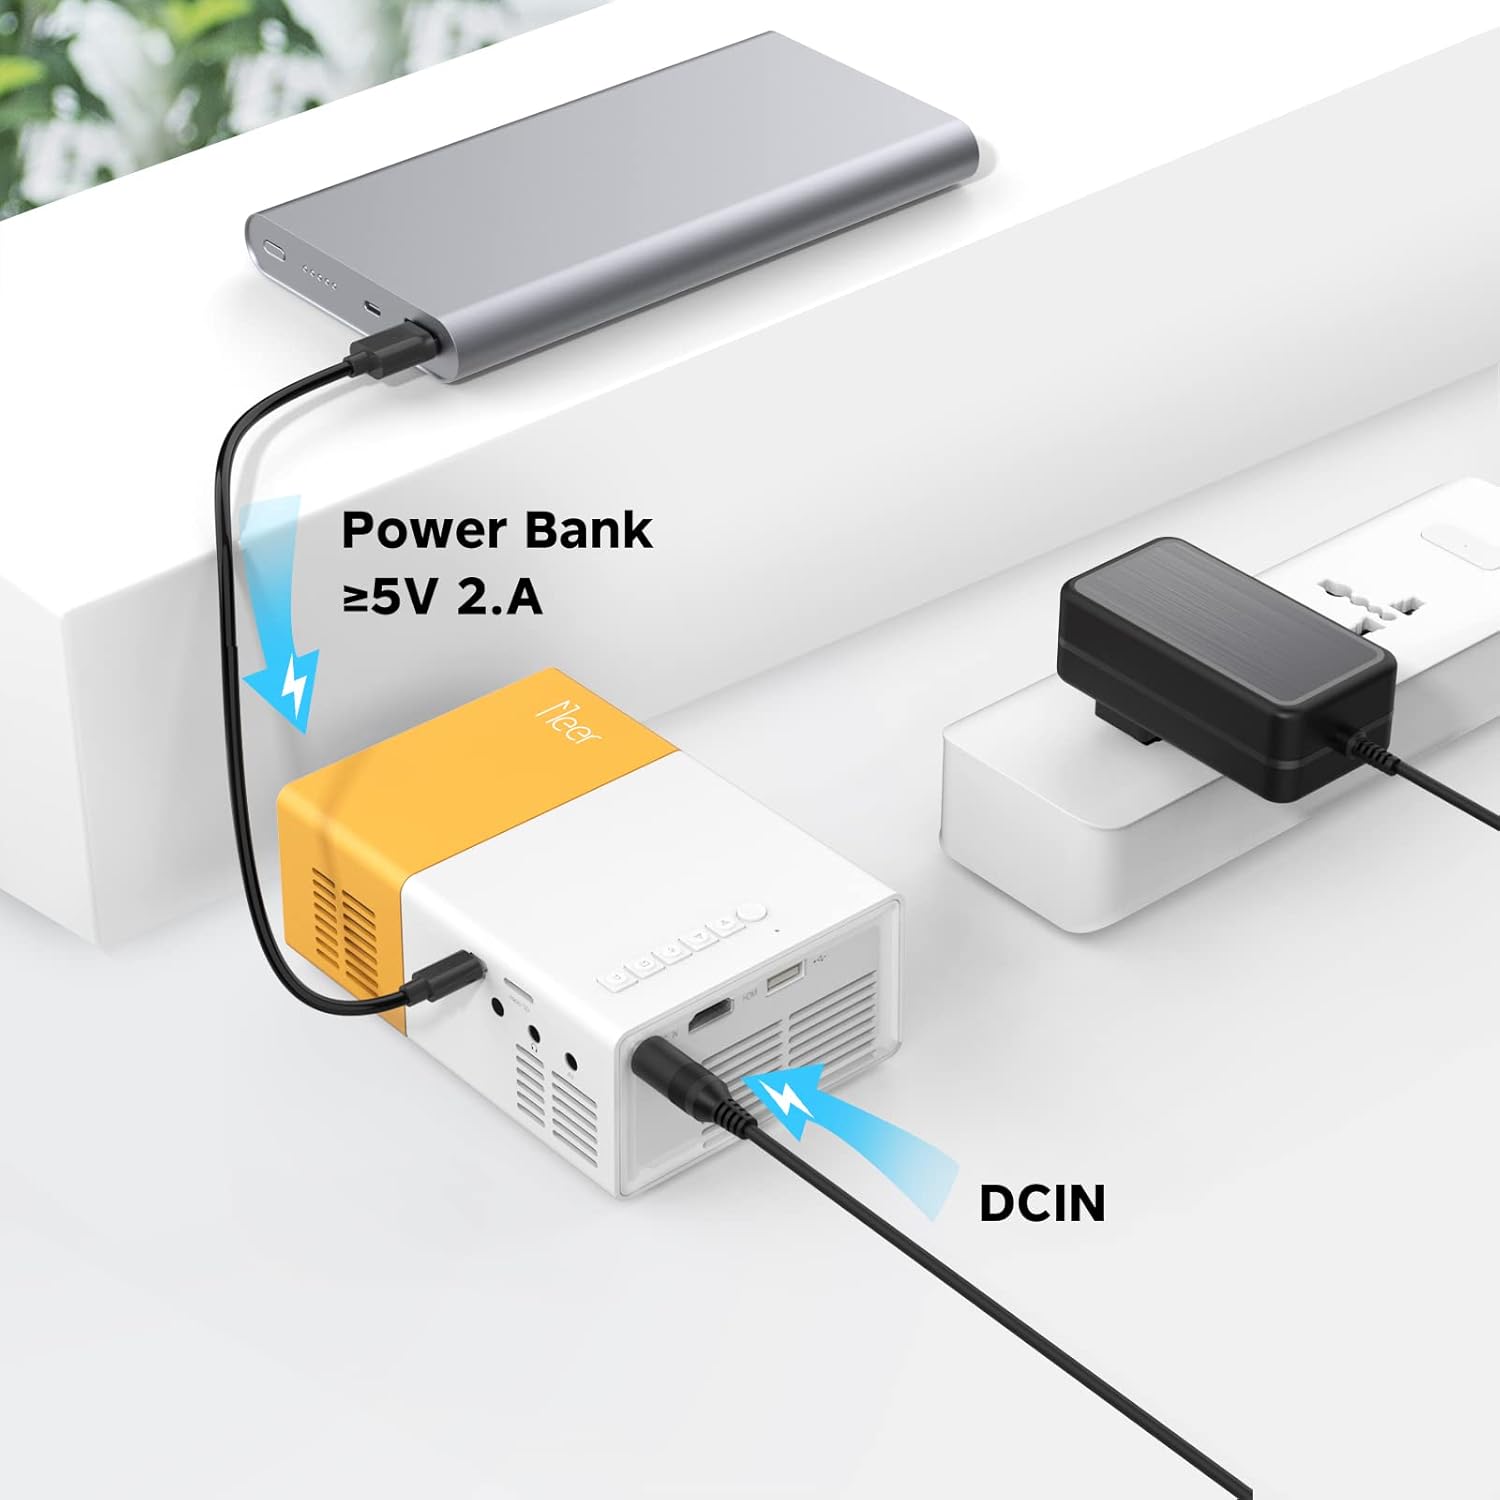
Image: The projector can be powered by a power bank (5V 2A minimum) for portable use.
6. ปฏิบัติการ
6.1 การเชื่อมต่อ Wi-Fi
To enable wireless screen mirroring or casting, connect your projector to a Wi-Fi network:
- From the main menu, navigate to the 'Settings' or 'Wi-Fi' option.
- เลือกเครือข่าย Wi-Fi ที่คุณต้องการจากรายการ
- ป้อนรหัสผ่าน Wi-Fi โดยใช้แป้นพิมพ์บนหน้าจอและยืนยัน
- Once connected, ensure your mobile device is on the same Wi-Fi network.
6.2 Screen Mirroring & Screen Cast
โปรเจ็กเตอร์รองรับการสะท้อนหน้าจอแบบไร้สายสำหรับอุปกรณ์ iOS และ Android
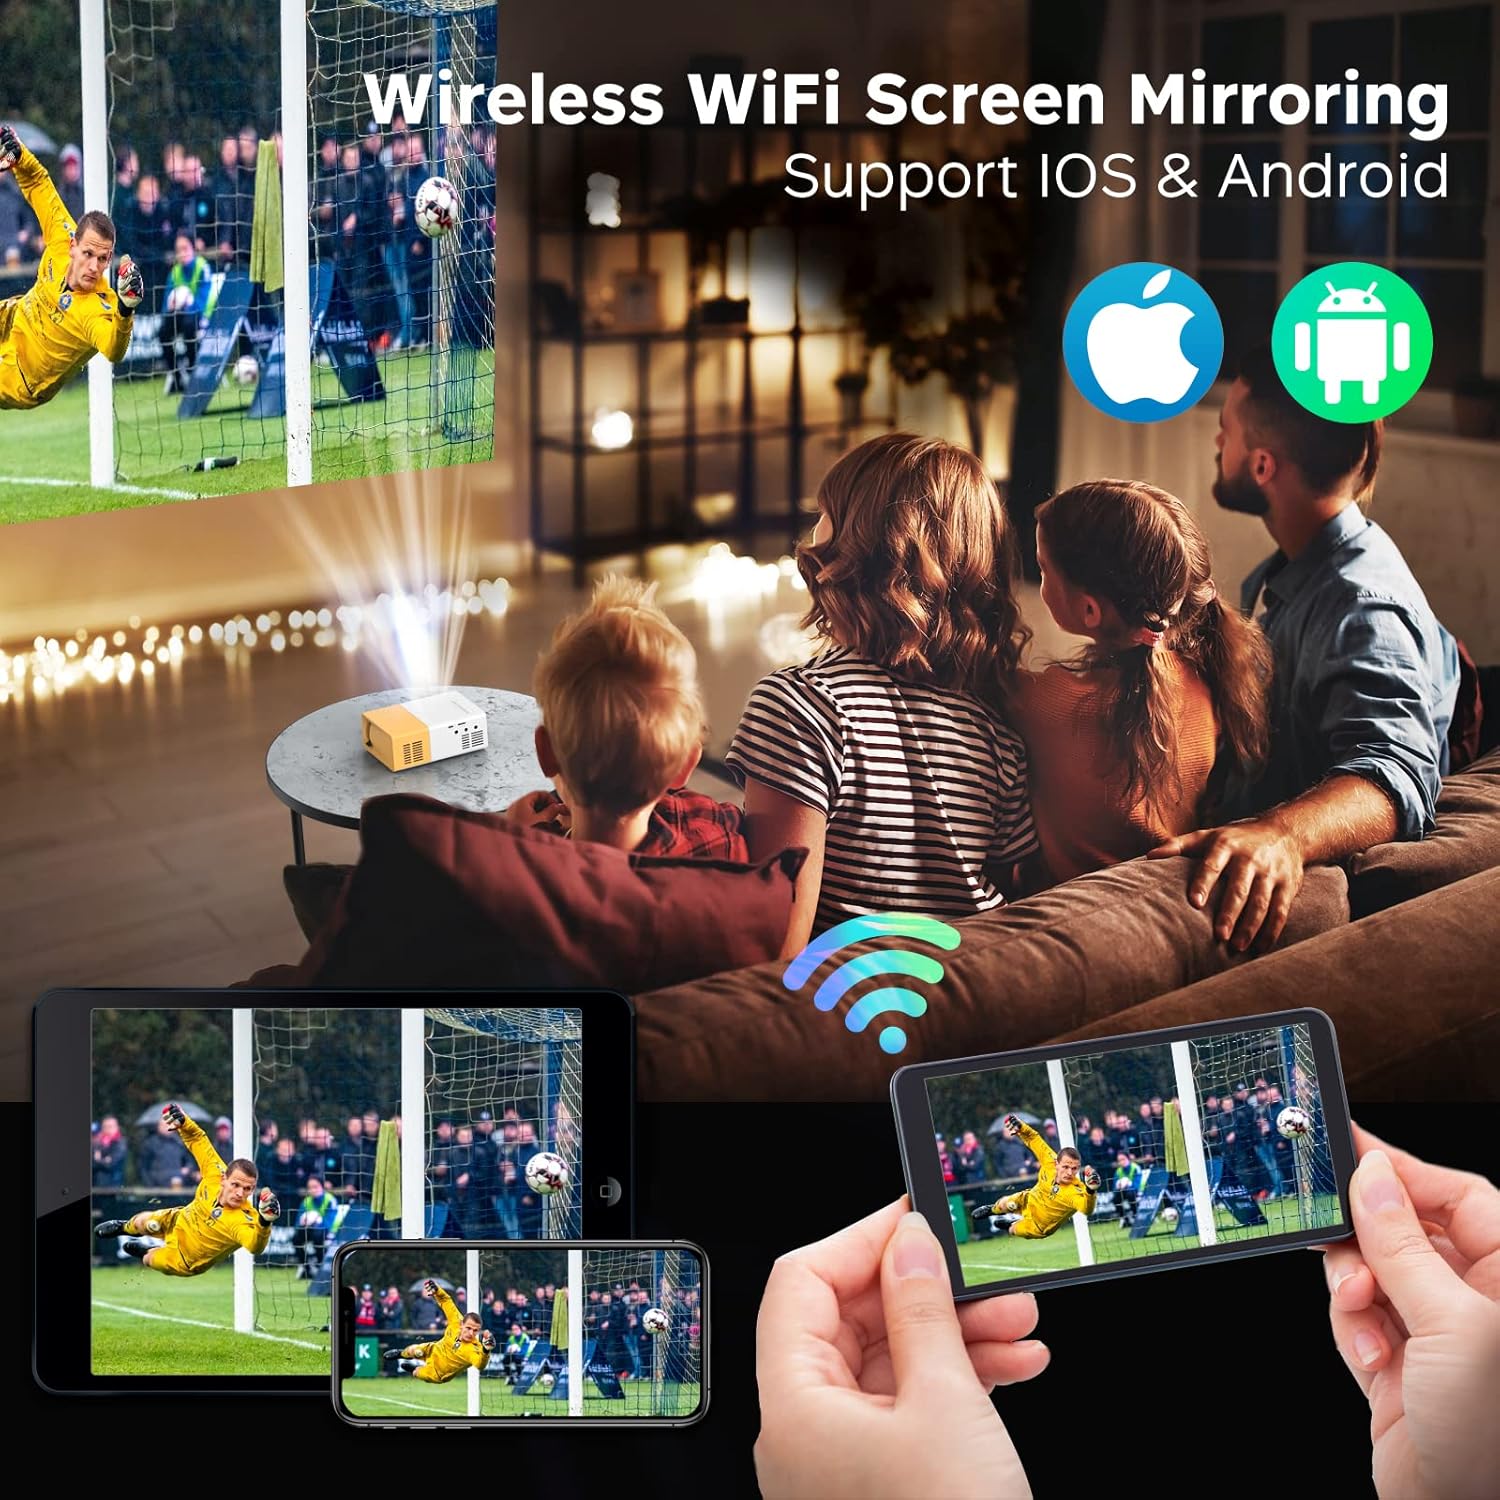
Image: The projector displaying content wirelessly from a smartphone and tablet, illustrating the screen mirroring capability.

Image: Comparison of Screen DLNA (watching video while using phone for other tasks) and Screen Cast (mirroring phone screen directly).
- สำหรับอุปกรณ์ iOS:
- Ensure both projector and iPhone/iPad are connected to the same Wi-Fi network.
- On the projector, select the 'iOS Cast' or 'Screen Mirroring' option.
- On your iOS device, open Control Center and tap 'Screen Mirroring' or 'AirPlay Mirroring'.
- Select the projector's name from the list to begin mirroring.
- สำหรับอุปกรณ์ Android:
- Ensure both projector and Android device are connected to the same Wi-Fi network.
- On the projector, select the 'Android Cast' or 'Screen Mirroring' option.
- On your Android device, enable 'Wireless Display', 'Screen Cast', 'Smart View', or similar function (name varies by device).
- Select the projector's name from the list to begin mirroring.
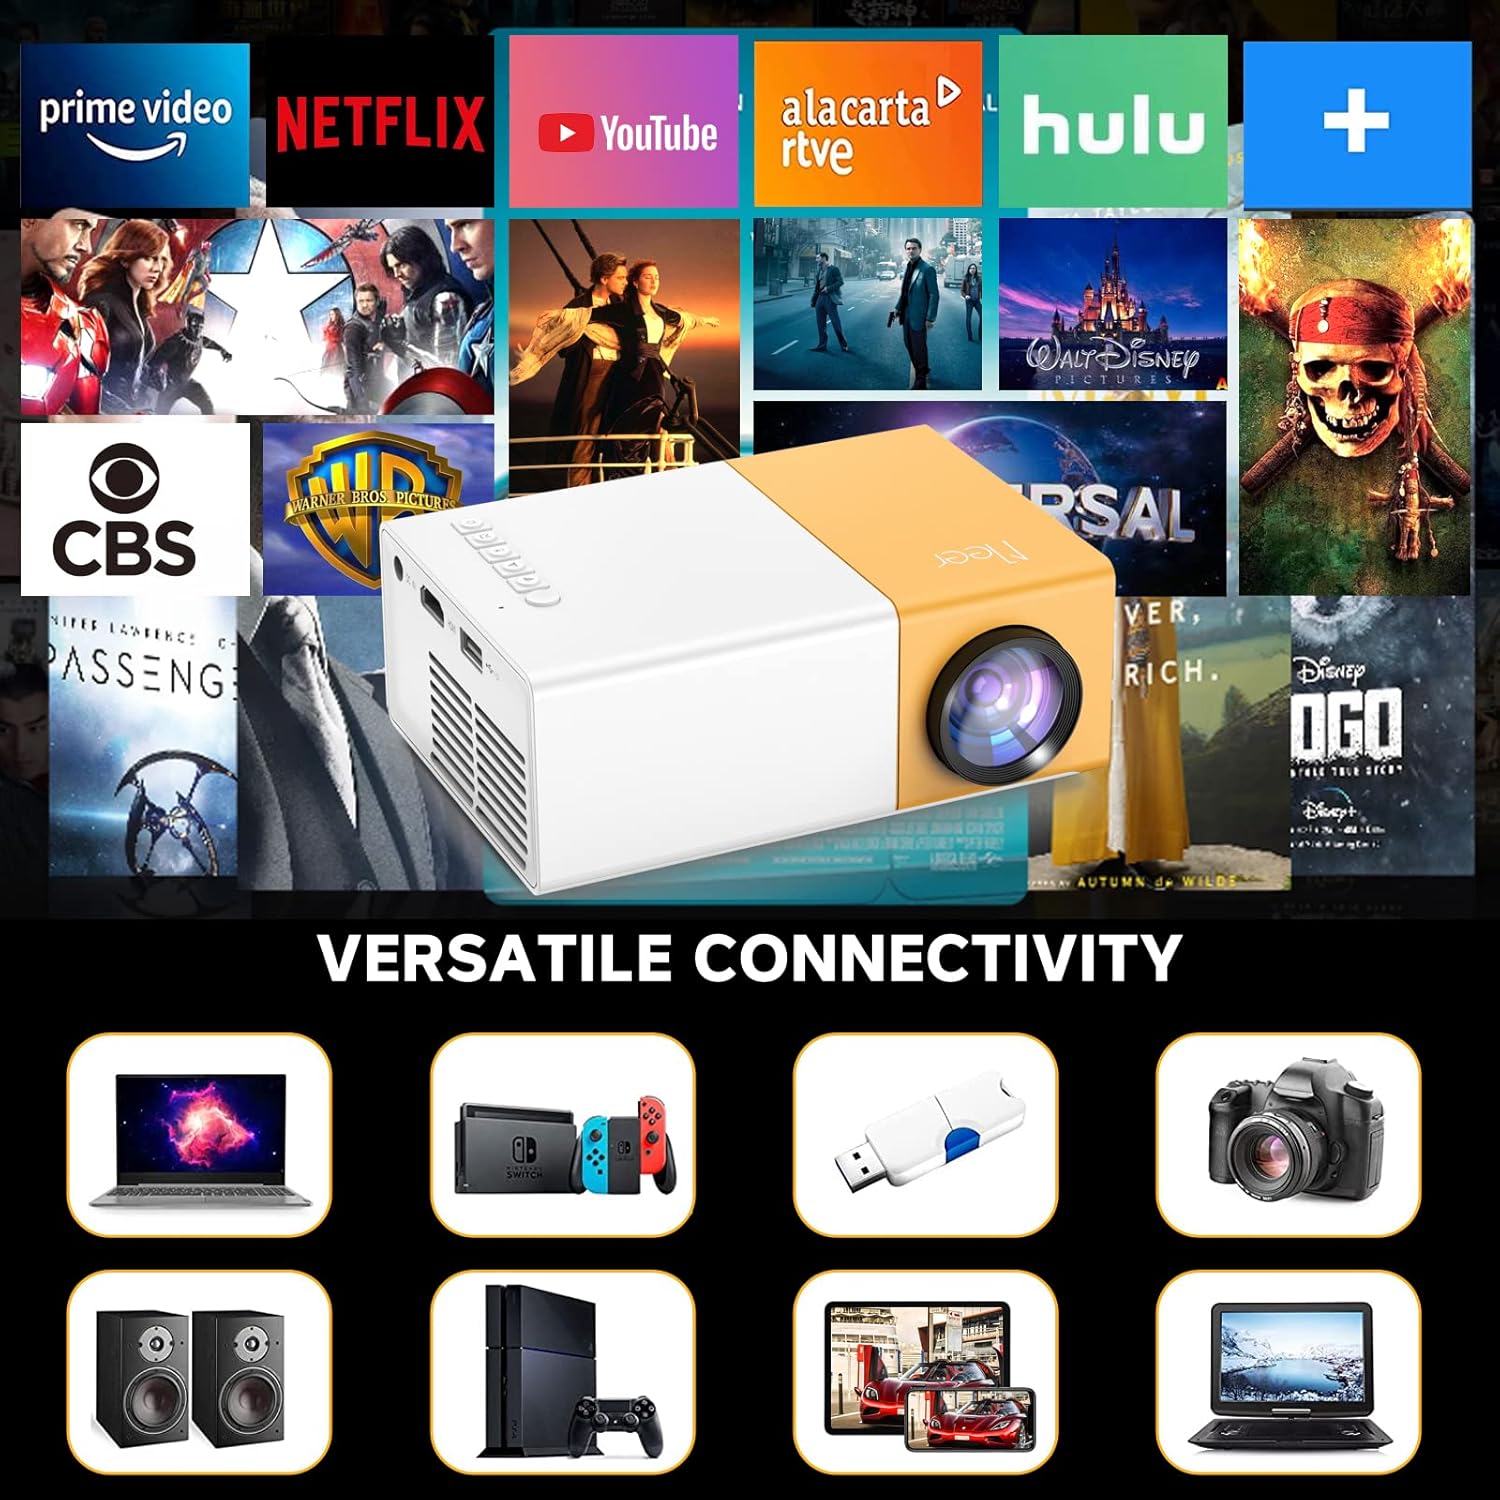
6.3 การเชื่อมต่ออุปกรณ์ภายนอก
โปรเจ็กเตอร์มีพอร์ตหลายพอร์ตสำหรับเชื่อมต่ออุปกรณ์ต่างๆ:

Image: The projector's HDMI port and examples of devices that can be connected, such as laptops, game consoles, and streaming sticks.
- ช่องต่อ HDMI: Connect your laptop, gaming console (PS4, PS5, Switch), TV stick (Firestick, Roku), or Blu-ray player using an HDMI cable. Select 'HDMI' as the input source from the projector's menu.
- ยูเอสบี: Insert a USB flash drive into the USB port. The projector will automatically detect the drive, allowing you to browse and play media files (วิดีโอ, ภาพถ่าย, เพลง)
- เอวี: Use the included AV cable to connect to older devices like DVD players or VCRs. Select 'AV' as the input source.
- ไมโคร SD: Insert a Micro SD card into the dedicated slot. Navigate to the 'Media' or 'SD Card' option in the menu to access files.
6.4 เอาต์พุตเสียง
The projector has a built-in 3W HiFi stereo speaker for direct audio playback.
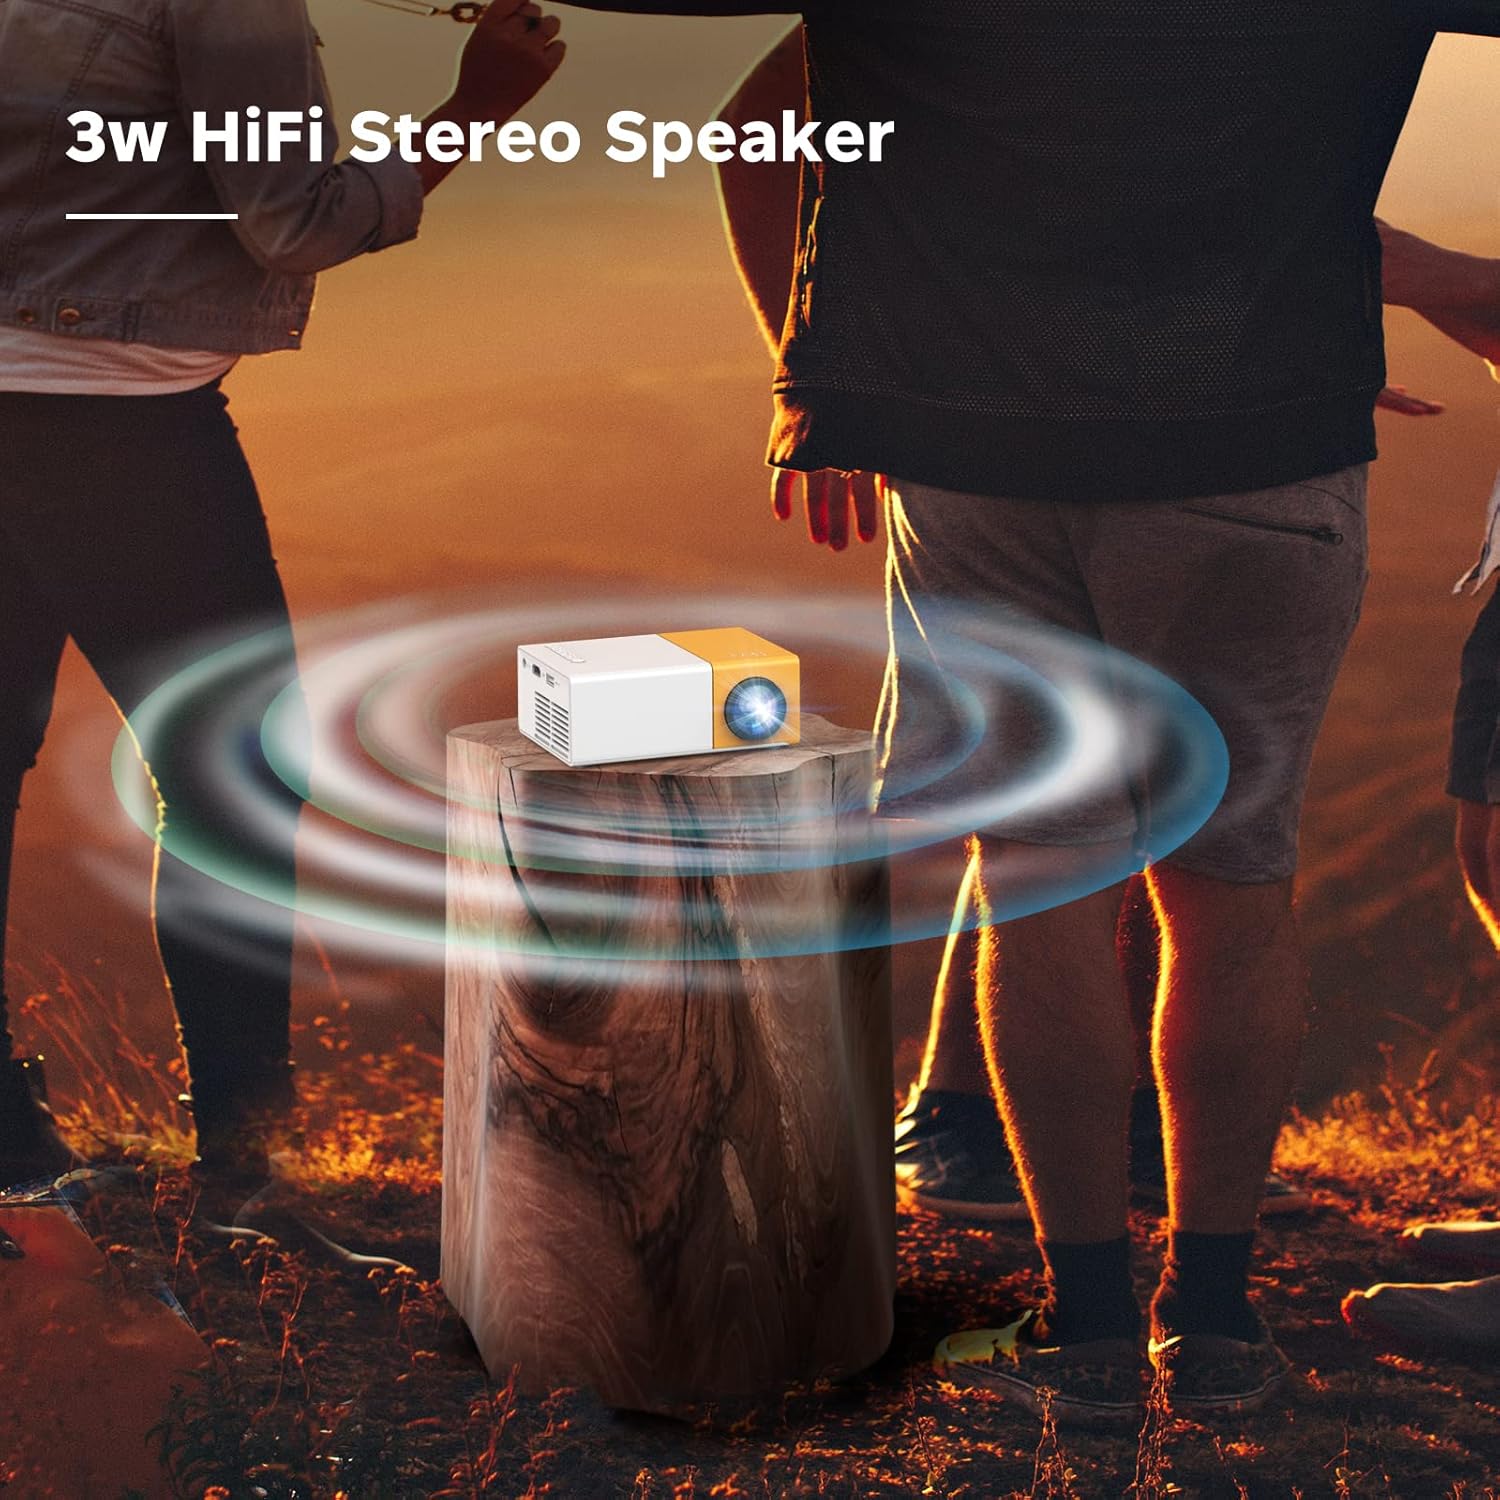
Image: The projector emitting sound waves, highlighting its built-in 3W HiFi stereo speaker.
For a more immersive audio experience or private listening, you can connect external audio devices:
- หูฟัง: Plug 3.5mm headphones into the Audio Out port.
- ลำโพงภายนอก: Connect external speakers via the 3.5mm Audio Out port.
6.5 สถานการณ์การใช้งาน
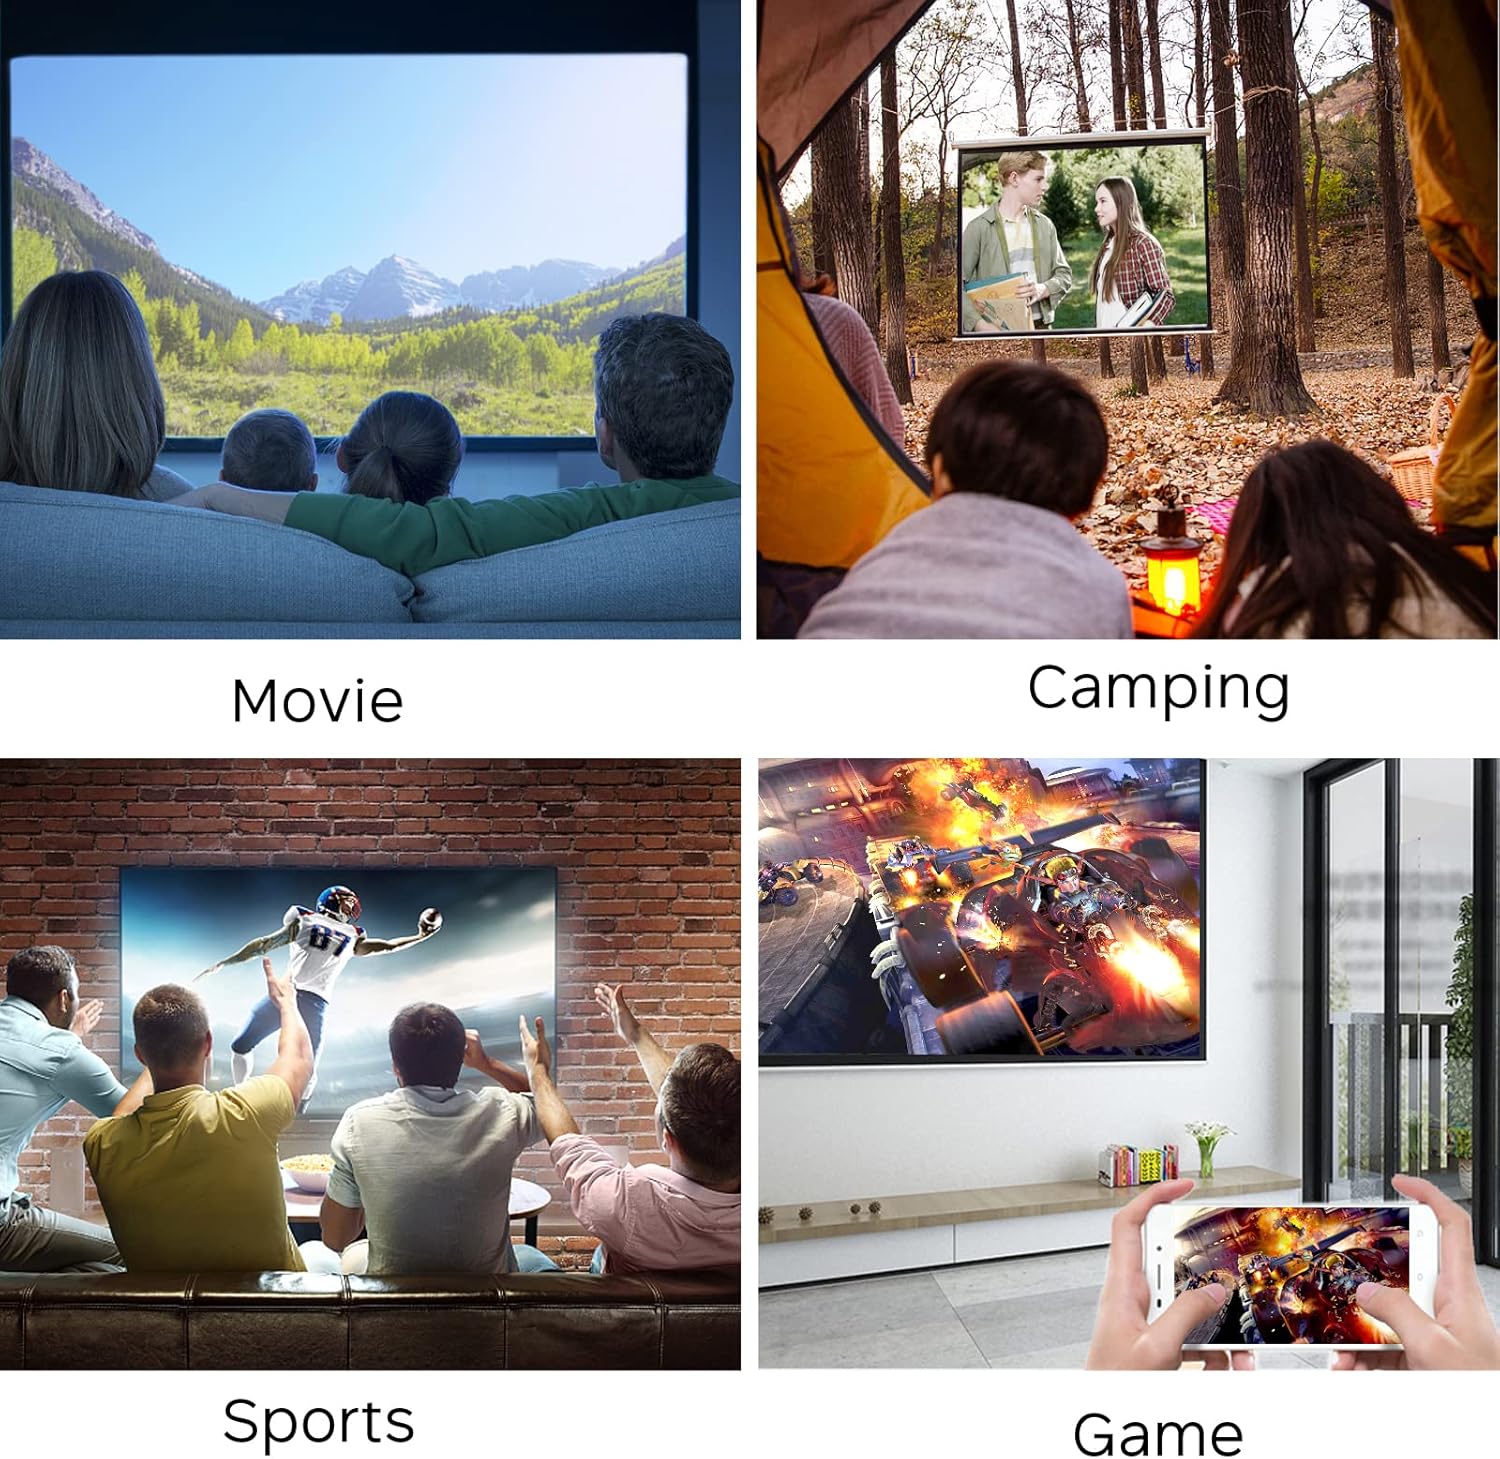
Image: Collage showing the projector being used for watching movies, camping, sports, and gaming.

ภาพ: เพิ่มเติมamples of projector use, including watching movies, friends party, playing games, sports livestreaming, and outdoor campการไอเอ็นจี
7. การบำรุงรักษา
- การทำความสะอาดเลนส์: ใช้ผ้าเนื้อนุ่ม ปราศจากขน ที่ออกแบบมาสำหรับเลนส์โดยเฉพาะ เช็ดเลนส์โปรเจคเตอร์เบาๆ อย่าใช้สารทำความสะอาดที่มีฤทธิ์กัดกร่อนหรือออกแรงมากเกินไป
- การทำความสะอาดช่องระบายอากาศ: Regularly check and clean the ventilation openings to prevent dust buildup, which can affect performance and lead to overheating. Use a soft brush or compressed air.
- พื้นที่จัดเก็บ: เมื่อไม่ใช้งาน ควรเก็บโปรเจคเตอร์ไว้ในที่แห้งและเย็น หลีกเลี่ยงแสงแดดโดยตรงและอุณหภูมิที่สูงหรือต่ำเกินไป ควรใช้บรรจุภัณฑ์เดิมหรือกล่องป้องกันหากมี
8 การแก้ไขปัญหา
| ปัญหา | สาเหตุที่เป็นไปได้ | สารละลาย |
|---|---|---|
| ไม่มีภาพที่ฉาย | Power not connected; Input source incorrect; Device not powered on. | Check power connection; Select correct input source (HDMI, USB, AV); Ensure connected device is on. |
| ภาพเบลอ | ไม่ได้ปรับโฟกัส โปรเจ็กเตอร์อยู่ไกล/ใกล้หน้าจอมากเกินไป | Adjust the focus wheel; Reposition the projector within optimal distance. |
| ไม่มีเสียง | ระดับเสียงเบาเกินไป; ปิดเสียง; อุปกรณ์เสียงภายนอกไม่ได้เชื่อมต่ออย่างถูกต้อง | Increase volume; Unmute; Check external speaker/headphone connection. |
| ปัญหาการเชื่อมต่อ Wi-Fi | รหัสผ่านไม่ถูกต้อง; อยู่นอกช่วงที่กำหนด; ปัญหาเครือข่าย | Re-enter password; Move closer to router; Restart router and projector. |
| การสะท้อนหน้าจอไม่ทำงาน | Not on same Wi-Fi network; Device compatibility. | Ensure both devices are on the same Wi-Fi; Check device's mirroring function. |
9. ข้อมูลจำเพาะ
| คุณสมบัติ | รายละเอียด |
|---|---|
| ยี่ห้อ | เมียร์ |
| หมายเลขรุ่น | YG300Pro-WIFI |
| น้ำหนักสินค้า | 10 ออนซ์ |
| ขนาดสินค้า | 4.69 x 3.39 x 1.89 นิ้ว |
| คุณสมบัติพิเศษ | ลำโพง |
| ประเภทลำโพง | สเตอริโอ |
| การใช้ที่แนะนำ | ในร่ม/กลางแจ้ง |
| เทคโนโลยีการเชื่อมต่อ | HDMI, USB, AV, Micro SD, Wi-Fi |
| ความละเอียดการแสดงผล | 1280 x 720 |
| Lamp ชีวิต | มากกว่า 50,000 ชั่วโมง |

Image: Visual representation of key features including HiFi Stereo Speaker, Eye Protection, Sleep Timer Shutdown, and 50,000 Hours Lamp ชีวิต.

Image: Illustrates the projector's ability to project up to 120 inches and various placement options (front, tripod, ceiling).
10. การรับประกันและการสนับสนุน
The MEER YG300 Pro-WIFI Mini Projector comes with a standard manufacturer's warranty. Please refer to the warranty card included in your package for specific terms and conditions.
For technical support, troubleshooting assistance, or warranty claims, please contact MEER customer service through the retailer's platform or the official MEER website. Have your product model number and purchase details ready when contacting support.


