1. บทนำ
Thank you for choosing the Invision MX400 Dual Monitor Arm. This product is designed to enhance your workspace by providing an ergonomic and space-saving solution for mounting two computer monitors. The MX400 features advanced gas spring technology for smooth and precise adjustments, promoting a healthier posture and optimizing your desk space. This manual provides detailed instructions for safe installation, operation, and maintenance of your monitor arm.

Image 1.1: Invision MX400 Dual Monitor Arm supporting two displays.
2. ข้อมูลด้านความปลอดภัย
Please read all instructions carefully before installation and use. Failure to follow these instructions may result in property damage, serious injury, or death. If you do not understand these instructions or have doubts about the safety of the installation, please contact Invision customer support.
- ความจุน้ำหนัก: Do not exceed the maximum load capacity of 9kg (19.8lb) per arm. Exceeding this limit can result in serious injury or property damage.
- ขนาดจอภาพ: This monitor arm is designed for screens between 19 and 32 inches.
- ความเข้ากันได้ของ VESA: Ensure your monitors are VESA compatible (75x75mm or 100x100mm).
- ความหนาของโต๊ะ: โต๊ะทำงาน clamp is suitable for desk thicknesses up to 90mm (3.5 inches).
- การติดตั้งที่เหมาะสม: Ensure the monitor arm is securely attached to a stable desk surface.
- ชิ้นส่วนที่เคลื่อนไหว: ขณะปรับแต่ง ควรระวังอย่าให้มือและนิ้วอยู่ใกล้ชิ้นส่วนที่กำลังเคลื่อนไหว
- สปริงแก๊ส: The gas spring is under high pressure. Do not attempt to disassemble the gas spring cylinder.
3. เนื้อหาบรรจุภัณฑ์
Verify that all components are present and undamaged before proceeding with installation. If any parts are missing or damaged, please contact Invision customer support.
Image 3.1: All components included in the MX400 package.
รายการส่วนประกอบ:
- Main Pole with Base
- ขาตั้งจอภาพคู่ (2 ชิ้น)
- แผ่นยึด VESA (2 ชิ้น)
- โต๊ะ Clamp การประกอบ
- ชุดประกอบฐานยึดแบบรู
- ชุดอุปกรณ์ (สกรู แหวนรอง ตัวเว้นระยะสำหรับติดตั้งแบบ VESA)
- Tools (Hex keys)
- คลิปการจัดการสายเคเบิล
4. การตั้งค่าและการติดตั้ง
The Invision MX400 offers two installation options: Desk Clamp or Grommet Mount. Choose the method best suited for your desk.
4.1. โต๊ะทำงานamp การติดตั้ง
- Assemble the desk clamp to the main pole base. Ensure the clamp is oriented correctly for your desk edge.
- Position the monitor arm base on your desk and tighten the clamp securely. Ensure it is stable and does not wobble.
Image 4.1: Securely attaching the desk clamp ไปที่เดสก์ท็อป
4.2. การติดตั้งแบบยึดด้วยห่วง (ไม่บังคับ)
- If your desk has a grommet hole, disassemble the desk clamp and attach the grommet mount plate to the main pole base.
- Insert the pole through the grommet hole and secure it from underneath the desk using the provided plate and knob.

Image 4.2: Both desk clamp and grommet mount options for stability.
4.3. Attaching VESA Plates to Monitors
- วางจอภาพคว่ำหน้าลงบนพื้นผิวที่นุ่มและสะอาดอย่างระมัดระวัง
- จัดวางแผ่น VESA ให้ตรงกับรูยึดด้านหลังจอภาพของคุณ (75x75 มม. หรือ 100x100 มม.)
- Secure the VESA plate using the appropriate screws and washers from the hardware kit. Do not overtighten.

Image 4.3: Attaching the VESA plate to the monitor's mounting holes.
4.4. Mounting Monitors to Arms
- With assistance, carefully lift each monitor and slide the VESA plate onto the monitor arm's mounting head.
- Ensure the monitor is securely seated on the arm.
4.5. การจัดการสายเคเบิล
Route your monitor cables through the integrated cable management channels on the arms. This helps maintain a tidy and organized workspace.
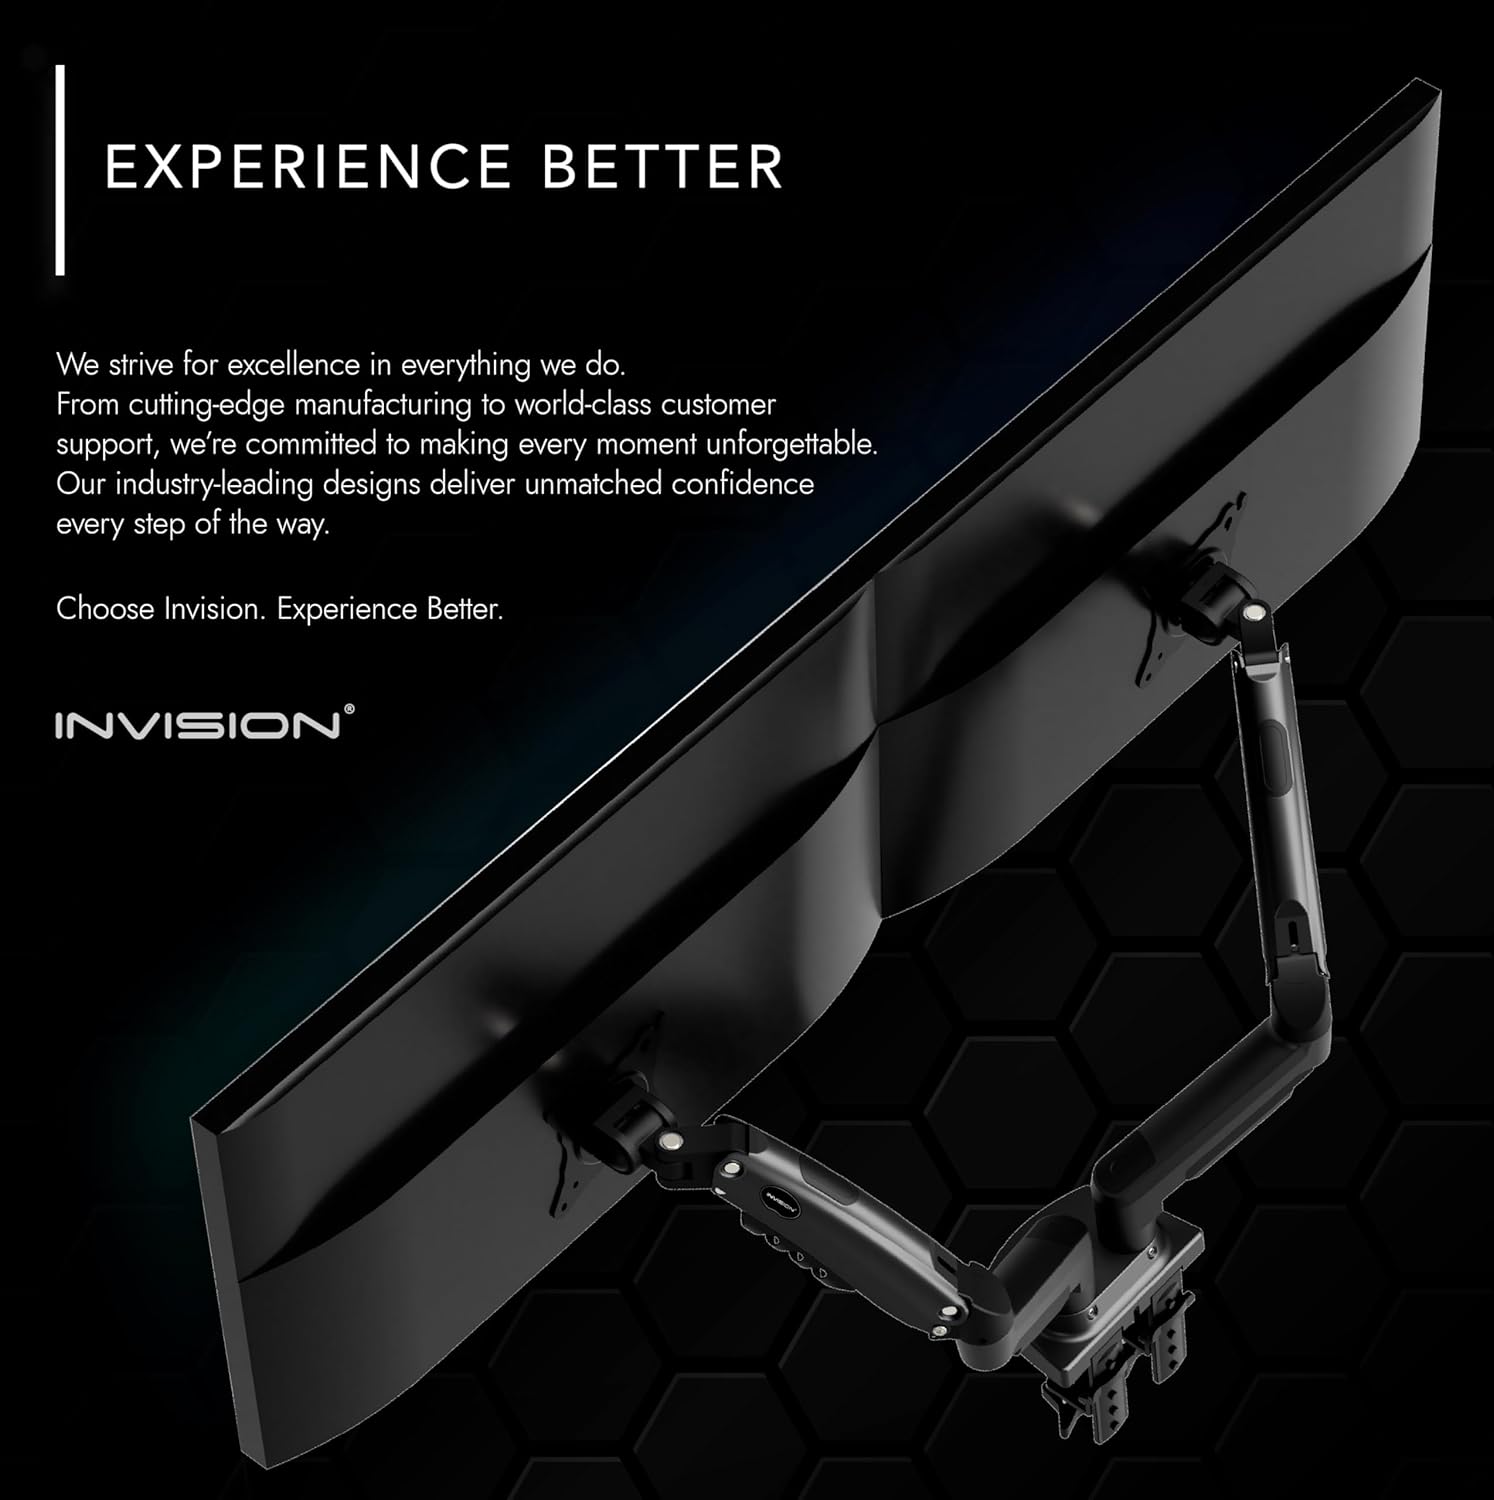
Image 4.4: Utilizing the integrated cable management for a clean setup.
5. การใช้งานและการปรับแต่ง
The Invision MX400 offers a wide range of adjustments to achieve your optimal viewการสร้างประสบการณ์
5.1. การปรับความตึงของสปริงแก๊ส
The gas spring tension needs to be adjusted to match the weight of your monitor. This ensures the monitor stays in position and moves smoothly.
- If the monitor sags or falls, turn the adjustment screw (located on the arm) clockwise to increase tension.
- If the monitor floats up or is difficult to push down, turn the adjustment screw counter-clockwise to decrease tension.
- Adjust until the monitor holds its position freely at any height.

Image 5.1: Adjusting the gas spring tension with a hex key.
5.2. Monitor Positioning
- การปรับความสูง: Gently push or pull the monitor to the desired vertical position.
- เอียง: ปรับมุมหน้าจอมอนิเตอร์ขึ้นหรือลง (+85°/-30°) เพื่อลดแสงสะท้อนและเพิ่มประสิทธิภาพ viewมุมการเอียง
- หมุน: Swivel the monitor left or right (180°) to share your screen or change orientation.
- การหมุน: Rotate the monitor 360° from landscape to portrait mode.
- ส่วนขยาย: Extend or retract the arm (up to 530mm) to achieve the ideal viewระยะทาง.

ภาพที่ 5.2: อดีตample of an ergonomic workspace utilizing the MX400 monitor arm.
6. การบำรุงรักษา
Regular maintenance ensures the longevity and optimal performance of your Invision MX400 monitor arm.
- การทำความสะอาด: เช็ดขาตั้งจอภาพด้วยผ้าเนื้อนุ่มและแห้งamp ผ้า หลีกเลี่ยงน้ำยาทำความสะอาดหรือตัวทำละลายที่มีฤทธิ์กัดกร่อน
- การตรวจสอบตามระยะเวลา: Periodically check all screws and connections to ensure they are tight and secure. Retighten if necessary.
- สปริงแก๊ส: The gas spring is maintenance-free. Do not attempt to lubricate or open it.
7 การแก้ไขปัญหา
If you encounter any issues with your Invision MX400, refer to the following common problems and solutions.
- จอภาพแสดงอาการหย่อนคล้อยหรือไม่สามารถคงตำแหน่งได้:
This indicates the gas spring tension is too low for the monitor's weight. Increase the gas spring tension by turning the adjustment screw clockwise (refer to Section 5.1). - จอภาพลอยขึ้น หรือกดลงได้ยาก:
This indicates the gas spring tension is too high for the monitor's weight. Decrease the gas spring tension by turning the adjustment screw counter-clockwise (refer to Section 5.1). - แขนหลวมหรือโยกเยก:
ให้แน่ใจว่าโต๊ะสะอาดamp or grommet mount is securely tightened to the desk. Check all connection points on the arm for tightness. - Monitor Does Not Fit VESA Plate:
Verify your monitor's VESA pattern (75x75mm or 100x100mm) matches the arm's compatibility.
If these solutions do not resolve the issue, please contact Invision customer support for further assistance.
8. ข้อมูลจำเพาะ

Image 8.1: Technical specifications and dimensions of the MX400.
| คุณสมบัติ | ข้อมูลจำเพาะ |
|---|---|
| หมายเลขรุ่น | เอ็มเอ็กซ์400 |
| ความเข้ากันได้ของขนาดหน้าจอ | 19" - 32" (48ซม. - 81ซม.) |
| Load Capacity (each arm) | 2kg - 9kg (4.4lb - 19.8lb) |
| ความเข้ากันได้ของ VESA | 75 มม. x 75 มม. 100 มม. x 100 มม |
| Maximum Height Elevation | 400mm (15.7") [Center of front plate] |
| Maximum Reach/Extension | 530 มม. (20.8") |
| มุมเอียงแนวตั้ง | +85° / -30° |
| หมุน | 180° |
| การหมุน | 360° |
| ความหนาของโต๊ะ (Cl)amp) | Max. 90mm (3.5") |
| วัสดุ | Lower arm: Aluminum Alloy, Upper arm: SPCC |
| สี | สีดำ |
9. การรับประกันและการสนับสนุน
9.1. ข้อมูลการรับประกัน
The Invision MX400 Dual Monitor Arm comes with a รับประกัน 2 ปี. All parts are covered by the Invision Product Warranty, ensuring peace of mind regarding the quality and durability of your purchase.
9.2. การสนับสนุนลูกค้า
For any questions, technical assistance, or warranty claims, please contact Invision customer support. Our team of experts is dedicated to providing you with the best possible experience and finding the right solution for your needs.
Please refer to the official Invision webไซต์หรือเอกสารการซื้อของคุณสำหรับรายละเอียดการติดต่อที่เฉพาะเจาะจง


