1. บทนำ
The C-LOGIC 5100 is a manual ranging digital multimeter designed for precise electrical measurements. This versatile instrument is capable of measuring AC/DC voltage, AC/DC current, resistance, capacitance, frequency, temperature, and transistor hFE. It features a durable rubber housing for enhanced grip and comfort, along with a hinged bracket for convenient table-top operation. This manual provides essential information for the safe and effective use of your C-LOGIC 5100 Digital Multimeter.
2. ข้อมูลด้านความปลอดภัย
Always observe the following safety precautions when operating the C-LOGIC 5100 Digital Multimeter to prevent personal injury or damage to the instrument:
- Ensure the multimeter is set to the correct function and range before connecting the test leads to any circuit.
- Do not exceed the maximum input values specified for each function. The C-LOGIC 5100 is rated for CAT III 600V.
- ถอดสายวัดทดสอบออกจากวงจรก่อนเปลี่ยนฟังก์ชันหรือช่วงการวัด
- Inspect test leads for damaged insulation or exposed metal before each use. Replace damaged leads immediately.
- ห้ามใช้งานมัลติมิเตอร์หากตัวเครื่องชำรุดหรือฝาครอบเปิดอยู่
- ใช้ความระมัดระวังอย่างยิ่งเมื่อทำงานกับ voltagสูงกว่า 60V DC หรือ 30V AC RMS เนื่องจากอาจเกิดอันตรายจากไฟฟ้าช็อตได้
- Remove test leads from the multimeter before opening the battery compartment or fuse cover.
3. คุณสมบัติของผลิตภัณฑ์
The C-LOGIC 5100 Digital Multimeter incorporates several features designed for user convenience and functionality:
- Rubber Housing: Provides improved grip and protection against accidental drops.
- Hinged Bracket: Allows the multimeter to stand upright for hands-free operation on a workbench.
- ความสามารถในการวัด: กระแสสลับ/กระแสตรง โวลtage, AC/DC Current, Resistance, Capacitance, Frequency, Temperature, and Transistor hFE.
- จำนวนที่แสดง: 2000-count digital display for clear readings.
- ปิดเครื่องอัตโนมัติ (APO): Automatically turns off the device after a period of inactivity to conserve battery life.
- การเก็บข้อมูล: หยุดภาพหน้าจอขณะอ่านค่า เพื่อความสะดวกในการบันทึก
- หน้าจอแสดงแบตเตอรี่ต่ำ (LBD): แสดงสถานะว่าถึงเวลาต้องเปลี่ยนแบตเตอรี่แล้ว
- Diode Test and Continuity Buzzer: For testing diodes and checking circuit continuity.
4. ส่วนประกอบและการควบคุม

รูปที่ 1: ด้านหน้า view of the C-LOGIC 5100 Digital Multimeter, showing the display, function selector, and input jacks.
ทำความคุ้นเคยกับส่วนประกอบหลักของมัลติมิเตอร์ของคุณ:
- จอแสดงผล LCD: แสดงค่าการวัด หน่วย และตัวบ่งชี้ฟังก์ชัน
- Function/Range Selector Dial: ใช้สำหรับเลือกฟังก์ชันและช่วงการวัดที่ต้องการ
- ปุ่มถือ: กดเพื่อหยุดค่าที่แสดงบนหน้าจอ กดอีกครั้งเพื่อปล่อย
- สวิตช์เปิด/ปิด: Powers the multimeter on or off.
- แจ็คอินพุต:
- VΩHzTemp: อินพุตเชิงบวกสำหรับเล่มtage, resistance, frequency, temperature, capacitance, diode, and continuity measurements.
- คอม: อินพุตทั่วไป (เชิงลบ) สำหรับการวัดทั้งหมด
- มิลลิแอมป์: Positive input for current measurements up to 200mA.
- 10 ก: Positive input for current measurements up to 10A (MAX 30 sec. every 15 min.). This input is fused.
- ซ็อกเก็ต hFE: For testing transistor hFE (DC current gain).
5. การตั้งค่า
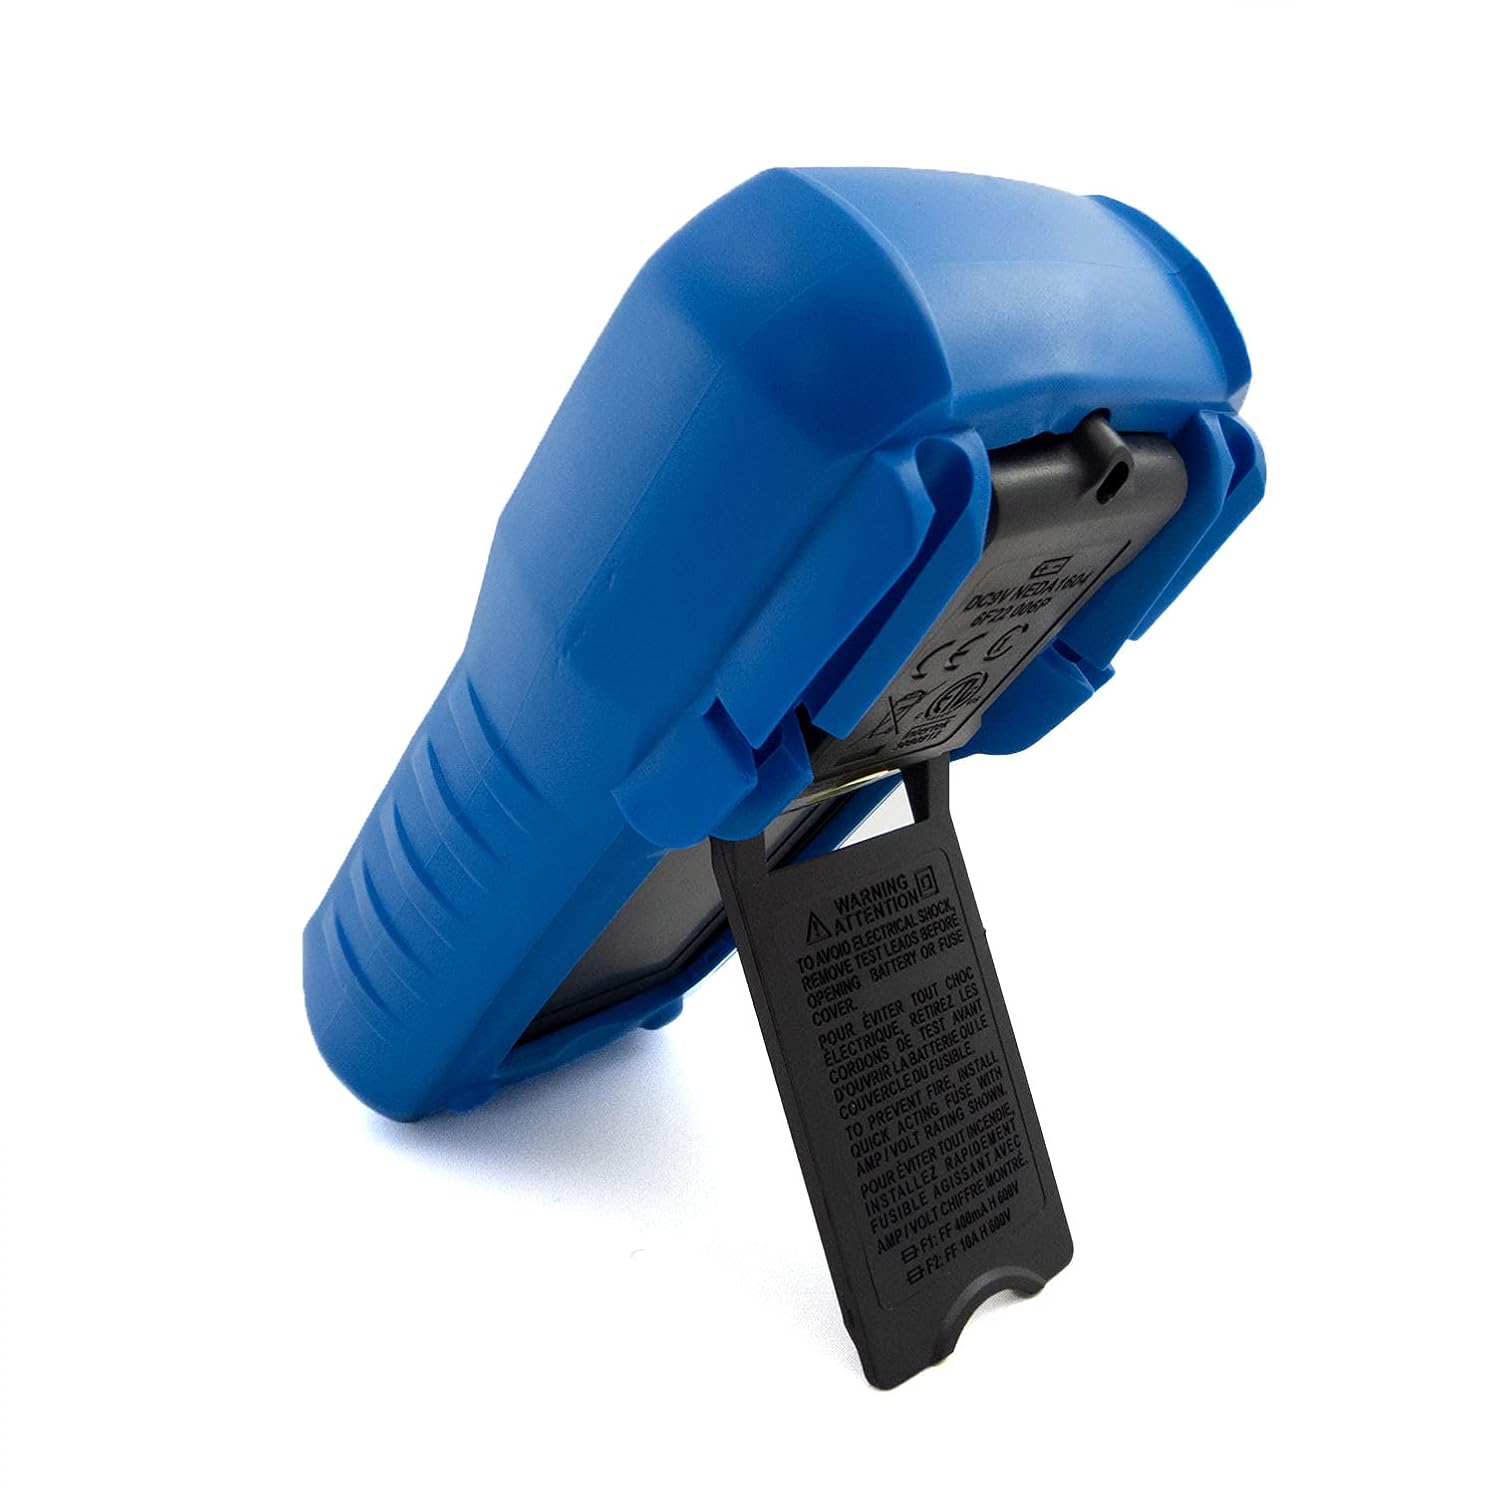
5.1 การติดตั้งแบตเตอรี่
The C-LOGIC 5100 requires one 9V 6F22 battery (not included). To install or replace the battery:
- ตรวจสอบให้แน่ใจว่ามัลติมิเตอร์ปิดอยู่ และถอดสายวัดทั้งหมดออกจากแจ็คอินพุต
- หาฝาปิดช่องใส่แบตเตอรี่ที่ด้านหลังของตัวเครื่อง
- คลายสกรูยึดออก แล้วค่อยๆ ถอดฝาครอบออก
- ต่อแบตเตอรี่ 9V เข้ากับคลิปหนีบแบตเตอรี่ โดยสังเกตขั้วให้ถูกต้อง
- ใส่แบตเตอรี่ลงในช่องใส่แบตเตอรี่ แล้วปิดฝาให้สนิท โดยขันสกรูให้แน่น
5.2 การเชื่อมต่อสายทดสอบ
การเชื่อมต่อสายวัดอย่างถูกต้องเป็นสิ่งสำคัญอย่างยิ่งต่อการวัดที่แม่นยำและปลอดภัย:
- สำหรับการวัดส่วนใหญ่ (ปริมาตร)tage, resistance, capacitance, frequency, temperature, diode, continuity), insert the สีแดง นำสายทดสอบเข้าไปใน VΩHzTemp แจ็คและ สีดำ นำสายทดสอบเข้าไปใน คอม แจ็ค.
- For current measurements up to 200mA, insert the สีแดง นำสายทดสอบเข้าไปใน mA แจ็คและ สีดำ นำสายทดสอบเข้าไปใน คอม แจ็ค.
- For current measurements up to 10A, insert the สีแดง นำสายทดสอบเข้าไปใน 10เอ แจ็คและ สีดำ นำสายทดสอบเข้าไปใน คอม แจ็ค.
6. คู่มือการใช้งาน

รูปที่ 2: The C-LOGIC 5100 Digital Multimeter actively measuring voltage ในแผงควบคุมไฟฟ้า
ให้ปฏิบัติตามขั้นตอนทั่วไปเหล่านี้เพื่อทำการวัด:
- Turn the multimeter ON using the ON/OFF switch.
- Select the desired function and appropriate range using the rotary dial. If unsure of the range, start with the highest range and work downwards.
- เชื่อมต่อสายวัดทดสอบเข้ากับวงจรหรือชิ้นส่วนที่ต้องการทดสอบ
- อ่านค่าการวัดจากหน้าจอ LCD
- After measurement, disconnect the test leads and turn the multimeter OFF.
6.1 ฟังก์ชันการวัดเฉพาะ
- DC ฉบับที่tagอี (V=): Select the V= range. Connect the red lead to the positive side and the black lead to the negative side of the DC voltagแหล่งที่มาแบบขนาน
- ฉบับ ACtagอี (วี~): Select the V~ range. Connect the test leads across the AC voltage source in parallel. Polarity is not critical for AC voltage.
- DC Current (A=): Select the A= range (mA or 10A jack). Disconnect power to the circuit. Open the circuit where current is to be measured and connect the multimeter in series. Reapply power.
- AC Current (A~): Select the A~ range (mA or 10A jack). Follow the same series connection procedure as for DC current.
- ความต้านทาน (โอห์ม): Select the Ω range. Ensure the circuit is de-energized. Connect the test leads across the component to measure its resistance.
- การทดสอบความต่อเนื่อง (♫): Select the continuity function. If resistance is below approximately 50Ω, the buzzer will sound, indicating continuity.
- การทดสอบไดโอด (→|→): Select the diode function. Connect the red lead to the anode and the black lead to the cathode of the diode. The display will show the forward voltage drop. สลับขั้วสายไฟ หน้าจอควรแสดง 'OL' (วงจรเปิด) สำหรับไดโอดที่ดี
- ความจุ (F): Select the F range. Ensure the capacitor is discharged before connecting the test leads.
- ความถี่ (Hz): Select the Hz range. Connect the test leads across the signal source.
- อุณหภูมิ(อุณหภูมิ): Select the Temp range. Connect a K-type thermocouple (if included or purchased separately) to the VΩHzTemp and COM jacks.
- Transistor hFE: Insert the transistor's emitter, base, and collector leads into the corresponding holes in the hFE socket, ensuring correct NPN/PNP type selection.
7. การบำรุงรักษา
7.1 การเปลี่ยนแบตเตอรี่
When the low battery indicator appears on the display, replace the 9V battery as described in Section 5.1. Using a multimeter with a low battery can lead to inaccurate readings.
7.2 การทำความสะอาด
ในการทำความสะอาดมัลติมิเตอร์ ให้เช็ดตัวเครื่องด้วยผ้าamp cloth and a mild detergent. Do not use abrasive cleaners, solvents, or alcohol, as these may damage the casing or display. Ensure the multimeter is completely dry before use.
7.3 การเปลี่ยนฟิวส์
If the 10A current measurement function stops working, the fuse may need replacement. This procedure should only be performed by qualified personnel. Refer to the specifications for the correct fuse type and rating. Always disconnect test leads and power off the unit before opening the case.
8 การแก้ไขปัญหา
If your C-LOGIC 5100 Multimeter is not functioning as expected, refer to the following common issues and solutions:
- ไม่มีจอแสดงผล: Check if the multimeter is turned ON. Verify the 9V battery is correctly installed and has sufficient charge. Replace the battery if necessary.
- การอ่านไม่ถูกต้อง: Ensure the correct function and range are selected for the measurement. Check that the test leads are securely connected to the correct input jacks and to the circuit. Verify the battery is not low.
- 'OL' (Overload) Indication: This indicates that the input value exceeds the selected range. Switch to a higher range or ensure the input is within the multimeter's maximum specifications.
- ไม่มีสัญญาณเตือนความต่อเนื่อง: Check if the continuity function is selected. Ensure the circuit is de-energized.
- การวัดปัจจุบันไม่ทำงาน: Check the fuse for the current input (especially the 10A input). Replace if blown. Ensure test leads are connected to the correct current jacks (mA or 10A) and the multimeter is in series with the circuit.
9. ข้อมูลจำเพาะ

รูปที่ 3: Detailed specifications and features of the C-LOGIC 5100 Digital Multimeter.
| การวัด | ช่วง/ค่า |
|---|---|
| DC ฉบับที่tage | สูงถึง 600V |
| ฉบับ ACtage | สูงถึง 600V |
| กระแสไฟฟ้าตรง | สูงสุด 10A |
| กระแสไฟ AC | สูงสุด 10A |
| ความต้านทาน | สูงสุด 200MΩ |
| ความจุ | สูงสุด 100µF |
| ความถี่ | สูงสุด 20kHz |
| อุณหภูมิ | -20°C ถึง 1000°C / 1°F ถึง 1832°F |
| จำนวนการแสดงผล | 2000 |
| แหล่งจ่ายไฟ | แบตเตอรี่ 9V 6F22 จำนวน 1 ก้อน |
| ขนาดสินค้า (กxยxส) | 18.8 x 9.3 x 5 ซม. (7.4 x 3.7 x 1.96 นิ้ว) |
| น้ำหนักผลิตภัณฑ์ | 380 กรัม (0.84 ปอนด์) |
| ระดับความปลอดภัย | กสท.600 XNUMXV |
| การรับรอง | CE, ETL, RoHS |
10. แอปพลิเคชันหลัก
รูปที่ 4: Visual representation of common domestic and electronics applications for the C-LOGIC 5100 Multimeter.
The C-LOGIC 5100 Digital Multimeter is suitable for a wide range of applications, including:
- Domestic Electrical Testing: Checking household wiring, outlets, batteries, and appliance continuity.
- การวินิจฉัยยานยนต์: Testing vehicle electrical systems, battery voltage, and component resistance.
- Electronics Troubleshooting: ปริมาตรการวัดtage, current, resistance, and capacitance in electronic circuits, testing diodes and transistors.
- HVAC System Checks: Verifying voltage and current in heating, ventilation, and air conditioning systems.
- Hobbyist and DIY Projects: Essential tool for various electrical and electronic projects.
11. การรับประกันและการสนับสนุน
For information regarding warranty coverage, technical support, or customer service, please visit the official C-LOGIC website or contact their support team directly. You can find more product details at clogic-intl.com/clogic-5100 หรือหลัก webไซต์ที่ clogic-intl.com.


