1. ข้อมูลด้านความปลอดภัย
Please read and understand all safety information and operating instructions before using this multimeter. Failure to follow these instructions may result in electric shock, fire, or damage to the meter.
- ตรวจสอบให้แน่ใจเสมอว่าสายทดสอบเชื่อมต่ออย่างถูกต้องและสวิตช์ฟังก์ชันถูกตั้งค่าเป็นช่วงที่ถูกต้องก่อนที่จะทำการวัดใดๆ
- อย่าพยายามวัดปริมาตรtages or currents exceeding the maximum rated values for this meter.
- โปรดใช้ความระมัดระวังอย่างยิ่งเมื่อทำงานกับวงจรไฟฟ้าที่มีกระแสไฟสูง แรงดันไฟฟ้าสูงtagมันอาจเป็นอันตรายได้
- Never open the meter casing unless specifically instructed for battery or fuse replacement. Ensure test leads are disconnected before opening.
- เปลี่ยนแบตเตอรี่เมื่อไฟแสดงสถานะแบตเตอรี่อ่อนปรากฏขึ้นเพื่อให้แน่ใจว่าการอ่านค่าแม่นยำ
- ห้ามใช้มิเตอร์หากพบว่าชำรุดเสียหาย หรือฉนวนหุ้มสายวัดมีสภาพไม่ดี
รูปที่ 1: หลัง view of the Rebel MIE-RB-830 Multimeter, showing the battery compartment cover and a warning label. The label advises removing test leads before opening the case to avoid electrical shock and to install fuses with correct amp/volt ratings. It also indicates the power supply is a 9V battery, type NEDA 1604 9V 6F22.
2. สินค้าหมดview
The Rebel MIE-RB-830 is a compact, battery-operated digital multimeter designed for measuring DC/AC voltage, DC current, resistance, diode, and transistor (hFE) values. It is suitable for general electrical testing and troubleshooting.
2.1 ส่วนประกอบ
- Digital Multimeter Unit
- สายทดสอบ (สีแดงและสีดำ)
- แบตเตอรี่ 9V (อาจมีมาให้หรือจำหน่ายแยกต่างหาก)
- คู่มือการใช้งาน (เอกสารนี้)

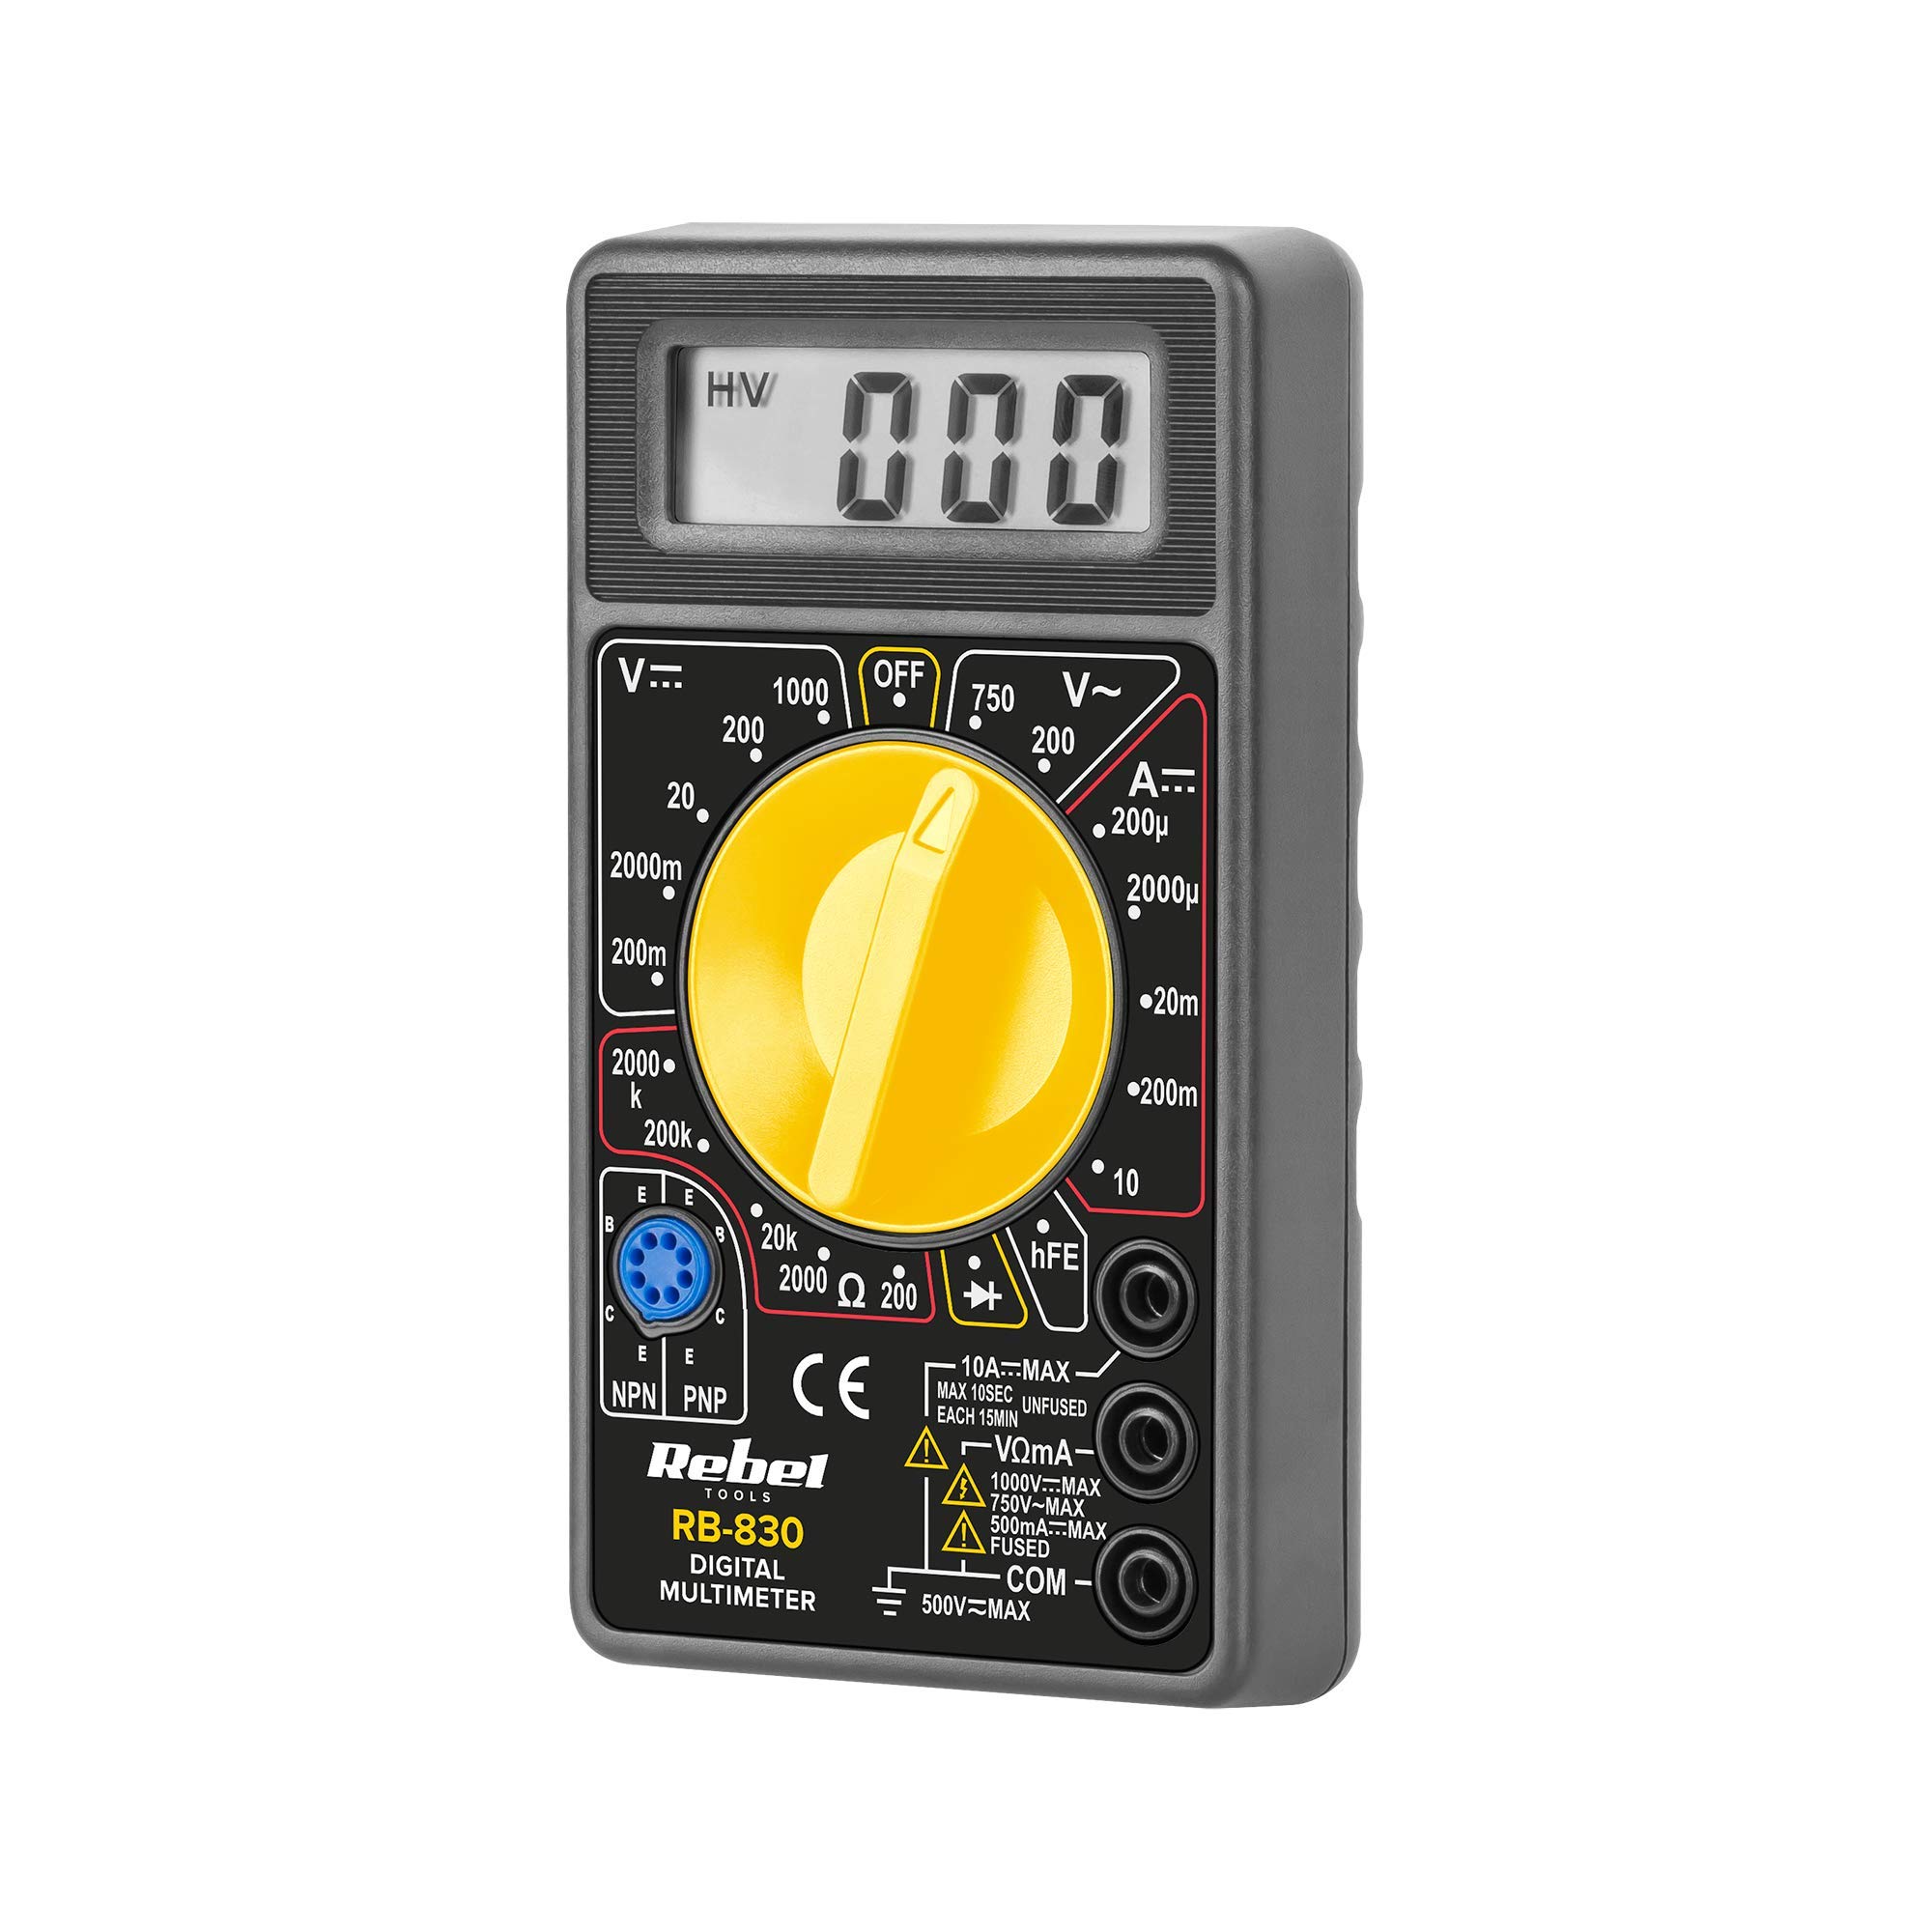
รูปที่ 2: The Rebel MIE-RB-830 Digital Multimeter shown with its accompanying red and black test leads. The multimeter features a large LCD display and a rotary function switch.

รูปที่ 3: ภาพระยะใกล้ view of the red and black test leads. These leads are essential for connecting the multimeter to the circuit under test.
3. การตั้งค่า
3.1. การติดตั้งแบตเตอรี่
- ตรวจสอบให้แน่ใจว่ามัลติมิเตอร์ปิดอยู่และถอดสายวัดทั้งหมดออกแล้ว
- หาฝาปิดช่องใส่แบตเตอรี่ที่ด้านหลังของมิเตอร์ (ดูรูปที่ 1)
- คลายสกรูยึดออก แล้วค่อยๆ ถอดฝาครอบออก
- Insert a new 9V battery (NEDA 1604 or 6F22 type), observing the correct polarity (+ and -).
- ปิดฝาช่องใส่แบตเตอรี่และขันสกรูให้แน่น
3.2. การเชื่อมต่อสายทดสอบ
- เชื่อมต่อ สีแดง test lead to the "VΩmA" input jack.
- เชื่อมต่อ สีดำ test lead to the "COM" (common) input jack.
- For current measurements exceeding 200mA (up to 10A), connect the red test lead to the "10A" input jack.
4. คู่มือการใช้งาน
4.1. การเลือกฟังก์ชั่น
Turn the rotary switch to the desired measurement function and range. Always start with a higher range if the approximate value is unknown to prevent overloading the meter.
4.2. การวัดปริมาตร DCtage (V–)
- ตั้งสวิตช์หมุนไปที่ DC Vol ที่ต้องการtage (V–) range (e.g., 20V, 200V).
- ต่อสายทดสอบสีแดงเข้ากับด้านบวก (+) ของวงจร และสายทดสอบสีดำเข้ากับด้านลบ (-)
- อ่านเล่มที่tagค่า e บนจอ LCD
4.3. การวัดปริมาตร ACtage (V∼)
- ตั้งสวิตช์หมุนไปที่ AC Vol. ที่ต้องการtage (V∼) range (e.g., 200V, 750V).
- เชื่อมต่อสายทดสอบเข้ากับขั้วไฟ ACtagแหล่งที่มา
- อ่านเล่มที่tagค่า e บนจอ LCD
4.4. Measuring DC Current (A–)
คำเตือน: To measure current, the meter must be connected in series with the circuit. Never connect the meter in parallel with a voltage source when in current mode, as this can damage the meter and the circuit.
- ตั้งสวิตช์แบบหมุนไปที่ช่วงกระแสไฟฟ้ากระแสตรง (แอมป์) ที่ต้องการ (เช่น 20 มิลลิแอมป์, 200 มิลลิแอมป์, 10 แอมป์)
- For currents up to 200mA, ensure the red lead is in the "VΩmA" jack. For currents up to 10A, move the red lead to the "10A" jack.
- เปิดวงจรที่ต้องการวัดกระแสไฟฟ้า แล้วต่อมิเตอร์แบบอนุกรมเข้าไป
- อ่านค่าปัจจุบันบนจอ LCD
4.5. การวัดค่าความต้านทาน (โอห์ม)
คำเตือน: ตรวจสอบให้แน่ใจว่าวงจรหรืออุปกรณ์ที่กำลังทดสอบนั้นไม่มีกระแสไฟฟ้าไหลผ่าน ก่อนทำการวัดค่าความต้านทาน
- Set the rotary switch to the desired Resistance (Ω) range (e.g., 200Ω, 2kΩ, 200kΩ).
- ต่อสายวัดเข้ากับชิ้นส่วนหรือวงจรที่ต้องการวัด
- อ่านค่าความต้านทานบนจอ LCD
4.6. การทดสอบไดโอด (→|–)
- Set the rotary switch to the Diode Test (→|–) position.
- ต่อสายทดสอบสีแดงเข้ากับขั้วบวกของไดโอด และสายทดสอบสีดำเข้ากับขั้วลบ
- จอแสดงผลจะแสดงปริมาตรไปข้างหน้าtagแรงดันตกคร่อม (โดยทั่วไปอยู่ที่ 0.5V ถึง 0.8V สำหรับไดโอดซิลิคอน)
- สลับขั้วสายไฟ หน้าจอควรแสดง "OL" (Open Loop) สำหรับไดโอดที่ใช้งานได้ดี
4.7. การทดสอบทรานซิสเตอร์ (hFE)
- ตั้งสวิตช์หมุนไปที่ตำแหน่ง hFE
- ระบุว่าทรานซิสเตอร์เป็น NPN หรือ PNP
- Insert the transistor's emitter, base, and collector leads into the corresponding sockets on the hFE test socket.
- อ่านค่า hFE (อัตราขยายกระแสตรง) บนหน้าจอแสดงผล
5. การบำรุงรักษา
5.1. การเปลี่ยนแบตเตอรี่
When the low battery indicator appears on the display, replace the 9V battery as described in Section 3.1. Using a low battery can lead to inaccurate readings.
5.2. การเปลี่ยนฟิวส์
If the current measurement function stops working, the fuse may need replacement. This operation should only be performed by qualified personnel.
- ตรวจสอบให้แน่ใจว่ามัลติมิเตอร์ปิดอยู่และถอดสายวัดทั้งหมดออกแล้ว
- เปิดด้านหลังasing of the meter (this may involve more screws than just the battery compartment).
- Locate the blown fuse and replace it with a fuse of the exact same type and rating (e.g., F200mA/250V for mA range, F10A/250V for 10A range). Refer to the internal markings or specifications for precise fuse ratings.
- Carefully reassemble the meter, ensuring all screws are tightened.
5.3. การทำความสะอาด
เช็ดมิเตอร์ด้วยโฆษณาamp ผ้าและผงซักฟอกอ่อนๆ ห้ามใช้สารกัดกร่อนหรือตัวทำละลาย เก็บมิเตอร์ให้แห้ง
6 การแก้ไขปัญหา
| ปัญหา | สาเหตุที่เป็นไปได้ | สารละลาย |
|---|---|---|
| ไม่มีการแสดงผลหรือแสดงผลจางมาก | แบตเตอรี่ต่ำหรือหมด | เปลี่ยนแบตเตอรี่ 9V |
| การอ่านไม่ถูกต้อง | Low battery; Incorrect range selection; Poor test lead connection | Replace battery; Select appropriate range; Ensure leads are firmly connected. |
| การวัดกระแสไฟฟ้าไม่ทำงาน | Blown fuse; Incorrect lead connection for current | Replace fuse (see Section 5.2); Ensure red lead is in "VΩmA" or "10A" jack as appropriate. |
| แสดง "OL" (โอเวอร์โหลด) | Measured value exceeds selected range; Open circuit (for resistance/continuity) | เลือกช่วงค่าที่สูงขึ้น ตรวจสอบวงจรว่ามีการขาดหรือไม่ |
7. ข้อมูลจำเพาะ
| ฟังก์ชันการวัด | พิสัย | ความแม่นยำ |
|---|---|---|
| DC ฉบับที่tage (V–) | 200mV, 2V, 20V, 200V, 1000V | ±(0.5% + 2 หลัก) |
| ฉบับ ACtage (V∼) | 200โวลต์, 750โวลต์ | ±(1.2% + 10 หลัก) |
| DC Current (A–) | 200µA, 2mA, 20mA, 200mA, 10A | ±(1.0% + 2 หลัก) |
| ความต้านทาน (Ω) | 200Ω, 2kΩ, 20kΩ, 200kΩ, 2MΩ | ±(0.8% + 2 หลัก) |
| การทดสอบ Diode | ใช่ | ไปข้างหน้าฉบับtagอี ดรอป |
| การทดสอบทรานซิสเตอร์ (hFE) | ใช่ | hFE value |
| แหล่งจ่ายไฟ | 9V Battery (NEDA 1604 or 6F22) | |
| แสดง | 3½ Digit LCD, Max. 1999 | |
| ขนาด | ประมาณ 13.5 x 10 x 4 ซม. | |
| น้ำหนัก | Approx. 107 grams (without battery) | |
| อุณหภูมิในการทำงาน | 0°C ถึง 40°C (32°F ถึง 104°F) | |
| อุณหภูมิในการจัดเก็บ | -10°C ถึง 50°C (14°F ถึง 122°F) | |
| มาตรฐานความปลอดภัย | ซีอี, โรเอชเอส |
8. การรับประกันและการสนับสนุน
This Rebel MIE-RB-830 Digital Multimeter is covered by a standard manufacturer's warranty against defects in materials and workmanship. Please refer to the warranty card included with your purchase or contact your retailer for specific warranty terms and conditions.
For technical support or service inquiries, please contact the point of purchase or visit the official Rebel webเว็บไซต์สำหรับข้อมูลการติดต่อ


