1. บทนำ
This manual provides detailed instructions for the safe and efficient operation of your KODAK Dock ERA Plus Instant Photo Printer. Please read this manual thoroughly before using the product and retain it for future reference. The KODAK Dock ERA Plus allows you to print high-quality 4x6 inch photos directly from your compatible devices using dye sublimation technology.
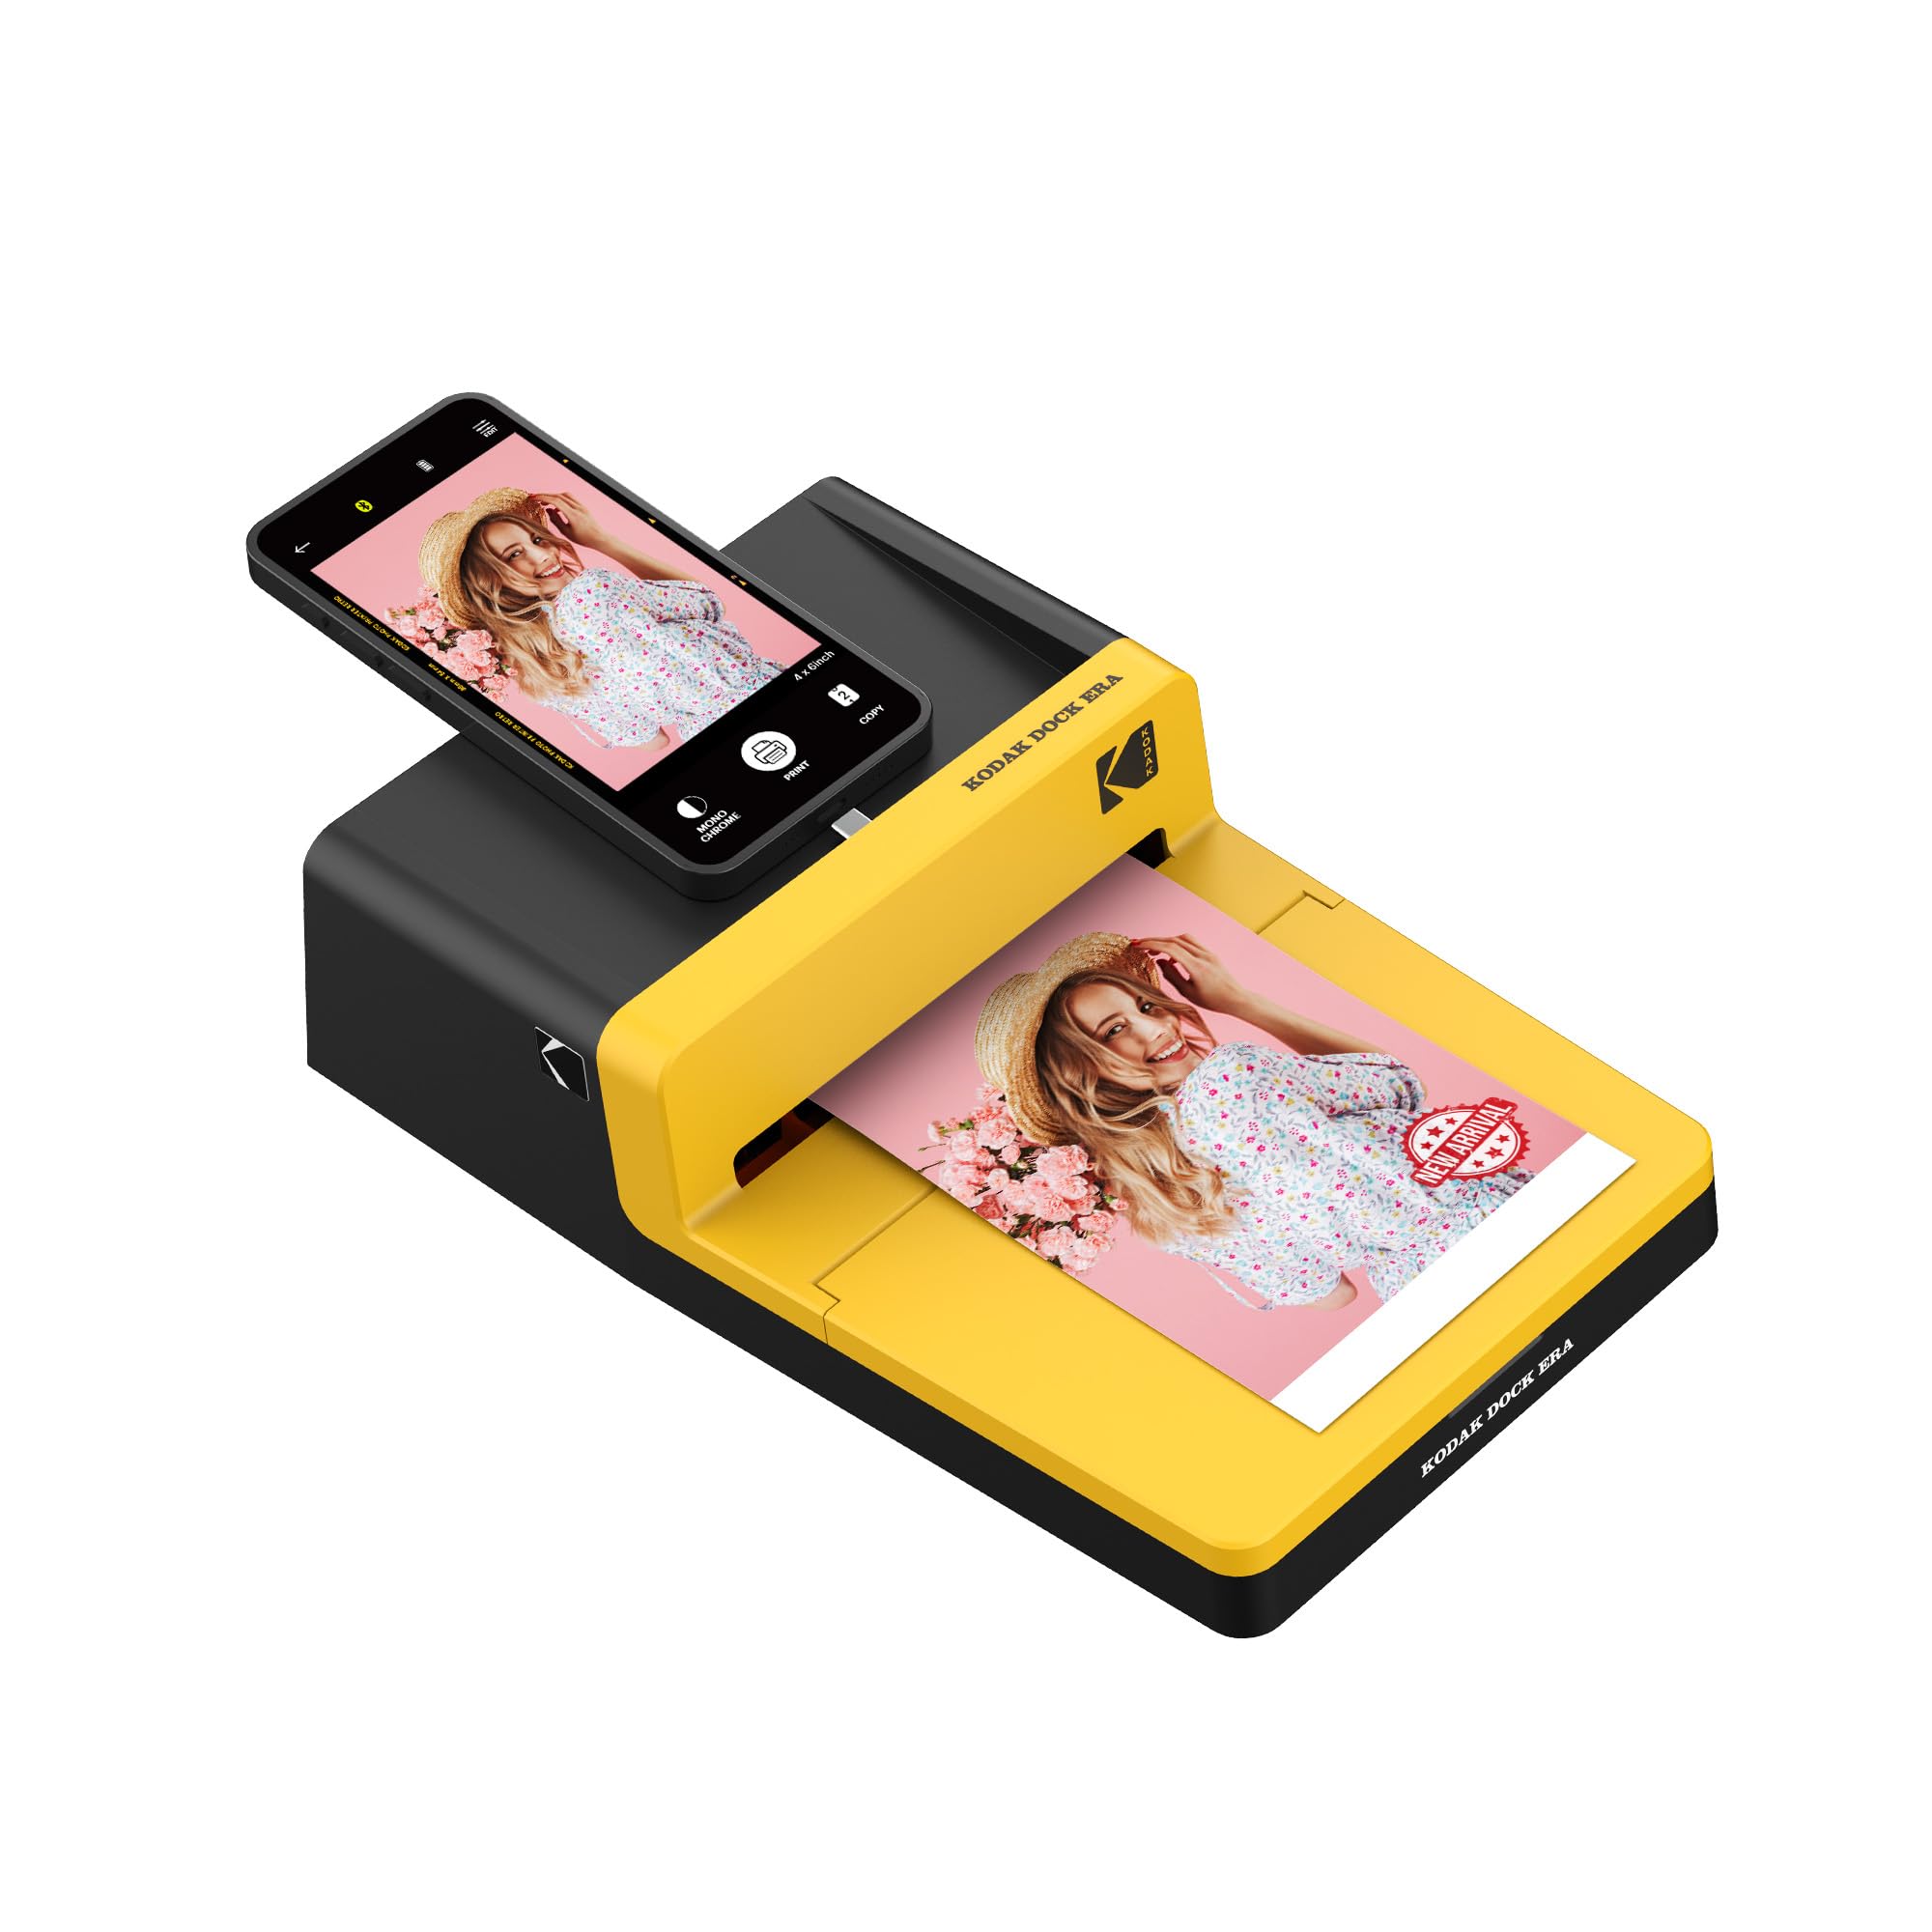
Figure 1: KODAK Dock ERA Plus Instant Photo Printer in use.
2. การตั้งค่า
2.1 การแกะกล่องและส่วนประกอบ
ก่อนการตั้งค่า ให้แน่ใจว่ามีส่วนประกอบทั้งหมดครบถ้วน:
- KODAK Dock ERA Plus Photo Printer (Model: PHC-120)
- 4x6 Photo Paper Cartridge (initial 10 sheets)
- Additional 80 sheets of 4x6 photo paper
- สาย USB
- Docking Pin with Lightning Connector
2.2 การเชื่อมต่อสายไฟ
- Connect the provided USB cable to the printer's power port.
- Plug the other end of the USB cable into a compatible power adapter (not included) and then into a wall outlet.
- Press the power button on the side of the printer to turn it on. The indicator light will illuminate.
2.3 Loading Paper and Cartridge
- Open the paper tray cover on the printer.
- Insert the photo paper cartridge into its designated slot until it clicks into place.
- Load the 4x6 photo paper into the paper tray with the glossy side facing up and the KODAK logo (if present) facing down. Ensure the paper stack is aligned correctly.
- ปิดฝาครอบถาดกระดาษ
2.4 การเชื่อมต่ออุปกรณ์
The printer supports both direct docking and Bluetooth connectivity.
- Direct Docking: For compatible iOS devices, connect your smartphone directly to the docking pin on the printer.
- บลูทูธ: For other devices (Android, Laptops, PC), ensure Bluetooth is enabled on your device. Open the KODAK Photo Printer app, navigate to settings, and pair with 'Kodak Era'.
3. คู่มือการใช้งาน
3.1 KODAK Photo Printer App
Download the 'KODAK Photo Printer' app from your device's app store. This app is essential for selecting, editing, and printing your photos.
3.2 Selecting and Editing Photos
- Open the KODAK Photo Printer app.
- Browse your device's photo gallery within the app.
- Select the photo you wish to print.
- Use the app's editing tools to adjust the image, apply filters, or choose between bordered or borderless prints.
3.3 Printing Process (4PASS Technology)
The KODAK Dock ERA Plus utilizes 4PASS (Dye Sublimation) technology for vibrant, long-lasting prints. The printing process involves four passes:
- The paper passes through the printer to apply the สีเหลือง ชั้น.
- The paper passes again to apply the สีแดงอมม่วง ชั้น.
- A third pass applies the สีฟ้า ชั้น.
- The final pass applies a protective การเคลือบ layer, making the print fingerprint and water-resistant.
To initiate printing, tap the 'Print' button in the app. The printer will automatically handle the 4-pass process.
Video 1: Demonstration of the KODAK Photo Printer App and the 4-pass printing process.
4. การบำรุงรักษา
4.1 การเปลี่ยนตลับหมึก
When the ink cartridge is empty or the print quality degrades, replace it with a new KODAK 4x6 Photo Paper Cartridge.
- ตรวจสอบให้แน่ใจว่าเครื่องพิมพ์ปิดอยู่
- Open the cartridge cover on the side of the printer.
- Gently remove the used cartridge.
- Insert the new cartridge, ensuring it is correctly oriented, until it clicks into place.
- ปิดฝาครอบตลับหมึก
4.2 การทำความสะอาดเครื่องพิมพ์
Regularly clean the exterior of the printer with a soft, dry cloth. Avoid using liquid cleaners or abrasive materials.
5 การแก้ไขปัญหา
| ปัญหา | สาเหตุที่เป็นไปได้ | สารละลาย |
|---|---|---|
| เครื่องพิมพ์ไม่เปิด | No power, loose cable | Check power connection, ensure cable is secure. |
| ไม่สามารถเชื่อมต่อผ่านบลูทูธได้ | Bluetooth off, printer not in pairing mode | Ensure printer is on and Bluetooth is enabled on your device. Restart both devices. |
| คุณภาพการพิมพ์ไม่ดี | Low ink, incorrect paper loading, low image resolution | Replace cartridge, ensure paper is loaded glossy side up, use high-resolution images. |
| กระดาษติด | Improper paper loading | Carefully remove jammed paper. Ensure paper is loaded correctly. |
6. ข้อมูลจำเพาะ
- ยี่ห้อ: โคดัก
- ชื่อรุ่น : PHC-120 (Dock ERA Plus)
- เทคโนโลยีการพิมพ์: การย้อมแบบระเหิด
- เทคโนโลยีการเชื่อมต่อ: บลูทูธ, ยูเอสบี
- สื่อสิ่งพิมพ์: กระดาษภาพถ่ายเคลือบเงา
- ขนาดแผ่น: ขนาด 4 x 6 นิ้ว
- ความละเอียดการพิมพ์สีสูงสุด: 1200 dpi or higher
- ความละเอียดการพิมพ์ขาวดำสูงสุด: 1200 dpi or higher
- ความลึกของสี: 24 บีพีพี
- สีหมึก: ดำ, ฟ้าอมเขียว, ม่วงแดง, เหลือง
- วิธีการควบคุม: แอป
- ขนาดสินค้า : ลึก 2.7 นิ้ว x กว้าง 6.53 นิ้ว x สูง 2.7 นิ้ว
- ความจุแผ่นอินพุตสูงสุด: 120
- ความจุของแผ่นงานผลลัพธ์: 120
- ส่วนประกอบที่รวมอยู่: 4x6 Photo Paper Cartridge, USB Cable, Docking Pin with Lightning Connector
7. การรับประกันและการสนับสนุน
This KODAK product is covered by a การรับประกันจากผู้ผลิต. For specific warranty terms, duration, and to register your product, please refer to the warranty card included in your product packaging or visit the official KODAK support website. For technical assistance, troubleshooting, or service inquiries, please contact KODAK customer support.


