1. ข้อมูลด้านความปลอดภัยที่สำคัญ
Please read all instructions carefully before operating the Midea MAD50C1ZWS Dehumidifier and using the Eastman 60309 Drain Hose. Retain this manual for future reference.
ข้อควรระวังด้านความปลอดภัยทั่วไป
- ควรเสียบเครื่องใช้ไฟฟ้าเข้ากับเต้ารับไฟฟ้าที่มีสายดินเสมอ
- ห้ามใช้งานเครื่องลดความชื้นหากสายไฟหรือปลั๊กชำรุด
- ควรวางเครื่องลดความชื้นให้ห่างจากแหล่งความร้อน วัสดุไวไฟ และน้ำ
- ตรวจสอบให้แน่ใจว่ามีการระบายอากาศที่เหมาะสมรอบๆ เครื่อง อย่าปิดกั้นช่องรับอากาศหรือช่องระบายอากาศ
- ห้ามสอดสิ่งของเข้าไปในช่องระบายอากาศ
- ถอดปลั๊กเครื่องก่อนทำความสะอาดหรือดำเนินการบำรุงรักษาใดๆ
Dehumidifier Specific Safety
- Place the dehumidifier on a level, stable surface to prevent water spillage.
- Do not drink the collected water.
- Ensure the water bucket is correctly installed before operation.
Drain Hose Specific Safety
- Inspect the hose for any damage before each use.
- ตรวจสอบให้แน่ใจว่าการเชื่อมต่อทั้งหมดมีความปลอดภัยเพื่อป้องกันการรั่วไหล
- Do not kink or crimp the hose, as this can impede drainage.
2. สินค้าหมดview
Midea MAD50C1ZWS Dehumidifier
The Midea MAD50C1ZWS is a 50-pint dehumidifier (2019 DOE standard, equivalent to previous 70-pint models) designed to remove excess moisture from areas up to 4500 square feet. It helps maintain optimal air quality by preventing mildew, bad odors, and stale air, making it suitable for basements, bedrooms, and bathrooms.

รูปที่ 2.1 : ด้านหน้า view of the Midea MAD50C1ZWS Dehumidifier.
คุณสมบัติหลัก:
- ความจุสูง: กำจัดความชื้นได้มากถึง 50 พินต์ต่อวัน
- Reusable Air Filter: Improves air quality and is washable for easy maintenance.
- Variable Operating Modes: Includes Comfort, Continuous, and Standard modes.
- คุณสมบัติสมาร์ท: รีสตาร์ทอัตโนมัติหลังจากไฟดับtage, auto shut-off when bucket is full, auto defrost, and filter cleaning alert.
- เคลื่อนย้ายง่าย: Equipped with wheels for convenient movement between rooms.
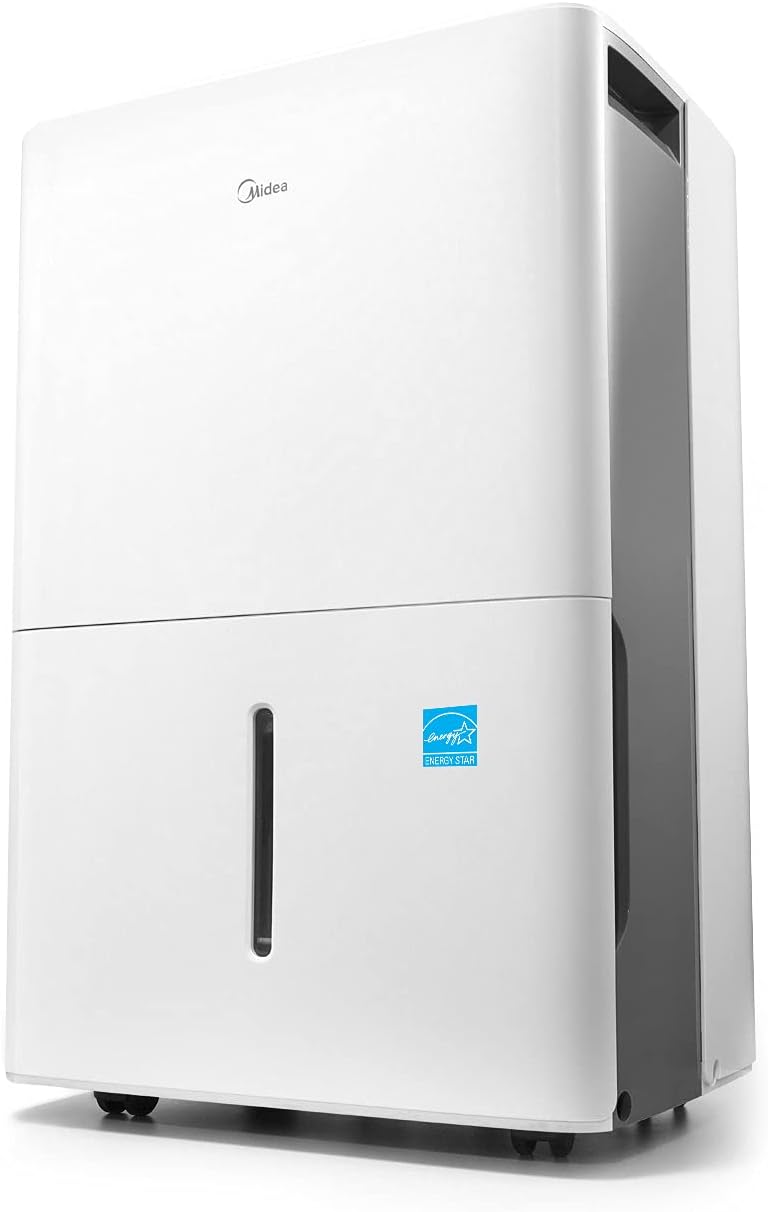
Figure 2.2: The dehumidifier features easy-roll casters for convenient relocation.
Eastman 60309 Washing Machine Drain Hose
The Eastman 60309 is a 12-foot black rubber utility hose designed for various drainage and filling applications. It features a brass nut and a 3/4-inch female hose thread connection, with an open end for versatile use. Its construction is designed to prevent leaking, kinking, and crimping.
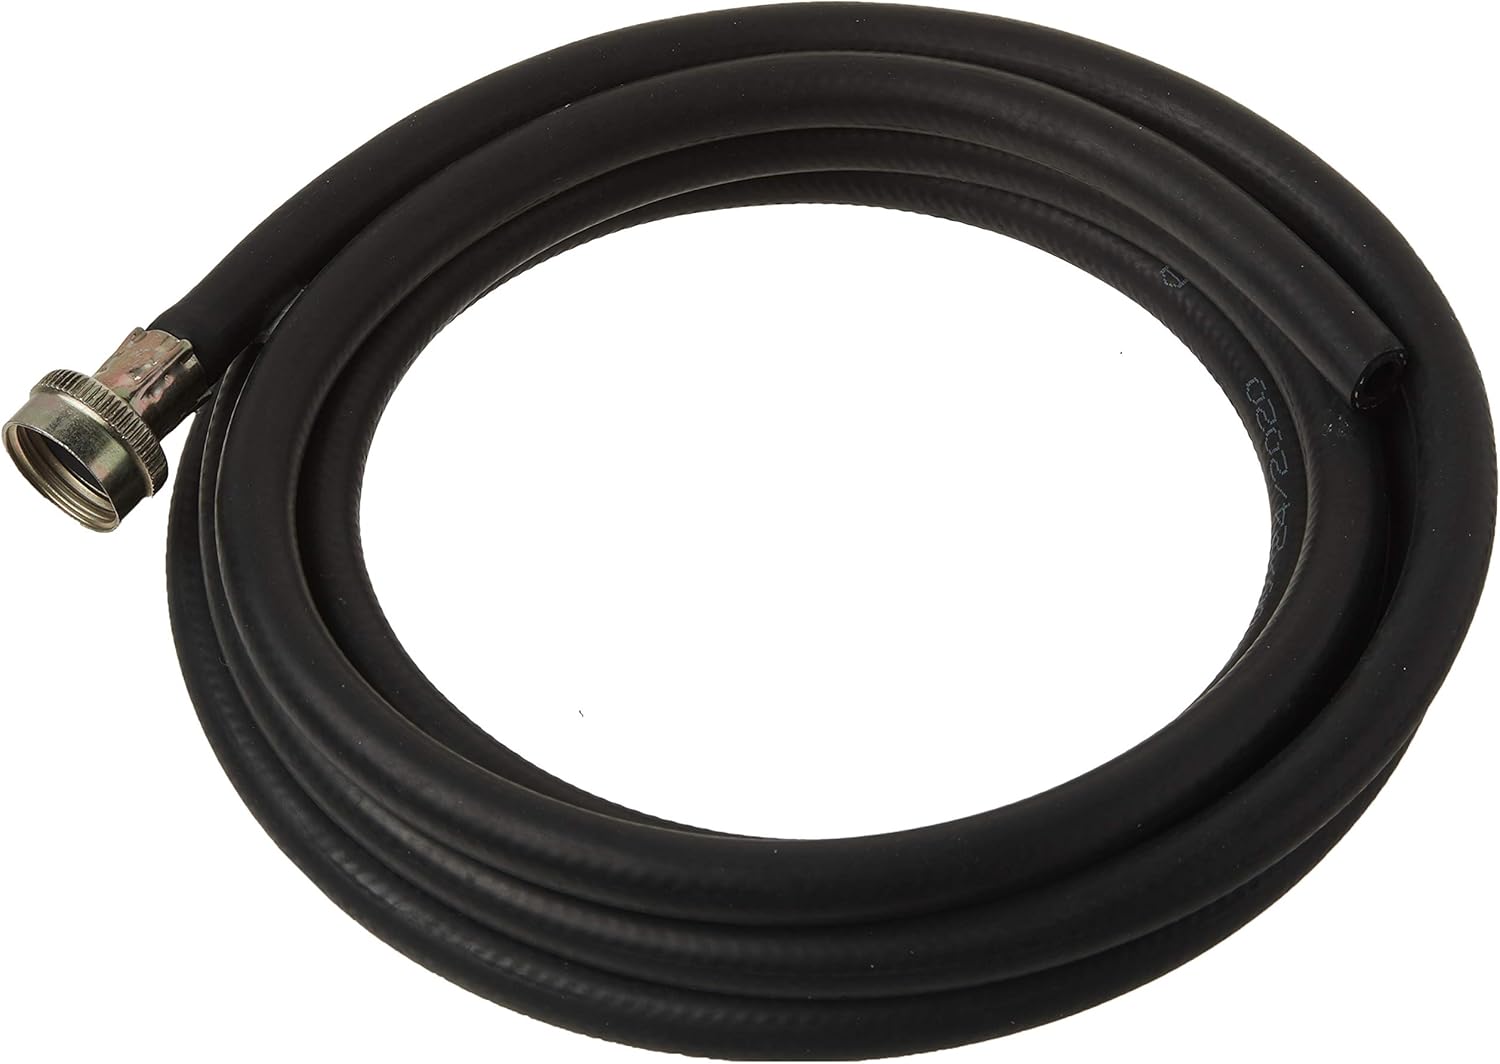
Figure 2.3: The Eastman 60309 drain hose, coiled for storage.

Figure 2.4: Detail of the 3/4-inch female hose thread connection on the Eastman drain hose.
3. การตั้งค่าและการติดตั้ง
Dehumidifier Placement
- Place the dehumidifier on a firm, level surface in an area where the humidity is highest.
- Ensure there is at least 8 inches (20 cm) of space around the unit for proper air circulation. Do not block the air inlet or outlet.
- หลีกเลี่ยงการวางเครื่องไว้ใกล้เครื่องใช้ไฟฟ้าที่ก่อให้เกิดความร้อนหรือโดนแสงแดดโดยตรง
การเชื่อมต่อไฟฟ้า
Plug the dehumidifier into a dedicated, grounded 115V/60Hz electrical outlet. Do not use extension cords or power strips.
Water Drainage Options
The Midea dehumidifier offers two methods for water removal:
A. Manual Drainage (Water Bucket)
The unit will collect water in its internal bucket. When the bucket is full, the unit will automatically shut off and illuminate the 'Full' indicator. Empty the bucket and replace it securely to resume operation.
B. Continuous Drainage
For continuous operation without needing to empty the bucket, you can connect a standard 0.75-inch female garden hose (not included) to the continuous drain port on the back of the unit. Ensure the hose is sloped downwards to allow gravity drainage to a suitable floor drain.

Figure 3.1: Continuous drain port on the back of the dehumidifier.

รูปที่ 3.2: อดีตample of a hose connected for continuous drainage.
The Eastman 60309 drain hose, with its 3/4-inch female hose thread, may be compatible for continuous drainage if its open end can be directed to a drain. Verify compatibility before use.
4. คู่มือการใช้งาน
แผงควบคุมโอเวอร์view
The control panel on top of the dehumidifier allows you to manage all settings and functions. It includes buttons for power, mode selection, humidity adjustment, timer, and filter reset, along with a digital display for current humidity and settings.
วิดีโอ 4.1: วิดีโอนี้ให้ภาพที่ชัดเจนview of the Midea Dehumidifier's features, including the control panel, water bucket, continuous drain option, and reusable filter. It demonstrates setting humidity levels and the auto shut-off function.
การตั้งค่าความชื้นที่ต้องการ
- Press the 'Power' button to turn the unit on.
- Use the '+' or '-' buttons to set your desired humidity level. The range is typically between 35% and 85% Relative Humidity (RH).
- เครื่องจะทำงานจนกว่าระดับความชื้นที่ตั้งไว้จะถึงระดับที่กำหนด จากนั้นจะเปิดและปิดสลับกันเพื่อรักษาระดับความชื้นนั้นไว้
โหมดการทำงาน
- โหมดความสะดวกสบาย: This mode automatically maintains a comfortable humidity range of 45%-55% RH, discouraging the growth of allergens and dust mites.
- การลดความชื้นอย่างต่อเนื่อง: Ideal for very damp conditions or after flooding, this mode runs continuously regardless of the set humidity level.
- โหมดมาตรฐาน: ช่วยให้คุณสามารถตั้งค่าระดับความชื้นที่ต้องการได้ด้วยตนเอง
ฟังก์ชั่นจับเวลา
Use the 'Timer' button to set a delayed start or stop time for the dehumidifier, allowing for automated operation.
Auto Shut-Off and Auto Defrost
- ปิดอัตโนมัติ: The unit will automatically turn off when the internal water bucket is full, preventing overflow. The 'Full' indicator light will illuminate.
- ละลายน้ำแข็งอัตโนมัติ: If frost builds up on the evaporator coils, the unit will automatically enter defrost mode to melt the ice, ensuring efficient operation and preventing damage.
รีสตาร์ทอัตโนมัติ
ในกรณีไฟฟ้าดับtagกล่าวคือ เมื่อไฟฟ้ากลับมาใช้งานได้อีกครั้ง เครื่องลดความชื้นจะเริ่มต้นทำงานโดยอัตโนมัติด้วยการตั้งค่าเดิม
5. การบำรุงรักษา
การทำความสะอาดตัวกรองอากาศ
The dehumidifier is equipped with a reusable air filter that should be cleaned regularly to maintain efficiency and air quality. A 'Filter' alert light will indicate when cleaning is recommended.
- ปิดเครื่องลดความชื้นและถอดปลั๊ก
- ถอดแผ่นกรองอากาศออกจากด้านหลังของเครื่อง
- ล้างตัวกรองด้วยน้ำสบู่อุ่นๆ ล้างออกให้สะอาด
- ปล่อยให้แผ่นกรองอากาศแห้งสนิทก่อนติดตั้งใหม่
- Once reinstalled, press the 'Filter' button to reset the filter alert.

Figure 5.1: The reusable air filter can be easily removed for cleaning.
ล้างถังน้ำ
When using manual drainage, the water bucket will need to be emptied periodically.
- When the 'Full' indicator lights up, gently pull out the water bucket from the front of the unit.
- Carefully carry the bucket to a sink or drain and empty the collected water.
- เลื่อนถังเปล่ากลับเข้าไปในเครื่องลดความชื้นจนกระทั่งล็อคเข้าที่ เครื่องจะกลับมาทำงานอีกครั้ง
6 การแก้ไขปัญหา
ก่อนติดต่อฝ่ายบริการลูกค้าโปรดตรวจสอบview ปัญหาและวิธีแก้ไขทั่วไปต่อไปนี้:
| ปัญหา | สาเหตุที่เป็นไปได้ | สารละลาย |
|---|---|---|
| เครื่องลดความชื้นไม่เปิด | No power, power cord loose, bucket full or not properly installed. | Check power connection, ensure bucket is empty and correctly seated. |
| เครื่องกำลังทำงานแต่ไม่ได้รวบรวมน้ำ | Room temperature too low, humidity too low, air filter clogged, continuous drain hose blocked. | Ensure room temperature is above 41°F (5°C), check and clean air filter, verify continuous drain hose is clear and sloped. |
| 'Full' indicator is on, but bucket is not full. | สวิตช์ลูกลอยค้างหรือวางไม่ตรงตำแหน่ง | Remove and reinsert the bucket, check the float switch for obstructions. |
| หน่วยมีเสียงดัง | เครื่องไม่ได้วางบนพื้นผิวที่เรียบ และแผ่นกรองอากาศอุดตัน | Place on a level surface, clean the air filter. |
7. ข้อมูลจำเพาะ
| คุณสมบัติ | ข้อมูลจำเพาะ |
|---|---|
| ยี่ห้อ | มีเดีย |
| ชื่อรุ่น | MAD50C1ZWS |
| การครอบคลุมพื้นที่ | สูงถึง 4500 ตารางฟุต |
| ลดความชื้นความจุ | 50 Pints per Day (2019 DOE) |
| ปริมาตรถัง | 23.7 ลิตร |
| โหมดการทำงาน | ความสะดวกสบาย ต่อเนื่อง มาตรฐาน |
| คุณสมบัติพิเศษ | Automatic Restart, Automatic Shutoff, Auto Defrost |
| วัดtage | 500 วัตต์ |
| คะแนนอุณหภูมิบน | 80 องศาฟาเรนไฮต์ |
| Drain Hose Material | Rubber (for Eastman 60309) |
8. การรับประกันและการสนับสนุน
ข้อมูลการรับประกัน
Midea stands behind its product with a one-year parts and labor warranty. Please retain your proof of purchase for warranty claims.
การสนับสนุนลูกค้า
For technical assistance, troubleshooting beyond this manual, or warranty inquiries, please contact Midea customer support. Refer to your product packaging or the official Midea webเว็บไซต์สำหรับข้อมูลการติดต่อล่าสุด


