1. บทนำ
This manual provides detailed instructions for the installation, operation, and maintenance of your SpeaKa Professional Dual Monitor Mount, model SP-8986136. This monitor mount is designed for office and retail environments, offering flexible monitor positioning with 360° rotation and stepless adjustment. Please read this manual thoroughly before installation and use to ensure proper function and safety.
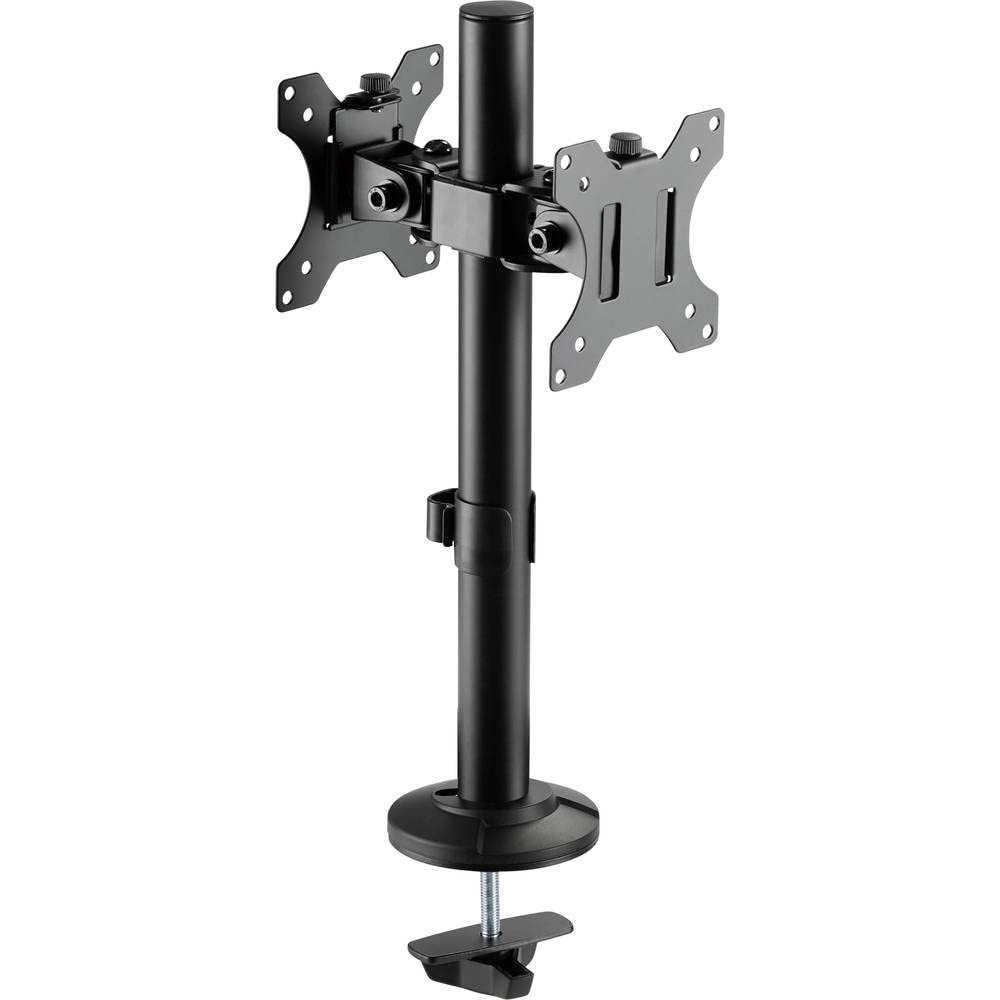
Figure 1: SpeaKa Professional Dual Monitor Mount (SP-8986136) overview.
2. ข้อมูลด้านความปลอดภัย
- ตรวจสอบให้แน่ใจว่าชิ้นส่วนทั้งหมดครบถ้วนและไม่เสียหายก่อนทำการติดตั้ง
- Do not exceed the maximum weight capacity specified for the mount.
- Install the mount on a stable and sturdy surface capable of supporting the combined weight of the mount and monitors.
- ขันสกรูทั้งหมดให้แน่น แต่ห้ามขันแน่นเกินไปเพื่อป้องกันเกลียวเสียหาย
- เก็บให้ห่างจากเด็กและสัตว์เลี้ยงในระหว่างการติดตั้ง
- If you encounter any difficulties, consult a qualified professional.
3. เนื้อหาบรรจุภัณฑ์
Please verify that all parts are included in your package. If any parts are missing or damaged, contact customer support.
- Main Pole with Clamp ฐาน
- VESA Monitor Arms (2x)
- แผ่น VESA (2 ชิ้น)
- Optional Screw Base
- ชุดอุปกรณ์ฮาร์ดแวร์ (สกรู แหวนรอง ประแจหกเหลี่ยม)
- คลิปการจัดการสายเคเบิล
4. การตั้งค่าและการติดตั้ง
The SpeaKa Professional Dual Monitor Mount offers two installation options: a clamp base for most tables and desks, and a screw base for added security.
4.1. Choosing Your Mounting Option

รูปที่ 2: Clamp base (left) and screw base (right) options.
- Clamp ฐาน: Ideal for desks with an edge. Provides strong support without drilling.
- ฐานสกรู: Requires drilling a hole through the desk. Offers maximum stability and security.
4.2. คamp การติดตั้งฐาน
- แนบ clamp จากฐานถึงโคนเสาหลัก
- Position the main pole on your desk edge.
- ขันสกรูให้แน่นamp ขันสกรูจนกว่าฐานยึดจะติดกับโต๊ะอย่างแน่นหนา ตรวจสอบให้แน่ใจว่ามันมั่นคงและไม่โยกเยก
4.3. Screw Base Installation (Grommet Mount)
- If your desk has a grommet hole, ensure it is large enough for the screw base. If not, drill a suitable hole (consult desk manufacturer for recommendations).
- Attach the screw base to the bottom of the main pole.
- สอดเสาหลักเข้าไปในรูที่เจาะไว้
- Secure the screw base from underneath the desk using the provided hardware. Tighten firmly.
4.4. Attaching Monitor Arms and VESA Plates
- Slide the monitor arms onto the main pole at your desired height. Use the provided Allen key to tighten the set screw on each arm.
- Attach the VESA plates to the back of your monitors using the appropriate screws from the hardware kit. Ensure the VESA pattern (e.g., 75x75mm or 100x100mm) matches your monitor.
- Carefully slide the monitors (with VESA plates attached) onto the monitor arms. Secure them with the locking mechanism on the VESA plate.
5. การใช้งานและการปรับแต่ง
The monitor mount allows for various adjustments to achieve an optimal viewการสร้างประสบการณ์
- การปรับความสูง: Loosen the set screw on the monitor arm, adjust the arm to the desired height on the main pole, and re-tighten the screw.
- การปรับเอียง: The monitor can be tilted up to 90 degrees. Loosen the tilt knob on the VESA plate, adjust the monitor angle, and re-tighten.
- การปรับหมุน: The monitor arms can swivel horizontally along the main pole. The VESA plate also allows for 360-degree rotation, enabling portrait or landscape orientation.
- การจัดการสายเคเบิล: Use the integrated cable management clips on the main pole to route and organize your monitor cables for a tidy workspace.

รูปที่ 3: อดีตample of dual monitor application in a retail setting.
6. การบำรุงรักษา
การบำรุงรักษาอย่างสม่ำเสมอจะช่วยให้ขาตั้งจอภาพของคุณใช้งานได้ยาวนานและปลอดภัย
- การทำความสะอาด: เช็ดบริเวณที่ยึดด้วยผ้านุ่มๆamp ผ้า หลีกเลี่ยงน้ำยาทำความสะอาดหรือตัวทำละลายที่มีฤทธิ์กัดกร่อน
- การตรวจสอบความแน่น: ตรวจสอบสกรูและข้อต่อทั้งหมดเป็นระยะ เพื่อให้แน่ใจว่ายังแน่นอยู่ ขันให้แน่นอีกครั้งหากจำเป็น
- ความจุน้ำหนัก: Do not add monitors that exceed the specified weight capacity.
7 การแก้ไขปัญหา
| ปัญหา | สาเหตุที่เป็นไปได้ | สารละลาย |
|---|---|---|
| Monitor wobbles or sags. | Screws are loose; mount not securely fastened to desk; monitor too heavy. | Check and tighten all screws on the VESA plate, monitor arm, and desk clamp/screw base. Ensure monitor weight is within limits. |
| Difficulty adjusting monitor position. | ปุ่มปรับ/สกรูแน่นเกินไป | Slightly loosen the relevant adjustment knob or screw (e.g., tilt knob, arm height screw) before attempting to adjust. Re-tighten after positioning. |
| สายเคเบิลยุ่งเหยิง | ไม่ได้ใช้ระบบจัดการสายเคเบิล | Route cables through the integrated cable management clips on the main pole. |
8. ข้อมูลจำเพาะ
| หมายเลขรุ่น | SP-8986136 |
| ยี่ห้อ | สปีคา โปรเฟสชันแนล |
| ประเภทการติดตั้ง | ฐานยึดแบบตั้งโต๊ะ (Cl)amp หรือห่วงโลหะ) |
| ประเภทการเคลื่อนไหว | Swivel, Tilt, Rotation (360°) |
| มุมเอียงสูงสุด | 90 องศา |
| อุปกรณ์ที่รองรับ | Monitor (VESA compatible) |
| สี | สีดำ |
| น้ำหนักสินค้า | 2.15 กิโลกรัม |
| ขนาดแพ็คเกจ | 46.3 x 35.2 x 10.1 ซม. |
| วันที่พร้อมใช้งานครั้งแรก | 24 กรกฎาคม 2020 |
9. ข้อมูลการรับประกัน
SpeaKa Professional products are designed for durability and performance. For specific warranty terms and conditions, please refer to the warranty card included with your product or visit the official SpeaKa Professional webไซต์นี้ โปรดเก็บหลักฐานการซื้อไว้เพื่อใช้ยืนยันการรับประกัน
10. การสนับสนุนลูกค้า
If you have any questions, require technical assistance, or need to report a missing/damaged part, please contact SpeaKa Professional customer support.
- การสนับสนุนทางออนไลน์: Visit the official SpeaKa Professional webไซต์สำหรับคำถามที่พบบ่อยและทรัพยากรสนับสนุน
- ข้อมูลติดต่อ: โปรดดูที่บรรจุภัณฑ์ของผลิตภัณฑ์หรือเอกสารอย่างเป็นทางการ webเว็บไซต์นี้ใช้สำหรับดูรายละเอียดการติดต่อล่าสุด (เบอร์โทรศัพท์, อีเมล)


