1. บทนำ
This manual provides detailed instructions for the setup, operation, and maintenance of your visiPower H885 8MP Trail Camera. Please read this manual thoroughly before using the camera to ensure optimal performance and longevity.
The visiPower H885 is a high-performance trail camera designed for capturing wildlife images and videos. It features an 8-megapixel sensor, 2.4-inch TFT LCD, infrared flash for night vision, and three PIR sensors for motion detection. Its waterproof design ensures reliable operation in various outdoor conditions.
2. เนื้อหาบรรจุภัณฑ์
ตรวจสอบว่ามีรายการทั้งหมดอยู่ในแพ็คเกจของคุณ:
- visiPower H885 Trail Camera
- สาย USB
- เคเบิ้ล AV
- สายรัดสำหรับติดตั้ง
- Wall Mount Bracket and Screws
- คู่มือการใช้งาน (เอกสารนี้)

Image: Contents of the visiPower H885 Trail Camera package.
3. กล้องโอเวอร์view

ภาพ: ด้านหน้า view of the visiPower H885 Trail Camera.

ภาพ: ด้านข้าง view of the visiPower H885 Trail Camera.
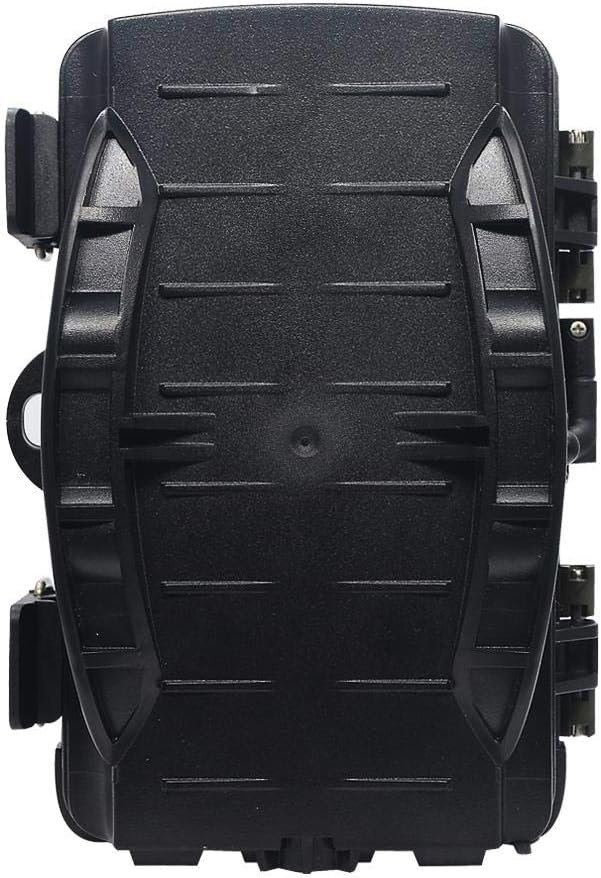
ภาพ: ด้านหลัง view of the visiPower H885 Trail Camera.
4. การตั้งค่า
4.1. การติดตั้งแบตเตอรี่
- เปิดฝาครอบกล้องโดยการปลดล็อคasing the side latches.
- ค้นหาช่องใส่แบตเตอรี่
- ใส่แบตเตอรี่ AA จำนวน 8 ก้อน โดยให้แน่ใจว่าขั้วถูกต้อง (+/-)
- ปิดช่องใส่แบตเตอรี่ให้แน่น
บันทึก: The camera also supports an external 6V/1.5A power source and is compatible with solar batteries (sold separately).
4.2. การติดตั้งการ์ด SD
- With the camera powered off, locate the SD card slot.
- Insert a TF (Micro SD) card (up to 32GB) into the slot until it clicks into place.
- ในการถอดออก ให้กดการ์ดเบาๆ จนกระทั่งการ์ดเด้งออกมา
สำคัญ: Format the SD card using the camera's menu settings before first use to ensure compatibility.
4.3. การติดตั้งกล้อง
The camera can be mounted using the included strap or wall mount bracket.
- การติดตั้งสายรัด: สอดสายรัดสำหรับติดตั้งผ่านช่องด้านหลังกล้อง แล้วยึดไว้กับต้นไม้หรือเสา
- ติดผนัง: Use the provided screws and wall anchors to attach the bracket to a flat surface. Then, attach the camera to the bracket.
Position the camera to cover the desired area, ensuring no obstructions block the PIR sensors or lens.
5. การใช้งานกล้อง
5.1. การเปิด/ปิดเครื่อง
Locate the power switch inside the camera housing. Switch it to the "ON" position to power on the camera. Switch to "OFF" to power off.
5.2. โหมดการทำงาน
The camera typically operates in three modes:
- ปิด: กล้องถูกปิดอยู่
- ติดตั้ง: Allows access to the menu for configuring settings, viewing images/videos, and manually taking photos/videos.
- ON (Active): The camera is armed and will capture images or videos based on motion detection and configured settings. The LCD screen will turn off after a few seconds to conserve power.
5.3. การตั้งค่าเมนู
In SETUP mode, use the navigation buttons to access and adjust settings on the 2.4-inch TFT LCD. Common settings include:
- โหมด: Photo, Video, or Photo + Video.
- ความละเอียดภาพ: 16MP, 12MP, 8MP, 5MP.
- ความละเอียดวิดีโอ: 1080p (25fps), 720p (30fps).
- ความไว PIR: สูง, กลาง, ต่ำ.
- ช่วงเวลาทริกเกอร์: Time delay between detections.
- ไทม์แลปส์: For capturing images at set intervals.
- วันที่/เวลา: ตั้งวันที่และเวลาปัจจุบัน
- ฟอร์แมตการ์ด SD: ลบข้อมูลทั้งหมดใน SD การ์ด
- การจับภาพที่ไม่มีที่สิ้นสุด: On/Off (Loop recording).

Image: Camera displaying captured content on its LCD screen.
5.4. การบันทึกภาพและวิดีโอ
Once settings are configured, switch the camera to the "ON" position. The camera will enter active mode and begin monitoring for motion. When motion is detected by the PIR sensors, the camera will trigger and capture photos or videos according to your settings.

Image: Illustration of the camera's 20-meter detection range.
6. การบำรุงรักษา
- การทำความสะอาด: Use a soft, dry cloth to clean the camera lens and PIR sensors. Avoid abrasive materials or harsh chemicals.
- การเปลี่ยนแบตเตอรี่: เปลี่ยนแบตเตอรี่ทั้งหมดเมื่อไฟแสดงสถานะแบตเตอรี่เหลือน้อยปรากฏขึ้น หรือเมื่อประสิทธิภาพการทำงานลดลง
- การจัดการการ์ด SD: Regularly check the SD card capacity and transfer important files to a computer. Format the card periodically.
- พื้นที่จัดเก็บ: เมื่อไม่ได้ใช้งานเป็นเวลานาน ควรถอดแบตเตอรี่ออกและเก็บกล้องไว้ในที่แห้งและเย็น
7 การแก้ไขปัญหา
- กล้องไม่เปิด:
- ตรวจสอบให้แน่ใจว่าใส่แบตเตอรี่อย่างถูกต้องและขั้วที่ถูกต้อง
- Check if batteries are fully charged or replace them.
- Verify the power switch is in the "ON" or "SETUP" position.
- Camera not capturing images/videos:
- Check if the SD card is inserted correctly and has sufficient free space.
- ฟอร์แมตการ์ด SD
- Adjust PIR sensitivity settings.
- Ensure the camera is in "ON" mode, not "SETUP".
- คุณภาพของภาพ/วิดีโอไม่ดี:
- ทำความสะอาดเลนส์กล้อง
- Check resolution settings in the menu.
- Ensure adequate lighting for daytime shots; for night shots, ensure objects are within IR flash range.
- ทริกเกอร์เท็จ:
- Reduce PIR sensitivity.
- Avoid placing the camera near heat sources or moving branches that could trigger the sensor.
8. ข้อมูลจำเพาะ
| คุณสมบัติ | รายละเอียด |
|---|---|
| ความละเอียดภาพนิ่ง | 8MP (Effective), 16MP/12MP/5MP selectable |
| ความละเอียดวิดีโอ | 1080p @ 25fps, 720p @ 30fps |
| แสดง | 2.4 นิ้ว TFT LCD |
| เซ็นเซอร์ PIR | 3 PIR sensors (Main PIR 60°, Side PIRs for 120° total sensing angle) |
| ระยะแฟลช IR | สูงถึง 20 เมตร (65 ฟุต) |
| ความเร็วในการเรียก | 0.6 seconds (Pre-boot 0.2 seconds) |
| ความต้านทานต่อน้ำ | กันน้ำระดับ IP56 |
| หน่วยความจำ | Supports TF (Micro SD) card up to 32GB |
| แหล่งพลังงาน | 8x AA batteries; External 6V/1.5A DC; Supports solar battery (optional) |
| เวลาสแตนด์บาย | นานถึง 12 เดือน |
| เสียง | ไมโครโฟนและลำโพงในตัว |
| มุมเลนส์ | 108 องศา |
| รูปแบบการจับภาพวิดีโอ | MPEG-4 |
| ยูพีซี | 614024391237 |
9. การรับประกันและการสนับสนุน
For warranty information and technical support, please refer to the documentation provided at the time of purchase or contact visiPower customer service. Keep your purchase receipt as proof of purchase.
For further assistance, visit the official visiPower webไซต์หรือติดต่อทีมสนับสนุนของพวกเขาโดยตรง

