1. บทนำ
The LoraTap 2 Remote Controlled Outlet System provides a convenient and efficient way to control your electrical appliances wirelessly. This system includes two smart plugs and one remote control, operating on an 868MHz radio frequency. It is designed for ease of use, offering immediate control without complex setup, and supports appliances up to 2500 Watts.
2. เนื้อหาบรรจุภัณฑ์
โปรดตรวจสอบว่าสินค้าทั้งหมดมีอยู่ในแพ็คเกจของคุณ:
- 2 x LoraTap Remote Controlled Outlets
- 1 x LoraTap Remote Control (with pre-installed CR2032 battery)
- 1 x Magnetic Wall Mount for Remote Control
- 1 x Adhesive Sticker for Wall Mount
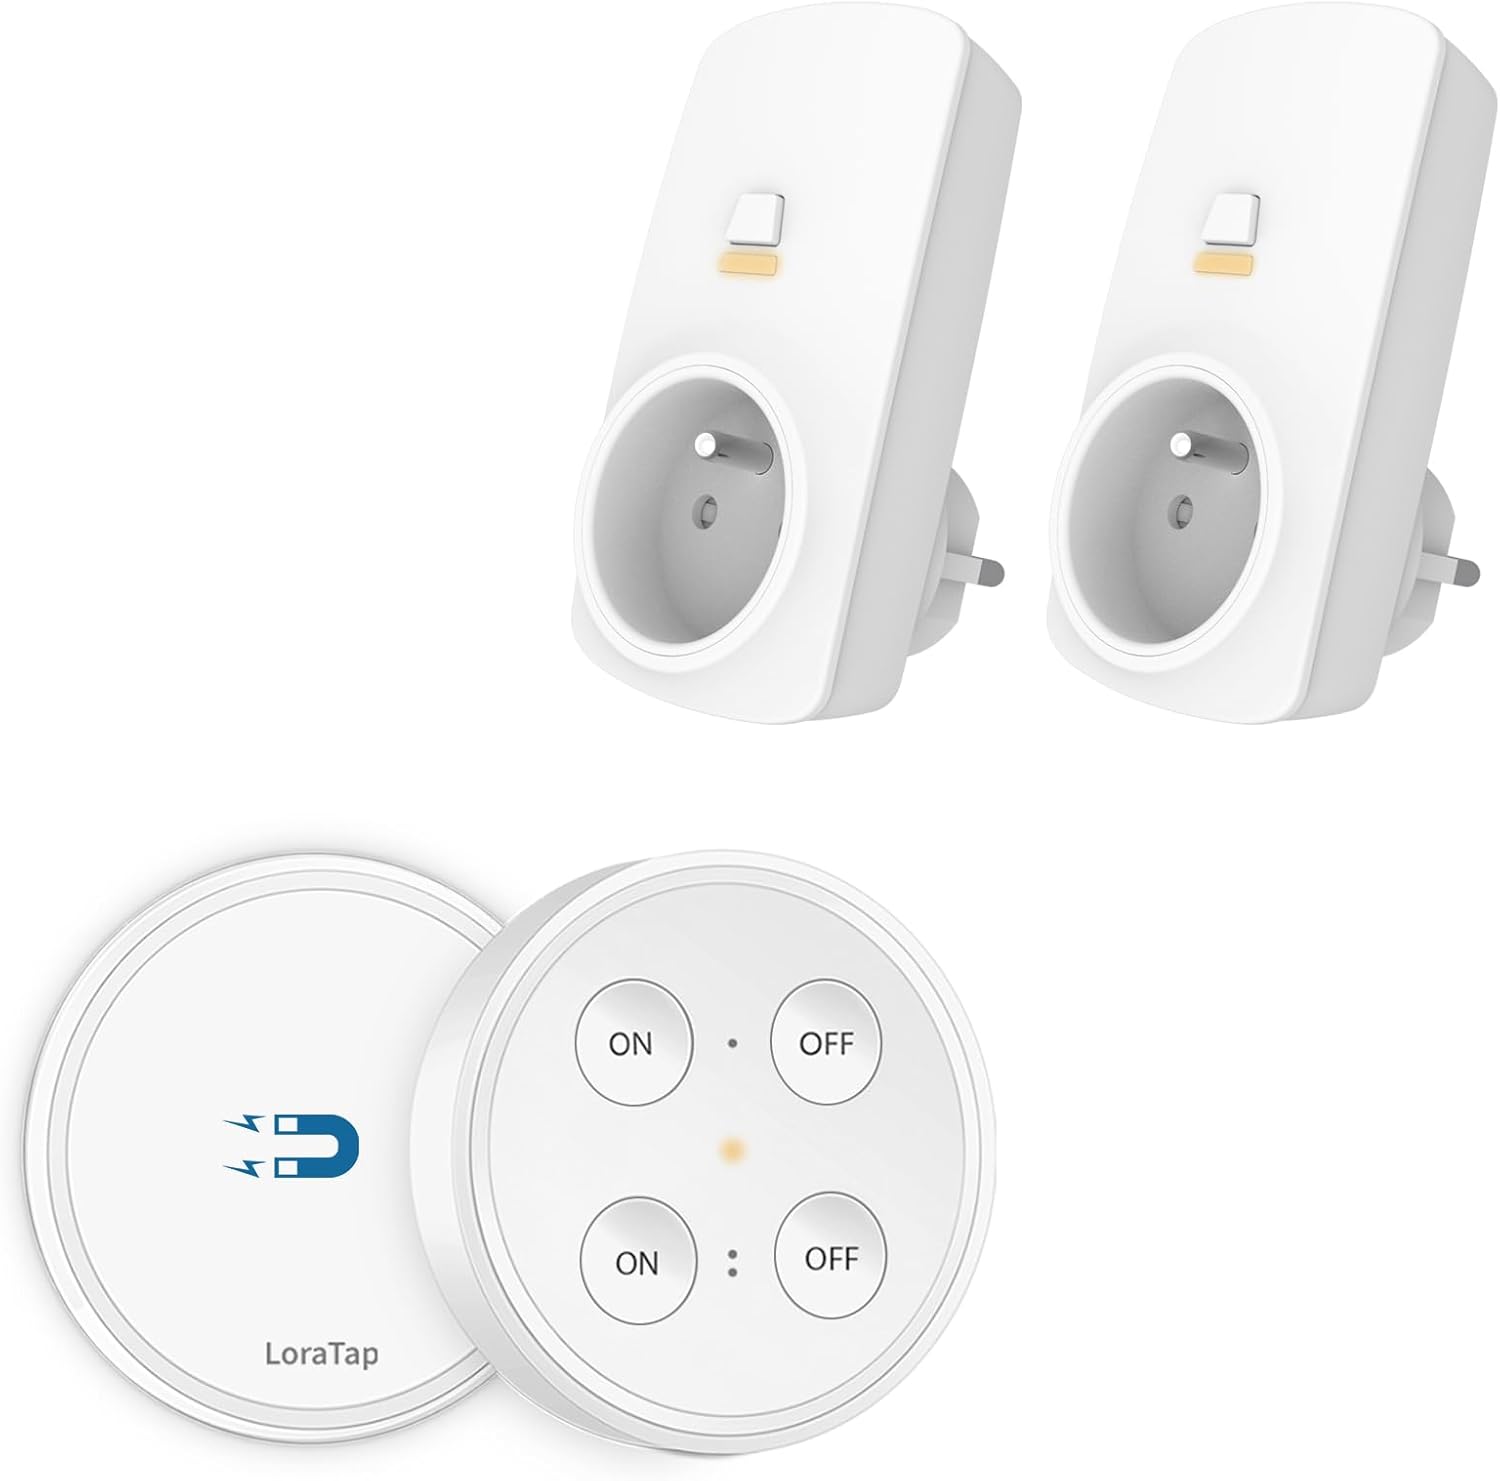
Image: The package includes two white remote-controlled outlets and a circular white remote control with four buttons.
3. การตั้งค่าและการติดตั้ง
The LoraTap Remote Controlled Outlet System is designed for immediate use as the remote control and plugs are pre-paired at the factory.
- แกะระบบ: นำส่วนประกอบทั้งหมดออกจากบรรจุภัณฑ์อย่างระมัดระวัง
- Plug in the Appliance: Insert the LoraTap remote controlled outlet into a standard wall socket. Then, plug your desired appliance into the LoraTap outlet.
- Operate with Remote: Use the remote control to switch the connected appliance ON or OFF.

Image: A three-panel illustration showing a person receiving a package, plugging an appliance into the remote outlet, and then using the remote control to operate it.
การติดตั้งรีโมทคอนโทรล
The remote control comes with a magnetic base and an adhesive sticker for convenient placement.
- Attach the adhesive sticker to the back of the magnetic wall mount.
- Choose a suitable, clean, and dry surface on a wall or furniture.
- Press the magnetic wall mount firmly onto the chosen surface.
- The remote control can then be magnetically attached to or detached from this mount for portable use.

Image: A diagram illustrating the magnetic base of the remote control, its dimensions (68mm diameter, 16mm thickness), and the CR2032 battery compartment.
4. คู่มือการใช้งาน
The remote control allows for independent operation of the two connected outlets.
- The remote features two sets of 'ON' and 'OFF' buttons. Each set corresponds to one of the two outlets.
- Press the upper 'ON' button to turn on the first outlet, and the upper 'OFF' button to turn it off.
- Press the lower 'ON' button to turn on the second outlet, and the lower 'OFF' button to turn it off.

Image: A hand holding the remote control, demonstrating its use to switch two different lamps connected to the remote outlets in a living room.

Image: A hand holding the remote control, demonstrating its use to switch Christmas tree lights connected to a remote outlet, simplifying control for hard-to-reach plugs.
5. คุณสมบัติหลัก
Extended Range ไร้สาย
The system offers an indoor control range of up to 30 meters (approximately 98 feet). The strong radio frequency signal can penetrate walls, windows, and ceilings, allowing flexible placement of your appliances and remote control.

Image: A diagram illustrating the remote control's ability to transmit signals through a brick wall to two separate outlets, indicating a range of up to 30 meters indoors.
Portable and Versatile Remote
The remote control's magnetic design and compact size make it highly portable. You can easily move it between rooms or attach it to any magnetic surface, such as a refrigerator, for convenient access.

Image: A collage showing the portable remote control being used and placed in different areas of a home, including a bedroom, living room, on a table, and on a refrigerator.
ฟังก์ชั่นหน่วยความจำ
The LoraTap outlets are equipped with a memory function. In the event of a power outage, the outlets will retain their last ON/OFF state once power is restored, ensuring your appliances return to their previous setting.

Image: A three-panel illustration demonstrating the memory function of the outlet: an appliance is ON before a power failure, OFF during the failure, and automatically returns to ON when power is restored.
Interference-Free Operation
Each LoraTap remote control and outlet set has a unique ID. This design allows multiple sets to be used in the same area without interfering with each other, ensuring reliable control for all your devices.

Image: A diagram showing two separate LoraTap remote controls (A and B), each paired with two distinct outlets (A-1, A-2 and B-1, B-2), illustrating their independent operation.
การใช้งานที่หลากหลาย
The LoraTap remote controlled outlets are suitable for a wide range of household appliances, making them ideal for controlling floor lamps, Christmas lights, table lamps, fans, and other devices.

Image: A collage showing four different applications for the remote outlets: a floor lamp, Christmas tree lights, a table lamp, and a standing fan.
6. ข้อมูลจำเพาะ
| คุณสมบัติ | รายละเอียด |
|---|---|
| ยี่ห้อ | ลอร่าแท็ป |
| ชื่อรุ่น | LoraTap 2 |
| เทคโนโลยีการเชื่อมต่อ | ความถี่วิทยุ (RF) |
| ความถี่ RF | 868เมกะเฮิรตซ์ |
| โหลดไฟฟ้าสูงสุด | 2500 วัตต์ |
| ช่วงในร่ม | สูงสุด 30 เมตร |
| ช่วงกลางแจ้ง | สูงสุด 200 เมตร (ไม่มีสิ่งกีดขวาง) |
| แบตเตอรี่รีโมทคอนโทรล | 1 x CR2032 (รวมอยู่ด้วย) |
| จำนวนอุปกรณ์ที่รองรับ | 2 (ต่อรีโมท 1 อัน) |
| สี | สีขาว |
| คุณสมบัติพิเศษ | Portable, Wireless, Memory Function |
| ขนาดแพ็คเกจ | 12 x 11.6 x 7.9 ซม. |
| น้ำหนักสินค้า | 320 กรัม |
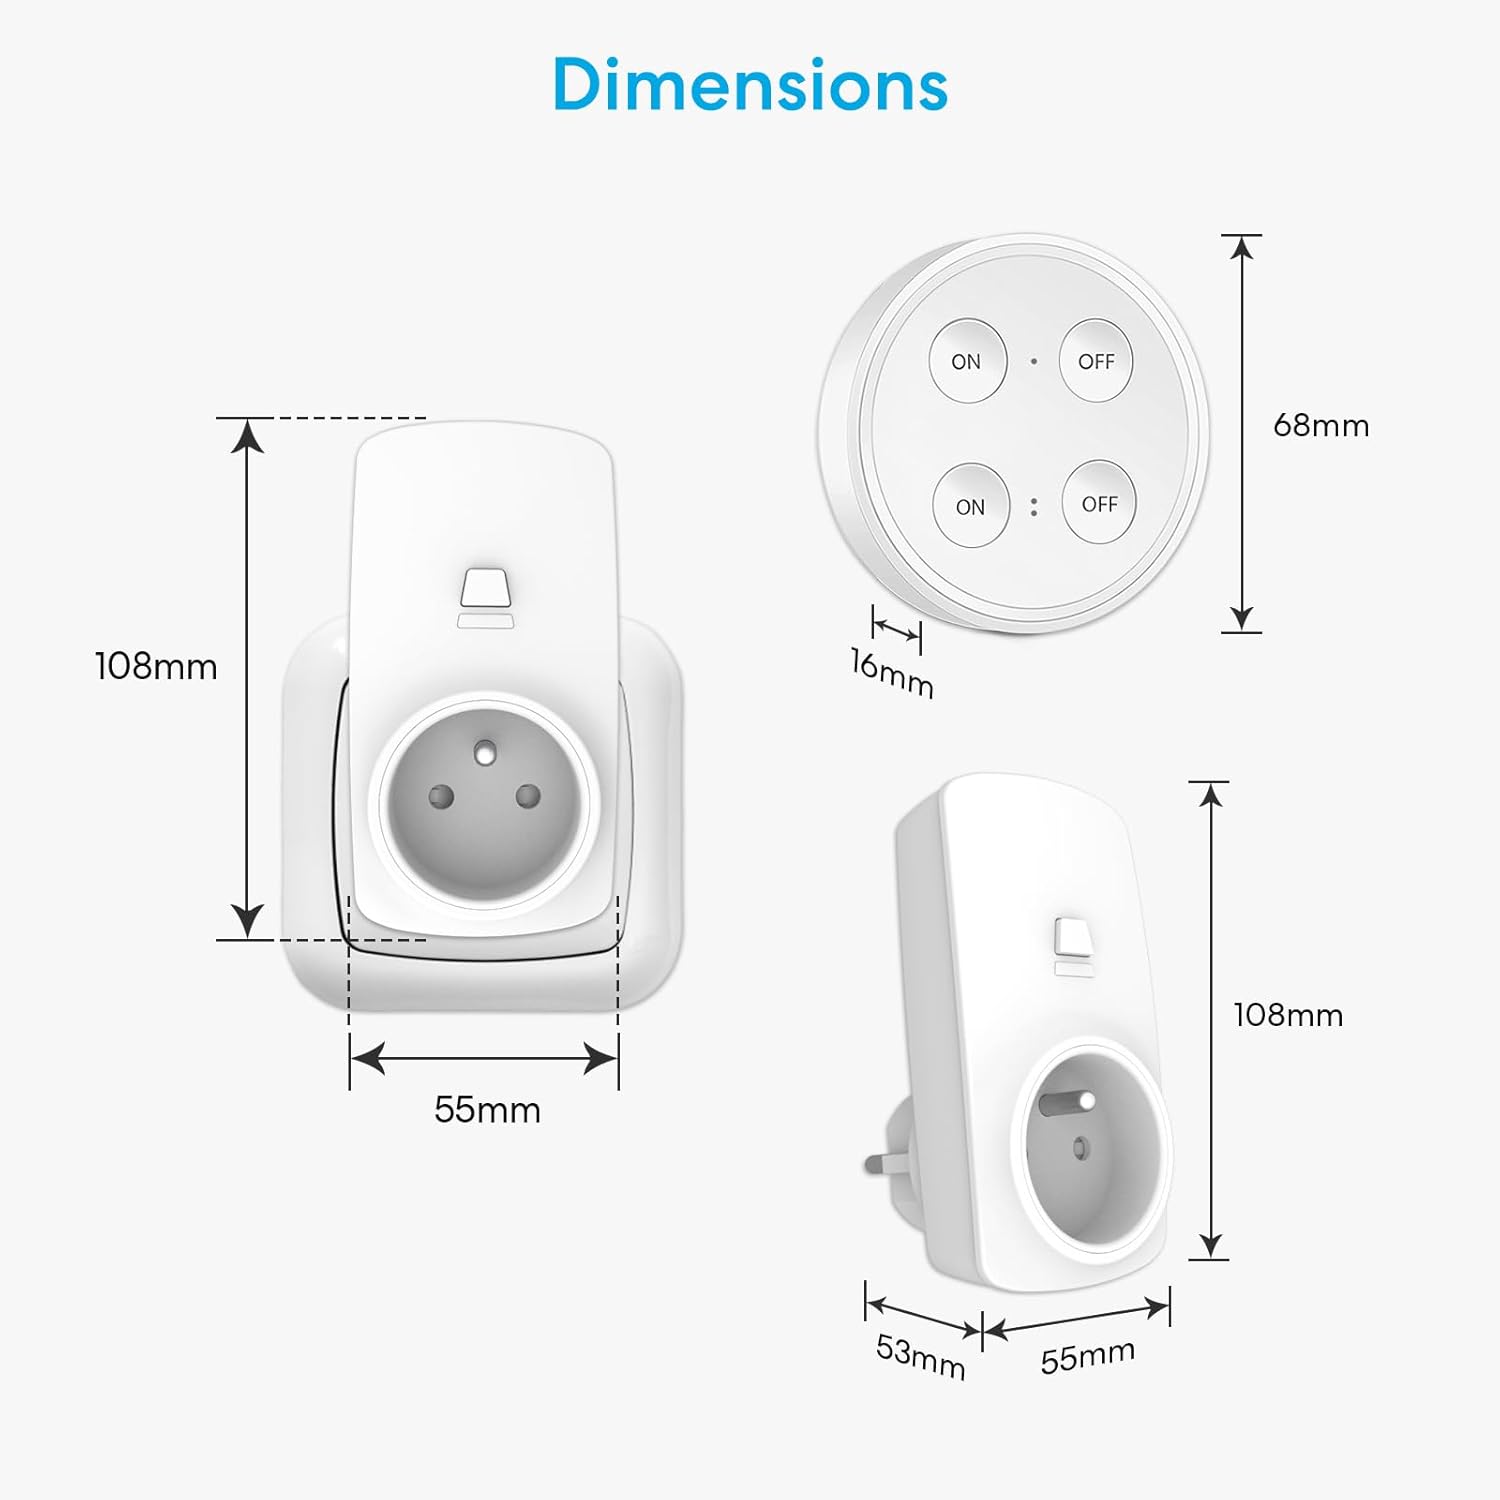
Image: A technical drawing showing the dimensions of the LoraTap remote control (68mm diameter, 16mm thickness) and the remote outlet (108mm height, 55mm width, 53mm depth).
7. การบำรุงรักษา
การเปลี่ยนแบตเตอรี่รีโมทคอนโทรล
The remote control is powered by a CR2032 coin cell battery, which is pre-installed and offers a long operational life (over 220,000 clicks). When the remote's performance diminishes or it stops responding, it may be time to replace the battery.
- Gently pry open the back cover of the remote control.
- ถอดแบตเตอรี่ CR2032 เก่าออก
- Insert a new CR2032 battery, ensuring the positive (+) side faces upwards.
- Snap the back cover securely into place.
No maintenance is typically required for the outlets themselves, beyond ensuring they are kept clean and dry.
8 การแก้ไขปัญหา
- เครื่องใช้ไฟฟ้าไม่ตอบสนอง:
- Ensure the LoraTap outlet is securely plugged into the wall socket.
- Verify the appliance is correctly plugged into the LoraTap outlet and is switched ON if it has its own power switch.
- ตรวจสอบแบตเตอรี่ของรีโมทคอนโทรล เปลี่ยนแบตเตอรี่หากจำเป็น
- Ensure the remote control is within the effective operating range (up to 30m indoors).
- Remote control indicator light not working:
- เปลี่ยนแบตเตอรี่ CR2032 ในรีโมทคอนโทรล
- Interference with other devices:
- The system is designed to be interference-free due to unique IDs. If you experience interference, ensure no other 868MHz devices are operating on the same frequency in close proximity.
9. ข้อมูลด้านความปลอดภัย
- Do not exceed the maximum load capacity of 2500 Watts. Overloading can cause damage to the device and pose a fire hazard.
- This product is for indoor use only. Do not expose to water, moisture, or extreme temperatures.
- Do not disassemble or attempt to repair the device. Contact qualified personnel for service.
- เก็บให้พ้นจากมือเด็ก
- Ensure proper ventilation around the outlets when in use.
- กำจัดแบตเตอรี่อย่างมีความรับผิดชอบตามกฎระเบียบท้องถิ่น
10. การรับประกันและการสนับสนุน
Information regarding specific warranty terms and customer support contact details is not available in the provided product data. Please refer to the product packaging or the seller's website for warranty information and customer service contacts.


