1. บทนำ
ขอบคุณสำหรับการซื้อasing the CAIWEI A8AB-NEW Video Projector. This manual provides essential information for the safe and efficient operation of your device. Please read it thoroughly before use and retain it for future reference.
2. คำแนะนำด้านความปลอดภัย
- อย่ามองตรงเข้าไปในเลนส์โปรเจ็กเตอร์เมื่อลamp อยู่บนแล้ว
- ตรวจสอบให้แน่ใจว่ามีการระบายอากาศที่เหมาะสมรอบๆ โปรเจ็กเตอร์เพื่อป้องกันความร้อนสูงเกินไป
- อย่าให้โปรเจ็กเตอร์โดนฝนหรือความชื้น
- ใช้เฉพาะอะแดปเตอร์แปลงไฟที่ให้มาพร้อมกับโปรเจคเตอร์เท่านั้น
- Keep the projector away from flammable materials.
- ถอดปลั๊กโปรเจ็กเตอร์ในระหว่างที่มีพายุฝนฟ้าคะนองหรือเมื่อไม่ได้ใช้งานเป็นเวลานาน
- อย่าพยายามซ่อมโปรเจคเตอร์ด้วยตนเอง โปรดส่งซ่อมโดยช่างผู้ชำนาญการเท่านั้น
3. เนื้อหาบรรจุภัณฑ์
กรุณาตรวจสอบว่าสินค้ามีครบทั้งหมดเมื่อแกะกล่อง:
- CAIWEI A8AB-NEW Video Projector
- สายไฟ
- รีโมทคอนโทรล
- สาย HDMI
- สายเคเบิล VGA
- เคเบิ้ล AV
- คู่มือการใช้งาน
4. สินค้าหมดview
Familiarize yourself with the projector's components:
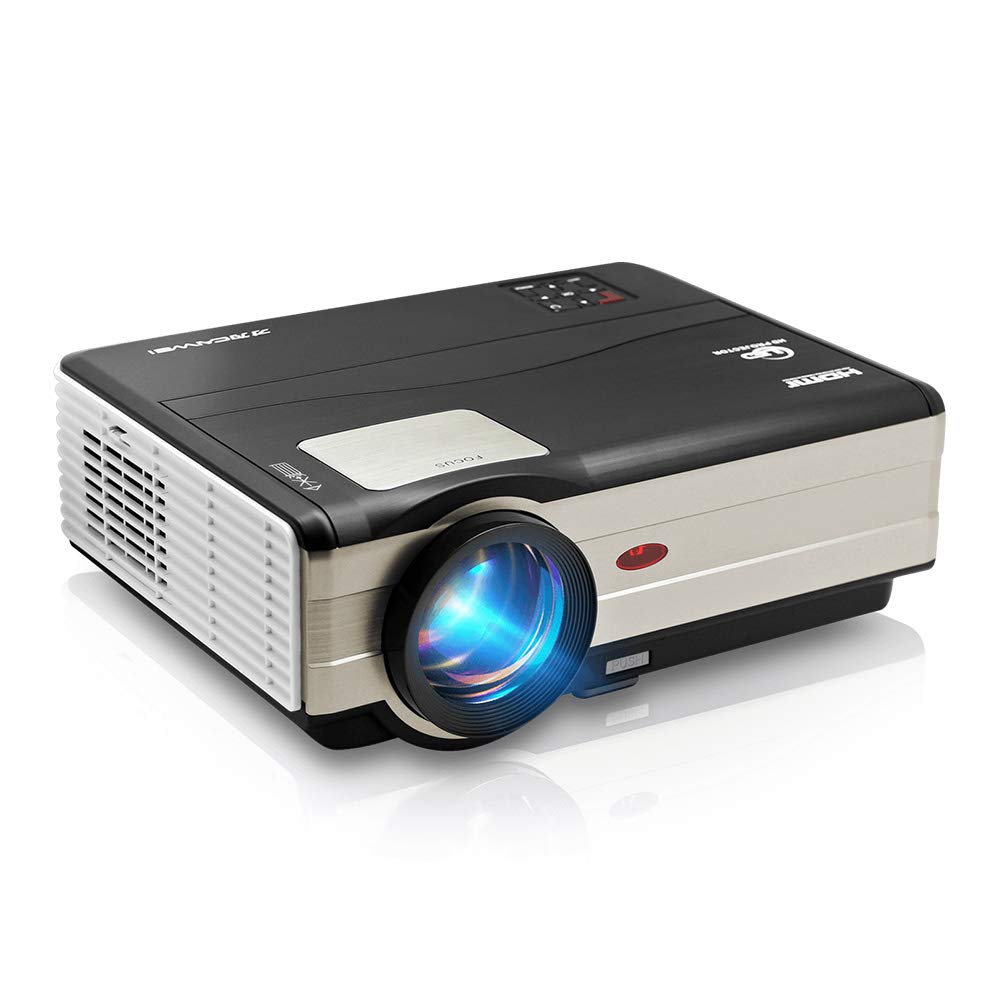
รูปที่ 1: ด้านหน้า view of the CAIWEI A8AB-NEW Video Projector, showing the lens and ventilation.
แผงด้านหน้า
- เลนส์ฉายภาพ: ปล่อยภาพออกมา
- วงแหวนโฟกัส: ปรับความคมชัดของภาพ
- การแก้ไขคีย์สโตน: แก้ไขการบิดเบี้ยวของภาพรูปทรงสี่เหลี่ยมคางหมู
แผงด้านหลัง
- พอร์ตไฟ: เชื่อมต่อกับสายไฟ
- พอร์ต HDMI (x2): Connects to HDMI-enabled devices (e.g., Blu-ray player, game console).
- พอร์ต USB (x2): Connects to USB storage devices or other USB peripherals.
- พอร์ต VGA: Connects to computers or laptops with VGA output.
- พอร์ต AV: Connects to older devices using composite video and stereo audio.
- ช่องต่อสัญญาณเสียงออก (3.5 มม.): เชื่อมต่อกับลำโพงภายนอกหรือหูฟัง
5. การตั้งค่า
5.1 การจัดวาง
Place the projector on a stable, flat surface or mount it to a ceiling. Ensure the projector is perpendicular to the projection screen or wall. The optimal projection distance varies, but generally, a larger distance yields a larger image.
5.2 การเชื่อมต่อสายไฟ
- เชื่อมต่อสายไฟเข้ากับพอร์ตไฟของโปรเจ็กเตอร์
- เสียบปลายอีกด้านหนึ่งของสายไฟเข้ากับเต้ารับไฟฟ้า
- ไฟแสดงสถานะเพาเวอร์จะสว่างขึ้น
5.3 การเชื่อมต่ออุปกรณ์ป้อนข้อมูล
โปรเจ็กเตอร์รองรับแหล่งสัญญาณเข้าหลายประเภท:
- ช่องต่อ HDMI: Connect an HDMI cable from your device (e.g., laptop, game console, streaming stick) to one of the projector's HDMI ports.
- ยูเอสบี: เสียบแฟลชไดรฟ์ USB เข้ากับพอร์ต USB เพื่อเล่นสื่อ fileโดยตรงเลย
- VGA: เชื่อมต่อสาย VGA จากคอมพิวเตอร์ของคุณเข้ากับพอร์ต VGA ของโปรเจ็กเตอร์
- เอวี: Use the provided AV cable to connect to devices with composite video output.
- ไร้สาย (WiFi): For screen mirroring from smartphones or tablets, navigate to the 'Wireless Display' or 'Screen Mirroring' option in the projector's menu and follow the on-screen instructions. Ensure your device and the projector are on the same Wi-Fi network.
- บลูทูธ: To connect external Bluetooth speakers, go to the Bluetooth settings in the projector's menu, enable Bluetooth, and pair with your desired audio device.
5.4 การปรับโฟกัสและคีย์สโตน
- เปิดโปรเจ็กเตอร์และแสดงภาพ
- หมุน วงแหวนโฟกัส on the lens until the image appears sharp and clear.
- If the image is trapezoidal (wider at the top or bottom), adjust the Keystone Correction dial or setting until the image is rectangular.
6. คู่มือการใช้งาน
6.1 เปิด/ปิดเครื่อง
- เปิดเครื่อง: กดปุ่มเปิด/ปิดบนโปรเจคเตอร์หรือรีโมทคอนโทรล
- หมดแรง: กดปุ่มเปิด/ปิดเครื่องอีกครั้ง ยืนยันการปิดเครื่องหากได้รับแจ้ง
6.2 การนำทางเมนู
Use the navigation buttons (Up, Down, Left, Right, OK) on the projector or remote control to browse the on-screen menu. The 'Menu' button typically opens the main settings, and 'Exit' or 'Back' closes sub-menus.
6.3 การเลือกแหล่งที่มาของอินพุต
Press the 'Source' or 'Input' button on the remote control or projector. A list of available input sources (HDMI1, HDMI2, USB1, USB2, VGA, AV, Wireless Display) will appear. Select the desired source using the navigation buttons and press 'OK'.
6.4 การตั้งค่าเสียง
Access the audio settings through the main menu to adjust volume, select audio output (internal speaker, external via 3.5mm jack, or Bluetooth), and modify sound modes.
6.5 Wireless/Bluetooth Connection
Refer to section 5.3 for detailed instructions on connecting via Wi-Fi for screen mirroring or Bluetooth for audio output.
7. การบำรุงรักษา
7.1 การทำความสะอาดเลนส์
Use a soft, lint-free cloth specifically designed for optical lenses. Gently wipe the lens surface. Avoid using abrasive cleaners or excessive force, which can scratch the lens.
7.2 Cleaning the Air Filter/Vents
Regularly check the air intake and exhaust vents for dust accumulation. Use a soft brush or a can of compressed air to gently clean the vents. This helps maintain proper airflow and prevents overheating.
7.3 พื้นที่จัดเก็บ
When not in use, store the projector in a cool, dry, and dust-free environment. Use the original packaging or a protective case to prevent damage.
8 การแก้ไขปัญหา
| ปัญหา | สาเหตุที่เป็นไปได้ | สารละลาย |
|---|---|---|
| ไม่มีภาพบนหน้าจอ | ไม่ได้ต่อสายไฟ; แหล่งสัญญาณเข้าไม่ถูกต้อง; อุปกรณ์ไม่ได้เปิดใช้งาน | Check power cable; Select correct input source; Ensure connected device is on. |
| ภาพเบลอ | ไม่ได้ปรับโฟกัส; โปรเจคเตอร์อยู่ไกล/ใกล้เกินไป | ปรับวงแหวนปรับโฟกัส; จัดตำแหน่งโปรเจคเตอร์ใหม่ |
| รูปภาพเป็นรูปสี่เหลี่ยมคางหมู | ไม่ได้ปรับคีย์สโตน | ปรับแก้คีย์สโตน |
| ไม่มีเสียง | Volume too low; Muted; Incorrect audio output; Cable issue. | Increase volume; Unmute; Check audio settings; Verify cable connections. |
| รีโมตคอนโทรลไม่ทำงาน | Batteries dead; Obstruction; Out of range. | Replace batteries; Remove obstructions; Ensure line of sight to IR receiver. |
| คำเตือนเรื่องความร้อนสูงเกินไป | Blocked vents; Poor ventilation. | Clear vents; Ensure adequate space around projector. |
9. ข้อมูลจำเพาะ
- แบบอย่าง: A8AB-NEW
- ยี่ห้อ: ไคเว่ย
- ความละเอียดการแสดงผล: 1280 x 800
- เทคโนโลยีการเชื่อมต่อ: Bluetooth, HDMI, USB, VGA, Wireless
- คุณสมบัติพิเศษ: Wi-Fi ในตัว พกพาได้ ไร้สาย
- การใช้ที่แนะนำ: เกมมิ่ง, โฮมเธียเตอร์
- น้ำหนักสินค้า: 6.1 ปอนด์
- ขนาดสินค้า : 11.2 x 14.7 x 5 นิ้ว
10. การรับประกันและการสนับสนุน
CAIWEI products are designed for reliability and performance. For specific warranty details, please refer to the warranty card included with your purchase or contact CAIWEI customer support. If you encounter any issues not covered in this manual, please reach out to our support team for assistance.
การสนับสนุนลูกค้า: โปรดเยี่ยมชมเว็บไซต์อย่างเป็นทางการของ CAIWEI website or contact your retailer for support information.


