การแนะนำ
The WindowFX Plus Projector is designed to display seasonal and holiday-themed videos for decoration and entertainment. This projector kit includes a 4 x 6 screen, a tripod, a remote control, and 14 pre-loaded videos. It supports both horizontal and vertical video formats to accommodate various window sizes and shapes. The animated videos are projected onto the screen, making them visible from outside your home, creating a dynamic display.
Key features include: year-round decorating fun with easily addable new content, compatibility with any window size or shape, and 14 pre-recorded videos for immediate use. This product is intended for indoor use only.
คู่มือการติดตั้ง
1. เนื้อหาบรรจุภัณฑ์
Before beginning setup, ensure all components are present in the package:
- WindowFX Plus Projector
- 4 x 6 Projection Screen
- ขาตั้งกล้องปรับได้
- รีโมทคอนโทรลแบบมัลติฟังก์ชัน
- อะแดปเตอร์แปลงไฟ

Image: All components of the WindowFX Plus Projector kit, including the projector, screen, tripod, remote, and power adapter, laid out on a surface.
2. การติดตั้งหน้าจอ
Hang the provided 4 x 6 projection screen in the desired window. Ensure it is taut and smooth for optimal projection quality. The screen is designed to be viewed from outside the home.
3. Projector Placement and Connection
Position the projector inside your home, facing the projection screen. The included tripod can be attached to the bottom of the projector for stable placement.

ภาพ: ระยะใกล้ view of the bottom of the WindowFX Plus Projector, showing the threaded mount for attaching the tripod.

Image: A close-up of the flexible legs of the adjustable tripod, designed to provide stable support for the projector.
Connect the power adapter to the "DC IN" port on the side of the projector and plug it into a standard electrical outlet.

ภาพ: ด้านข้าง view of the WindowFX Plus Projector, highlighting the DC IN power input and the 3.5mm audio output jack.
If connecting external devices, use the HDMI or USB ports located on the back of the projector.

ภาพ: ด้านหลัง view of the WindowFX Plus Projector, showing the HDMI input port, USB port, IR receiver, and the keystone correction dial.
4. การตั้งค่าการควบคุมระยะไกล
Insert the required batteries (not included) into the remote control. Ensure correct polarity. The remote control is essential for navigating menus and selecting videos.

Image: The multi-function remote control for the WindowFX Plus Projector, featuring power, menu, navigation, volume, and playback buttons.
คำแนะนำการใช้งาน
1. การเปิด/ปิดเครื่อง
กดปุ่ม พลัง button on the projector's top panel or the remote control to turn the unit on or off.
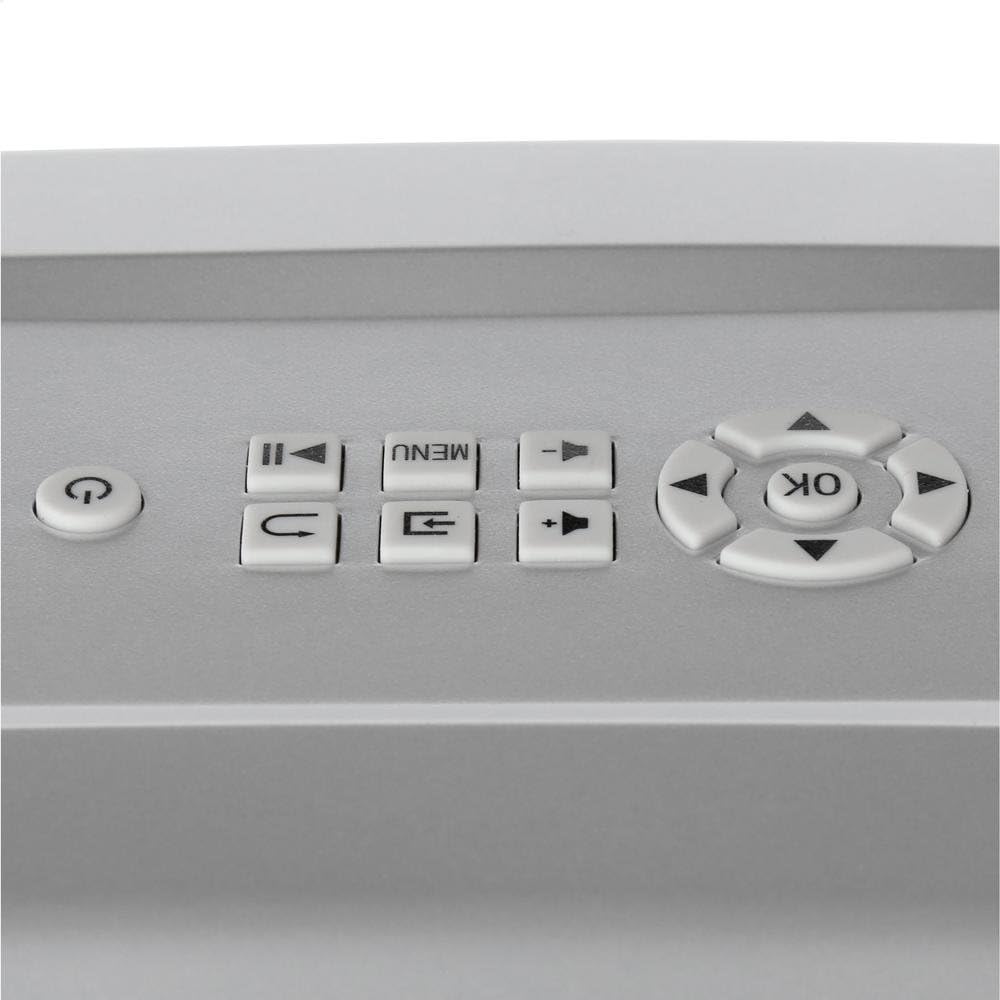
Image: Close-up of the top control panel of the WindowFX Plus Projector, showing buttons for power, menu, navigation, and playback.
2. การปรับโฟกัสและคีย์สโตน
Rotate the focus ring on the projector lens until the image appears clear and sharp on the screen. Use the keystone correction dial (located on the back panel) to adjust the image shape if it appears trapezoidal, ensuring a rectangular projection.
3. Navigating Menus and Playing Videos
ใช้ปุ่มนำทาง (ขึ้นลงซ้ายขวา) และ OK button on the remote or projector panel to browse through the menu options. Select "Play" or the desired video from the pre-loaded content. The projector comes with 14 pre-loaded videos for various occasions.

Image: A collage displaying various scenes from the 14 pre-loaded videos, including Halloween, Christmas, New Year, and other festive themes.
To play videos from a USB drive, insert the drive into the USB port and select the USB input source from the menu. Navigate to your video files and select one to play.
4. เอาต์พุตเสียง
The projector has a built-in speaker. For external audio, connect headphones or external speakers to the 3.5mm audio output jack on the side of the projector.
The projector also features Bluetooth connectivity, allowing wireless audio streaming to compatible Bluetooth speakers or headphones. Refer to the on-screen menu for Bluetooth pairing instructions.
การซ่อมบำรุง
- การทำความสะอาดเลนส์: เช็ดเลนส์โปรเจ็กเตอร์เบาๆ ด้วยผ้าเนื้อนุ่มที่ไม่เป็นขุย ห้ามใช้สารทำความสะอาดที่มีฤทธิ์กัดกร่อนหรือตัวทำละลาย
- การทำความสะอาดทั่วไป: Use a soft, dry cloth to clean the exterior of the projector. Avoid spraying liquids directly onto the unit.
- พื้นที่จัดเก็บ: When not in use, store the projector in a cool, dry place, away from direct sunlight and extreme temperatures. It is recommended to store it in its original packaging or a protective case to prevent dust accumulation and damage.
- การระบายอากาศ : ตรวจสอบให้แน่ใจว่าช่องระบายอากาศของโปรเจ็กเตอร์ไม่ถูกปิดกั้นขณะใช้งาน เพื่อป้องกันความร้อนสูงเกินไป
การแก้ไขปัญหา
| ปัญหา | สาเหตุที่เป็นไปได้ | สารละลาย |
|---|---|---|
| ไม่มีไฟฟ้า | สายไฟไม่ได้เชื่อมต่อ เต้าเสียบไฟฟ้าไม่ทำงาน | Ensure power adapter is securely connected to the projector and a working electrical outlet. |
| ไม่มีภาพบนหน้าจอ | Projector not powered on; Incorrect input source selected; Lens cap on. | Turn on the projector. Select the correct input source (e.g., USB, HDMI). Remove the lens cap. |
| ภาพเบลอ | ไม่ได้ปรับโฟกัส โปรเจ็กเตอร์อยู่ไกล/ใกล้หน้าจอมากเกินไป | Adjust the focus ring on the lens. Reposition the projector for optimal distance. |
| ภาพเป็นรูปสี่เหลี่ยมคางหมู | ไม่ได้ปรับคีย์สโตน | Adjust the keystone correction dial on the back of the projector. |
| ไม่มีเสียง | ระดับเสียงเบาเกินไป; อุปกรณ์เสียงภายนอกไม่ได้เชื่อมต่ออย่างถูกต้อง | Increase volume using the remote or projector controls. Check connections to external speakers/headphones. Ensure Bluetooth device is paired correctly. |
| รีโมตคอนโทรลไม่ทำงาน | Batteries dead or incorrectly inserted; Obstruction between remote and projector. | Replace batteries, ensuring correct polarity. Remove any obstructions between the remote and the projector's IR receiver. |
ข้อมูลจำเพาะ
- ชื่อยี่ห้อ: วินโดว์ เอฟเอ็กซ์
- หมายเลขรุ่น: พลัส
- น้ำหนักสินค้า: 2.7 ปอนด์
- ขนาดสินค้า : 12.1 x 7.7 x 4.1 นิ้ว
- เทคโนโลยีการเชื่อมต่อ: สาย HDMI, สาย USB, สายบลูทูธ
- ประเภทจอภาพ: LCD, DLP, or LED (as per general specification, specific type not detailed)
- การใช้ที่แนะนำ: Home Cinema, Seasonal Decoration
- คุณสมบัติพิเศษ: Wireless (Bluetooth), Pre-loaded Videos
การรับประกันและการสนับสนุน
For information regarding warranty coverage, technical support, or service, please refer to the documentation included with your purchase or visit the official WindowFX webไซต์นี้ โปรดเก็บหลักฐานการซื้อไว้เพื่อใช้ยืนยันการรับประกัน
For additional assistance, you may contact the manufacturer's customer service department. Contact details are typically available on the product packaging or the official brand webเว็บไซต์.
