
ดิจิทนาว M125
DIGITNOW! M125 Film and Slide Scanner User Manual
รุ่น : M125
1. บทนำ
The DIGITNOW! M125 Film and Slide Scanner is designed to convert your old 35mm/135 film negatives and mounted slides into digital JPEG images. This standalone device features a 2.4-inch LCD screen, allowing you to preview and adjust images without the need for a computer. Digital files can be saved directly to an SD card for easy transfer and archiving.

Image: The DIGITNOW! M125 Film and Slide Scanner converting film, with a vintage camera and film rolls in the background.
2. ข้อมูลด้านความปลอดภัย
- อย่าให้อุปกรณ์สัมผัสกับความชื้นหรืออุณหภูมิที่สูงเกินไป
- ห้ามถอดชิ้นส่วนเครื่อง โปรดส่งเครื่องไปซ่อมที่ช่างผู้ชำนาญการ
- ใช้เฉพาะอะแดปเตอร์ไฟฟ้าที่ให้มาเท่านั้นเพื่อป้องกันความเสียหาย
- เก็บให้พ้นจากมือเด็ก
- ทำความสะอาดอุปกรณ์ด้วยผ้านุ่มและแห้ง ห้ามใช้น้ำยาทำความสะอาด
3. เนื้อหาบรรจุภัณฑ์
ตรวจสอบว่ามีรายการทั้งหมดอยู่ในแพ็คเกจ:
- DIGITNOW! M125 Film and Slide Scanner
- ที่ใส่ฟิล์ม 35มม.
- ที่จับสไลด์
- สาย USB
- อะแดปเตอร์แปลงไฟ
- แปรงทำความสะอาด
- คู่มือการใช้งาน

Image: The complete package contents of the DIGITNOW! M125 Film and Slide Scanner.
4. สินค้าหมดview
The M125 scanner features a compact design with intuitive controls and a built-in LCD screen for easy operation.

ภาพ: ด้านหน้า view of the DIGITNOW! M125 Film and Slide Scanner, highlighting the LCD screen and control panel.
4.1. แผงด้านหน้า
- หน้าจอ LCD: 2.4-inch TFT LCD for previewing images and navigating menus.
- ปุ่มควบคุม: Power, Menu, Capture, Up/Down/Left/Right navigation.
- ไฟแสดงสถานะ: SD (SD card status), Power (power status), PC (PC connection status).

ภาพ: รายละเอียด view of the scanner's screen and buttons, showing the 'FILM SCANNER' label.
4.2. แผงด้านหลัง
- ช่องเสียบการ์ด SD: For inserting an SD/MMC card (up to 8GB SDHC, not included) to save scanned images.
- เอาท์พุต USB: Connects to a computer for data transfer or power.
- อินพุตทีวี: Connects to a TV for viewing images on a larger screen (NTSC/PAL compatible).

Image: The back of the scanner, clearly labeling the SD card slot, USB output, and TV input ports.
5. การตั้งค่า
- เชื่อมต่อพลังงาน: Plug the power adapter into the scanner's USB port and then into a power outlet.
- ใส่การ์ด SD: Insert an SD or SDHC memory card (up to 8GB, not included) into the SD card slot on the rear of the scanner. The SD indicator light will illuminate.
- เปิดเครื่อง: Press the Power button on the front panel to turn on the scanner.
- Connect to TV (Optional): If desired, connect the scanner to a TV using the provided video cable to view ภาพบนหน้าจอขนาดใหญ่

Image: An SD card being inserted into the scanner, with a message on the screen indicating to insert a memory card.
6. คู่มือการใช้งาน
6.1. Loading Film and Slides
- สำหรับแถบฟิล์ม 35 มม.: Open the 35mm film holder, insert the film strip into the designated grooves, and close the holder. Slide the loaded holder into the scanner's film slot.
- สำหรับสไลด์ที่ติดตั้งแล้ว: Open the slide holder, place a mounted slide into the opening, and close the holder. Slide the loaded holder into the scanner's film slot.

Image: A mounted slide being pushed into the slide holder, which is then inserted into the scanner.
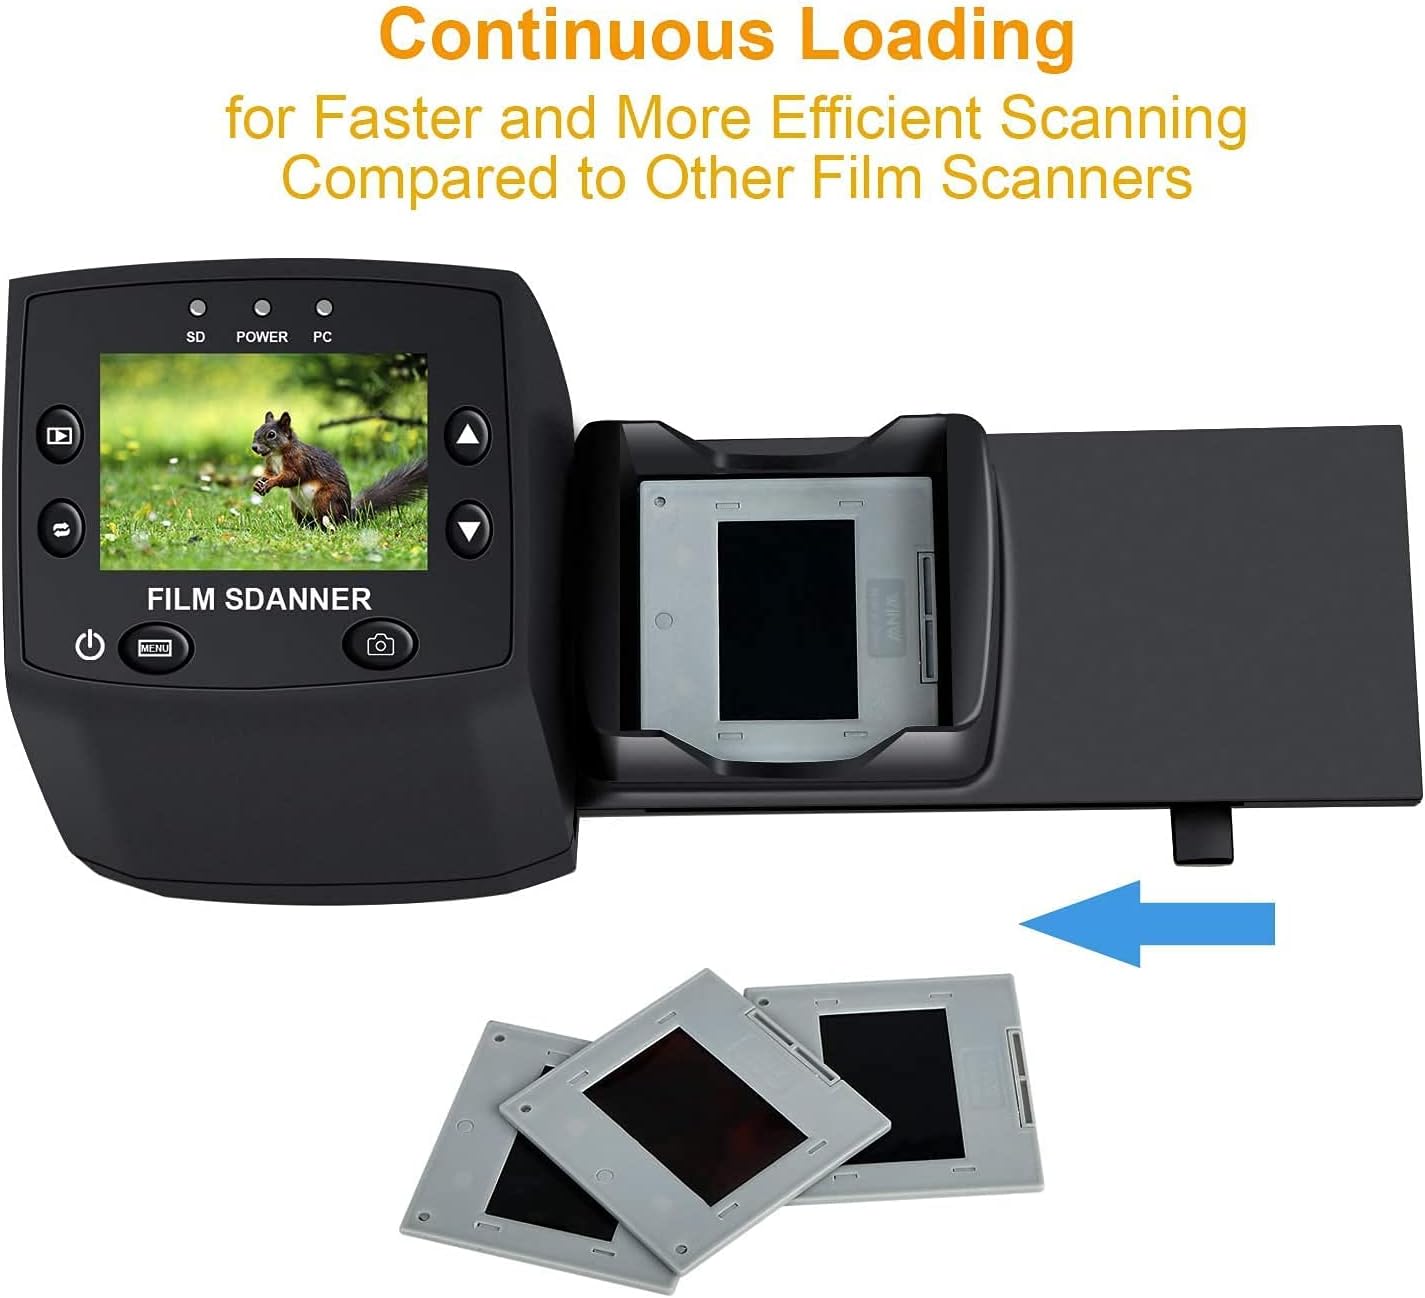
Image: The continuous loading tray for slides, designed for faster scanning.
6.2. กระบวนการสแกน
- พรีview: Once the film or slide is loaded, the image will appear on the LCD screen.
- ปรับการตั้งค่า (ไม่บังคับ):
- กดปุ่ม เมนู ปุ่มสำหรับเข้าถึงการตั้งค่า
- ใช้ ขึ้น/ลง buttons to navigate through options like การเปิดรับแสง EV, ปณิธาน, และ ภาษา.
- กด OK เพื่อเลือกตัวเลือก
- ใช้ ขึ้น/ลง to adjust values (e.g., exposure compensation from -2 to +2, resolution between 5M and 10M).
- กด OK to confirm changes or EXIT เพื่อกลับไปพรีview หน้าจอ.
- จับภาพ: When satisfied with the preview, กดปุ่ม การจับกุม button (camera icon) to scan and save the image to the SD card.
Video: A demonstration of the DIGITNOW! M125 Film and Slide Scanner's setup and operation, including connecting cables, inserting an SD card, loading film, adjusting settings like exposure and resolution, and capturing images.
6.3. การเชื่อมต่อกับพีซี
To transfer images to your computer:
- เชื่อมต่อสแกนเนอร์กับพีซีของคุณโดยใช้สาย USB
- On the scanner's menu, select ยูเอสบี MSDC (Mass Storage Device Class) and press OK.
- Your computer will recognize the scanner as a removable disk. You can then access the saved JPEG images on the SD card.

Image: The scanner connected to a laptop, demonstrating the USB connection for data transfer.
6.4. Changing Language
To change the menu language:
- กดปุ่ม เมนู ปุ่ม.
- นำทางไปที่ ภาษา option using the ขึ้น/ลง ปุ่มและกด OK.
- Select your desired language (e.g., English, Français, Deutsch, Italiano) and press OK เพื่อยืนยัน.
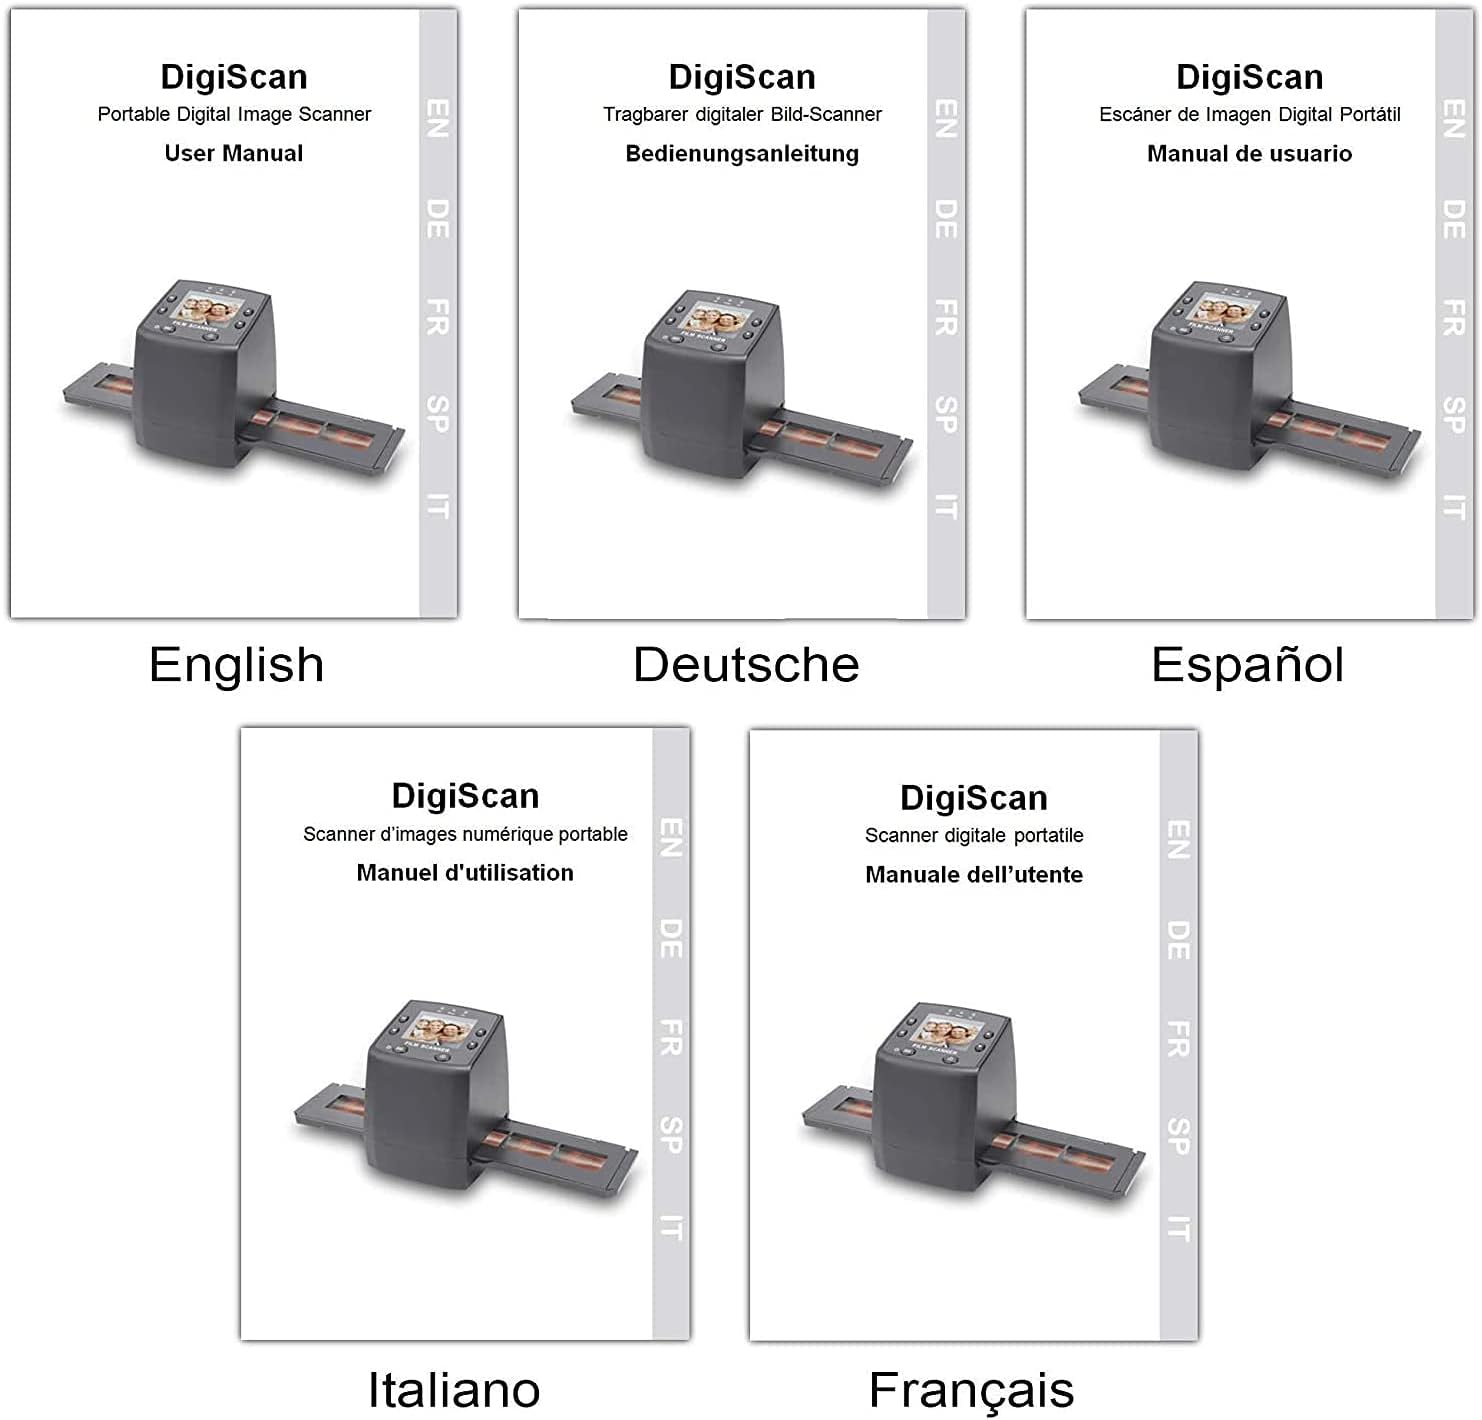
Image: Covers of user manuals in various languages, indicating multi-language support.
7. การบำรุงรักษา
- Cleaning the Film/Slide Holders: Regularly inspect and clean the film and slide holders to ensure no dust or debris interferes with scanning.
- การทำความสะอาดเลนส์สแกนเนอร์: Use the provided cleaning brush to gently remove dust from the scanner's lens and light source. Avoid touching the lens directly with your fingers.
- พื้นที่จัดเก็บ: Store the scanner in a dry, dust-free environment when not in use.
8 การแก้ไขปัญหา
- ไม่มีไฟฟ้า: ตรวจสอบให้แน่ใจว่าได้เสียบอะแดปเตอร์แปลงไฟเข้ากับเครื่องสแกนและเต้ารับไฟฟ้าที่ใช้งานได้สนิทแล้ว
- Image Quality Issues (Blurry/Dusty): Clean the film/slides and the scanner lens using the provided brush. Adjust the focus if available (not explicitly mentioned for this model, but a general tip).
- ไม่รู้จักการ์ด SD: Ensure the SD card is inserted correctly and is not damaged. Try formatting the card (this will erase all data) or using a different SD card.
- ไม่สามารถโอนได้ Fileไปยังพีซี: Ensure the USB cable is properly connected and the scanner is in "USB MSDC" mode. Check your computer's device manager to see if the scanner is recognized.
- Image Color Issues: Adjust the EV Exposure settings in the scanner's menu.
9. ข้อมูลจำเพาะ
| คุณสมบัติ | ข้อมูลจำเพาะ |
|---|---|
| หมายเลขรุ่น | M125 |
| ยี่ห้อ | ดิจิทโนว์ |
| ประเภทฟิล์มที่รองรับ | 35mm Film Negatives, 135 Mounted Slides |
| หน้าจอ LCD | 2.4-inch TFT LCD (480 * 234) |
| ปณิธาน | 5/10 Megapixel (interpolated to 10M) |
| ดีพีไอ | 3600 จุดต่อนิ้ว |
| รูปแบบเอาท์พุต | เจพีเจ |
| พื้นที่จัดเก็บ | SD/MMC Card (up to 8GB SDHC, not included) |
| อินเทอร์เฟซ | USB 2.0, Video Out (NTSC/PAL) |
| ขนาด | 8.6 x 8.6 x 11.2 ซม. |
| น้ำหนัก | 270 กรัม |
| พลัง | 5 วัตต์ |
| การรองรับระบบปฏิบัติการ | Windows XP, Vista, 7, 8; Mac OS |

Image: Diagram illustrating the dimensions of the DIGITNOW! M125 Film and Slide Scanner.
10. การรับประกันและการสนับสนุน
This product comes with a standard manufacturer's warranty. For specific warranty details, please refer to the warranty card included in your package or contact DIGITNOW! customer support. For technical assistance or further inquiries, please visit the official DIGITNOW! website or contact their support team through the contact information provided with your purchase.
Ask a question about this manual
Ask about setup, troubleshooting, compatibility, parts, safety, or missing instructions. Manuals+ will review the question and use this page’s manual context to help answer it.