1. บทนำ
This manual provides instructions for the Vivitek D555 XGA DLP Portable Projector. The D555 is designed for clear and vivid image projection, featuring XGA resolution, 3000 lumens brightness, and 3D readiness via DLP Link. It incorporates DLP and Brilliant Color technologies for enhanced visual performance and offers various connectivity options including HDMI v1.4.
2. ข้อมูลด้านความปลอดภัย
- อย่าปิดกั้นช่องระบายอากาศ ตรวจสอบให้แน่ใจว่ามีพื้นที่ว่างรอบโปรเจ็กเตอร์เพียงพอเพื่อให้มีการไหลเวียนของอากาศที่ดี
- อย่ามองตรงเข้าไปในเลนส์โปรเจ็กเตอร์เมื่อลamp เปิดอยู่ แสงจ้าอาจทำให้ดวงตาเสียหายได้
- ควรหลีกเลี่ยงการวางโปรเจ็กเตอร์ในที่ที่มีแสงแดดส่องโดยตรง ใกล้แหล่งความร้อน หรือในสภาพแวดล้อมที่มีความชื้นสูงหรือมีฝุ่นละอองมาก
- ใช้เฉพาะสายไฟที่มาพร้อมกับโปรเจคเตอร์เท่านั้น
- อย่าพยายามให้บริการผลิตภัณฑ์นี้ด้วยตนเอง ส่งต่อการบริการทั้งหมดไปยังช่างบริการที่ผ่านการรับรอง
- เก็บโปรเจ็กเตอร์ให้ห่างจากน้ำหรือของเหลวอื่นๆ
- ถอดปลั๊กโปรเจคเตอร์ออกจากเต้าเสียบไฟก่อนทำความสะอาดหรือเมื่อไม่ได้ใช้งานเป็นเวลานาน
3. เนื้อหาบรรจุภัณฑ์
ตรวจสอบว่ารายการทั้งหมดที่ระบุไว้ด้านล่างนี้รวมอยู่ในแพ็คเกจของคุณ:
- Vivitek D555 Projector
- สายไฟ AC
- สายเคเบิล VGA
- รีโมทคอนโทรล
- Batteries for Remote (AA x 2)
- User's Manual (on CD)
4. สินค้าหมดview
4.1 ด้านหน้าและด้านบน View
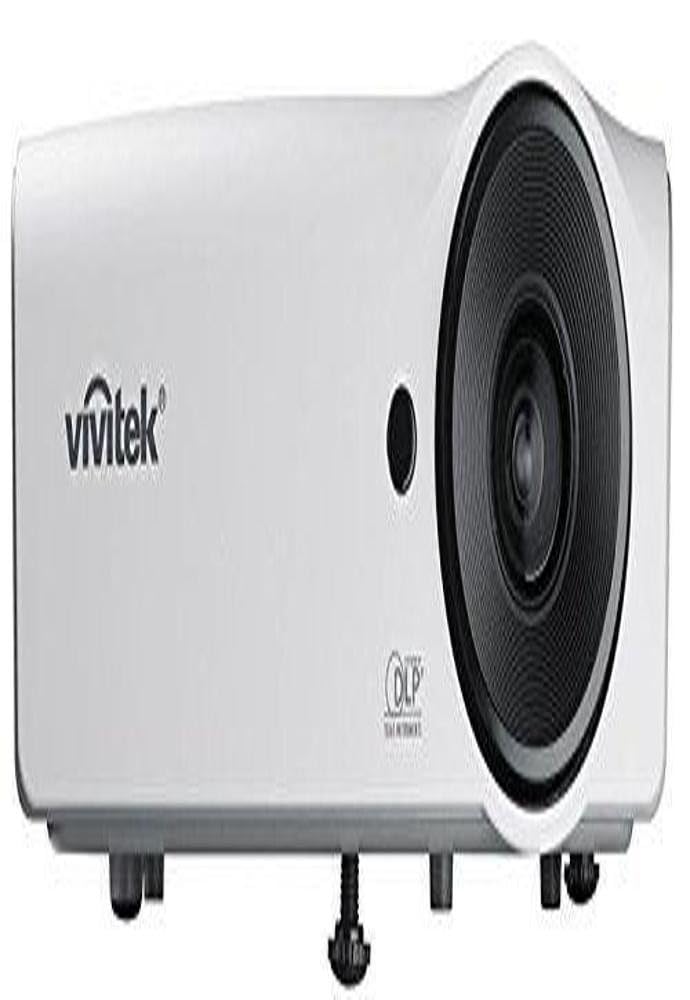
รูปที่ 4.1: ด้านหน้าและด้านบน view of the Vivitek D555 projector. This image shows the projector's lens, control panel on top, and the Vivitek logo.
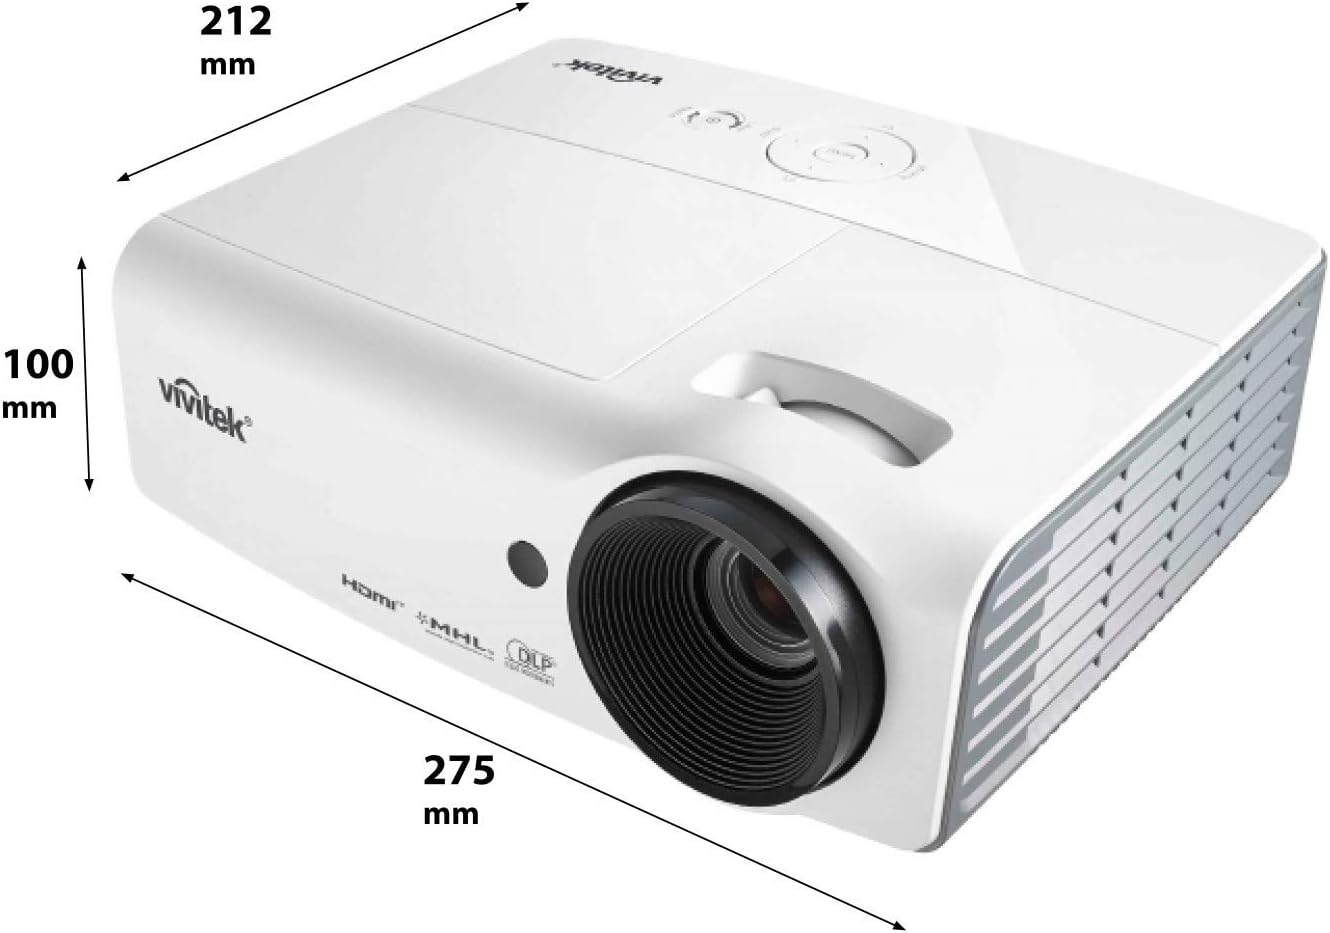
รูปที่ 4.2: Dimensions of the Vivitek D555 projector. The image indicates a width of 275 mm, a depth of 212 mm, and a height of 100 mm.
The front of the projector features the projection lens. The top panel includes the control buttons for power, menu navigation, source selection, and focus/zoom adjustments. The Vivitek logo is prominently displayed.
4.2 การเชื่อมต่อแผงด้านหลัง

รูปที่ 4.3: Rear panel of the Vivitek D555 projector showing various input and output ports. These include HDMI, dual VGA inputs, VGA output, S-Video, Composite Video, audio input/output, and a USB port.
The rear panel provides all necessary connection ports for video and audio sources. These include:
- HDMI เวอร์ชัน 1.4: สำหรับรับสัญญาณวิดีโอและเสียงดิจิทัล
- Computer In 1 (VGA): D-Sub 15-pin input for computer connection.
- Computer In 2 (VGA): Second D-Sub 15-pin input for computer connection.
- Computer Out (VGA): D-Sub 15-pin output for monitor loop-through.
- เอส-วิดีโอ: สำหรับอินพุต S-Video
- Video (Composite): RCA jack for composite video input.
- เสียงเข้า: 3.5mm stereo mini-jack for audio input.
- เสียงออก: 3.5mm stereo mini-jack for audio output.
- ยูเอสบี (ประเภท B): สำหรับการบริการหรืออัปเดตเฟิร์มแวร์
- ช่องจ่ายไฟ AC: สำหรับเชื่อมต่อสายไฟ
5. การตั้งค่า
5.1 การจัดวางโปรเจ็กเตอร์
Place the projector on a stable, flat surface or mount it securely. Ensure the projector is positioned at an appropriate distance from the screen to achieve the desired image size. The lens should be perpendicular to the screen for optimal image geometry.
5.2 การเชื่อมต่อกับแหล่งจ่ายไฟ
- Connect the AC power cord to the projector's AC power inlet.
- เสียบปลายอีกด้านของสายไฟเข้ากับเต้ารับไฟฟ้าที่มีสายดิน
5.3 การเชื่อมต่อแหล่งวิดีโอ
Choose the appropriate cable for your video source and connect it to the corresponding port on the projector's rear panel.
- ช่องต่อ HDMI: For high-definition digital sources like Blu-ray players, gaming consoles, or laptops.
- VGA (Computer In 1/2): For computers or other devices with VGA output.
- S-Video/Composite Video: For standard definition video sources like DVD players or VCRs.
For audio, connect an audio cable from your source to the projector's Audio In port, or use the HDMI connection which carries both video and audio.
6. การใช้งานโปรเจ็กเตอร์
6.1 การเปิด/ปิดเครื่อง
- การเปิดเครื่อง: Press the Power button on the projector's control panel or the remote control. The power indicator light will turn blue.
- วิธีปิดเครื่อง: Press the Power button twice. The projector will enter a cooling down cycle, and the power indicator will flash. Do not unplug the projector until the cooling cycle is complete and the power indicator light stops flashing.
6.2 การปรับแต่งภาพ
- จุดสนใจ: หมุนวงแหวนปรับโฟกัสบนเลนส์โปรเจ็กเตอร์จนกว่าภาพจะคมชัด
- ซูม: หมุนวงแหวนซูมบนเลนส์โปรเจ็กเตอร์เพื่อปรับขนาดภาพ
- การแก้ไขคีย์สโตน: If the image appears trapezoidal, use the Keystone Correction function in the projector's OSD (On-Screen Display) menu to square the image.
6.3 การเลือกแหล่งข้อมูลขาเข้า
Press the "Source" button on the projector or remote control to cycle through available input sources (HDMI, VGA1, VGA2, S-Video, Video).
6.4 ฟังก์ชันการทำงานแบบ 3 มิติ
The Vivitek D555 is 3D-ready via DLP Link. To view เนื้อหา 3 มิติ:
- Connect a 3D-compatible source (e.g., 3D Blu-Ray player) to the projector via HDMI.
- Ensure your 3D content is playing.
- Wear active DLP Link 3D glasses (sold separately). The projector will automatically detect the 3D signal and enable 3D mode.
7. การบำรุงรักษา
7.1 การทำความสะอาดโปรเจ็กเตอร์
- ภายนอก: ใช้ผ้านุ่มไม่เป็นขุย งampened with a mild cleaning solution to wipe the projector's casinก. ห้ามใช้น้ำยาทำความสะอาดที่มีฤทธิ์กัดกร่อนหรือตัวทำละลาย
- เลนส์: Use a lens cleaning cloth and lens cleaning solution specifically designed for optical surfaces. Avoid touching the lens with your fingers.
- ช่องระบายอากาศ: Regularly check and clean the air vents to prevent dust buildup, which can affect cooling and performance. Use a soft brush or compressed air.
7.2 ลิตรamp การทดแทน
โปรเจ็กเตอร์ lamp has a lifespan of up to 6,000 hours in Eco-mode. When the lamp reaches the end of its life, a warning message will appear, or the lamp indicator light will illuminate. Refer to the detailed instructions in the full user manual (on CD) for safe lamp ขั้นตอนการเปลี่ยนชิ้นส่วน โปรดรอให้โปรเจคเตอร์เย็นลงอย่างสมบูรณ์ก่อนทำการเปลี่ยนทุกครั้งamp การทดแทน
8 การแก้ไขปัญหา
| ปัญหา | สาเหตุที่เป็นไปได้ | สารละลาย |
|---|---|---|
| ไม่มีภาพบนหน้าจอ |
|
|
| ภาพเบลอ |
|
|
| รูปภาพเป็นรูปสี่เหลี่ยมคางหมู |
|
|
| ไม่มีเสียง |
|
|
9. ข้อมูลจำเพาะ
| หมายเลขรุ่น | DP535-264VVUP (D555) |
| ยี่ห้อ | วิวิทเทค |
| เทคโนโลยีการแสดงผล | ดีแอลพี |
| ความละเอียดดั้งเดิม | XGA (1024 x 768) |
| ความละเอียดสูงสุด | WUXGA (1920x1200) |
| ความสว่าง | 3000 ลูเมน |
| อัตราส่วนคอนทราสต์ | 15000:1 น. |
| Lamp ชีวิต | สูงสุด 6,000 ชั่วโมง (โหมด Eco) |
| การเชื่อมต่อ | HDMI v1.4, Dual VGA In, VGA Out, S-Video, Composite Video, Audio In/Out, USB |
| คุณสมบัติพิเศษ | 3D-Ready (DLP Link), Brilliant Color Technology |
| ขนาดสินค้า | 10.8 x 8.35 x 3.66 นิ้ว (275 x 212 x 100 มม.) |
| น้ำหนักสินค้า | 5.1 ปอนด์ |
| ผู้ผลิต | Vivitek Corp. |
| แบตเตอรี่ (สำหรับรีโมท) | แบตเตอรี่ AA 2 ก้อน (รวมอยู่ด้วย) |
10. การรับประกันและการสนับสนุน
For warranty information and technical support, please refer to the official Vivitek website or the warranty card included with your product. Do not attempt to repair the projector yourself, as this may void your warranty. Contact Vivitek customer service for assistance with any issues not covered in the troubleshooting section.


