1. บทนำ
The Vivitek D519 is a versatile and portable digital projector designed to deliver high-quality presentations and media experiences. Featuring 3000 lumens of brightness, XGA (1024x768) native resolution, and a 15,000:1 contrast ratio, it ensures clear and vibrant images. This manual will guide you through the setup, operation, and maintenance of your D519 projector.
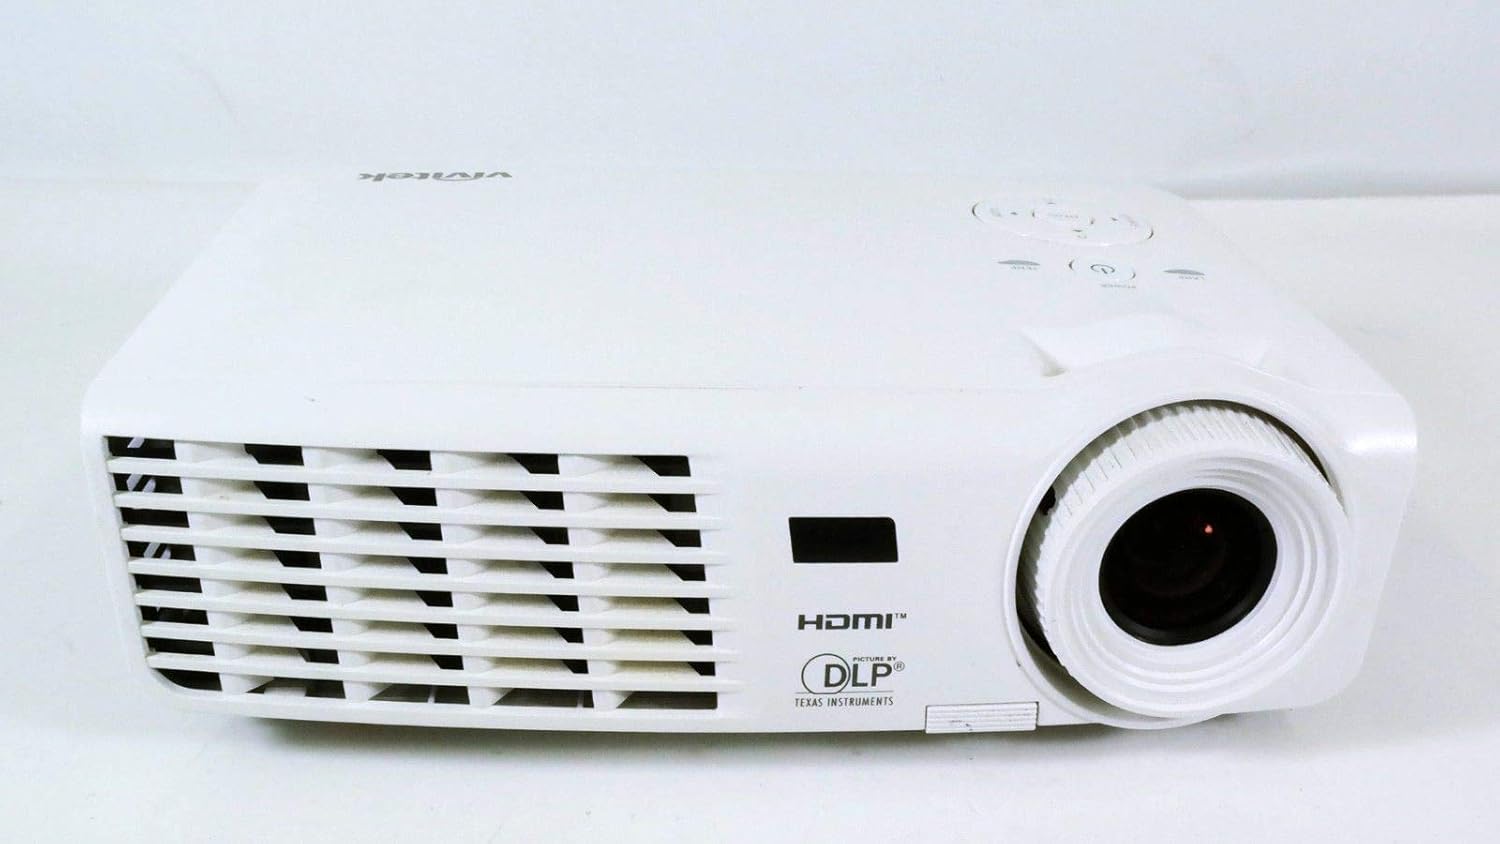
รูปที่ 1.1 : ด้านหน้า view of the Vivitek D519 Projector, showing the lens and ventilation.
2. การตั้งค่า
2.1 การแกะกล่องโปรเจคเตอร์
นำส่วนประกอบทั้งหมดออกจากบรรจุภัณฑ์อย่างระมัดระวัง ตรวจสอบให้แน่ใจว่ามีอุปกรณ์ครบตามรายการด้านล่าง:
- Vivitek D519 Projector
- สายไฟ AC
- สายเคเบิล VGA
- รีโมทคอนโทรล (พร้อมแบตเตอรี่)
- กระเป๋าใส่อุปกรณ์
- User's Manual (CD)
- ฝาปิดเลนส์
- บัตรรับประกัน
2.2 การจัดวางทางกายภาพ
Place the projector on a stable, flat surface or mount it securely. Ensure adequate ventilation around the projector to prevent overheating. Avoid placing it near heat sources or in direct sunlight.
2.3 การเชื่อมต่ออุปกรณ์
The D519 offers various connectivity options. Connect your source device (e.g., laptop, DVD player) to the appropriate input port on the projector.

รูปที่ 2.1: ด้านหลัง view of the Vivitek D519 Projector, highlighting the HDMI, VGA, S-Video, and audio input ports.
- ช่องต่อ HDMI: For high-definition digital video and audio. Connect an HDMI cable from your source to the projector's HDMI port.
- VGA: สำหรับการแสดงผลวิดีโอแบบอนาล็อก ให้เชื่อมต่อสาย VGA จากคอมพิวเตอร์ของคุณไปยังพอร์ต VGA ของโปรเจ็กเตอร์
- เสียงเข้า: For analog audio input. Connect audio cables to the L-AUDIO-R or AUDIO IN ports as needed.
- เอส-วิดีโอ: สำหรับวิดีโอความละเอียดมาตรฐาน
- อาร์เอส-232: For projector control via a computer or control system.
2.4 การเปิดเครื่อง
Connect the AC power cord to the projector's power inlet and then to a power outlet. Press the พลัง button on the projector's control panel or the remote control to turn on the projector. The power indicator light will illuminate.
3. การใช้งานโปรเจ็กเตอร์
3.1 แผงควบคุมโอเวอร์view
The control panel on top of the projector allows for basic operation without the remote control.

รูปที่ 3.1: ด้านบน view of the Vivitek D519 Projector, showing the control panel with power, menu, source, and navigation buttons.
- ปุ่มเปิด/ปิด: เปิดหรือปิดโปรเจ็กเตอร์
- ปุ่มต้นทาง: Cycles through available input sources (HDMI, VGA, S-Video, etc.).
- ปุ่มเมนู: เข้าถึงเมนูการแสดงผลบนหน้าจอ (OSD) สำหรับการตั้งค่าขั้นสูง
- ปุ่มนำทาง (ขึ้น/ลง/ซ้าย/ขวา): ใช้สำหรับเลื่อนดูตัวเลือกในเมนูและปรับการตั้งค่า
- ปุ่มอัตโนมัติ: Automatically adjusts the image for optimal display.
3.2 การปรับแต่งภาพ
Once the projector is powered on and an input source is selected, you may need to adjust the image for clarity and size.
- วงแหวนโฟกัส: หมุนวงแหวนปรับโฟกัสรอบเลนส์เพื่อเพิ่มความคมชัดของภาพ
- วงแหวนซูม: Rotate the zoom ring to adjust the image size without moving the projector. The D519 has a 1.1:1 zoom ratio.
- การแก้ไขคีย์สโตน: If the image appears trapezoidal, use the keystone correction feature (accessible via the OSD menu) to square the image.
3.3 การใช้งานเมนูแสดงผลบนหน้าจอ (OSD)
กดปุ่ม เมนู button on the projector or remote to access the OSD. Use the navigation buttons to browse categories such as Picture, Display, Setup, and Information. Press เข้า (or the center button on the navigation pad) to select an option and adjust settings.
4. การบำรุงรักษา
4.1 ลิตรamp อายุการใช้งานและการเปลี่ยนทดแทน
โปรเจ็กเตอร์ lamp has a rated life of 4000 hours in Standard mode and up to 6000 hours in Economy mode. When the lamp ถึงจุดสิ้นสุดของชีวิต lamp indicator light will illuminate, and a message may appear on screen. Refer to the detailed user manual (on CD) for lamp คำแนะนำในการเปลี่ยน
4.2 การทำความสะอาดโปรเจ็กเตอร์
- เลนส์: ใช้ผ้าเนื้อนุ่ม ปราศจากขน ที่ออกแบบมาสำหรับเลนส์แว่นตาโดยเฉพาะ ห้ามใช้สารทำความสะอาดที่มีฤทธิ์กัดกร่อน
- Casing: เช็ดโปรเจคเตอร์asing กับ d อ่อนamp ผ้า. หลีกเลี่ยงการใช้สารเคมีหรือตัวทำละลายที่รุนแรง
- ช่องระบายอากาศ: Regularly check and clean the air vents to ensure proper airflow and prevent dust buildup, which can lead to overheating. Use a soft brush or compressed air.
5 การแก้ไขปัญหา
This section addresses common issues you might encounter with your Vivitek D519 projector.
| ปัญหา | สาเหตุที่เป็นไปได้ | สารละลาย |
|---|---|---|
| ไม่มีภาพบนหน้าจอ | สายไฟหลุด; แหล่งสัญญาณเข้าไม่ถูกต้อง; อุปกรณ์ต้นทางปิดอยู่ | Check power connection; Press 'Source' button to select correct input; Ensure source device is on. |
| ภาพเบลอ | เลนส์ไม่ชัด; โปรเจ็กเตอร์อยู่ใกล้/ไกลจากจอมากเกินไป | Adjust the focus ring; Adjust projector distance or use zoom ring. |
| รูปภาพเป็นรูปสี่เหลี่ยมคางหมู | โปรเจ็กเตอร์ไม่ตั้งฉากกับจอ | Adjust keystone correction via OSD menu. |
| Projector shuts down unexpectedly | Overheating; Lamp ใกล้จะสิ้นสุดชีวิตแล้ว | Ensure vents are clear; Allow projector to cool; Consider lamp replacement if indicator light is on. |
| Distorted image on startup | Software glitch; Connection issue. | Restart the projector; Check all cable connections; If persistent, consult Vivitek support. |
6. ข้อมูลจำเพาะ
Key technical specifications for the Vivitek D519 Projector:
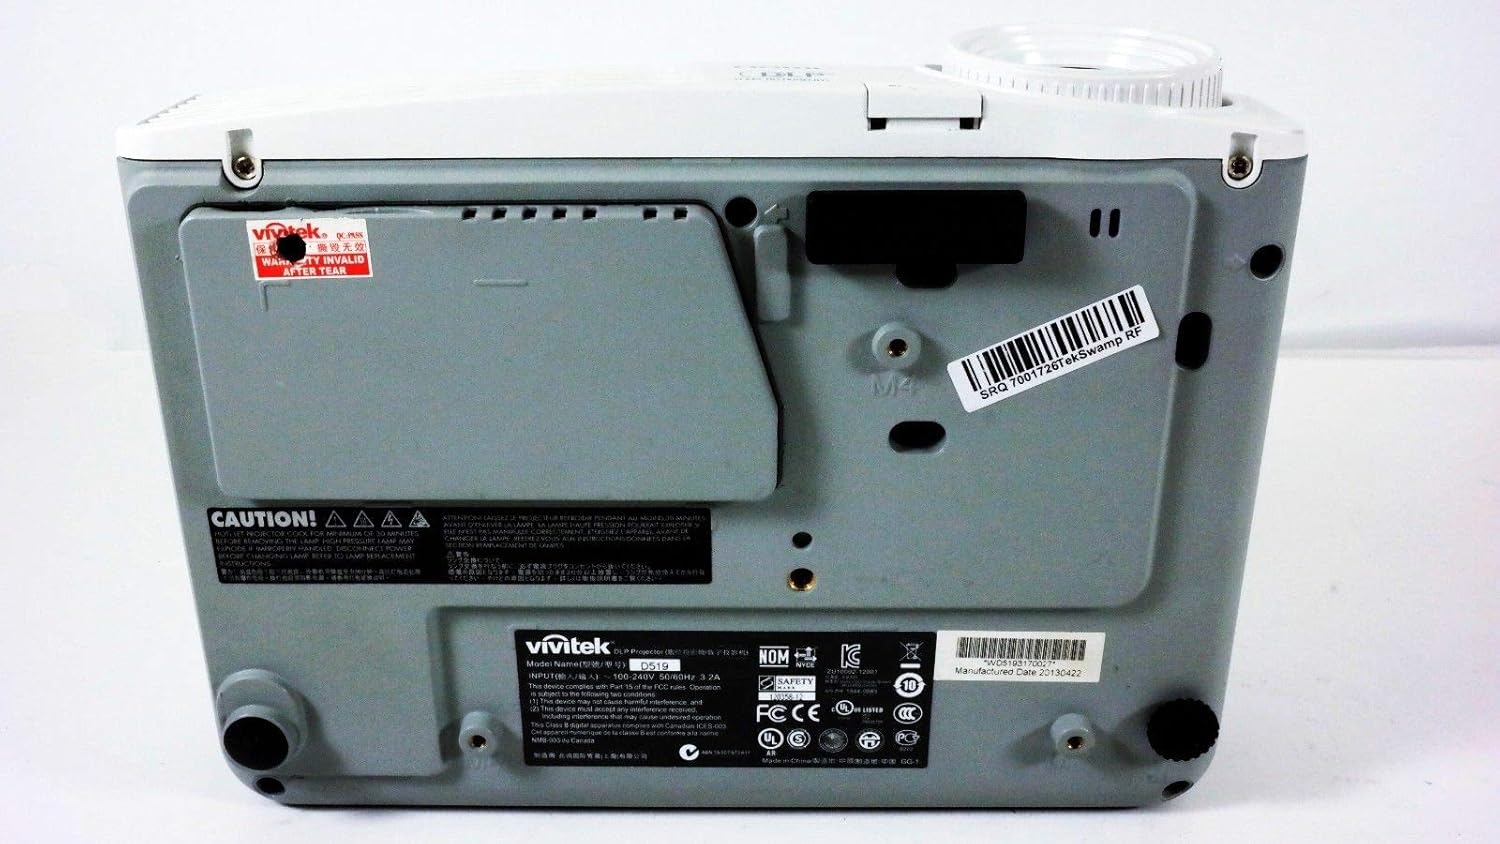
รูปที่ 6.1: ด้านล่าง view of the Vivitek D519 Projector, showing the product label with model and serial information.
| คุณสมบัติ | รายละเอียด |
|---|---|
| หมายเลขรุ่น | DPU35-262VVUA |
| เทคโนโลยีการแสดงผล | Single 0.55” DLP Display Technology by Texas Instruments |
| ความละเอียดดั้งเดิม | XGA (1024 x 768) |
| ความสว่าง | 3000 ลูเมน |
| อัตราส่วนคอนทราสต์ | 15,000:1 น. |
| Lamp ชีวิต | 4000 hours (Standard) / 6000 hours (Economy) |
| อัตราส่วนการซูม | 1.1:1 (Manual Zoom and Focus) |
| การเชื่อมต่อ | HDMI v1.3, VGA, S-Video, L-Audio-R, Audio In, RS-232 |
| คุณสมบัติพิเศษ | HD Compatible, 3D-Ready, Screen Size compatibility: 40 - 300 inches |
| ขนาดสินค้า | 7.5 x 10.3 x 3.1 นิ้ว |
| น้ำหนักสินค้า | 4.35 ปอนด์ |
7. การรับประกันและการสนับสนุน
Your Vivitek D519 projector comes with a limited warranty. Please refer to the Warranty Card included in your product packaging for detailed terms and conditions. For technical support, service, or warranty claims, please contact Vivitek customer service through their official webไซต์หรือข้อมูลการติดต่อที่ระบุไว้ในเอกสารการรับประกันของคุณ
It is recommended to register your product online to receive updates and support.


