1. บทนำ
This manual provides essential information for the safe and efficient use of your Lexmark E260D Monochrome Laser Printer. Please read these instructions carefully before operating the device and retain them for future reference. The Lexmark E260D is designed for fast, high-quality black and white document printing, featuring automatic two-sided printing for efficiency.
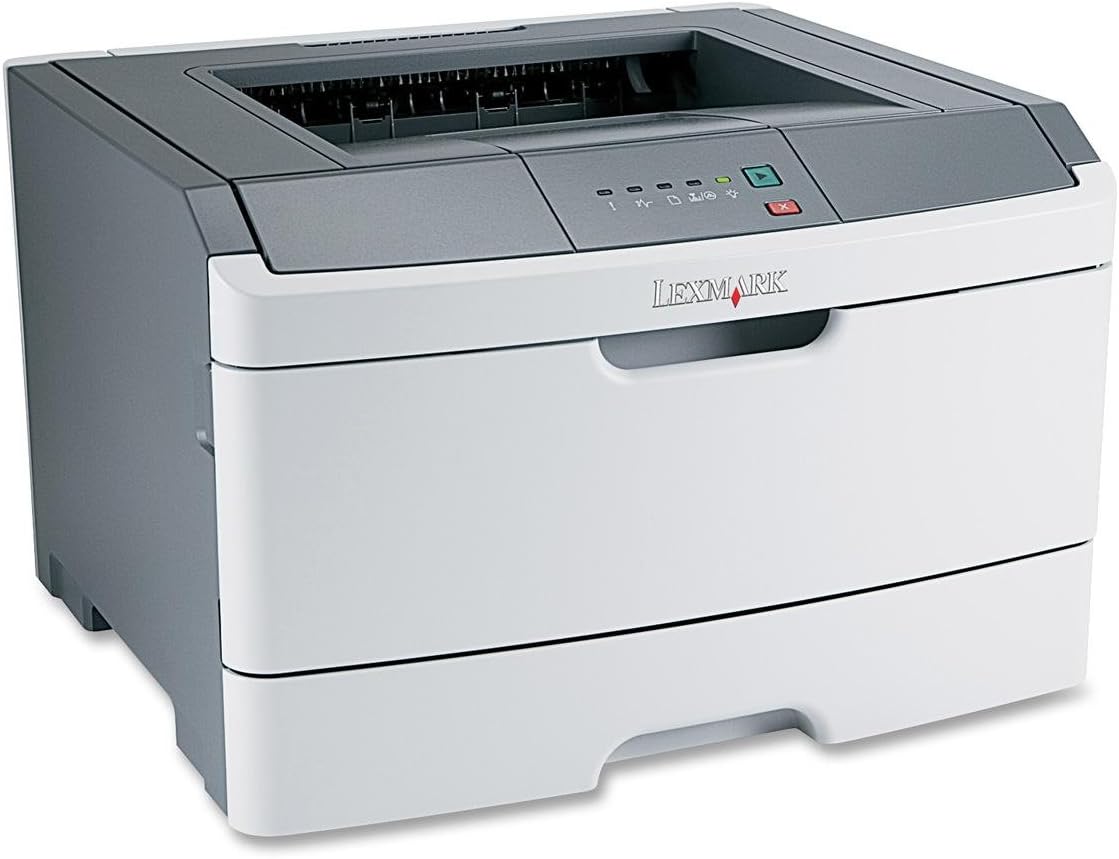
รูปที่ 1: Lexmark E260D Monochrome Laser Printer. This image shows the printer from a front-right angle, highlighting its compact design with a white body and a dark gray top cover. The output tray is visible on top, and the Lexmark logo is displayed on the front panel above the paper input tray.
2. ข้อมูลด้านความปลอดภัย
- ควรเสียบปลั๊กเครื่องพิมพ์เข้ากับเต้ารับไฟฟ้าที่มีสายดินเสมอ
- อย่าปิดกั้นช่องระบายอากาศ
- ควรเก็บเครื่องพิมพ์ให้ห่างจากน้ำหรือความชื้นมากเกินไป
- ใช้เฉพาะสายไฟและอุปกรณ์เสริมที่ระบุไว้เท่านั้น
- Avoid touching the fuser area, as it can be hot.
3. เนื้อหาบรรจุภัณฑ์
ตรวจสอบว่ามีรายการทั้งหมดอยู่ในแพ็คเกจ:
- Lexmark E260D Monochrome Laser Printer
- สายไฟ
- Starter Toner Cartridge (may vary by region)
- Setup Guide or Documentation
- สาย USB (อาจจำหน่ายแยกต่างหาก)
4. การตั้งค่า
4.1 การแกะกล่องเครื่องพิมพ์
- นำเครื่องพิมพ์ออกจากบรรจุภัณฑ์
- Remove all packing materials, tapes, and protective films from the exterior and interior of the printer.
- วางเครื่องพิมพ์บนพื้นผิวที่มั่นคงและเรียบเสมอกัน โดยมีอากาศถ่ายเทสะดวก
4.2 การเชื่อมต่อเครื่องพิมพ์
- เชื่อมต่อสายไฟเข้ากับเครื่องพิมพ์ แล้วจึงเสียบเข้ากับเต้ารับไฟฟ้าที่มีสายดิน
- เสียบปลายด้านหนึ่งของสาย USB เข้ากับพอร์ต USB ของเครื่องพิมพ์ และเสียบปลายอีกด้านหนึ่งเข้ากับคอมพิวเตอร์ของคุณ
4.3 การติดตั้งตลับหมึก
- เปิดฝาด้านหน้าของเครื่องพิมพ์
- Carefully remove the toner cartridge from its packaging and shake it gently to distribute the toner.
- ใส่ตลับหมึกเข้าไปในเครื่องพิมพ์จนกระทั่งได้ยินเสียงคลิกเข้าที่
- Close the front access door securely.
4.4 กำลังโหลดกระดาษ
- ดึงถาดกระดาษออก
- ปรับตัวกั้นกระดาษให้ตรงกับขนาดของกระดาษที่คุณกำลังใส่เข้าไป
- ใส่กระดาษลงในถาด โดยตรวจสอบให้แน่ใจว่ากระดาษเรียบและไม่เกินเส้นกำหนดระดับสูงสุด
- Push the paper tray back into the printer until it locks.
4.5 การติดตั้งไดรเวอร์
After connecting the printer, your operating system may automatically detect and install the necessary drivers. If not, follow these steps:
- Insert the driver CD (if included) into your computer's CD/DVD drive, or download the latest drivers from the official Lexmark support webเว็บไซต์.
- ปฏิบัติตามคำแนะนำบนหน้าจอเพื่อดำเนินการติดตั้งไดรเวอร์ให้เสร็จสมบูรณ์
- รีสตาร์ทคอมพิวเตอร์ของคุณหากได้รับแจ้ง
5. การใช้งานเครื่องพิมพ์
5.1 การพิมพ์ขั้นพื้นฐาน
- โปรดตรวจสอบให้แน่ใจว่าเครื่องพิมพ์เปิดใช้งานอยู่และเชื่อมต่อกับคอมพิวเตอร์ของคุณแล้ว
- เปิดเอกสารที่คุณต้องการพิมพ์บนคอมพิวเตอร์ของคุณ
- เลือก File > พิมพ์ (หรือคำสั่งที่เทียบเท่าในแอปพลิเคชันของคุณ)
- Choose the Lexmark E260D from the list of available printers.
- Adjust print settings as needed (e.g., number of copies, page range).
- คลิก พิมพ์.
5.2 การพิมพ์สองด้าน (Duplex Printing)
The Lexmark E260D supports automatic two-sided printing.
- When sending a print job, access the printer properties or preferences.
- Look for an option related to การพิมพ์สองหน้า or พิมพ์ทั้งสองด้าน.
- เลือกตัวเลือกการพิมพ์สองด้านที่ต้องการ (เช่น การพิมพ์ด้านยาว การพิมพ์ด้านสั้น)
- ยืนยันการตั้งค่าของคุณแล้วคลิก พิมพ์.
6. การบำรุงรักษา
6.1 การทำความสะอาดเครื่องพิมพ์
- ภายนอก: เช็ดพื้นผิวภายนอกด้วยผ้านุ่ม dampใช้ผ้าที่ไม่เป็นขุยเช็ด ห้ามใช้สารทำความสะอาดที่มีฤทธิ์กัดกร่อนหรือตัวทำละลาย
- ภายใน: Periodically open the front access door and gently remove any loose toner dust with a dry, lint-free cloth. Avoid touching sensitive components.
6.2 การเปลี่ยนตลับหมึก
When the toner level is low, the printer's control panel will indicate it. Replace the toner cartridge as follows:
- ตรวจสอบให้แน่ใจว่าเครื่องพิมพ์เปิดอยู่
- Open the front access door.
- ถอดตลับหมึกเก่าออกอย่างระมัดระวัง โดยดึงออกมาตรงๆ
- Unpack the new Lexmark E260D compatible toner cartridge and shake it gently.
- ใส่ตลับหมึกใหม่เข้าไปในเครื่องพิมพ์จนกระทั่งล็อคเข้าที่
- ปิดประตูทางเข้าด้านหน้า
7 การแก้ไขปัญหา
7.1 กระดาษติด
If a paper jam occurs, the printer's control panel will display an error. Follow these general steps:
- ปิดเครื่องพิมพ์และถอดปลั๊กออกจากเต้าเสียบไฟ
- Open all accessible covers (front door, rear door, etc.).
- ค่อยๆ ดึงกระดาษที่ติดอยู่ออก โดยดึงไปในทิศทางเดียวกับทางเดินกระดาษเพื่อป้องกันไม่ให้กระดาษฉีกขาด
- Close all covers securely.
- เสียบปลั๊กและเปิดเครื่องพิมพ์
7.2 ปัญหาคุณภาพการพิมพ์
- ภาพพิมพ์ซีดจางหรือจาง: The toner cartridge may be low. Try shaking the cartridge gently or replace it.
- Streaks or Smudges: Clean the interior of the printer, especially around the toner cartridge area. Ensure the paper type setting matches the loaded paper.
- หน้าว่าง: Ensure the toner cartridge is properly installed and has toner. Check printer drivers and print settings.
7.3 ปัญหาการเชื่อมต่อ
- ไม่พบเครื่องพิมพ์: Ensure the USB cable is securely connected to both the printer and the computer. Try a different USB port or cable. Reinstall printer drivers if necessary.
- Print Jobs Stuck: Clear the print queue on your computer. Restart both the printer and the computer.
7.4 Envelope Printing on Mac
Users printing envelopes on macOS may encounter issues with incorrect print orientation or partial printing. To resolve this:
- In the print dialogue box, locate the menu that initially reads 'Layout'.
- Select 'Paper Feed' from this menu.
- Change the 'Auto Select' option to 'Manual Envelope'.
- ดำเนินการพิมพ์ต่อไป
8. ข้อมูลจำเพาะ
| คุณสมบัติ | ข้อมูลจำเพาะ |
|---|---|
| ชื่อรุ่น | อี260ดี |
| เทคโนโลยีการพิมพ์ | เลเซอร์ |
| เอาท์พุตเครื่องพิมพ์ | เอกรงค์ |
| ความเร็วในการพิมพ์สูงสุด (ขาวดำ) | 35 หน้าต่อนาที |
| ความละเอียดการพิมพ์สูงสุด (ขาวดำ) | 1200 จุดต่อนิ้ว |
| การพิมพ์สองหน้า | อัตโนมัติ |
| เทคโนโลยีการเชื่อมต่อ | ยูเอสบี 2.0 |
| ความจุแผ่นอินพุตสูงสุด | 250 แผ่น |
| Supported Print Media | Envelopes, Labels, Paper (plain), Transparencies |
| ความจุของหน่วยความจำ | 32MB |
| ขนาดสินค้า | 16.5 x 18.1 x 14 นิ้ว |
| น้ำหนักสินค้า | 29.8 ปอนด์ (13.53 กก.) |
| การใช้พลังงาน (โหมดเปิด) | 16 วัตต์ |
9. ข้อมูลการรับประกัน
The Lexmark E260D Monochrome Laser Printer comes with an Exchange Warranty. For specific terms, conditions, and duration of your warranty, please refer to the warranty documentation included with your product or visit the official Lexmark support webเว็บไซต์.
10. การสนับสนุนลูกค้า
For further assistance, technical support, or to order replacement parts and supplies, please contact Lexmark Customer Support. You can find contact information and additional resources on the official Lexmark webเว็บไซต์:
- ฝ่ายสนับสนุน Lexmark Webเว็บไซต์: www.lexmark.com/support (โปรดทราบ: นี่เป็นเพียงตัวอย่างชั่วคราว) URL. Refer to your product documentation for the exact support link.)


