การแนะนำ
Welcome to the user manual for your SINGER 3116 Simple 18 Stitch Sewing Machine. This machine is designed for ease of use, making it ideal for new sewers while offering features that enhance your sewing experience. It includes 18 built-in stitches, an automatic needle threader, and a fully automatic one-step buttonhole. Please read this manual thoroughly before operating your machine to ensure safe and efficient use.
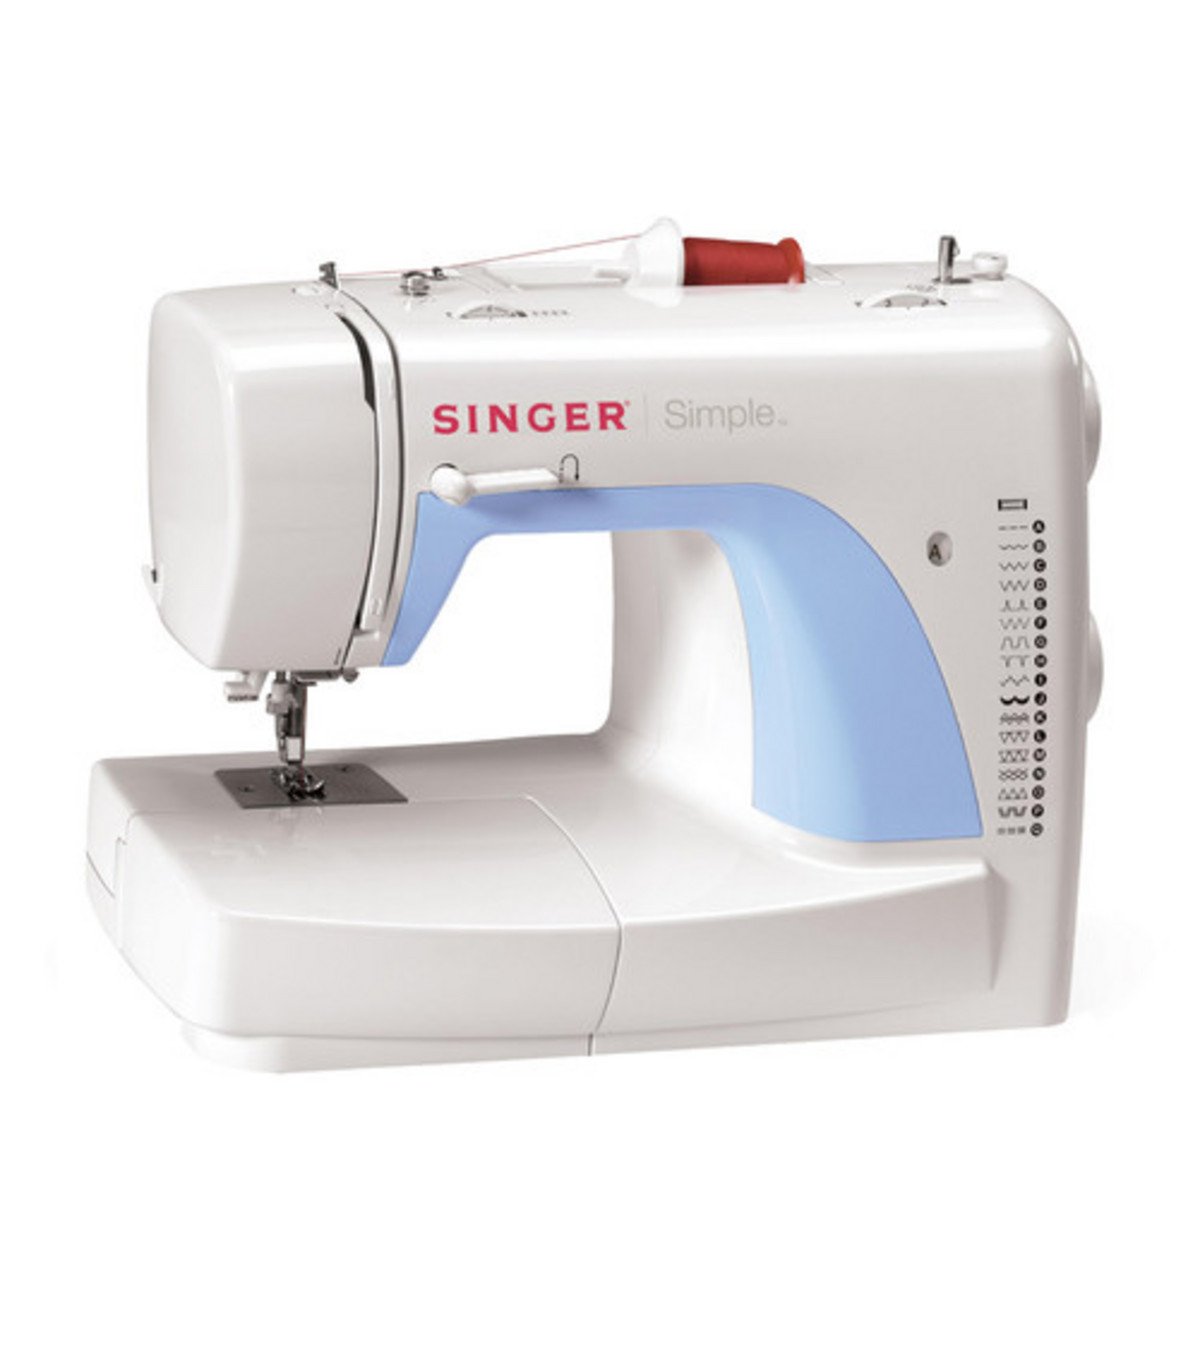
รูปที่ 1: SINGER 3116 Simple 18 Stitch Sewing Machine. This image displays the front view of the sewing machine, highlighting its compact design and stitch selection dial.
การตั้งค่า
1. การแกะกล่องและการจัดวาง
Carefully remove the machine from its packaging. Place the machine on a stable, flat surface. Ensure there is adequate lighting and space for your sewing projects.
2. การเชื่อมต่อไฟฟ้า
- เสียบปลั๊กเครื่องเข้ากับเต้ารับไฟฟ้าของเครื่อง
- ต่อสายไฟเข้ากับเต้ารับไฟฟ้าที่เหมาะสม
- The machine is designed for corded electric operation.
3. การพันด้ายลงกระสวย
- วางหลอดด้ายไว้บนแกนยึดหลอดด้าย
- สอดด้ายผ่านตัวนำด้ายด้านบนและรอบจานปรับความตึงของแกนม้วนด้าย
- Place an empty Class 15 bobbin onto the bobbin winder spindle.
- พันด้ายรอบแกนกระสวยด้วยมือสองสามครั้ง
- ดันแกนกรอไส้กระสวยไปทางขวา
- Press the foot controller gently to start winding. The machine will stop automatically when the bobbin is full.
- Cut the thread and return the bobbin winder spindle to the left.
4. การใส่กระสวย
- เปิดฝาครอบกระสวย
- ใส่กระสวยที่พันด้ายแล้วเข้าไปในกล่องกระสวย ตรวจสอบให้แน่ใจว่าด้ายคลายตัวในทิศทางที่ถูกต้อง (โดยปกติคือทวนเข็มนาฬิกา)
- นำเส้นด้ายผ่านสปริงปรับความตึงและเข้าไปในตัวนำเส้นด้าย
- ปิดฝาครอบกระสวย
5. การร้อยด้ายบน
- หมุนวงล้อปรับเข็มขึ้นไปที่ตำแหน่งสูงสุด
- วางหลอดด้ายไว้บนแกนยึดหลอดด้าย
- สอดด้ายผ่านตัวนำด้ายด้านบน
- Bring the thread down through the right threading channel.
- Loop the thread up through the left threading channel and over the take-up lever.
- Bring the thread down through the needle bar thread guide.
- Use the automatic needle threader (refer to the "Automatic Needle Threader" section for detailed instructions) or manually thread the needle from front to back.
- ดึงด้ายผ่านรูเข็มประมาณ 6 นิ้ว
คำแนะนำการใช้งาน
1. การเลือกเย็บ
Turn the stitch selector dial to choose one of the 18 built-in stitches. The machine offers basic, stretch, and decorative stitches. Refer to the stitch chart on the machine for visual guidance.
2. การเย็บปักถักร้อยขั้นพื้นฐาน
- วางผ้าไว้ใต้ตีนผีเย็บผ้า
- ลดคันโยกตีนผี
- Gently press the foot controller to start sewing. The sewing speed is controlled by the pressure applied to the foot controller.
- To reverse stitch, press and hold the reverse lever/button.
- When finished, raise the needle to its highest position, lift the presser foot, and remove the fabric. Cut the threads using the thread cutter.
3. อุปกรณ์สนเข็มอัตโนมัติ
The automatic needle threader simplifies threading the needle. Ensure the needle is in its highest position. Lower the threader mechanism, hook the thread, and release. The thread will be pulled through the needle eye.
4. One-Step Buttonhole
- ติดตั้งตีนผีทำรังดุมแบบขั้นตอนเดียว
- วางกระดุมที่คุณต้องการใช้ลงในที่ยึดกระดุมของตีนผีเย็บกระดุม
- Select the buttonhole stitch on the dial.
- Lower the presser foot and begin sewing. The machine will automatically sew the buttonhole to the correct size.
การซ่อมบำรุง
1. การทำความสะอาดเครื่อง
- ถอดปลั๊กเครื่องก่อนทำความสะอาดทุกครั้ง
- ถอดแผ่นรองเข็มและกล่องกระสวยออก
- Use the small brush provided (or a soft brush) to remove lint and dust from the feed dogs and bobbin area.
- เช็ดทำความสะอาดภายนอกเครื่องด้วยผ้าแห้งเนื้อนุ่ม ห้ามใช้น้ำยาทำความสะอาดชนิดเหลว
2. การเปลี่ยนเข็ม
- Replace the needle regularly, especially if it becomes bent, dull, or if you notice skipped stitches.
- คลายเข็ม clamp screw, remove the old needle, and insert a new one with the flat side facing the back of the machine.
- ขันเข็มให้แน่นamp ขันสกรูให้แน่น
การแก้ไขปัญหา
| ปัญหา | สาเหตุที่เป็นไปได้ | สารละลาย |
|---|---|---|
| เครื่องสตาร์ทไม่ติด | Power cord not connected; machine switched off. | Ensure power cord is securely plugged in; turn on the power switch. |
| ข้ามตะเข็บ | Incorrect needle; bent needle; improper threading. | Replace needle with the correct type and size; re-thread the machine correctly. |
| กระทู้หยุดทำงาน | Improper threading; tension too tight; poor quality thread; bent needle. | Re-thread machine; adjust tension; use good quality thread; replace needle. |
| ผ้าไม่ป้อน | Feed dogs lowered; lint accumulation. | Raise feed dogs; clean feed dog area. |
| Looped stitches (bottom) | Upper thread not correctly threaded through tension discs. | Re-thread the upper thread, ensuring it is seated correctly in the tension discs with the presser foot raised. |
ข้อมูลจำเพาะ
- แบบอย่าง: SINGER 3116CL Simple
- จำนวนการเย็บ: 18 Built-in Stitches (Basic, Stretch, Decorative)
- Buttonhole Type: 1-Step (Unistyle)
- Bobbin Class: 15
- Thread Delivery: แนวนอน
- แรงดันปรับได้: ใช่
- การจัดเก็บอุปกรณ์เสริม: ในตัว
- ขนาดสินค้า : 18.2 x 10.5 x 13.8 นิ้ว
- น้ำหนักสินค้า: 3 ปอนด์
- แหล่งพลังงาน: สายไฟ
- วัสดุ: พลาสติก
- สี: สีขาว
- ยูพีซี: 037431881069
การรับประกันและการสนับสนุน
For specific warranty information, please refer to the warranty card included with your product or visit the official SINGER website. For technical support, replacement parts, or service inquiries, please contact SINGER customer service. Keep your purchase receipt as proof of purchase for warranty claims.
ผู้ผลิต: นักร้อง


