
1. สินค้าหมดview
The ELECROW 5 Inch Touchscreen Monitor (Model DLH05050B) is a versatile IPS capacitive display designed for various mini PCs and systems. It features a 1024x600 resolution, 178° wide viewing angle, and supports 5-point capacitive touch input. This monitor is ideal for embedded projects, portable dashboards, and as an interface for single-board computers.
คุณสมบัติหลัก:
- HD Visual Enjoyment: 5-inch IPS capacitive touchscreen with 1024×600 resolution, 178° wide viewing angle, and up to 1080P signal input via intelligent scaling.
- ปลั๊กแอนด์เพลย์: No additional software or drivers required for most compatible systems.
- ความเข้ากันได้กว้าง: Compatible with Raspberry Pi (5, 4, 3 B+), BB Black, Banana Pi, Jetson Nano, Windows 7/8/8.1/10/11 systems, Raspbian, Ubuntu, Windows 10 IoT, PS4, and Xbox.
- Responsive Touch & Screen Adjustment: Features 5-point capacitive touch for accurate input, a built-in OSD menu for brightness and contrast adjustment, and USB dimming support.
- Integrated Mounting Design: Rear mounting holes allow direct attachment of Raspberry Pi boards, and an included acrylic stand provides desktop placement.
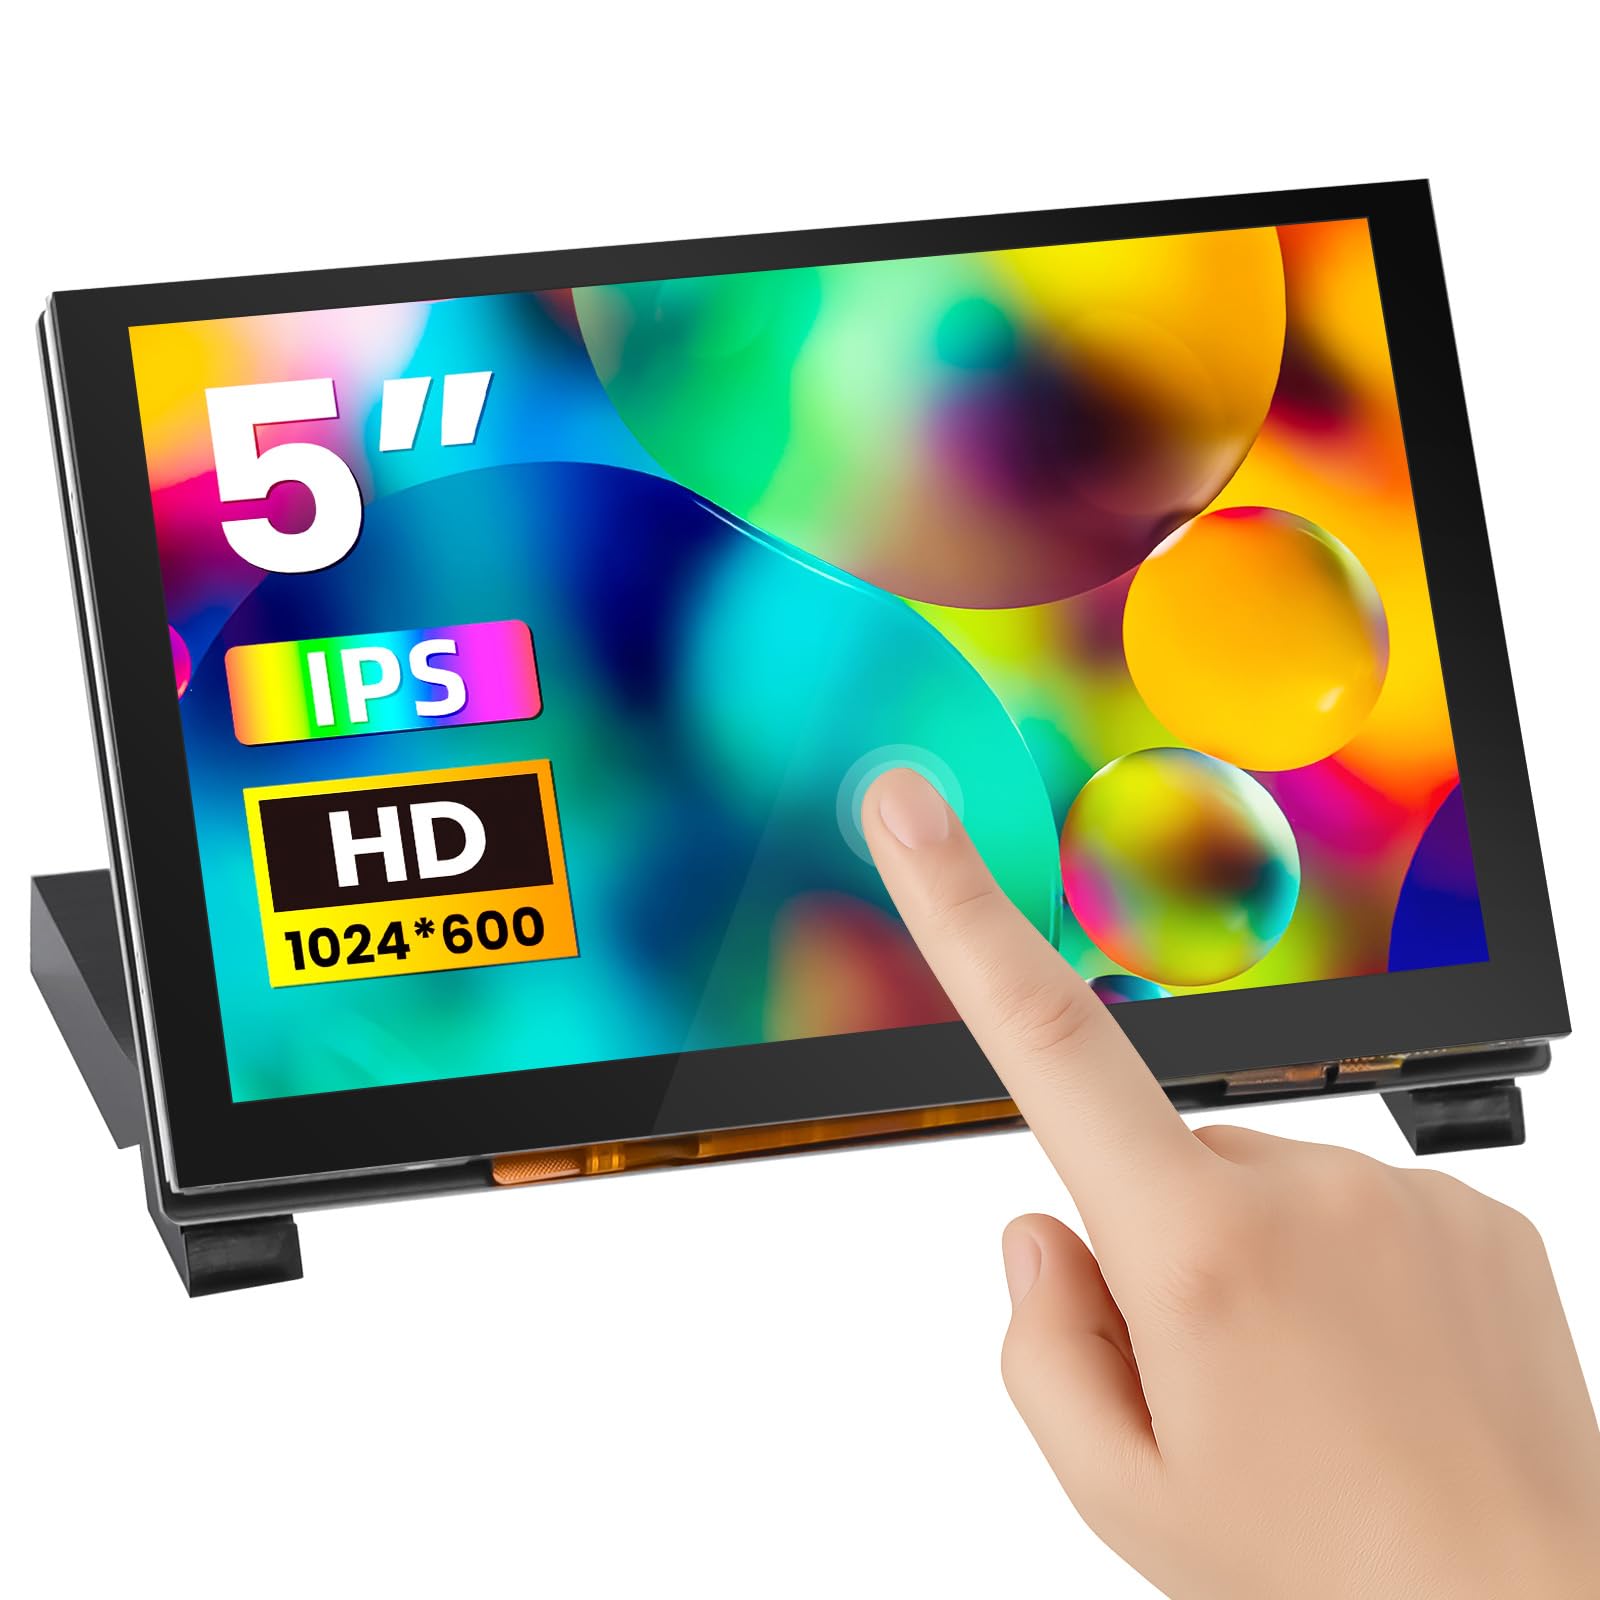
Figure 1: ELECROW 5 Inch Touchscreen Monitor with Acrylic Stand.
2. สิ่งที่รวมอยู่
Please verify that all items are present in the package before proceeding with setup.
- 1x 5-inch Touch Screen
- 1x USB-A to USB-C Cable (1m)
- 1x Micro-HD Adapter (for Raspberry Pi 4B & 5)
- 2x Acrylic Stand pieces
- Screws and copper pillars for mounting
- ไขควง 1x
- คู่มือเริ่มต้นอย่างรวดเร็ว

Figure 2: Package contents including the 5-inch touch screen, cables, adapters, and stand components.
3. ข้อมูลจำเพาะผลิตภัณฑ์
| คุณสมบัติ | ข้อมูลจำเพาะ |
|---|---|
| ยี่ห้อ | อิเล็คโทรโครว์ |
| หมายเลขรุ่น | DLH05050B |
| ขนาดหน้าจอ | 5 นิ้ว |
| ความละเอียดดั้งเดิม | 1024x600 พิกเซล |
| ความละเอียดการแสดงผลสูงสุด | 1024x600 Pixels (Supports up to 1080P signal input via intelligent scaling) |
| อัตราส่วนภาพ | 16:9 น. |
| ประเภทจอภาพ | จอ LCD ไอพีเอส |
| Viewอิงแองเกิล | 178 องศา |
| ความสว่าง | 410 แคนเดลาต่อตารางเมตร |
| อัตราการรีเฟรช | 60 เฮิรตซ์ |
| เวลาตอบสนอง | 2 มิลลิวินาที |
| ประเภทหน้าจอสัมผัส | Capacitive (5-point) |
| เทคโนโลยีการเชื่อมต่อ | สาย HDMI, สาย USB Type C |
| พอร์ต HDMI ทั้งหมด | 1 |
| พอร์ต USB รวม | 1 (Type-C for power and touch) |
| เล่มที่tage | 5 โวลต์ |
| ขนาดสินค้า (ลึก x กว้าง x สูง) | ลึก 4.8 นิ้ว x กว้าง 3.08 นิ้ว x สูง 0.8 นิ้ว |
4. คำแนะนำในการตั้งค่า
This section details how to connect your ELECROW 5 Inch Touchscreen Monitor to various devices.
4.1 Assembling the Acrylic Stand
- Carefully remove the protective film from both sides of the acrylic stand pieces.
- Align the slots on the stand pieces with the mounting holes on the back of the monitor.
- Secure the stand using the provided screws and screwdriver. Ensure the stand is stable.
4.2 Connecting to Raspberry Pi (3/4/5)
The monitor is designed for direct mounting with Raspberry Pi boards. For Raspberry Pi 4B and 5, a Micro-HD adapter is included.
- การติดตั้ง (ทางเลือก): Use the provided copper pillars and screws to attach your Raspberry Pi board directly to the rear mounting holes of the display.
- การเชื่อมต่อวิดีโอ:
- For Raspberry Pi 3B+, connect the standard HDMI cable from the Raspberry Pi to the monitor's HD input.
- For Raspberry Pi 4B and 5, attach the Micro-HD adapter to the Raspberry Pi's Micro-HDMI port, then connect the standard HDMI cable from the adapter to the monitor's HD input.
- Power & Touch Connection: Connect the USB-A to USB-C cable from a USB port on your Raspberry Pi to the monitor's USB Type-C port. This cable provides both power to the monitor and enables touch functionality.
- เปิดเครื่อง: Power on your Raspberry Pi. The display should automatically detect the signal.

Figure 3: Connection diagram for Raspberry Pi models.
4.3 Connecting to Jetson Nano
- การเชื่อมต่อวิดีโอ: Connect an HDMI cable from the Jetson Nano's HDMI output to the monitor's HD input.
- Power & Touch Connection: Connect the USB-A to USB-C cable from a USB port on the Jetson Nano to the monitor's USB Type-C port. This provides power and touch input.
- เปิดเครื่อง: Power on your Jetson Nano. The display should activate.

Figure 4: Connection diagram for Jetson Nano.
4.4 Connecting to a Computer (Windows)
- การเชื่อมต่อวิดีโอ: Connect an HDMI cable from your computer's HDMI output to the monitor's HD input.
- Power & Touch Connection: Connect the USB-A to USB-C cable from a USB port on your computer to the monitor's USB Type-C port. This provides power and enables touch functionality.
- การตั้งค่าการแสดงผล: Your computer should automatically detect the new display. You may need to adjust display settings (e.g., extend or duplicate display, set resolution to 1024x600) in your operating system.
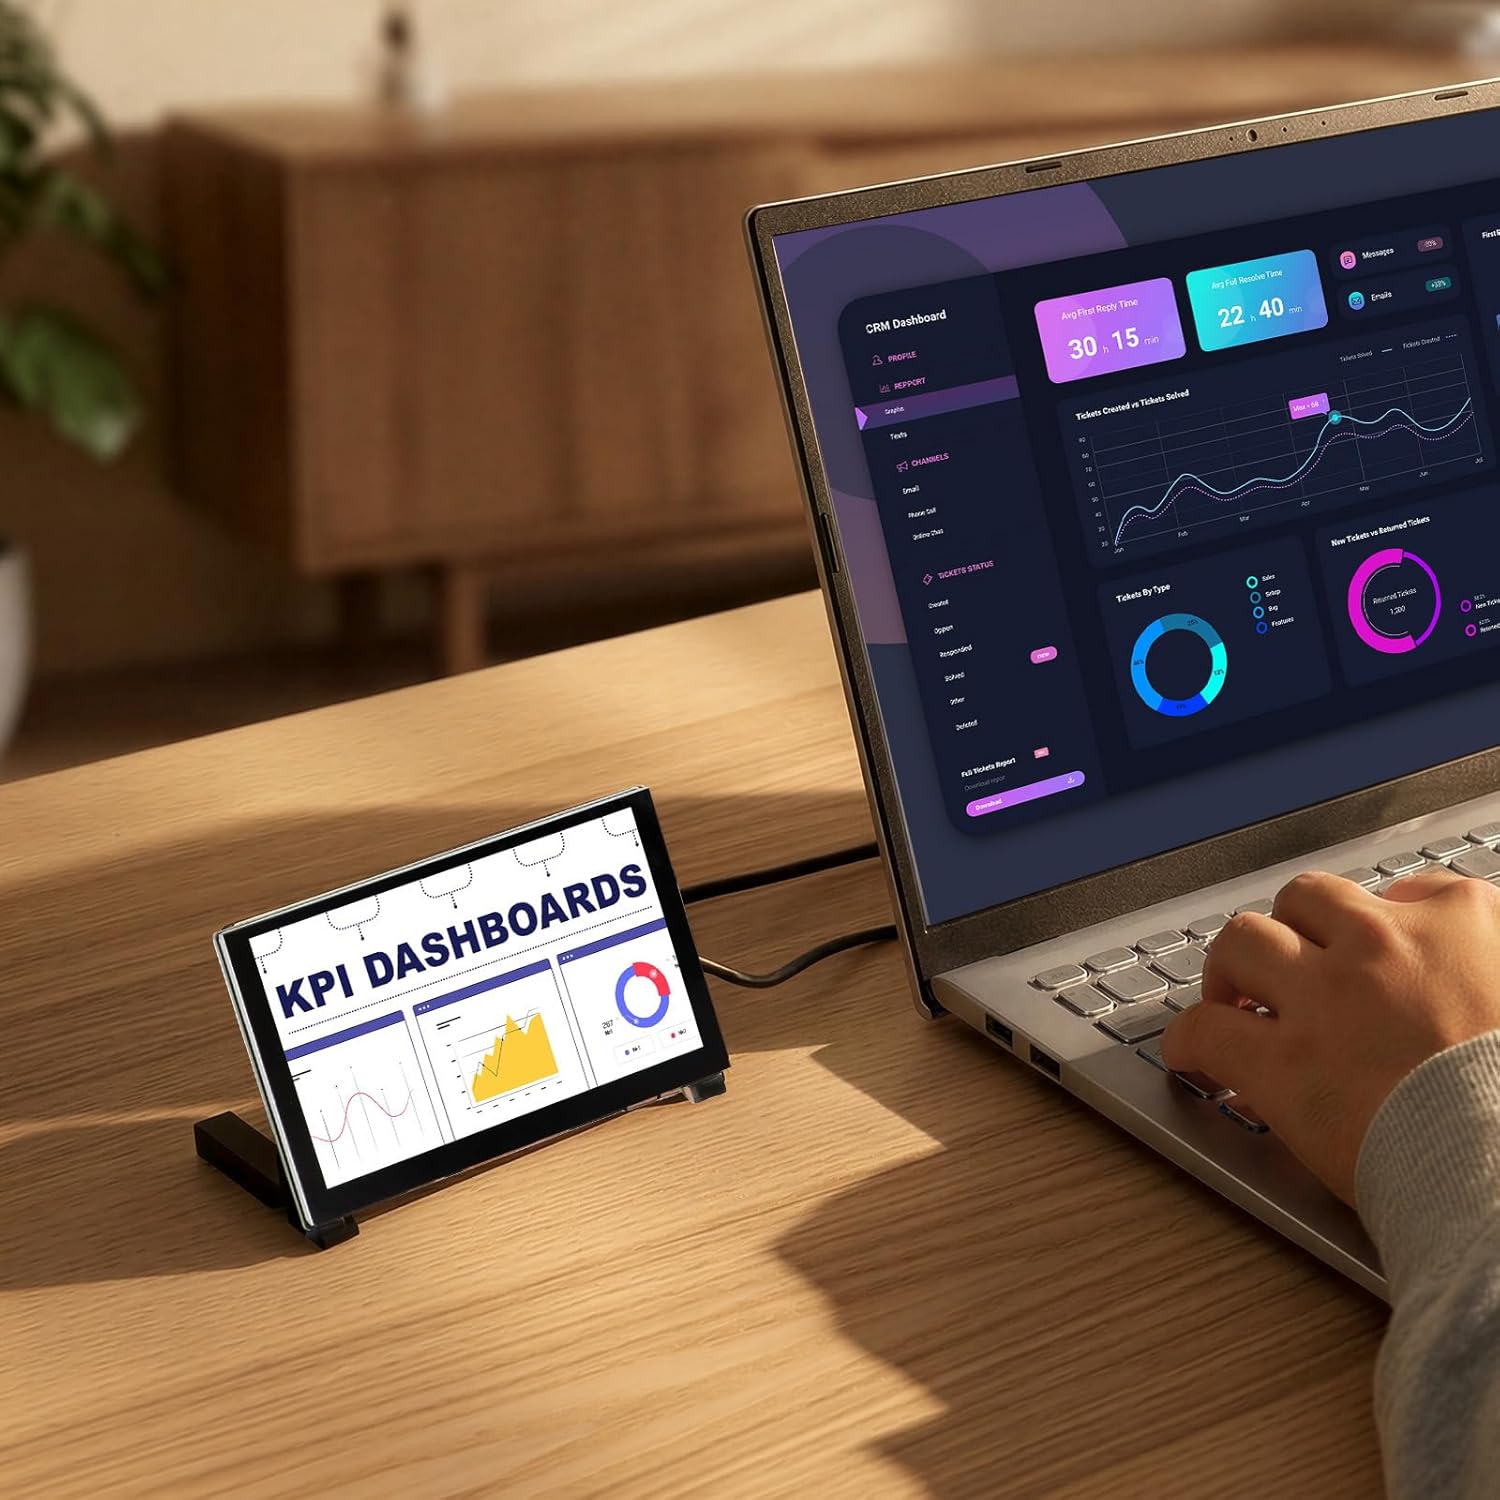
Figure 5: Monitor connected to a laptop for extended display.
5. คู่มือการใช้งาน
The ELECROW 5 Inch Touchscreen Monitor is designed for intuitive use with its capacitive touch and integrated controls.
5.1 ฟังก์ชันการสัมผัส
The monitor supports 5-point capacitive touch. For Raspberry Pi, it typically supports single touch. For Windows systems, it supports multi-touch gestures.
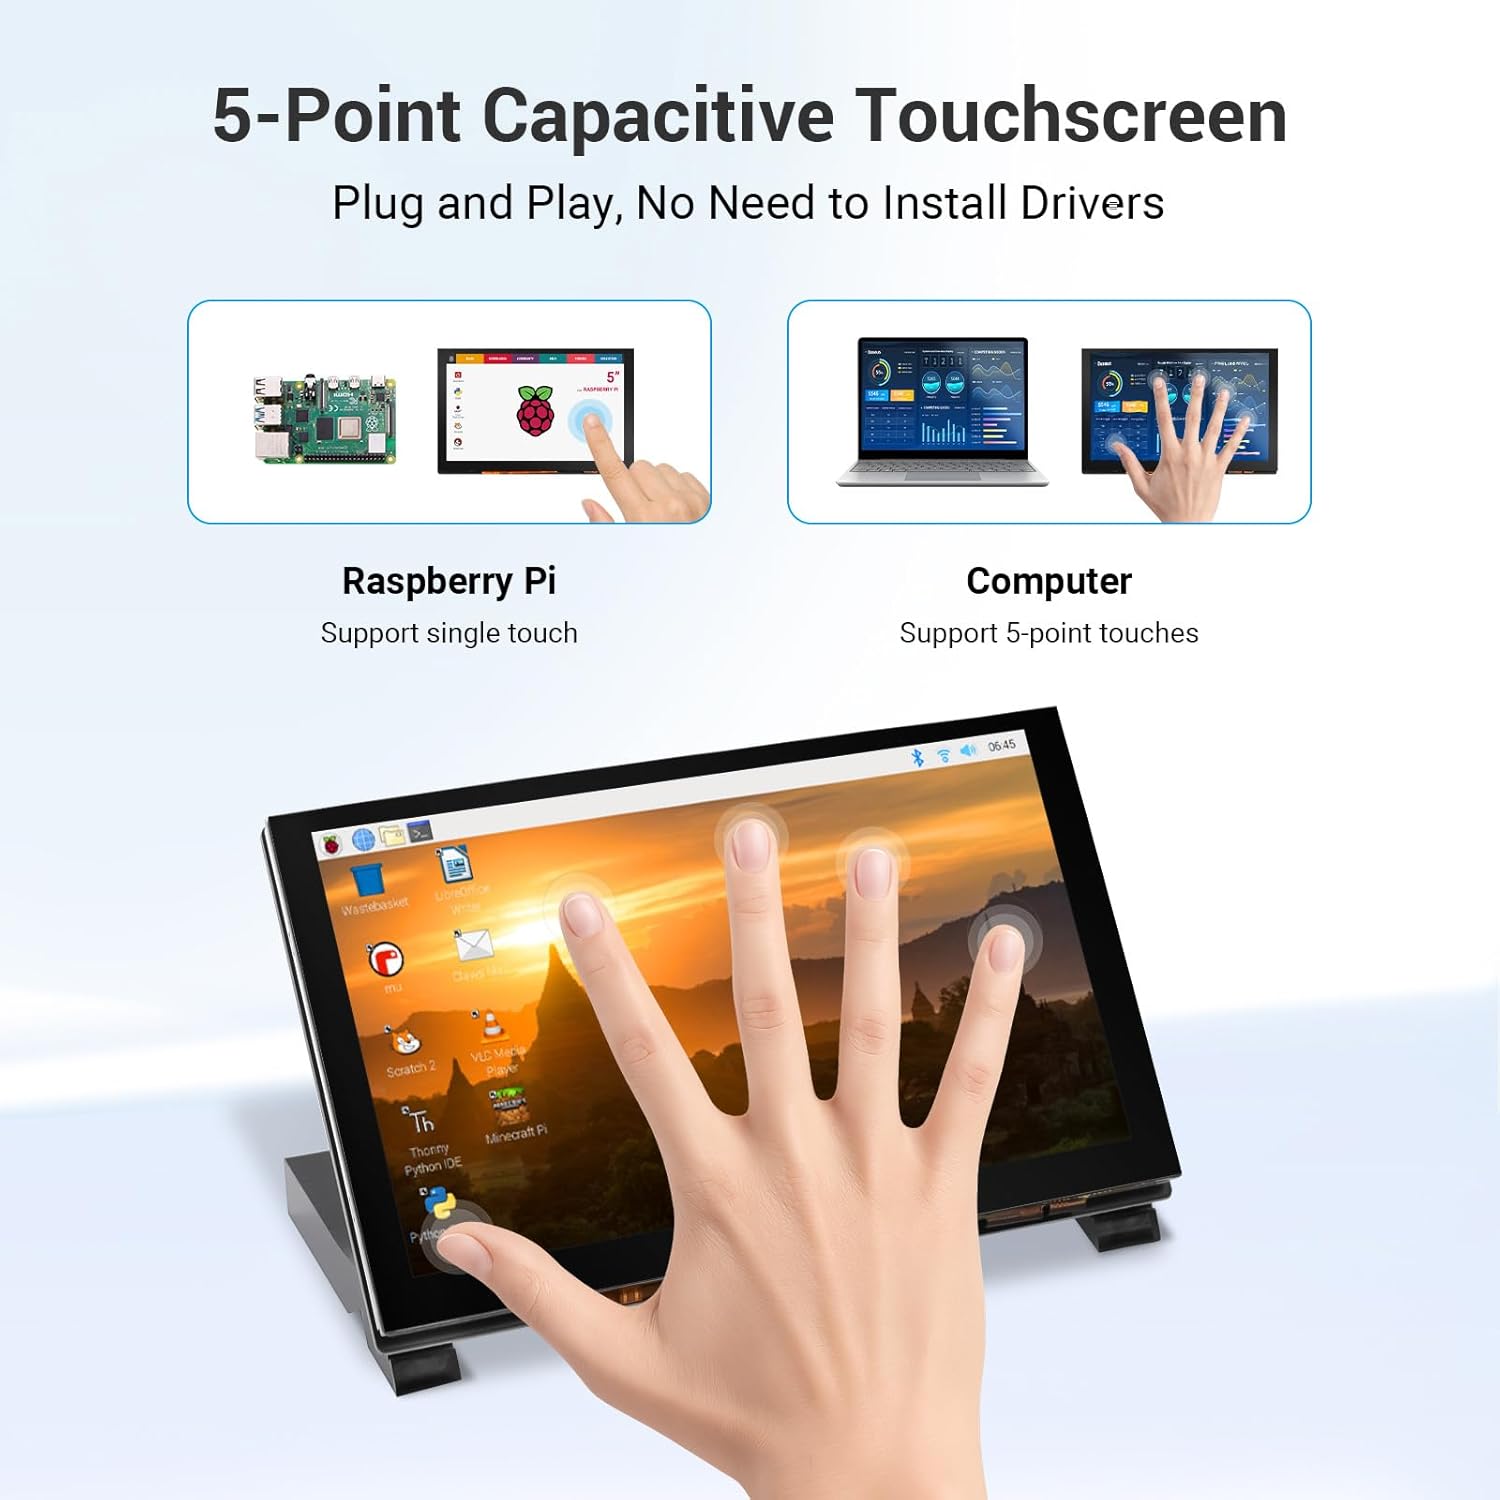
Figure 6: Demonstrating 5-point capacitive touch on the monitor.
5.2 เมนูการแสดงผลบนหน้าจอ (OSD)
The monitor features a built-in OSD menu for adjusting display settings. Buttons are located on the side or back of the display board.
- ปุ่มเมนู: กดเพื่อเปิดเมนู OSD
- ปุ่มขึ้น/ลง: นำทางผ่านตัวเลือกเมนู
- ปุ่มย้อนกลับ: กลับไปยังเมนูก่อนหน้า หรือออกจากเมนู OSD
- ปุ่มเปิด/ปิด: เปิด/ปิดจอแสดงผล
Within the OSD menu, you can adjust settings such as brightness, contrast, color temperature, and aspect ratio to optimize your viewการสร้างประสบการณ์
5.3 Compatibility with Operating Systems
The monitor offers broad compatibility with various operating systems and devices, ensuring a plug-and-play experience without the need for complex driver installations.
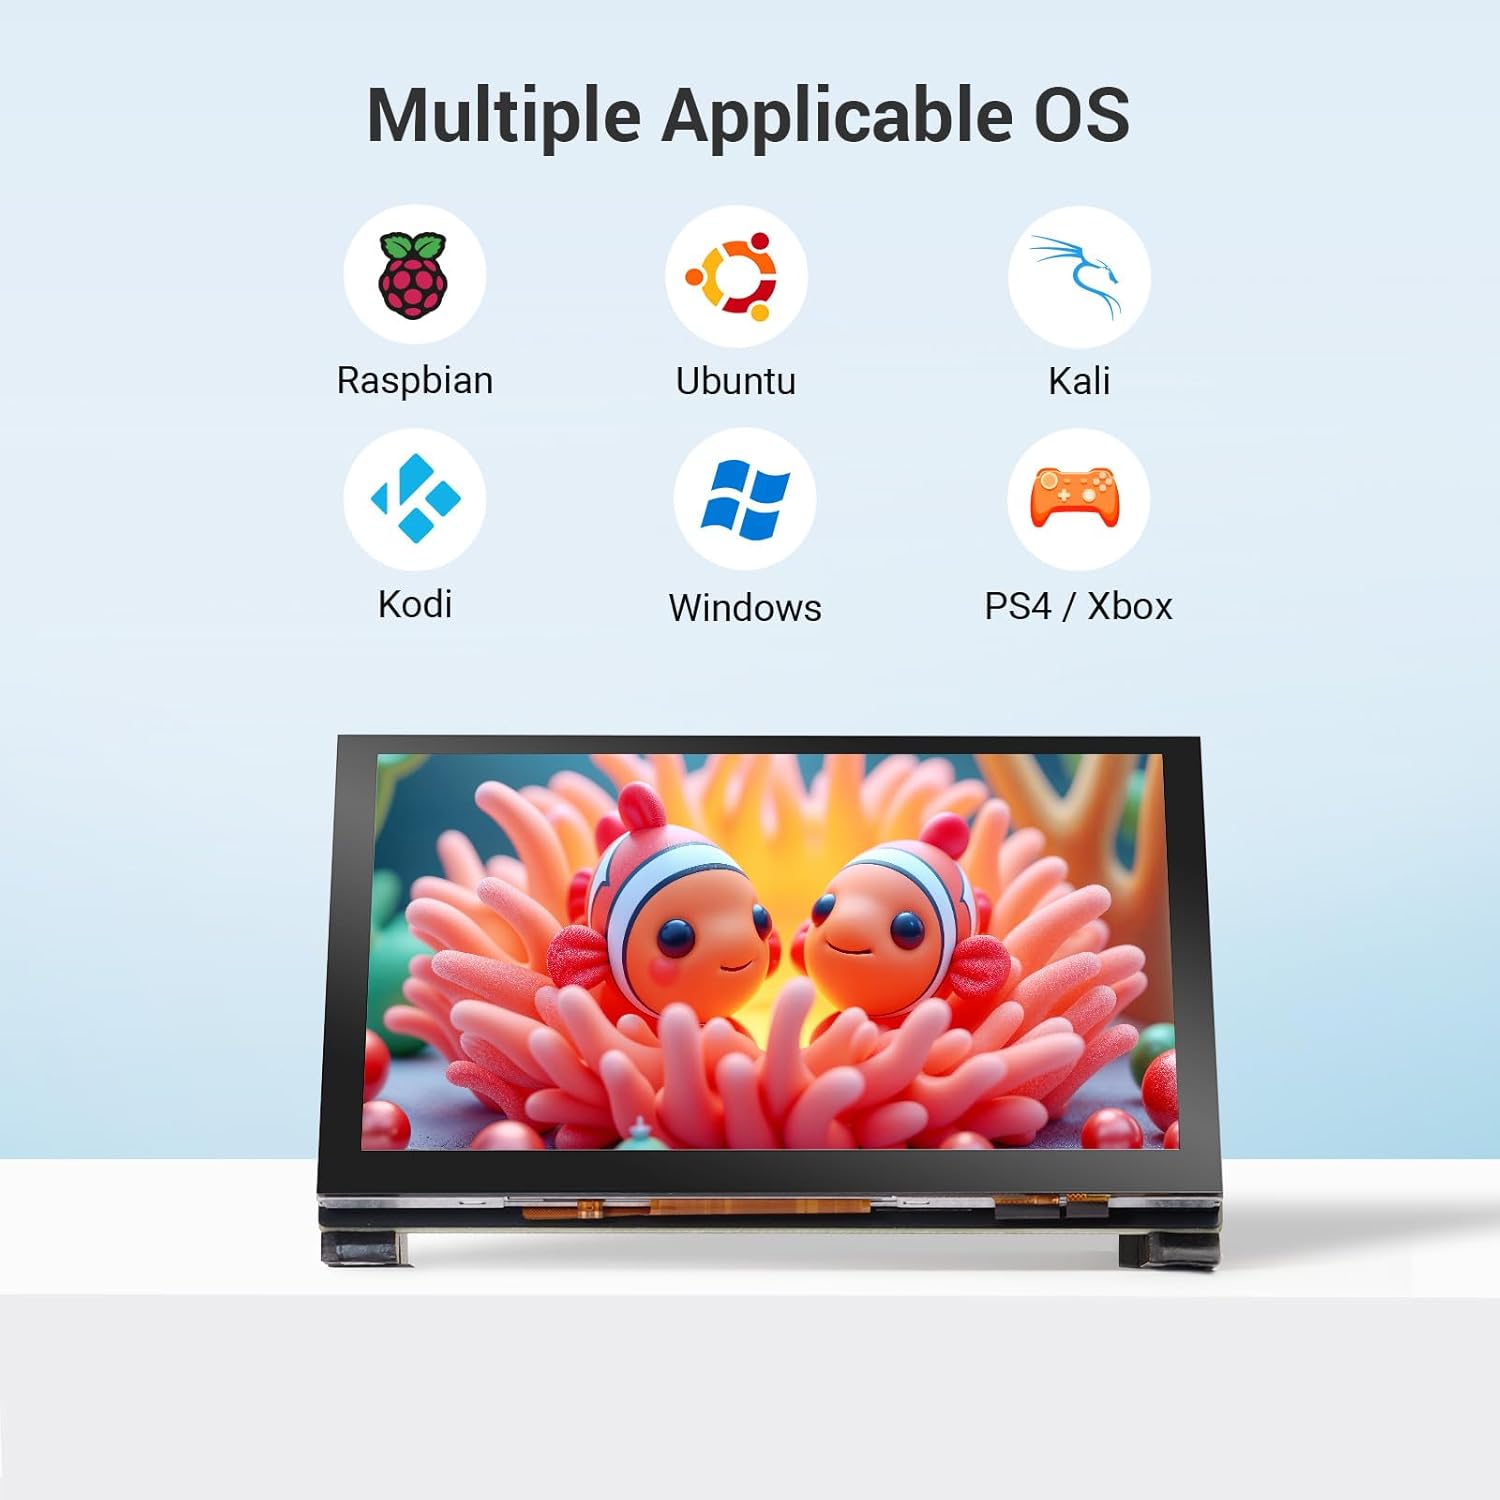
รูปที่ 7: ความเข้ากันได้กับระบบปฏิบัติการที่หลากหลาย
6. การบำรุงรักษา
Proper care and maintenance will ensure the longevity and optimal performance of your ELECROW 5 Inch Touchscreen Monitor.
6.1 การทำความสะอาดผลิตภัณฑ์
- Turn off the product and disconnect the power cord before cleaning.
- Use a clean, soft, dry cloth to wipe the display screen.
- ห้ามใช้น้ำยาทำความสะอาดที่มีส่วนผสมของแอลกอฮอล์ ตัวทำละลาย หรือสารลดแรงตึงผิวกับหน้าจอ
- ห้ามฉีดน้ำหรือน้ำยาทำความสะอาดลงบนผลิตภัณฑ์โดยตรง
- สำหรับคasing, use a soft, dry cloth to wipe it out, and then clean the exterior of the product.
6.2 Safe Placement
- หลีกเลี่ยงการวางผลิตภัณฑ์ใกล้แหล่งความร้อน
- Do not position the product on an unstable or vibrating surface.
- ควรวางจอภาพให้ห่างจาก damp สภาพแวดล้อม
7 การแก้ไขปัญหา
If you encounter issues with your ELECROW 5 Inch Touchscreen Monitor, please refer to the following common troubleshooting steps:
7.1 หน้าจอไม่แสดงผลหรือกระพริบ
- ตรวจสอบการเชื่อมต่อพลังงาน: Ensure the USB-C cable is securely connected to both the monitor and the power source (e.g., Raspberry Pi, computer USB port). Verify the power source is active.
- ตรวจสอบการเชื่อมต่อ HDMI: Ensure the HDMI cable is firmly connected to both the monitor's HD input and your device's HDMI output. If using a Micro-HD adapter, ensure it is correctly seated.
- Verify Signal Source: Make sure your connected device (Raspberry Pi, PC, etc.) is powered on and outputting a video signal.
- ทดสอบด้วยสายเคเบิล/อุปกรณ์อื่น: If possible, try different HDMI and USB-C cables, or connect the monitor to another compatible device to rule out cable or source issues.
- ปรับความละเอียด: Ensure your device's output resolution is compatible with the monitor (native 1024x600, supports up to 1080P scaled).
7.2 Touch Function Not Working
- การเชื่อมต่อ USB-C: The USB-C cable provides both power and touch data. Ensure it is securely connected to both the monitor and a functional USB port on your device.
- รองรับระบบปฏิบัติการ: Verify that your operating system supports touch input and that necessary drivers (if any, though usually plug-and-play) are installed. For Raspberry Pi, ensure your OS image is configured for touch.
- รีสตาร์ทอุปกรณ์: Try restarting both the monitor and the connected device.
7.3 OSD Menu Not Appearing
- ฟังก์ชั่นปุ่ม: Ensure you are pressing the correct 'Menu' button on the display board.
- สถานะพลังงาน: The monitor must be powered on to access the OSD menu.
8. การรับประกันและการสนับสนุน
8.1 ข้อมูลการรับประกัน
The ELECROW 5 Inch Touchscreen Monitor comes with a การรับประกันจากผู้ผลิต 1 ปีการรับประกันนี้ครอบคลุมถึงข้อบกพร่องในวัสดุและฝีมือการผลิตภายใต้การใช้งานปกติในระหว่างระยะเวลาการรับประกัน
For specific warranty terms and conditions, please refer to the documentation provided with your purchase or contact ELECROW customer support.
8.2 การสนับสนุนลูกค้า
For technical assistance, troubleshooting, or warranty claims, please contact ELECROW customer support through their official website or the retailer where the product was purchased. Please have your model number (DLH05050B) and purchase information ready when contacting support.