
การแนะนำ
This manual provides detailed instructions for the Qubick Wireless Controller, designed for use with Nintendo Switch, NS2, and PC. Please read this manual carefully before using the product to ensure proper operation and to maximize your gaming experience. Keep this manual for future reference.
สินค้าเกินview
The Qubick Wireless Controller features advanced wireless technology, Hall Effect triggers, precise analog sticks, and a Six-Axis motion sensor for immersive gameplay. It includes programmable back buttons, adjustable vibration, and multiple connectivity modes.
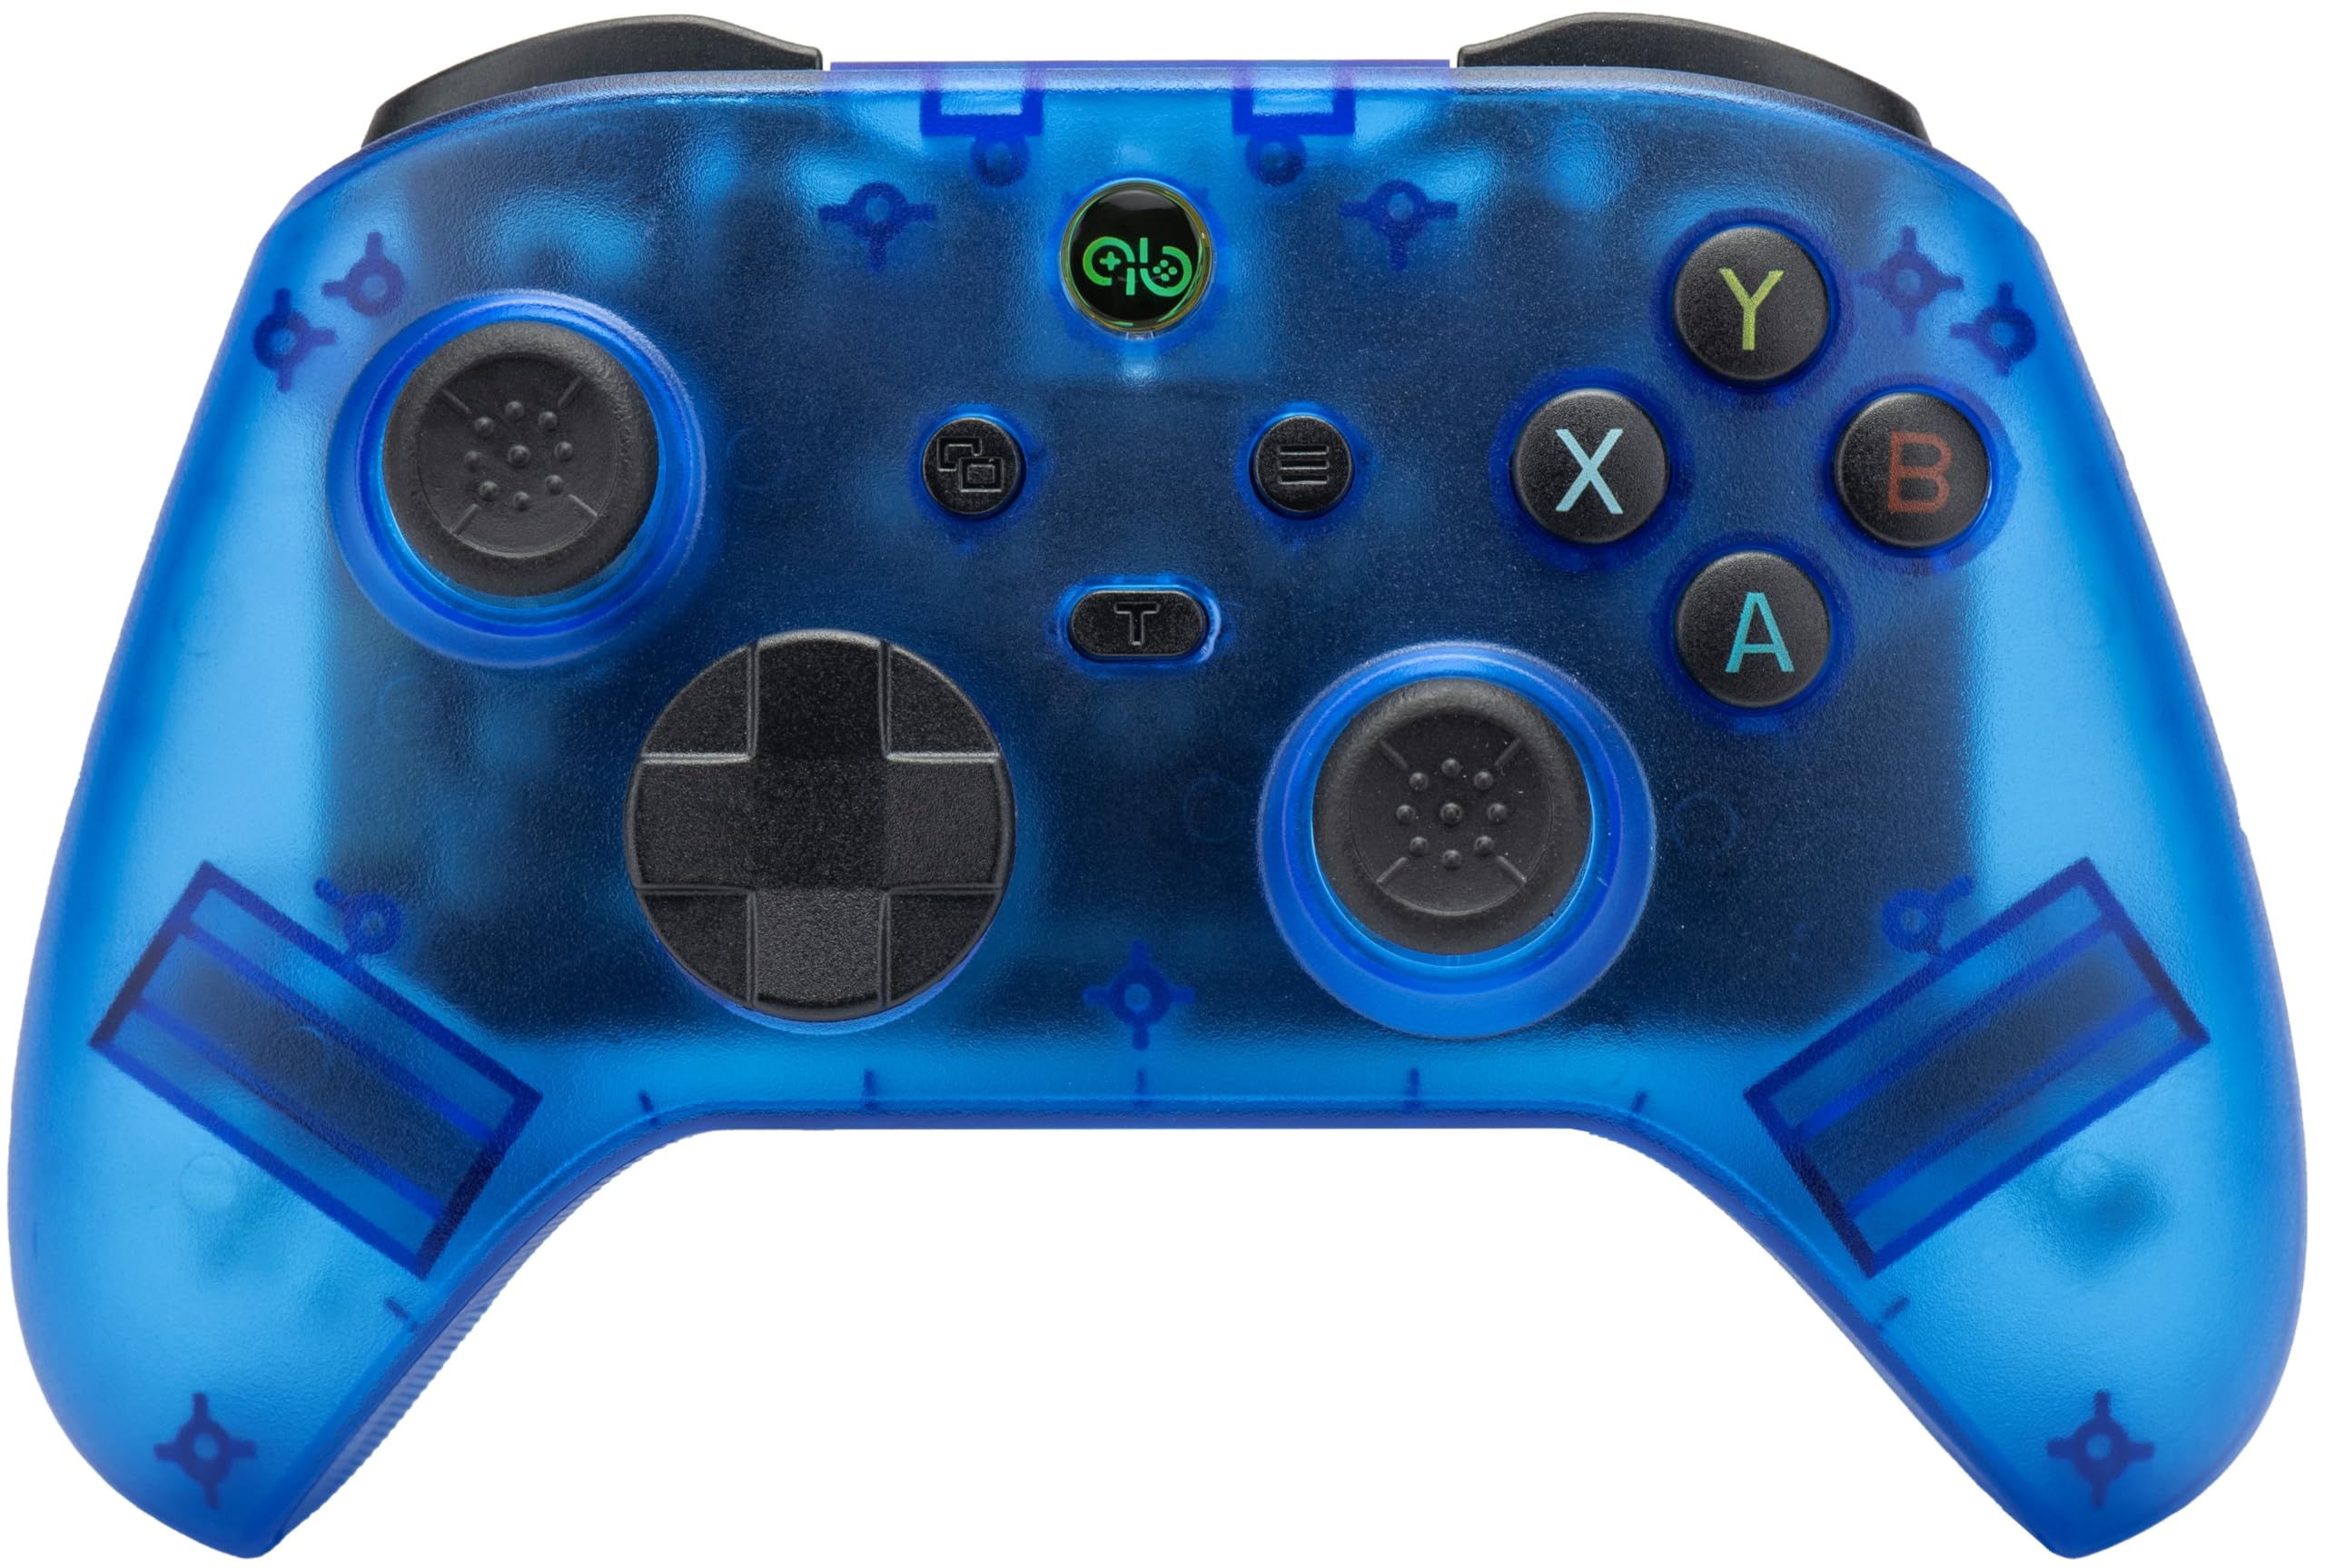
ภาพ: ด้านหน้า view of the Qubick Wireless Controller, showcasing its transparent blue casing, dual analog sticks, D-pad, and face buttons (A, B, X, Y).
การตั้งค่า
1. การชาร์จครั้งแรก
Before first use, fully charge the controller. Connect the supplied USB Type-C cable to the controller's charging port and the other end to a USB power source (e.g., console, PC, or USB wall adapter). The LED indicators will show charging status.
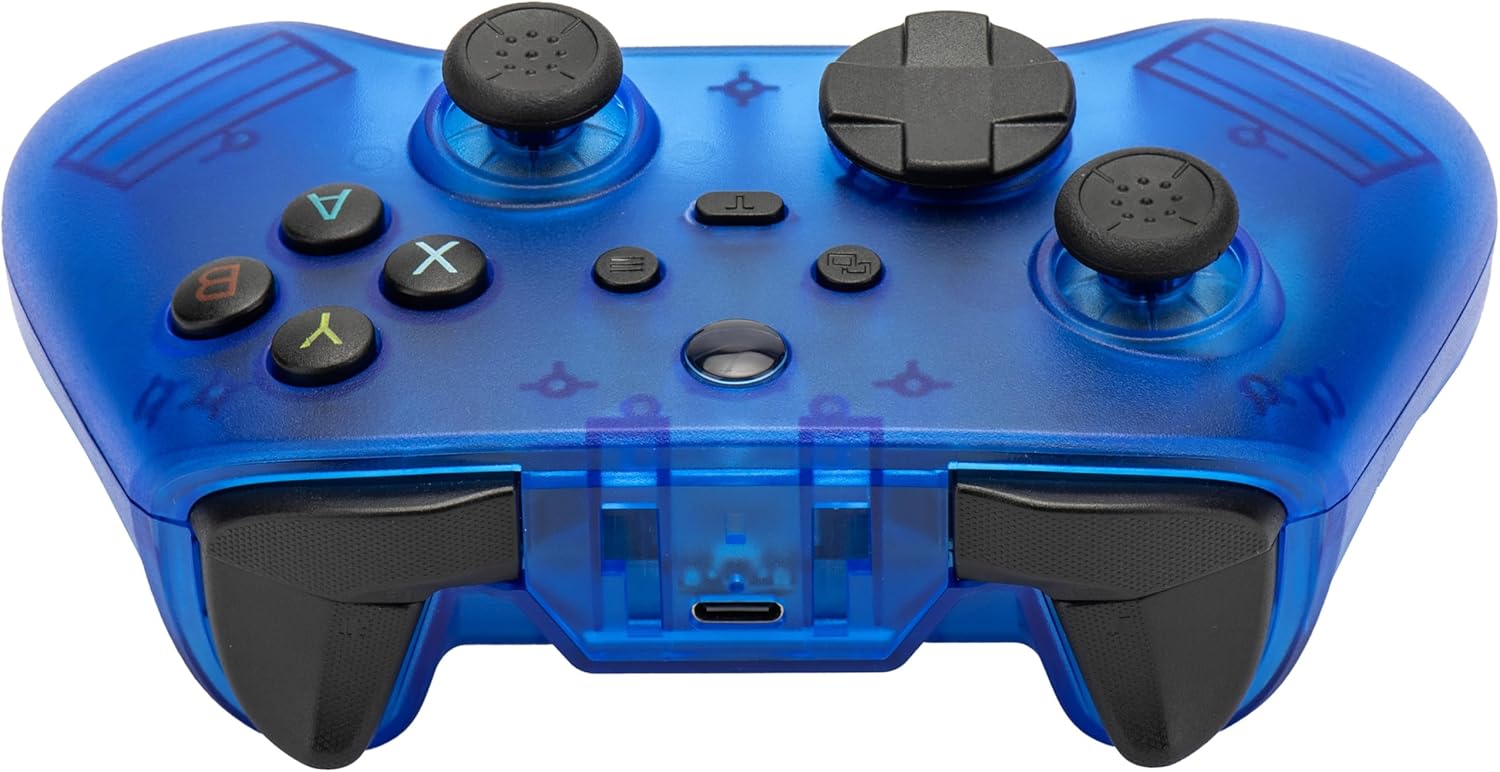
ภาพ: ด้านหน้า view of the Qubick Wireless Controller, highlighting the USB Type-C charging port located at the top center.
2. การจับคู่กับ Nintendo Switch
- บนเครื่อง Nintendo Switch ของคุณ ให้ไปที่เมนู HOME
- เลือก 'คอนโทรลเลอร์' > 'เปลี่ยนด้ามจับ/ลำดับ'
- Press and hold the pairing button on the Qubick Wireless Controller until the LED indicators begin to flash rapidly.
- Once paired, the controller's LED will remain solid, indicating a successful connection.
3. Pairing with PC
- Ensure the controller is in the correct PC mode (Xinput). Use the mode change button if necessary.
- Connect the controller to your PC via the USB Type-C cable, or follow Bluetooth pairing instructions if your PC supports it.
- For Bluetooth, go to your PC's Bluetooth settings, enable Bluetooth, and search for new devices. Select the Qubick Wireless Controller when it appears.
4. การสลับโหมด
The controller supports multiple modes: V3, MFi, Xinput, Switch, and 2.4G. Use the dedicated mode change button to cycle through these options to match your device's requirements.
คำแนะนำการใช้งาน
1. รูปแบบการจัดวางปุ่ม
Familiarize yourself with the controller's buttons:
- แท่งอนาล็อก: Left and Right for movement and camera control.
- ดี-แพด: การป้อนข้อมูลแบบทิศทาง
- ปุ่มหน้า (A, B, X, Y): ปุ่มการดำเนินการหลัก
- ปุ่มไหล่ (ซ้าย, ขวา) และไกปืน (ZL, ZR): ข้อมูลป้อนเข้าเพิ่มเติมสำหรับการดำเนินการ
- ปุ่มโฮม: กลับไปยังหน้าจอหลักของเครื่องเล่นเกม
- ปุ่มบวก (+) / ลบ (-): ฟังก์ชันของระบบ
- ปุ่มจับภาพหน้าจอ: จับภาพหน้าจอ
- M1 / M2 Buttons: ปุ่มด้านหลังที่สามารถตั้งโปรแกรมได้

ภาพ: ด้านหน้าเอียง view of the Qubick Wireless Controller, showing the arrangement of all primary buttons and analog sticks.
2. Turbo and Auto Turbo Function
The controller supports Turbo and Auto Turbo functions for rapid button presses.
- วิธีเปิดใช้งานเทอร์โบ: Press and hold the desired action button, then press the Turbo button. The button will now rapidly repeat its input when held down.
- To activate Auto Turbo: Press the desired action button, then press the Turbo button twice. The button will now rapidly repeat its input without being held down.
- To deactivate Turbo/Auto Turbo: Repeat the activation steps for the specific button, or clear all Turbo settings by holding the Turbo button for 5 seconds.
3. การปรับการสั่นสะเทือน
The dual-motor vibration system has 3 intensity levels. To adjust, press and hold the vibration adjustment button (refer to controller diagram for location) and use the D-pad Up/Down to cycle through intensity levels.
4. Six-Axis Motion Sensor Calibration
If motion controls feel inaccurate, you can recalibrate the Six-Axis sensor. Refer to the specific instructions provided in the console's system settings or the full online manual for detailed calibration steps.
5. ปุ่มย้อนกลับที่ตั้งโปรแกรมได้ (M1/M2)
The M1 and M2 buttons on the back of the controller can be programmed to replicate other button inputs.

ภาพ: ด้านหลัง view of the Qubick Wireless Controller, clearly showing the M1 and M2 programmable buttons on the grips.
- เพื่อตั้งโปรแกรม: Press and hold the 'Program' button (usually a small button near M1/M2) until the indicator light flashes.
- กดปุ่ม M1 หรือ M2 ที่คุณต้องการตั้งโปรแกรม
- Press the button (or sequence of buttons) you want M1/M2 to emulate.
- Press the 'Program' button again to save the setting. The indicator light will stop flashing.
6. ไฟ LED
The controller features LED indicators to display its status:
- ไฟ LED กระพริบ: แสดงว่าอยู่ในโหมดจับคู่หรือแบตเตอรี่เหลือน้อย
- Solid LED(s): Indicates successful connection and player number (for Switch).
- ไฟ LED กระพริบ: แสดงว่ากำลังชาร์จอยู่
- LED Off (when connected to power): แสดงว่าชาร์จเต็มแล้ว
การซ่อมบำรุง
1. การทำความสะอาด
ใช้ผ้านุ่มและแห้งเช็ดทำความสะอาดคอนโทรลเลอร์ สำหรับคราบสกปรกฝังแน่น ให้เช็ดเบาๆampen the cloth with water. Do not use harsh chemicals or abrasive cleaners, as these can damage the surface.
2. การจัดเก็บ
Store the controller in a cool, dry place away from direct sunlight and extreme temperatures. Avoid placing heavy objects on the controller.
3. การดูแลแบตเตอรี่
To prolong battery life, avoid fully discharging the controller frequently. If storing for an extended period, charge the battery to approximately 50% every few months.
การแก้ไขปัญหา
- ตัวควบคุมไม่ได้เชื่อมต่อ:
Ensure the controller is charged. Verify it is in the correct mode for your device (Switch, Xinput for PC). Re-attempt the pairing process. If using Bluetooth, ensure your device's Bluetooth is enabled and discoverable. - Buttons or sticks unresponsive:
Check if the controller is properly connected. Restart the controller and the console/PC. If the issue persists, a factory reset (if available, refer to online manual) might be necessary. - ปัญหาการชาร์จ:
Ensure the USB Type-C cable is securely connected to both the controller and the power source. Try a different USB port or charging cable. - ระบบสั่นไม่ทำงาน หรืออ่อน/แรงเกินไป:
Adjust the vibration intensity as described in the 'Operating Instructions' section. Ensure the game you are playing supports vibration feedback. - Motion controls inaccurate:
Perform a Six-Axis motion sensor calibration as described in the 'Operating Instructions' section.
ข้อมูลจำเพาะ
| ยี่ห้อ | Qubick |
| แบบอย่าง | Wireless Controller (NSW) |
| ความเข้ากันได้ | Nintendo Switch, NS2, PC |
| การเชื่อมต่อ | เทคโนโลยีไร้สายขั้นสูง |
| ทริกเกอร์ | Hall Effect Technology |
| แท่งอนาล็อก | Precise Analog Sticks |
| เซ็นเซอร์ตรวจจับความเคลื่อนไหว | Six-Axis with Calibration Function |
| การสั่นสะเทือน | Dual Motor with 3 Intensity Levels |
| แบตเตอรี่ | Integrated 400 mAh Li-ion Rechargeable Battery |
| พอร์ตชาร์จ | ยูเอสบี ไทป์ ซี |
| ปุ่มที่สามารถตั้งโปรแกรมได้ | M1 / M2 Back Buttons |
| ขนาด | ขนาดประมาณ 16 x 12 x 8 ซม |
| น้ำหนัก | ประมาณ 350 กรัม |
การรับประกันและการสนับสนุน
For warranty information, technical support, or to download the latest version of this manual, please visit the official Qubick webเว็บไซต์.
Official Manuals and Support: https://www.qubick.it/manuali
This product is manufactured by Cidiverte.
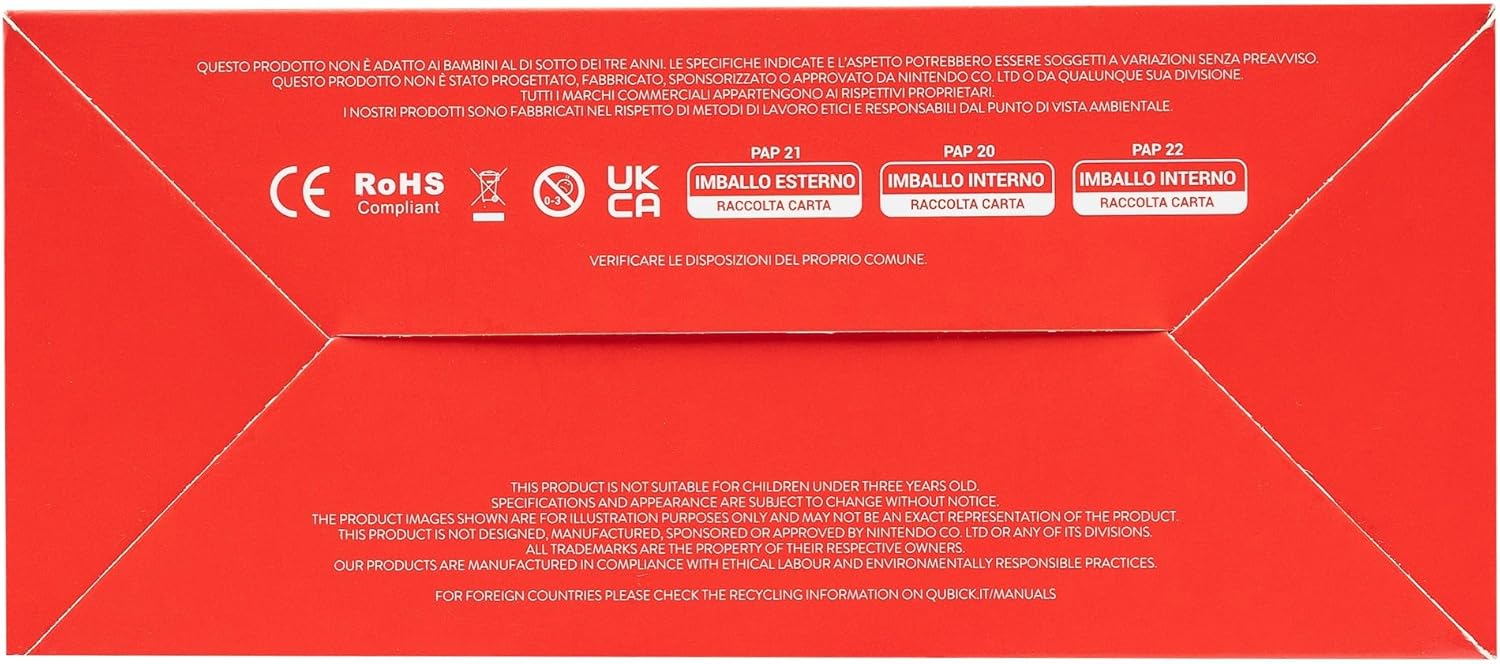
Image: Packaging of the Qubick Wireless Controller, displaying multilingual product information and a QR code linking to the online manual.
Image: Product packaging bottom, showing CE, RoHS, UKCA compliance marks and recycling information for cardboard packaging.