
การแนะนำ
Thank you for choosing the NexiGo Wireless Controller NS32-A9. This controller is designed to enhance your gaming experience on Nintendo Switch and Switch 2 consoles, offering advanced features such as no deadzone thumbsticks, customizable RGB lighting, adjustable vibration, six-axis gyroscope, and a turbo function. Please read this manual carefully to ensure proper setup and operation.
คุณสมบัติผลิตภัณฑ์
- No Deadzone Thumbsticks: Experience precise control with minimal input delay, ensuring accurate movements in games.
- Dual Motors and Six-Axis Gyroscope: Enjoy immersive haptic feedback and responsive motion controls for a dynamic gaming experience.
- ไฟแสดงสถานะ LED: The thumbsticks feature LED activity indicator rings that light up and flash during use, providing visual feedback.
- ชาร์จเร็ว: The controller can be fully charged in 2-3 hours, providing up to 10 hours of gameplay.
- การเชื่อมต่อบลูทู ธ : Easily pairs wirelessly with your Nintendo Switch console. Initial pairing requires a wired connection.
- Comfortable Non-Slip Design: Constructed from durable ABS material with ergonomic, non-slip grips to reduce hand fatigue during extended play sessions.
- ฟังก์ชั่นเทอร์โบ: Allows for partial and full automatic button mashing for repetitive actions in games.
- การสั่นสะเทือนที่ปรับได้: Customize the intensity of the haptic feedback with four distinct levels.
- ความเข้ากันได้กว้าง: Compatible with Nintendo Switch, Nintendo Switch OLED, Nintendo Switch Lite, and PC.
- Switch Wake-Up Function: Conveniently wake up your Nintendo Switch console directly from the controller.

Image: No Deadzone Precision

ภาพ: ความเข้ากันได้ในวงกว้างview
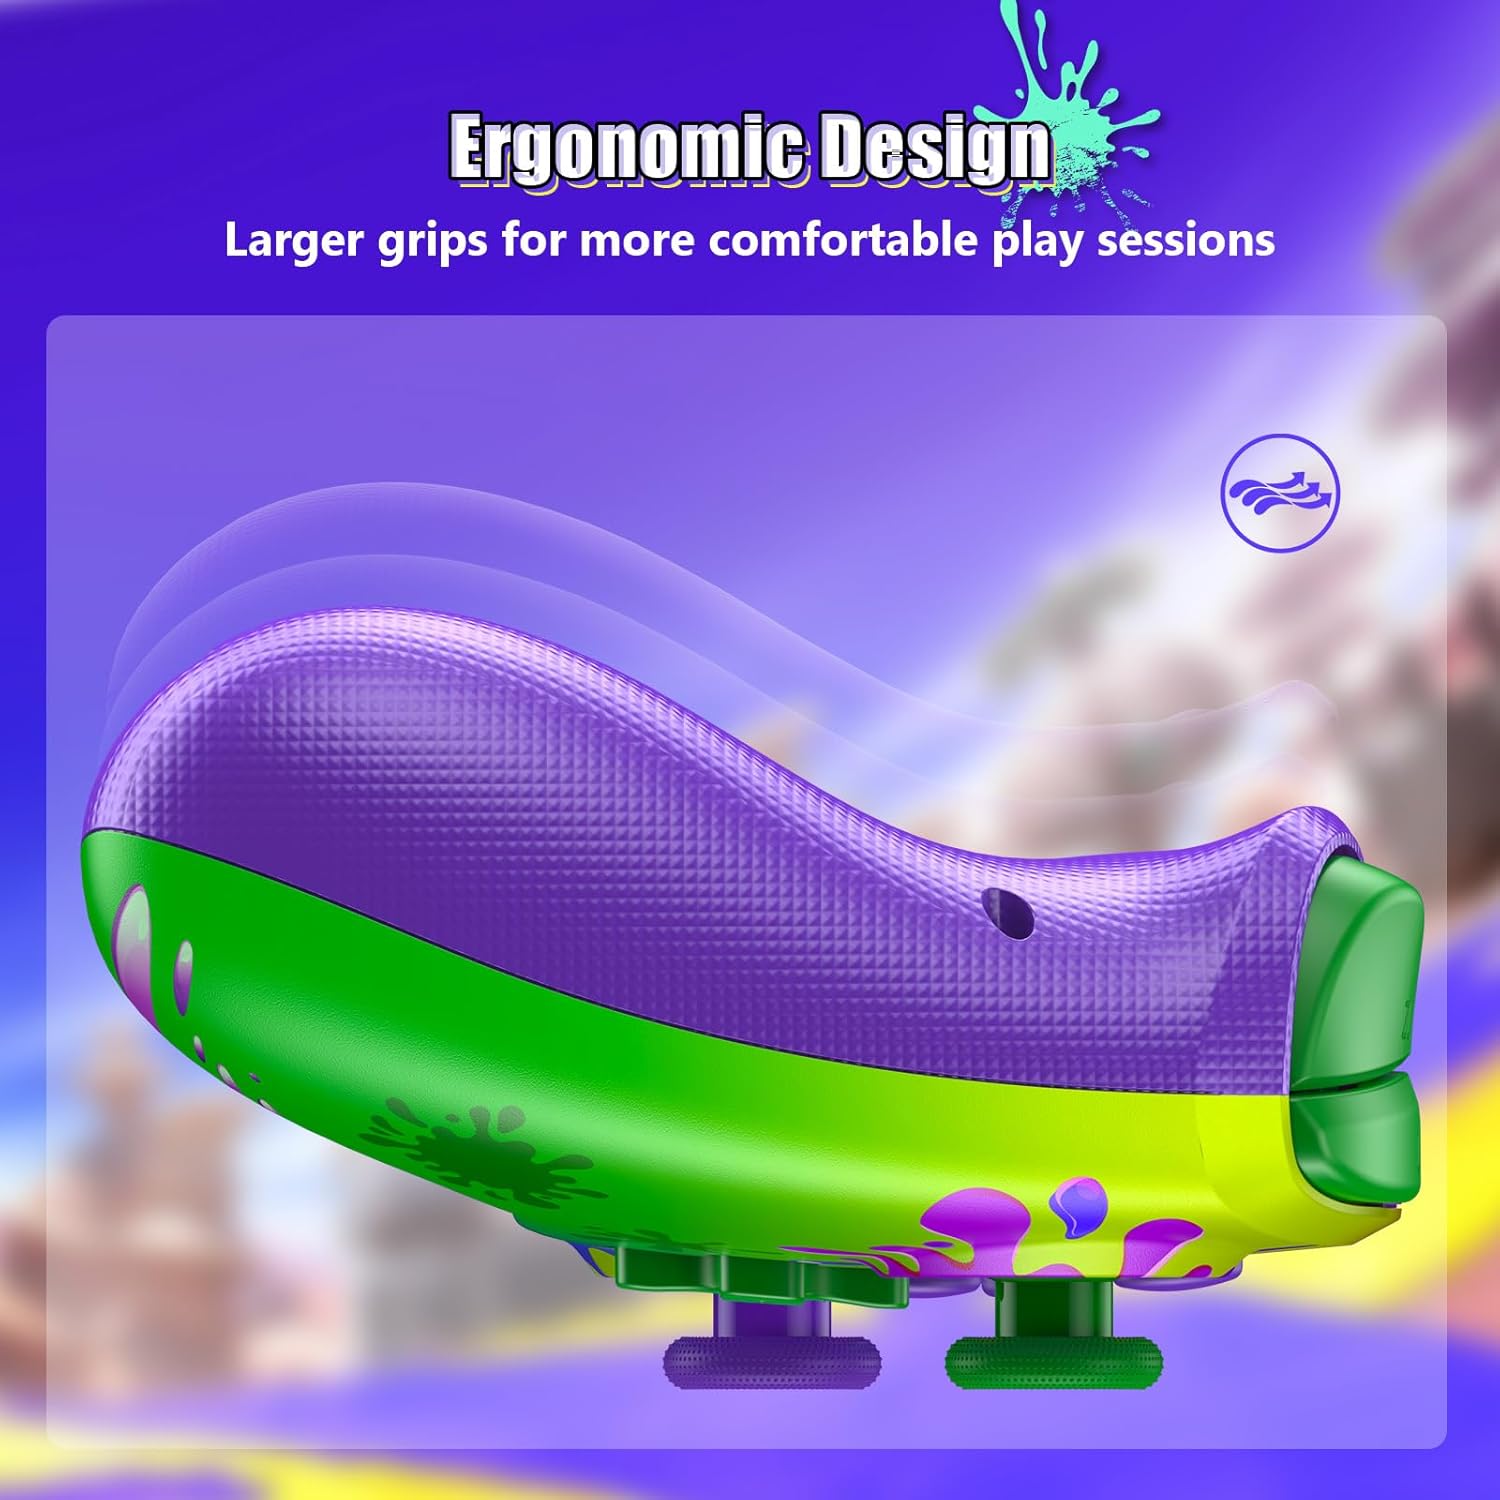
Image: Ergonomic Design for Comfort
Setup: Wireless Connection
Follow these steps to connect your NexiGo Wireless Controller to your Nintendo Switch console:
- ขั้นตอนที่ 1: Turn on your Nintendo Switch console and navigate to the "Controllers" menu from the HOME screen.
- ขั้นตอนที่ 2: Select "Change Grip/Order" from the list of options.
- ขั้นตอนที่ 3: Press and hold the Pairing button on the top of your controller for at least two seconds. The Pairing button is typically a small, circular button located near the charging port.
- ขั้นตอนที่ 4: The LEDs on your controller will flash during the pairing process and remain solid when the connection is successful.
บันทึก: You can only connect your controller wirelessly after pairing it once via a USB cable for the initial setup.
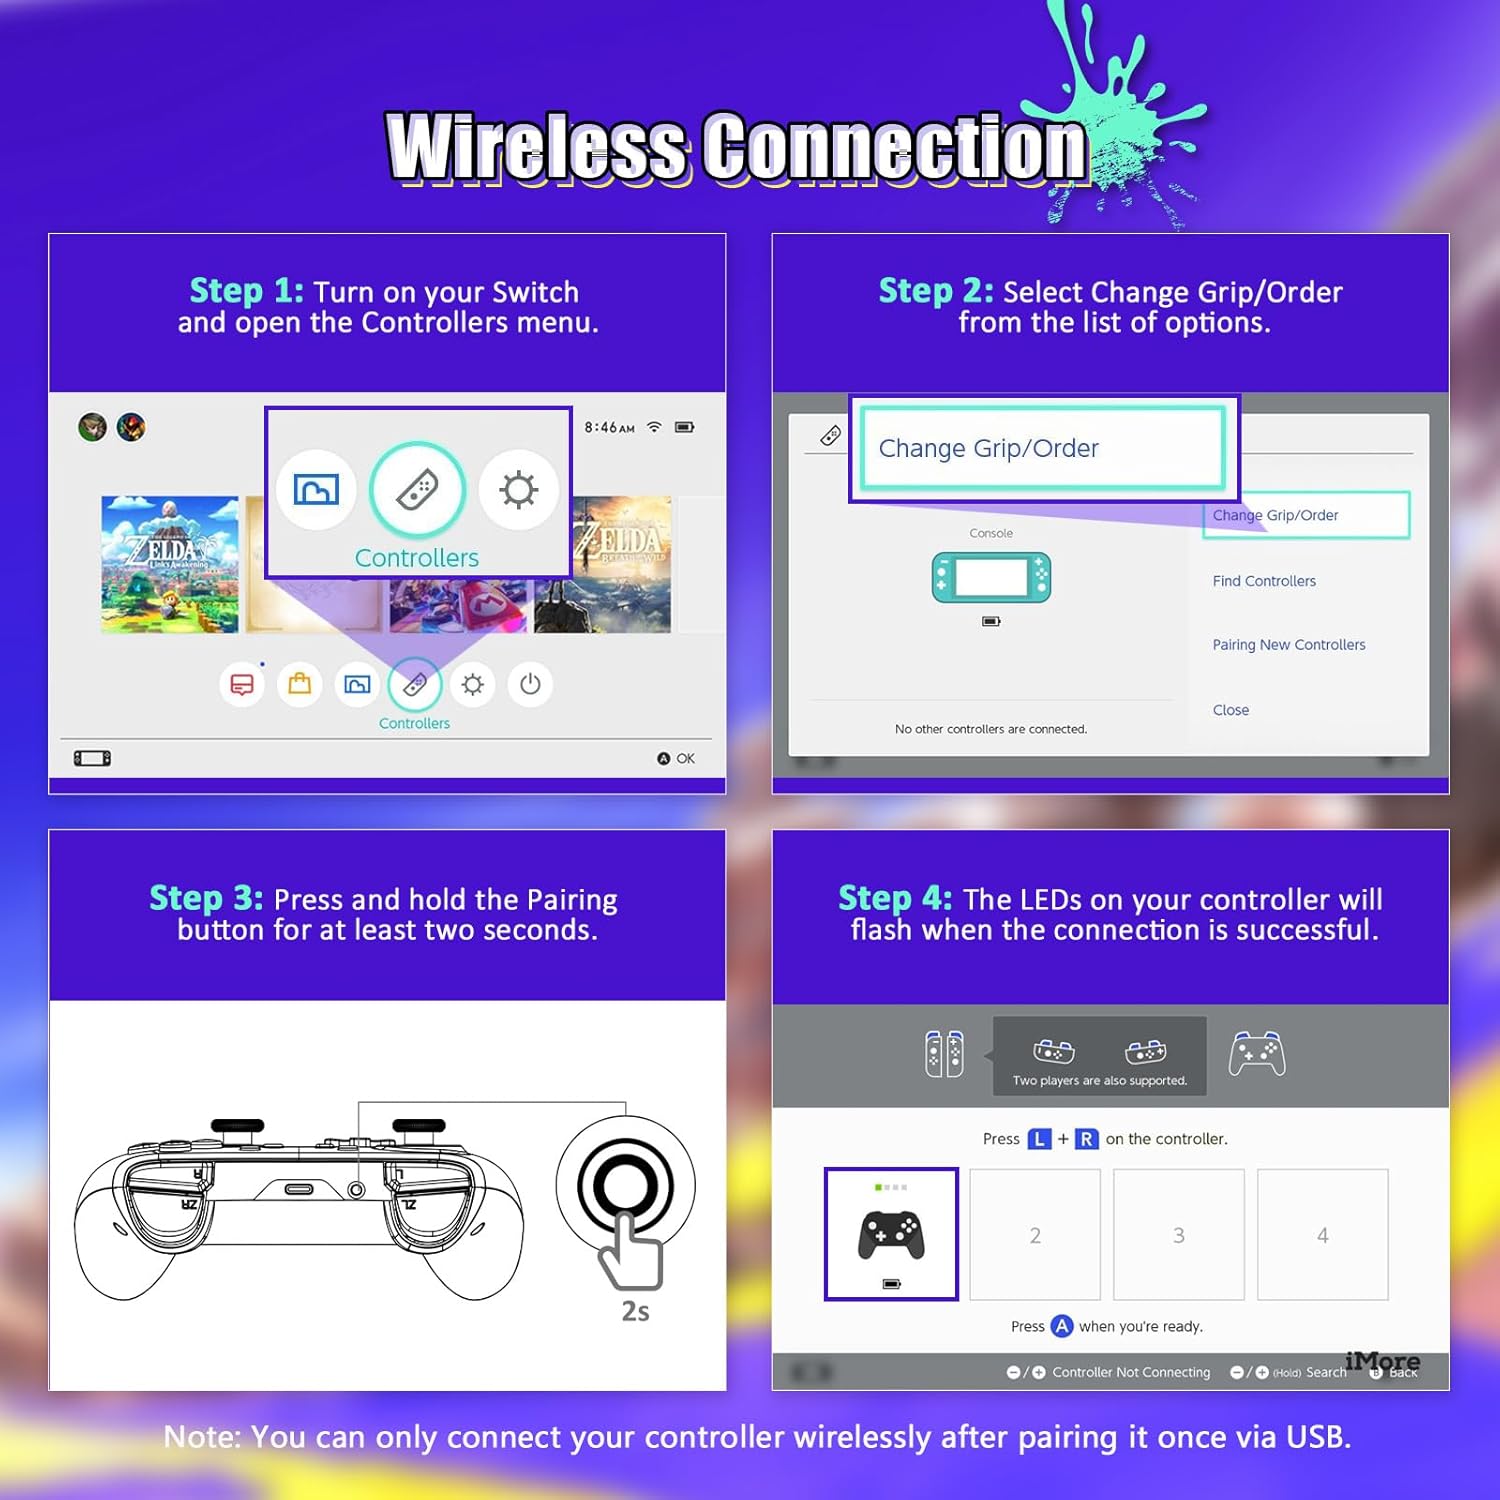
Image: Wireless Connection Setup Guide
คำแนะนำการใช้งาน
ฟังก์ชันเทอร์โบ
The Turbo function allows you to assign rapid-fire capabilities to specific buttons. This is useful for games requiring quick, repeated button presses.
- การเปิดใช้งานเทอร์โบ: Press and hold the button you wish to assign Turbo to, then press the Turbo button (usually located on the back or bottom of the controller). The button will now rapidly input when held down.
- การปิดใช้งานเทอร์โบ: Repeat the activation steps for the same button to turn off the Turbo function.
- การปรับความเร็วเทอร์โบ: (If applicable, consult specific controller documentation for speed adjustment methods, often involves Turbo button + D-pad up/down).

Image: Turbo Mode in action
การสั่นสะเทือนที่ปรับได้
The controller features four levels of vibration intensity. You can adjust this to suit your preference or the game you are playing.
- การปรับระดับการสั่น: Typically, this is done by holding a specific button (e.g., Turbo or Function button) and pressing the D-pad Up or Down. Refer to the quick start guide for your specific model's button combination.
- The four levels are usually 0% (off), 30%, 75%, and 100% intensity.

Image: Adjustable Vibration Levels
ไจโรสโคปหกแกน
The built-in six-axis gyroscope provides precise motion control for games that support it. This allows for intuitive tilt and motion-based gameplay.
- ตรวจสอบให้แน่ใจว่าเกมที่คุณเล่นรองรับการควบคุมด้วยการเคลื่อนไหว
- Calibrate the gyroscope if you experience inaccurate motion sensing. This option is usually found in the Nintendo Switch system settings under "Controllers and Sensors."
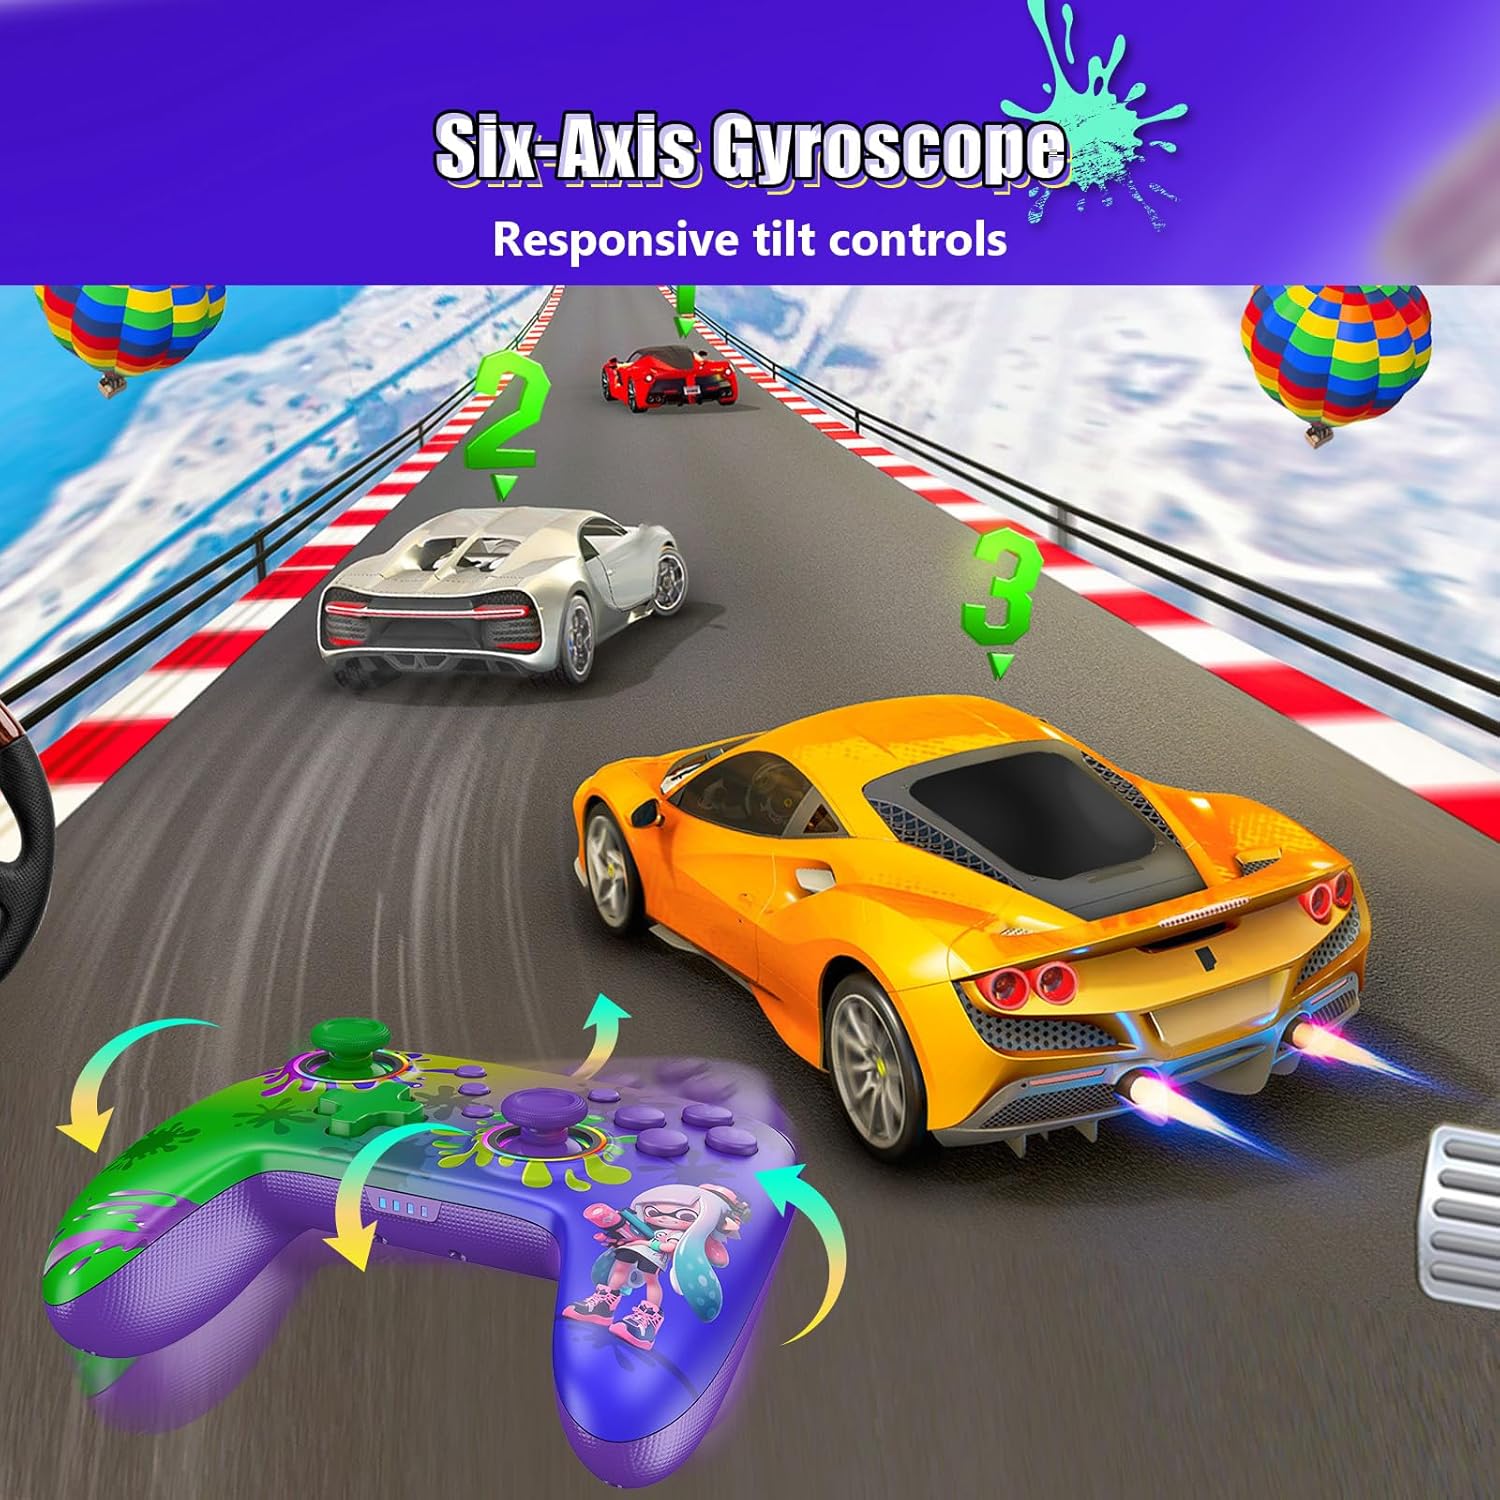
Image: Six-Axis Gyroscope in use
RGB Thumbsticks
The controller features customizable RGB lighting around the thumbsticks. These lights can be adjusted for color, brightness, and mode.
- Changing Colors/Modes: Refer to the controller's quick start guide for specific button combinations to cycle through seven colors, adjust brightness, and select from three lighting modes (e.g., breathing, cycling, static).
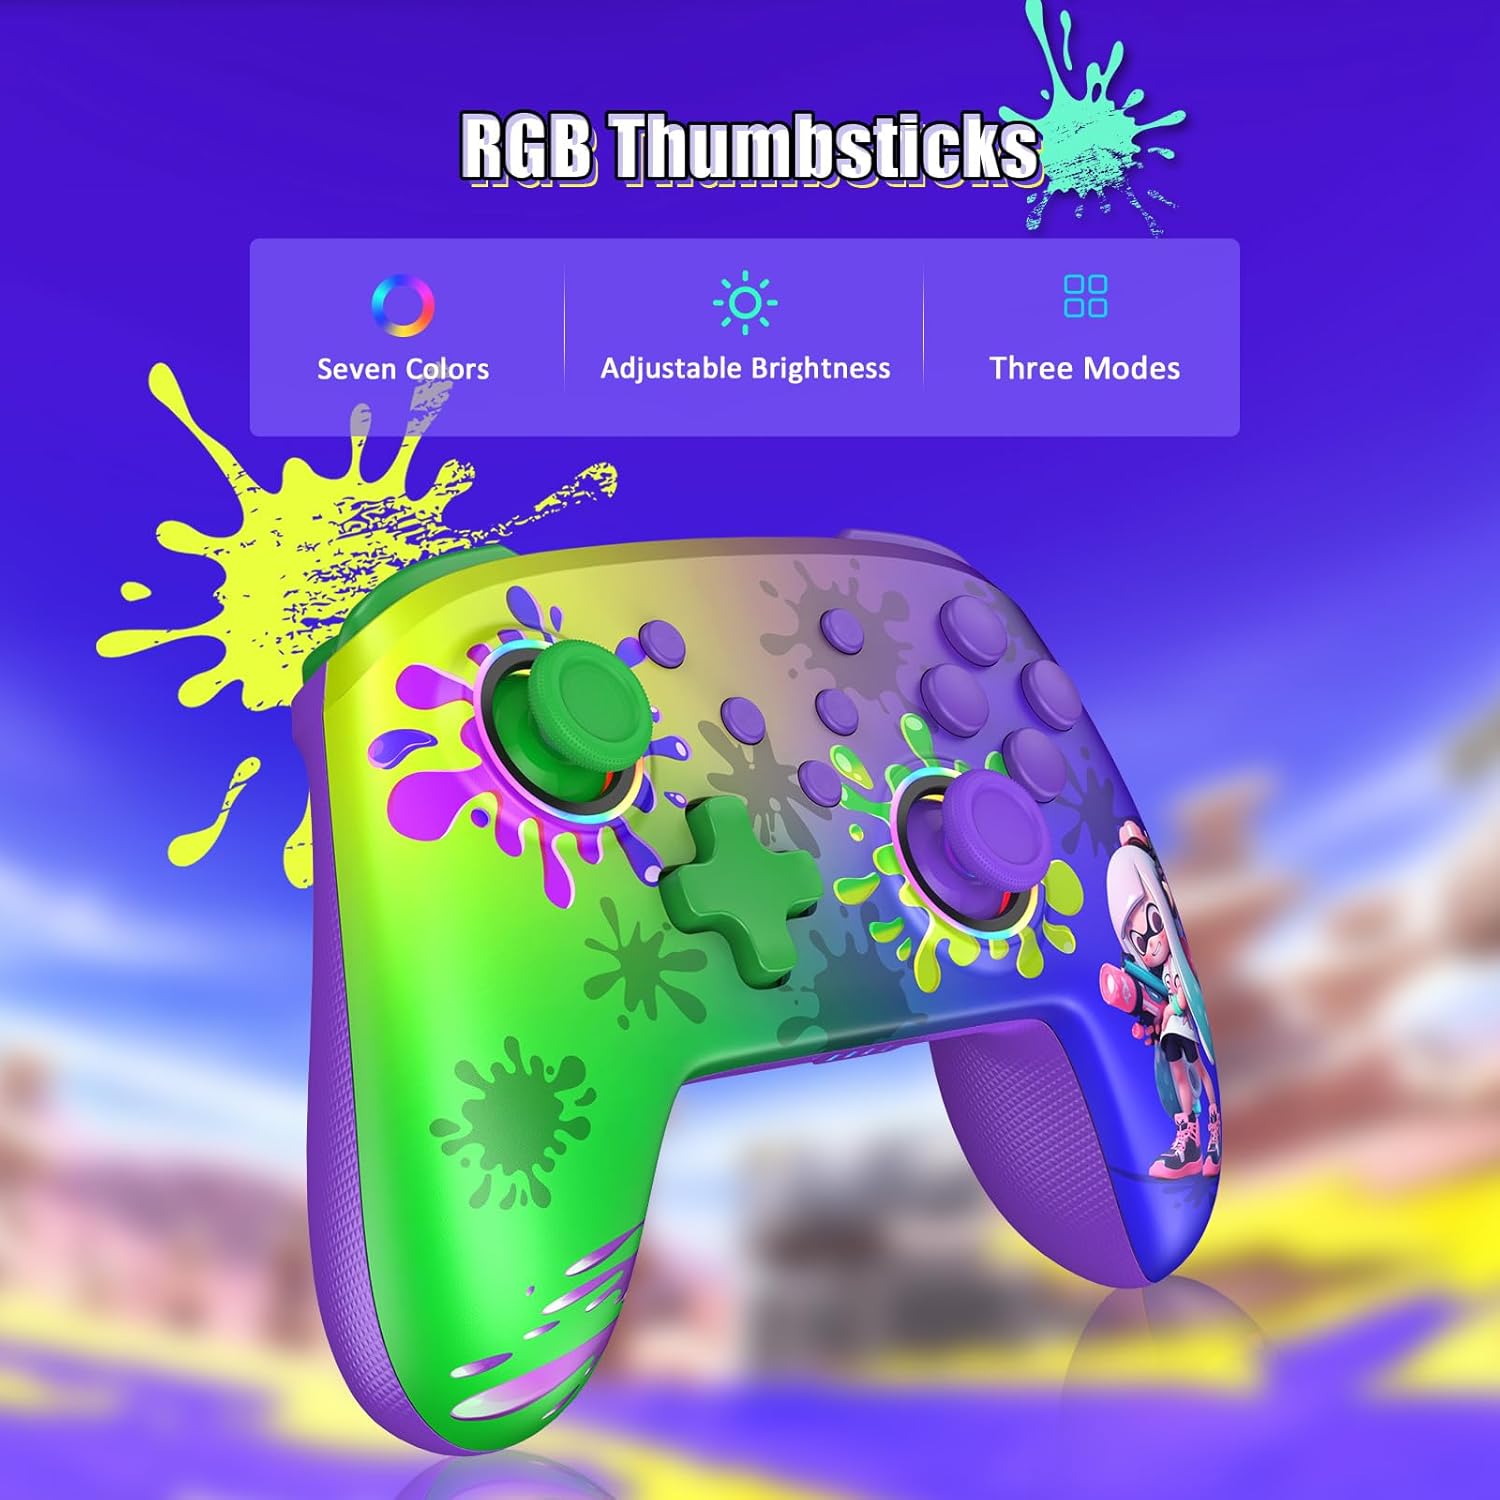
Image: RGB Thumbsticks Features
การซ่อมบำรุง
- การทำความสะอาด: ใช้ผ้านุ่มและแห้งทำความสะอาดคอนโทรลเลอร์ หลีกเลี่ยงการใช้สารเคมีรุนแรงหรือวัสดุที่มีฤทธิ์กัดกร่อน
- พื้นที่จัดเก็บ: เก็บตัวควบคุมไว้ในที่แห้งและเย็น ห่างจากแสงแดดโดยตรงและอุณหภูมิที่สูงหรือต่ำมาก
- การดูแลแบตเตอรี่ เพื่อยืดอายุการใช้งานแบตเตอรี่ ควรหลีกเลี่ยงการปล่อยประจุแบตเตอรี่จนหมดบ่อยๆ ควรชาร์จเป็นประจำ แม้จะไม่ได้ใช้งานบ่อยก็ตาม
- หลีกเลี่ยงการหยด: ปกป้องตัวควบคุมจากการตกหล่นและแรงกระแทกซึ่งอาจทำให้ส่วนประกอบภายในเสียหายได้
การแก้ไขปัญหา
- ตัวควบคุมไม่เชื่อมต่อ:
- ตรวจสอบให้แน่ใจว่าได้ชาร์จคอนโทรลเลอร์แล้ว
- ตรวจสอบให้แน่ใจว่าได้เปิดใช้งานบลูทูธบน Nintendo Switch ของคุณแล้ว
- Attempt to re-pair the controller by following the "Wireless Connection" steps.
- Try connecting the controller via USB cable to confirm it powers on.
- ปุ่มกดตอบสนองช้าหรือไม่มีการตอบสนอง:
- Ensure there are no obstructions between the controller and the console.
- ตรวจสอบสัญญาณรบกวนจากอุปกรณ์ไร้สายอื่นๆ
- Update the controller's firmware if an update is available (check the NexiGo official webเว็บไซต์).
- การสั่นสะเทือนไม่ทำงาน:
- ตรวจสอบการตั้งค่าในเกมเพื่อให้แน่ใจว่าได้เปิดใช้งานการสั่นสะเทือนแล้ว
- Adjust the vibration intensity using the controller's dedicated function.
- Motion Controls Inaccurate:
- Calibrate the gyroscope in the Nintendo Switch system settings.
- Ensure the controller is held steadily during calibration.
ข้อมูลจำเพาะ
| หมายเลขรุ่น | NS32-A9 |
| ขนาดสินค้า | 6.14 x 4.02 x 2.56 นิ้ว |
| น้ำหนักสินค้า | 10.6 ออนซ์ |
| การเชื่อมต่อ | บลูทูธ |
| อายุการใช้งานแบตเตอรี่ | สูงสุด 10 ชั่วโมง (โดยประมาณ) |
| เวลาในการชาร์จ | 2-3 ชั่วโมง (โดยประมาณ) |
| ผู้ผลิต | Nextight INC |
การรับประกันและการสนับสนุน
NexiGo products are designed for reliability and performance. For any issues or questions, please refer to the following support information:
- การสนับสนุนลูกค้า: NexiGo offers quick response customer support, typically within 24 hours.
- นโยบายการคืนสินค้า: Products can be returned within 30 days for an exchange or refund, subject to terms and conditions.
- การสนับสนุนด้านเทคนิค: Lifetime technical customer support is provided for your NexiGo product.
- For detailed warranty information and to contact support, please visit the official NexiGo webเว็บไซต์หรือดูบัตรรับประกันที่รวมอยู่ในผลิตภัณฑ์ของคุณ