
การแนะนำ
This manual provides detailed instructions for the GIGABYTE X870E AORUS ELITE X3D ICE AMD AM5 ATX Motherboard. It covers essential information for installation, operation, maintenance, and troubleshooting to ensure optimal performance and longevity of your system. The X870E AORUS ELITE X3D ICE supports AMD Ryzen 9000, 8000, and 7000 Series Processors, features DDR5 memory support, 16+2+2 power phase design, four M.2 slots, PCIe 5.0, WIFI7, and 5 GbE connectivity.
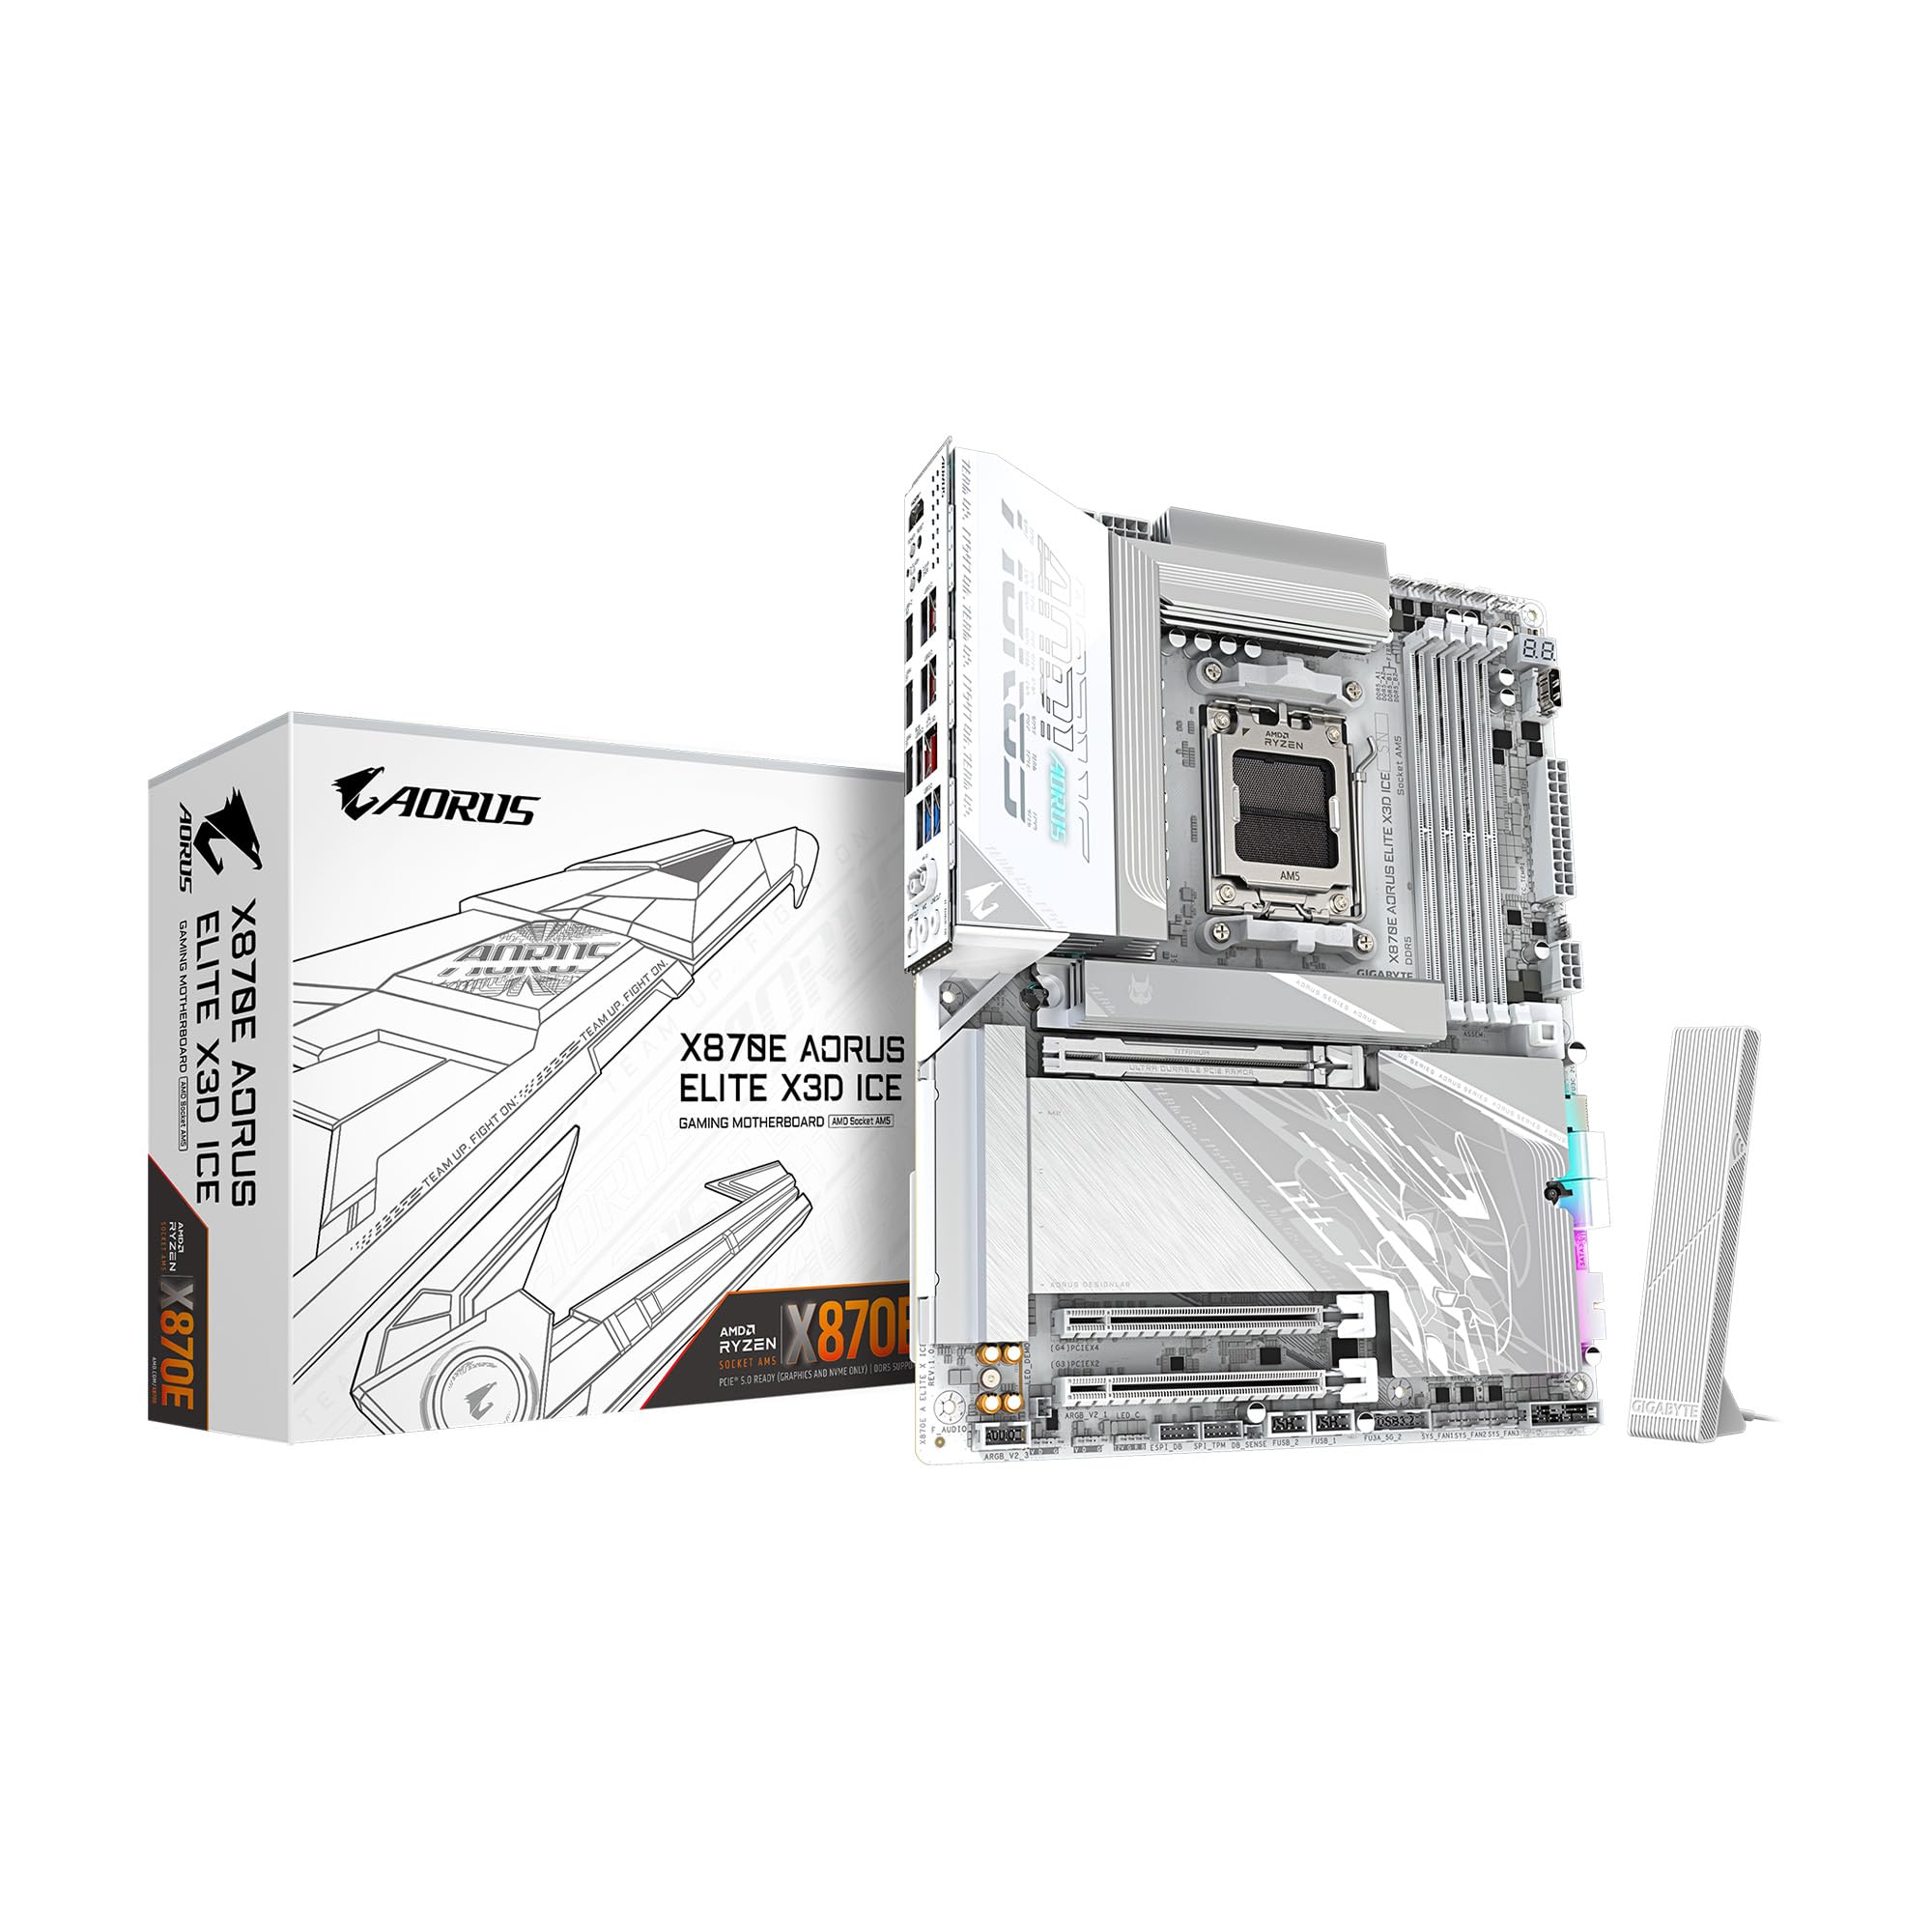
Figure 1: GIGABYTE X870E AORUS ELITE X3D ICE Motherboard, top-down view.
การติดตั้งและการตั้งค่า
การติดตั้งอย่างถูกต้องมีความสำคัญอย่างยิ่งต่อเสถียรภาพและประสิทธิภาพของระบบของคุณ โปรดปฏิบัติตามขั้นตอนเหล่านี้อย่างระมัดระวัง
1. การเตรียมเมนบอร์ด
- Unpack the motherboard from its anti-static bag.
- Place the motherboard on a non-conductive surface, such as the anti-static bag itself or a cardboard box.
Video 1: Official unboxing of the X870E AORUS ELITE X3D ICE motherboard, showing the contents and initial handling.
2. การติดตั้ง CPU (ซ็อกเก็ต AMD AM5)
- ค้นหาซ็อกเก็ต CPU AM5 บนเมนบอร์ด
- Open the CPU retention mechanism by pushing down and away from the socket.
- วางซีพียูให้ตรงกับซ็อกเก็ตอย่างระมัดระวัง ตรวจสอบให้แน่ใจว่าสามเหลี่ยมสีทองบนซีพียูตรงกับสามเหลี่ยมบนซ็อกเก็ต อย่าฝืนดันซีพียูเข้าไปในตำแหน่ง
- ปิดกลไกการยึดเพื่อรักษาความปลอดภัยให้กับ CPU

รูปที่ 2: ระยะใกล้ view of the AMD AM5 CPU socket on the motherboard, ready for processor installation.
3. การติดตั้งหน่วยความจำ (RAM)
- เปิดคลิปที่ปลายทั้งสองด้านของสล็อต DIMM DDR5
- จัดตำแหน่งรอยบากบนโมดูลหน่วยความจำ DDR5 ให้ตรงกับคีย์ในช่อง DIMM
- ใส่โมดูลหน่วยความจำเข้าไปในช่องให้แน่นจนกระทั่งตัวล็อกเข้าที่ ตรวจสอบให้แน่ใจว่าตัวล็อกทั้งสองปิดสนิทแล้ว
- For dual-channel configuration, refer to the motherboard manual for specific slot pairing.

รูปที่ 3: View of the DDR5 memory slots on the motherboard, indicating where RAM modules are installed.
4. การติดตั้ง M.2 SSD
- Locate the M.2 slots on the motherboard. The X870E AORUS ELITE X3D ICE features two PCIe 5.0 M.2 slots and two PCIe 4.0 M.2 slots.
- ถอดฮีทซิงค์ M.2 และสกรูยึด (ถ้ามี) ออก
- ใส่ M.2 SSD เข้าไปในช่องที่มุม
- Push down the M.2 SSD and secure it with the stand-off screw or the M.2 EZ-Latch mechanism.
- ติดตั้งแผ่นระบายความร้อน M.2 กลับเข้าไปใหม่ เพื่อประสิทธิภาพการระบายความร้อนที่ดีที่สุด

Figure 4: Illustration of M.2 SSD installation, highlighting the EZ-Latch mechanism for tool-less setup.
5. การติดตั้งการ์ดจอ (GPU)
- Locate the PCIe Gen5 x16 slot.
- Open the retention clip at the end of the PCIe slot.
- วางการ์ดกราฟิกของคุณให้ตรงกับช่องและกดลงให้แน่นจนกระทั่งล็อคเข้าที่
- ยึดการ์ดกราฟิกเข้ากับเคสพีซีของคุณด้วยสกรู

Figure 5: Close-up of the PCIe EZ-Latch Plus, simplifying graphics card removal and installation.
6. การต่อสายไฟ
- เชื่อมต่อขั้วต่อไฟหลัก ATX 24 พินจากแหล่งจ่ายไฟของคุณเข้ากับเมนบอร์ด
- เชื่อมต่อขั้วต่อไฟ CPU 8 พิน (หรือ 4+4 พิน) เข้ากับเมนบอร์ด
7. แผงด้านหน้าและการเชื่อมต่ออุปกรณ์ต่อพ่วง
- Connect the front panel headers (power switch, reset switch, HDD LED, power LED) according to the motherboard manual.
- เชื่อมต่อพอร์ต USB 2.0, USB 3.2 Gen 1 และ USB 3.2 Gen 2 Type-C ที่แผงด้านหน้า
- Connect SATA drives to the available SATA 6Gb/s ports.
- Attach the WIFI antenna to the rear I/O panel for wireless connectivity.

รูปที่ 6: รายละเอียด view of the rear I/O panel, showing USB ports, Ethernet, audio jacks, and Wi-Fi antenna connectors.
คำแนะนำการใช้งาน
1 การบูตเริ่มต้นและการตั้งค่า BIOS/UEFI
- หลังจากประกอบคอมพิวเตอร์เสร็จแล้ว ให้เชื่อมต่อจอภาพ คีย์บอร์ด และเมาส์
- เปิดระบบของคุณ กดปุ่ม เดล กดปุ่มนี้ระหว่างการบูตเพื่อเข้าสู่การตั้งค่า BIOS/UEFI
- Configure boot order, enable XMP/EXPO for memory, and set up any other necessary system parameters.
- บันทึกการเปลี่ยนแปลงและออกจาก BIOS/UEFI
2. การติดตั้งไดร์เวอร์
- Install your operating system.
- After OS installation, install the latest drivers for your motherboard chipset, graphics card, audio, and network from the GIGABYTE webเว็บไซต์หรือแผ่น DVD/USB สำหรับสนับสนุนที่ให้มา
3. โปรแกรมยูทิลิตี้ของ GIGABYTE
GIGABYTE provides various software utilities to enhance your user experience:
- ศูนย์ควบคุม GIGABYTE (GCC): A unified software platform for managing system performance, RGB lighting, fan speeds, and more.
- โปรแกรมอัปเดต BIOS: For updating the motherboard BIOS from within the operating system.
- ศูนย์รวมแอปพลิเคชัน: Provides access to various GIGABYTE applications and utilities.
การซ่อมบำรุง
การบำรุงรักษาอย่างสม่ำเสมอจะช่วยให้เมนบอร์ดของคุณมีอายุการใช้งานยาวนานและทำงานได้อย่างเสถียร
1. การทำความสะอาด
- ควรทำความสะอาดฝุ่นจากเมนบอร์ดและชิ้นส่วนต่างๆ เป็นระยะ โดยใช้ลมเป่าอัดแรงดันสูง
- โปรดตรวจสอบให้แน่ใจว่าระบบปิดเครื่องและถอดปลั๊กออกก่อนทำความสะอาด
- หลีกเลี่ยงการใช้น้ำยาทำความสะอาดโดยตรงกับส่วนประกอบต่างๆ
2. การอัปเดต BIOS
- ตรวจสอบ GIGABYTE website for the latest BIOS versions.
- BIOS updates can improve compatibility, stability, and performance.
- Follow the instructions provided by GIGABYTE carefully when performing a BIOS update to avoid system damage.
3. การอัปเดตไดรเวอร์
- ตรวจสอบ GIGABYTE เป็นประจำ website for updated drivers for your motherboard.
- Keeping drivers up-to-date can resolve issues and improve system performance.
การแก้ไขปัญหา
หากคุณพบปัญหา โปรดดูขั้นตอนการแก้ไขปัญหาทั่วไปต่อไปนี้:
1. ไม่มีพลังงาน / ไม่สามารถบูตได้
- ตรวจสอบให้แน่ใจว่าสายไฟทั้งหมด (24-pin ATX, 8-pin CPU) เชื่อมต่อแน่นหนาดีแล้ว
- ตรวจสอบว่าแหล่งจ่ายไฟเปิดใช้งานอยู่และทำงานได้อย่างถูกต้อง
- Check front panel connections, especially the power switch.
- ลองบูตเครื่องโดยใช้ส่วนประกอบขั้นต่ำ (ซีพียู, แรม 1 แถว, การ์ดจอ หากไม่มีการ์ดจอออนบอร์ด) เพื่อแยกแ1ยะปัญหา
2. POST Code Errors
- The motherboard may display a POST code on its debug LED. Refer to the GIGABYTE manual for the meaning of specific codes.
- Common codes relate to CPU, RAM, or GPU initialization failures.
3. ความไม่เสถียรของระบบ / การขัดข้อง
- ตรวจสอบให้แน่ใจว่าไดร์เวอร์ทั้งหมดได้รับการอัปเดตแล้ว
- ตรวจสอบอุณหภูมิ CPU และ GPU เพื่อป้องกันความร้อนสูงเกินไป
- Verify RAM stability using memory diagnostic tools.
- Reset BIOS settings to default if overclocking or custom settings are causing issues.
ข้อมูลจำเพาะ
| คุณสมบัติ | ข้อมูลจำเพาะ |
|---|---|
| ยี่ห้อ | กิกะไบต์ |
| ชื่อรุ่น | X870E AORUS ELITE X3D ICE |
| ซ็อคเก็ตซีพียู | LGA 1718 (AMD AM5) |
| โปรเซสเซอร์ที่เข้ากันได้ | AMD Ryzen 9000/8000/7000 ซีรี่ส์ |
| ประเภทชิปเซ็ต | เอเอ็มดี X870E |
| เทคโนโลยีหน่วยความจำ RAM | DDR5 |
| มีช่องหน่วยความจำให้เลือก | 4 |
| ขนาดสูงสุดของหน่วยความจำ RAM | 256GB |
| สล็อต PCIe | 1x PCIe Gen5 x16, 2x PCIe 5.0 M.2, 2x PCIe 4.0 M.2 |
| พอร์ต USB | 2x USB4 Type-C with DP Alt, 1x USB 3.2 Gen 2 Type-C, 5x USB 3.2 Gen 2 Type-A, 3x USB 3.2 Gen 1 Type-A, 65W Front USB-C |
| อีเธอร์เน็ต | 5 GbE LAN |
| การเชื่อมต่อแบบไร้สาย | ไวไฟ7 |
| Power Phase | Digital Twin 16+2+2 |
| ฟอร์มแฟกเตอร์ | เอทีเอ็กซ์ |
| ขนาด (กว้าง x ยาว x สูง) | ยาว 12.01 นิ้ว x กว้าง 9.61 นิ้ว x สูง 1.75 นิ้ว |
การรับประกันและการสนับสนุน
The GIGABYTE X870E AORUS ELITE X3D ICE Motherboard comes with a การรับประกันจากผู้ผลิต 5 ปี. For technical support, driver downloads, BIOS updates, and further assistance, please visit the official GIGABYTE website. You can also refer to the multilingual installation guide included in the product packaging for additional details.
วิดีโอ 2: 360 องศา view of the X870E AORUS ELITE X3D ICE motherboard, showcasinก. การออกแบบและคุณสมบัติ