
1. บทนำ
This manual provides detailed instructions for the setup, operation, and maintenance of your THINKYA Mini DVD Player, Model B0FMRRN8M4. Please read this manual thoroughly before using the device to ensure proper functionality and to prevent damage.
The THINKYA Mini DVD Player is a compact, all-region free device designed for versatile media playback. It supports various disc formats and offers both HDMI and AV outputs for broad compatibility with televisions and projectors. Key features include 1080P HD output, a last memory function, and USB playback capability.
2. เนื้อหาบรรจุภัณฑ์
ตรวจสอบว่ารายการทั้งหมดที่ระบุไว้ด้านล่างนี้รวมอยู่ในแพ็คเกจของคุณ:
- 1 x THINKYA Mini DVD Player
- 1 x รีโมทคอนโทรล
- สาย HDMI 1 เส้น
- 1 x AV Cable (RCA)
- อะแดปเตอร์ 1 x DC
- สายชาร์จ (USB) 1 เส้น
- 1 x คู่มือผู้ใช้ (เอกสารนี้)

Image: The THINKYA Mini DVD Player shown with its remote control, HDMI cable, AV cable, USB charging cable, and power adapter.
3. ข้อมูลด้านความปลอดภัย
- ห้ามให้อุปกรณ์โดนฝน ความชื้น หรืออุณหภูมิที่สูงหรือต่ำเกินไป
- Ensure proper ventilation around the player to prevent overheating.
- ใช้เฉพาะอะแดปเตอร์จ่ายไฟและสายเคเบิลที่ให้มาเท่านั้น
- อย่าพยายามเปิดหรือซ่อมแซมอุปกรณ์ด้วยตนเอง แนะนำให้ส่งช่างผู้ชำนาญเข้ารับบริการทั้งหมด
- เก็บอุปกรณ์ให้ห่างจากสนามแม่เหล็กแรงสูง
4. สินค้าหมดview
4.1 เค้าโครงอุปกรณ์
The THINKYA Mini DVD Player features a compact design with essential controls and ports for ease of use.
ภาพ: ภาพระยะใกล้ view of the DVD player, highlighting its compact size and top-loading disc mechanism.
4.2 มิติ
- ความยาว: ประมาณ 8.7 นิ้ว
- ความกว้าง: ประมาณ 5.9 นิ้ว
- ความสูง: ประมาณ 1.2 นิ้ว
- น้ำหนัก: ประมาณ 1.79 ปอนด์

Image: The compact DVD player positioned on a media console, demonstrating its small footprint next to a television.
5. การตั้งค่า
5.1 การเชื่อมต่อกับอุปกรณ์แสดงผล
The DVD player offers two primary connection methods: HDMI and AV (RCA).
5.1.1 HDMI Connection (Recommended for Smart TVs, 4K TVs, Projectors)
- Connect one end of the provided HDMI cable to the HDMI OUT port on the DVD player.
- Connect the other end of the HDMI cable to an available HDMI input port on your TV, projector, or monitor.
- Select the corresponding HDMI input on your display device using its remote control.
5.1.2 AV (RCA) Connection (For older TVs or alternative connections)
- Connect the red, white, and yellow plugs of the provided AV cable to the corresponding color-coded AV OUT ports on the DVD player.
- Connect the other end of the AV cable to the matching color-coded AV IN ports on your TV.
- Select the AV input on your display device using its remote control.

Image: Visual guide demonstrating how to connect the DVD player to a display using either HDMI or AV cables.
5.2 การเปิดเครื่องอุปกรณ์
- Connect the USB charging cable to the DC IN port on the DVD player.
- Connect the other end of the USB charging cable to the provided DC adapter.
- Plug the DC adapter into a standard wall outlet.
The player can also be powered via a power bank or car charger using the USB charging cable (not included).

Image: The DVD player connected to various power sources, including a wall outlet, a power bank, and a car charger.
5.3 ตั้งค่าการควบคุมระยะไกล
The remote control requires two AAA batteries (not included). Insert them according to the polarity markings inside the battery compartment.
6. คู่มือการใช้งาน
6.1 การเล่นแผ่น
- กดปุ่ม พลัง button on the player or remote to turn on the device.
- Gently lift the disc cover.
- Place a compatible disc (CD, DVD, DVD-R/+R, DVD-/+RW, CD-R/-RW, VCD, SVCD, Discs recorded by DVD Recorder) onto the spindle, ensuring it is seated correctly.
- ปิดฝาครอบแผ่นดิสก์ เครื่องเล่นจะเริ่มอ่านแผ่นดิสก์โดยอัตโนมัติ
- ใช้รีโมทคอนโทรลสำหรับฟังก์ชั่นการเล่นต่างๆ เช่น เล่น/หยุดชั่วคราว, หยุด, กรอไปข้างหน้า/ย้อนกลับ, และ แทร็กถัดไป/ก่อนหน้า.
Important: Blu-ray discs are NOT supported by this player.
This player is All Region Free, allowing playback of DVDs from any region worldwide.

Image: The DVD player with a disc inserted, showing text indicating its 'All Region Free' capability and a list of supported formats including CD, DVD, VCD, SVCD, and MP3.
6.2 การเล่น USB
- Insert a USB flash drive (up to 32GB, formatted as FAT) into the USB port on the side of the DVD player.
- กดปุ่ม ดีวีดี/USB button on the player or remote to switch to USB input.
- Use the remote control's navigation buttons to browse and select media files (e.g., .MP3, .WAV, .AVI) from the USB drive.
- กด เล่น/หยุดชั่วคราว เพื่อเริ่มการเล่น
6.3 Last Memory Function
The player features a 'Last Memory' function. If the player is powered off or playback is stopped, it will resume from the exact point where it left off when powered on again. This applies to both disc and USB playback.

Image: A visual representation of the 'Last Memory Function', depicting a scene playing, then the device powering off, and finally resuming playback from the same point when powered back on.
6.4 Audio/Video Settings
The player outputs video in 1080P HD resolution via HDMI. It supports both PAL and NTSC video systems, automatically adjusting to the disc's format.
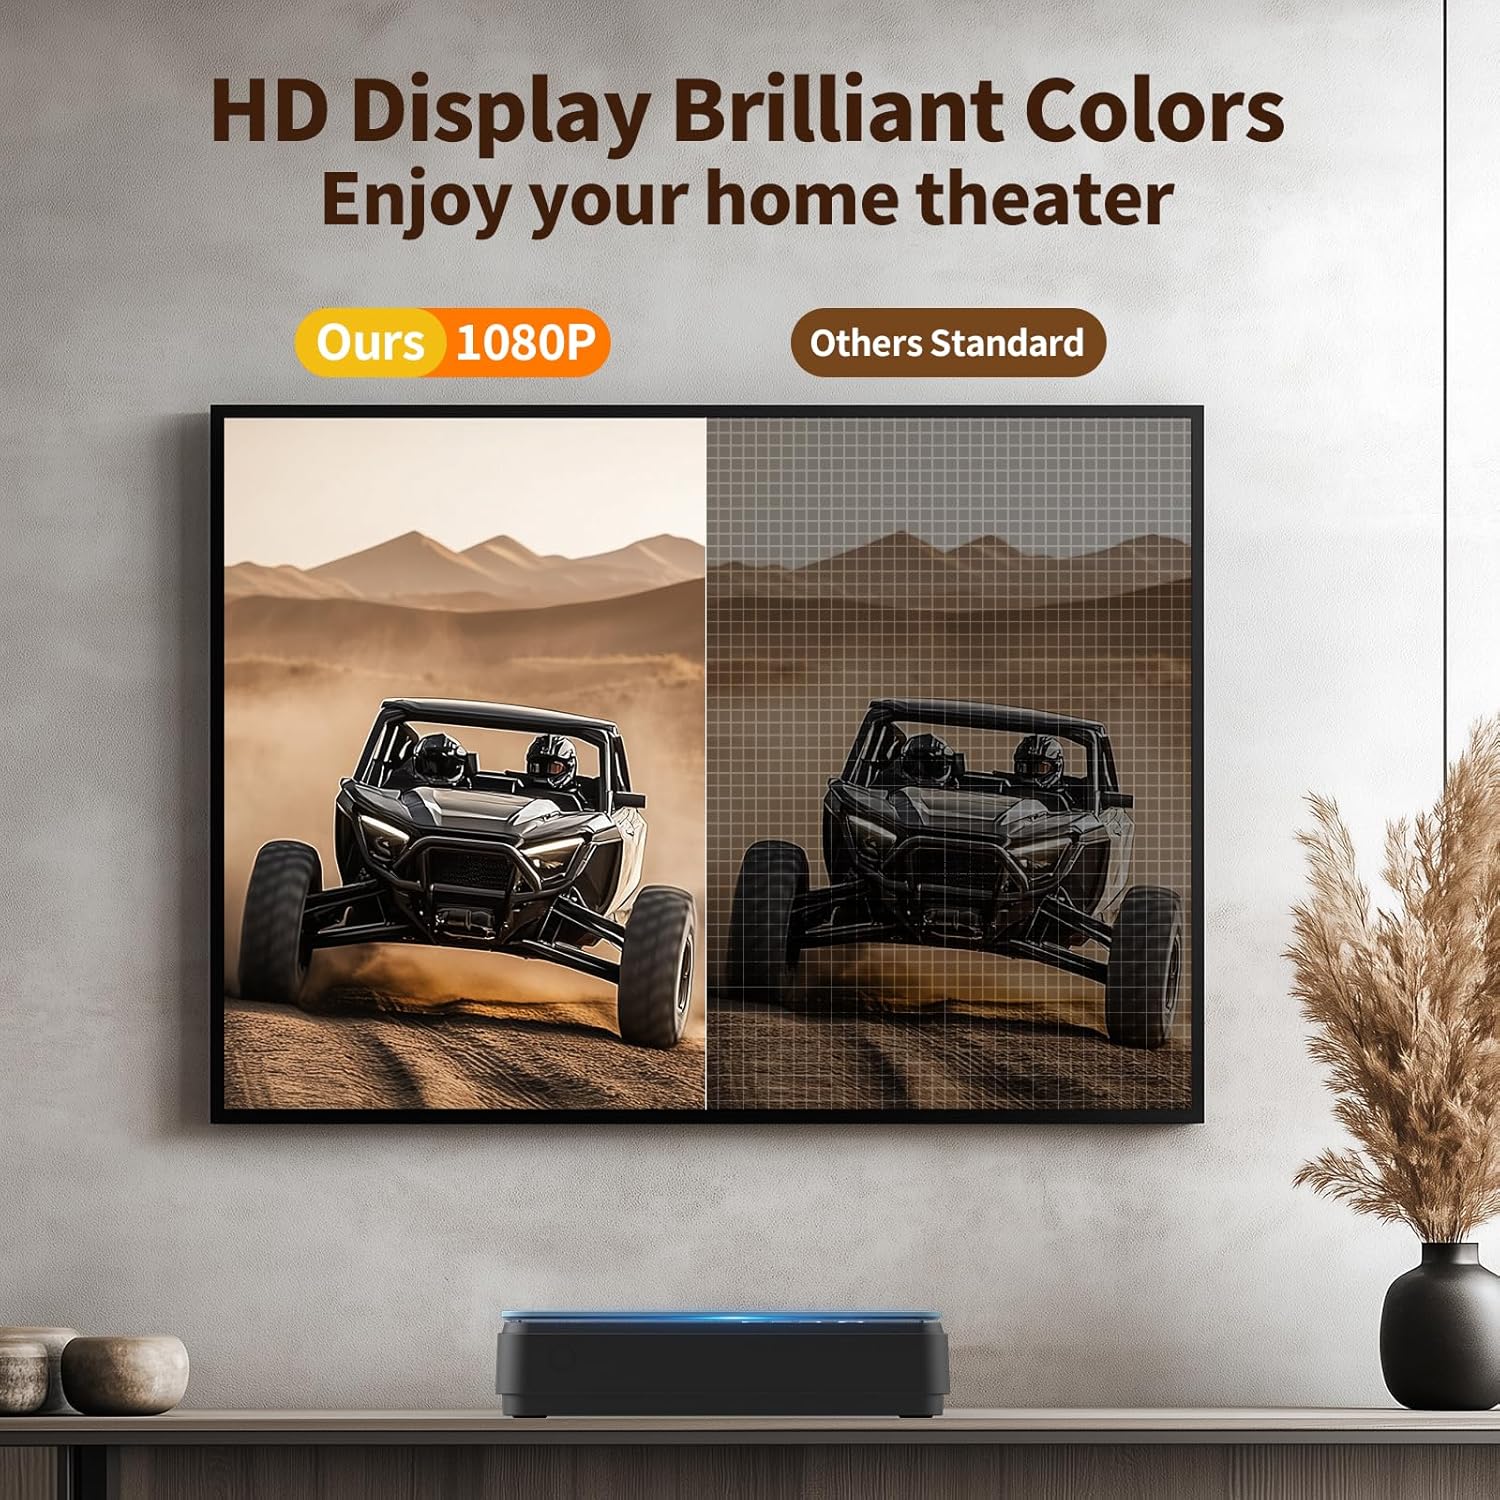
Image: A side-by-side comparison showing the enhanced clarity and vibrant colors of a 1080P HD display compared to a standard definition display.
7. การบำรุงรักษา
7.1 การทำความสะอาดเครื่องเล่น
- เช็ดทำความสะอาดภายนอกเครื่องเล่นด้วยผ้าแห้งนุ่มๆ
- Do not use liquid cleaners or abrasive materials, as they may damage the surface.
- For the disc lens, use a specialized DVD/CD lens cleaning disc if necessary.
7.2 การดูแลแผ่นดิสก์
- จับแผ่นดิสก์โดยจับที่ขอบเพื่อหลีกเลี่ยงรอยนิ้วมือและรอยขีดข่วน
- เก็บแผ่นดิสก์ไว้ในกล่องเมื่อไม่ใช้งาน
- ทำความสะอาดแผ่นดิสก์ด้วยผ้าเนื้อนุ่มที่ไม่เป็นขุย โดยเช็ดจากตรงกลางออกไปด้านนอก
8 การแก้ไขปัญหา
หากคุณพบปัญหาเกี่ยวกับเครื่องเล่นดีวีดี โปรดดูปัญหาและวิธีแก้ไขที่พบบ่อยต่อไปนี้:
| ปัญหา | สาเหตุที่เป็นไปได้ | สารละลาย |
|---|---|---|
| ไม่มีไฟฟ้า | ไม่ได้เสียบสายไฟ ปลั๊กไฟชำรุด | Ensure power cable is securely connected; try a different outlet. |
| ไม่มีภาพ/เสียง | Incorrect input selected on TV; loose HDMI/AV cables | Select correct input on TV; check cable connections. |
| แผ่นไม่เล่น | Disc is dirty/scratched; unsupported disc format; disc inserted incorrectly | Clean disc; ensure disc is compatible (no Blu-ray); reinsert disc correctly. The player features การแก้ไขข้อผิดพลาด for minor disc imperfections. |
| รีโมตคอนโทรลไม่ทำงาน | Batteries low/incorrectly inserted; obstruction between remote and player | Replace batteries (AAA); ensure clear line of sight to the player's front panel. |
| Playback skipping/freezing | Disc is damaged; player is unstable | Try a different disc; ensure player is on a stable surface. The player has การป้องกันแรงกระแทก. |
The player's ระบบตัดเสียงรบกวน feature helps ensure quiet operation during disc loading.
9. ข้อมูลจำเพาะ
| คุณสมบัติ | ข้อมูลจำเพาะ |
|---|---|
| ยี่ห้อ | ธิงเกีย |
| หมายเลขรุ่น | B0FMRRN8M4 |
| ประเภทสื่อที่รองรับ | CD, DVD, DVD-R/+R, DVD-/+RW, CD-R/-RW, VCD, SVCD, Discs recorded by DVD Recorder (Blu-ray NOT supported) |
| ปณิธาน | 1920x1080 (1080P HD) |
| ประเภทขั้วต่อ | HDMI, RCA (AV) |
| เทคโนโลยีการเชื่อมต่อ | HDMI |
| คุณสมบัติพิเศษ | Compact, All Region Free, Last Memory Function, USB Playback, Anti-shock, Error Correction, Noise Cancellation |
| น้ำหนักสินค้า | 1.79 ปอนด์ |
| ขนาดแพ็คเกจ | 11.97 x 11.22 x 4.53 นิ้ว |
| ยูพีซี | 653998773199 |
| ผู้ผลิต | ธิงเกีย |
10. การรับประกันและการสนับสนุน
For information regarding the product warranty, please refer to the warranty card included with your purchase or contact the seller directly. Specific warranty terms and conditions may vary.
If you require further assistance or have questions not covered in this manual, please contact THINKYA customer support through the retailer's platform or the official THINKYA webเว็บไซต์ (ถ้ามี)