1. สินค้าหมดview
The Dpofirs Small Portable Video Projector is a compact and versatile device designed for various entertainment and presentation needs. With its small footprint, it is easy to transport and set up, offering a projection size ranging from 14 to 100 inches. It supports a resolution of 1920 x 1080p and features 100Ansi 6000lm brightness, manual focus, and built-in stereo speakers.
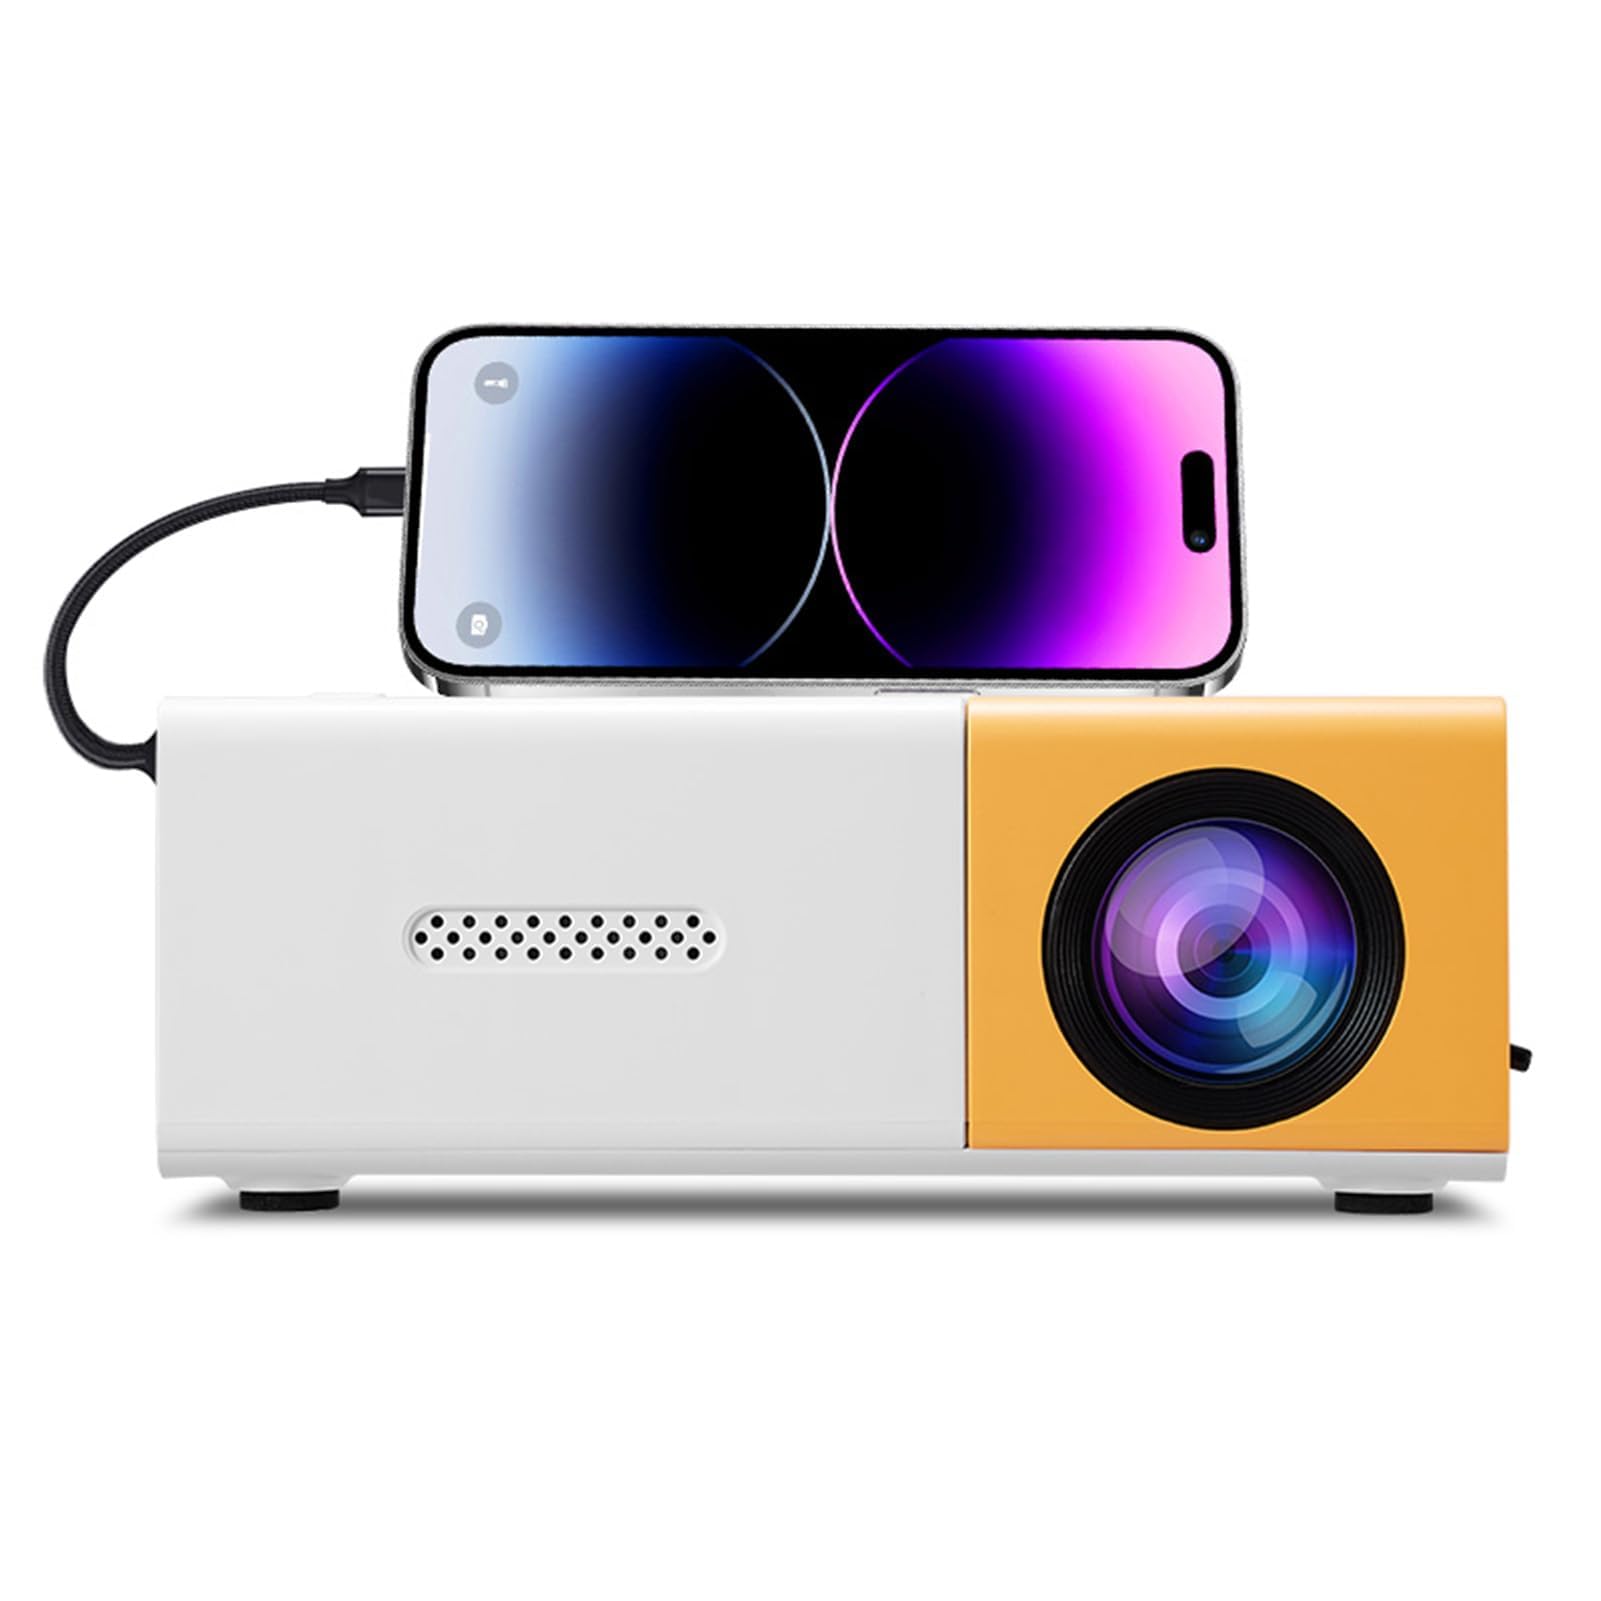
Image 1.1: The Dpofirs Small Portable Video Projector, showcasing การออกแบบที่กะทัดรัด

Image 1.2: The projector held in a hand, illustrating its compact and portable dimensions (5 x 3.4 x 1.9 inches).
2. ข้อมูลด้านความปลอดภัย
- โปรดอ่านคำแนะนำทั้งหมดก่อนใช้งานโปรเจคเตอร์
- อย่ามองตรงเข้าไปในเลนส์โปรเจ็กเตอร์เมื่อลamp อยู่บนแล้ว
- เก็บโปรเจ็กเตอร์ให้ห่างจากน้ำหรือของเหลวอื่นๆ
- ต้องแน่ใจว่ามีการระบายอากาศที่เหมาะสมเพื่อป้องกันความร้อนสูงเกินไป อย่าปิดกั้นช่องระบายอากาศ
- Use only the power adapter specified for this device (Type C, 5V 2A).
- อย่าพยายามถอดประกอบหรือซ่อมโปรเจคเตอร์ด้วยตนเอง โปรดติดต่อช่างผู้ชำนาญการ
- เก็บให้พ้นจากมือเด็ก
3. เนื้อหาบรรจุภัณฑ์
กรุณาตรวจสอบสิ่งของภายในกล่องเมื่อแกะกล่อง หากมีสินค้าใดสูญหายหรือเสียหาย โปรดติดต่อตัวแทนจำหน่ายของคุณ
- Dpofirs Small Portable Video Projector
- รีโมทคอนโทรล
- สายไฟ (USB Type-C)
- คู่มือการใช้งาน
4. Product Display and Controls
4.1 Projector Ports and Buttons

ภาพที่ 4.1: ด้านหน้าและด้านหลัง view of the projector with labeled ports and control buttons.
- ปุ่มเปิด/ปิด: อยู่บนแผงด้านบน
- Left Click / Right Click / OK Buttons: Navigation buttons on the top panel.
- Signal Source Button: เพื่อเลือกแหล่งสัญญาณเข้า
- ปุ่มย้อนกลับ: เพื่อกลับเข้าสู่เมนู
- อินเทอร์เฟซ AV: For analog audio/video input.
- Micro USB (5V 2A) Power Interface: สำหรับเชื่อมต่อสายไฟ
- อินเทอร์เฟซ USB: สำหรับเชื่อมต่ออุปกรณ์ USB (เช่น แฟลชไดรฟ์)
- แหล่งจ่ายไฟ DC: (Note: Description mentions Type C, image shows DC. Use Type C as per description).
- High Definition Interface (HDMI): For connecting devices via HDMI.
4.2 ฟังก์ชั่นการควบคุมระยะไกล

Image 4.2: Layout of the remote control with labeled buttons.
- Open Key (Power): เปิดหรือปิดโปรเจ็กเตอร์
- Source Key: เลือกแหล่งสัญญาณเข้า
- ปิดเสียง: ปิดเสียงหรือเปิดเสียง
- Directional Keys (Up, Down, Left, Right): นำทางไปยังเมนูต่างๆ
- ปุ่มตกลง: ยืนยันการเลือก
- Volume Down / Volume Increase: ปรับระดับเสียง
- ปุ่มการตั้งค่า: Accesses the projector settings menu.
- คีย์กลับ: กลับไปยังเมนูก่อนหน้า
- ปุ่มเมนู: เปิดเมนูหลัก
5. คู่มือการติดตั้ง
5.1 การเชื่อมต่อสายไฟ
- Connect the provided USB Type-C power cable to the Micro USB (5V 2A) Power Interface on the projector.
- Connect the other end of the cable to a compatible 5V 2A power adapter (not always included) or a power bank.

Image 5.1: The projector can be powered by a power bank (5V 2A minimum) for portable use.
5.2 ตำแหน่งและการกำหนดขนาดการฉายภาพ
Position the projector on a stable, flat surface. The projection distance determines the screen size. The projector can project images from 14 to 100 inches diagonally.
- เพื่อประสิทธิภาพที่ดีที่สุด viewing experience, a playback size of 20-60 inches is recommended.
- This corresponds to a projection distance of approximately 0.8m to 1.6m.

Image 5.2: Recommended projection distances for various screen sizes (e.g., 0.8m for 24 inches, 1.6m for 47 inches).

Image 5.3: The projector can achieve large screen sizes up to 100 inches, with examples shown for 24, 35, 47, and 152 inches (note: 152 inches may exceed stated maximum of 100 inches).
5.3 การปรับโฟกัส
The projector features manual focus. Before turning on the projector or if the image appears blurry:
- Locate the focus ring or knob near the lens.
- Rotate the focus ring until the projected image becomes clear and sharp.
5.4 การแก้ไขคีย์สโตน
The projector supports automatic vertical keystone correction. If the image appears trapezoidal (wider at the top or bottom):
- The projector automatically corrects vertical distortion (up and down).
- For side projection or horizontal correction, access the settings menu to make manual adjustments.
6. คู่มือการใช้งาน
6.1 เปิด/ปิดเครื่อง
- การเปิดเครื่อง: Press the Power On/Off button on the projector or the 'Open Key' on the remote control.
- วิธีปิดเครื่อง: Press the Power On/Off button on the projector or the 'Open Key' on the remote control again.
6.2 การเลือกแหล่งที่มาของอินพุต
โปรเจ็กเตอร์รองรับแหล่งอินพุตหลายแหล่ง:
- ช่องต่อ HDMI: Connect laptops, gaming consoles, streaming sticks, etc., via the High Definition Interface.
- ยูเอสบี: Connect USB flash drives to play media fileโดยตรงเลย
- เอวี: Connect older devices using the AV interface.
- มิเรอร์หน้าจอ: Supports wired and wireless screen mirroring for Android devices.
To select an input source, press the 'Signal Source' button on the projector or the 'Source Key' on the remote control and navigate to your desired input.
6.3 Navigation and Settings
- Use the directional keys (Up, Down, Left, Right) on the projector or remote to navigate through menus.
- กดปุ่ม 'ตกลง' เพื่อยืนยันการเลือก
- Press the 'Return' button to go back to the previous screen or menu.
- Press the 'Settings Key' on the remote to access advanced projector settings, including picture, sound, and system options.
6.4 การควบคุมระดับเสียง
Adjust the audio volume using the 'Volume Down' and 'Volume Increase' buttons on the remote control.
6.5 สถานการณ์การสมัคร
The projector is suitable for a variety of uses:
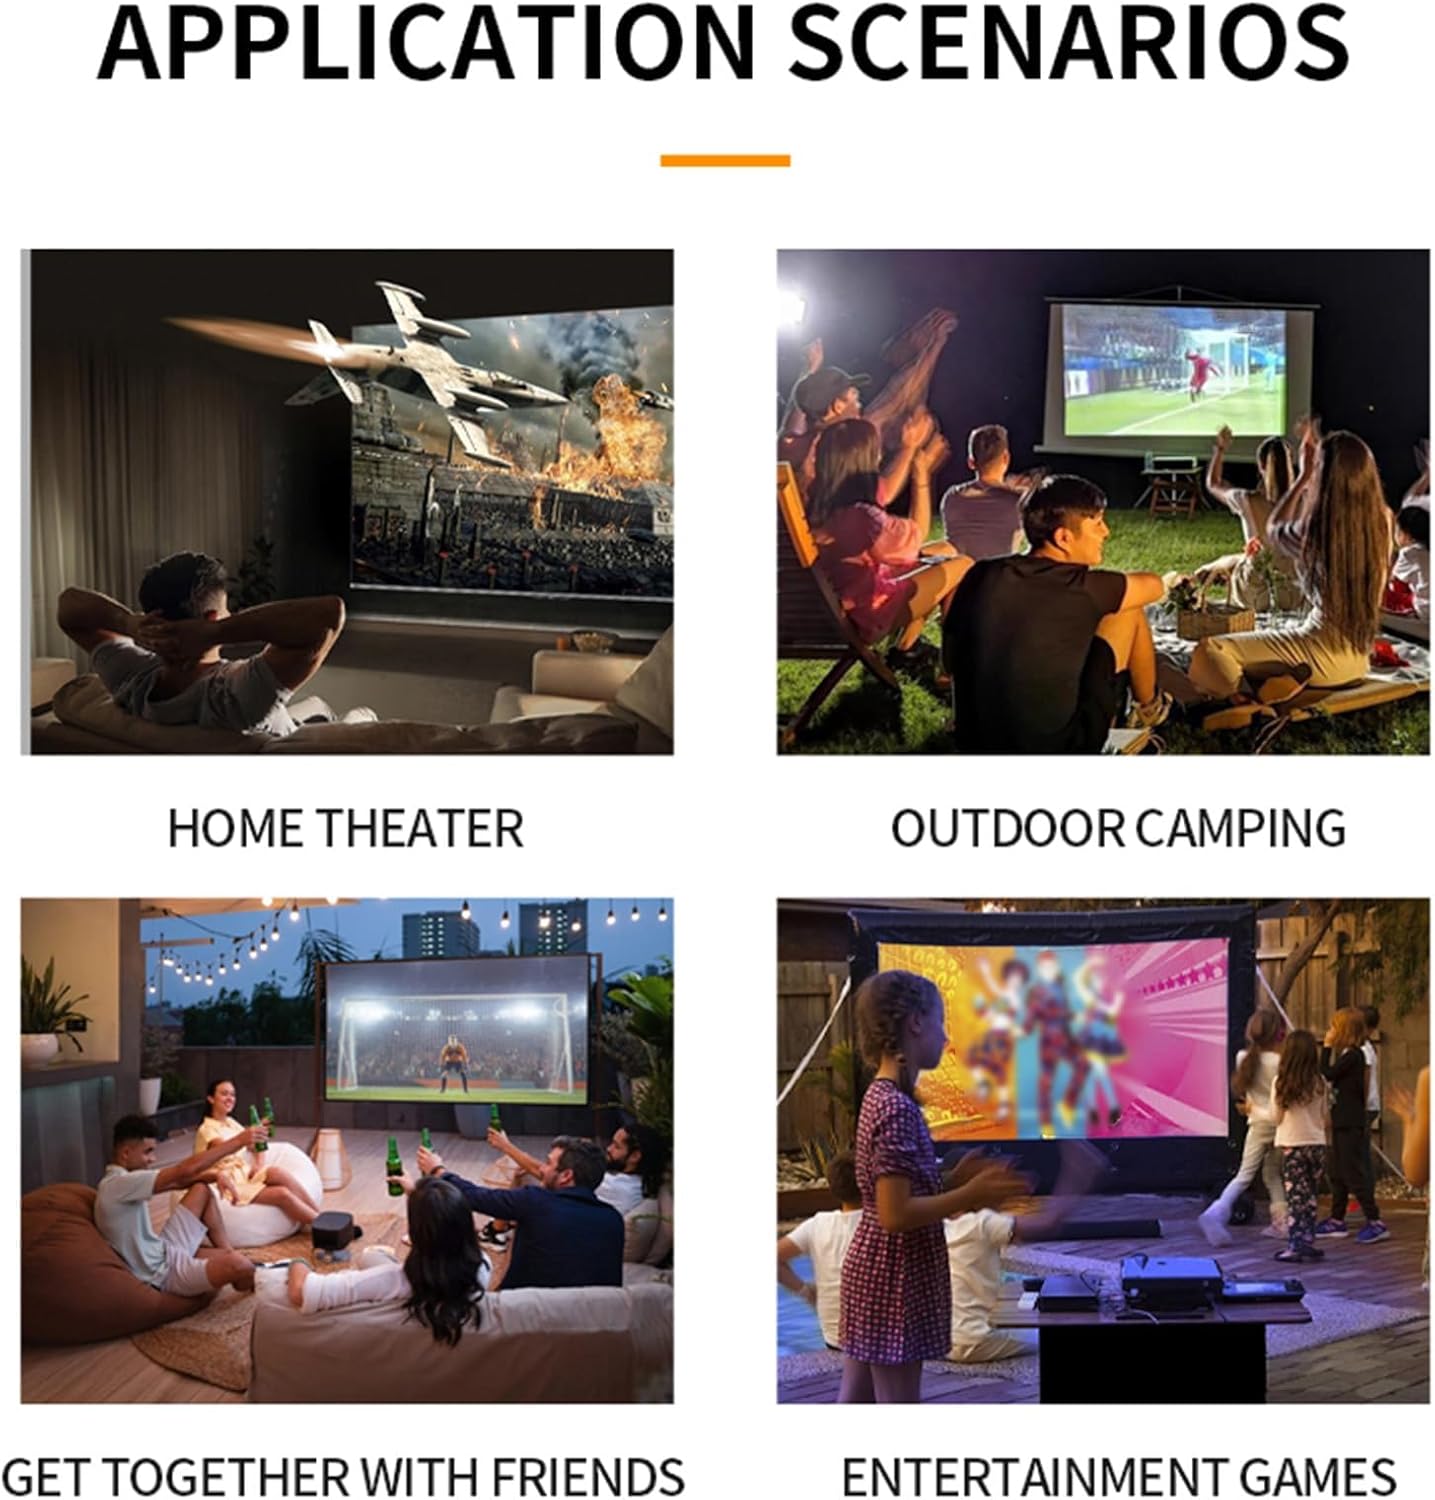
ภาพที่ 6.1: อดีตamples of projector use in various settings including home theater, outdoor camping, social gatherings, and gaming.
- โฮมเธียเตอร์ : Enjoy movies and TV shows on a large screen.
- กลางแจ้งคampการลง: Portable design allows for outdoor entertainment.
- Get-togethers with Friends: Share content or play games with a group.
- Entertainment Games: Connect gaming consoles for an immersive experience.
7. การบำรุงรักษา
- การทำความสะอาดเลนส์: ใช้ผ้าเนื้อนุ่ม ปราศจากขน และออกแบบมาสำหรับเลนส์แว่นตาโดยเฉพาะ ห้ามใช้สารทำความสะอาดหรือผ้าที่มีฤทธิ์กัดกร่อน
- การทำความสะอาด Casing: เช็ดภายนอกเครื่องฉายภาพด้วยผ้านุ่มและแห้ง สำหรับคราบสกปรกฝังแน่น ให้ใช้ผ้านุ่มๆ เช็ดเบาๆamp ผ้าแล้วเช็ดให้แห้งสนิท
- การระบายอากาศ : Ensure the ventilation openings are clear of dust and debris to maintain optimal cooling. Use a soft brush or compressed air to gently clean them.
- พื้นที่จัดเก็บ: เมื่อไม่ได้ใช้งานเป็นเวลานาน ควรเก็บโปรเจ็กเตอร์ไว้ในที่แห้งและเย็น หลีกเลี่ยงแสงแดดโดยตรงและอุณหภูมิที่สูงหรือต่ำเกินไป
8 การแก้ไขปัญหา
8.1 ไม่มีภาพหรือภาพมีคุณภาพต่ำ
- ตรวจสอบพลังงาน: ตรวจสอบให้แน่ใจว่าได้ต่อโปรเจ็กเตอร์เข้ากับแหล่งจ่ายไฟอย่างถูกต้องและเปิดใช้งานแล้ว
- แหล่งสัญญาณเข้า: Verify that the correct input source (HDMI, USB, AV) is selected.
- การปรับโฟกัส: Manually adjust the focus ring until the image is clear.
- การแก้ไขคีย์สโตน: Adjust keystone settings if the image is distorted.
- การเชื่อมต่อสายเคเบิล: Ensure all video cables are securely connected. Try a different cable if possible.
- เอาท์พุตอุปกรณ์: Check the output settings of your connected device (laptop, smartphone) to ensure it's sending a signal to the projector.
8.2 ไม่มีเสียง
- ระดับเสียง: เพิ่มระดับเสียงทั้งบนโปรเจ็กเตอร์และอุปกรณ์แหล่งสัญญาณที่เชื่อมต่ออยู่
- ฟังก์ชั่นปิดเสียง: Ensure the projector is not muted (check remote control).
- เอาต์พุตเสียง: If using an external audio system, ensure it is properly connected and selected as the output.
- แหล่งที่มาของเสียง: Verify that the source device is playing audio.
8.3 รีโมทคอนโทรลไม่ทำงาน
- แบตเตอรี่: เปลี่ยนแบตเตอรี่ในรีโมทคอนโทรล
- แนวสายตา: Ensure there is a clear line of sight between the remote and the projector's IR receiver.
9. ข้อมูลจำเพาะ
| คุณสมบัติ | ข้อมูลจำเพาะ |
|---|---|
| หมายเลขรุ่น | Dpofirseikmp1t75y |
| ประเภทสินค้า | LED Film Projector |
| ความละเอียดดั้งเดิม | 320 x 240 พิกเซล |
| รองรับความละเอียด | Up to 1920 x 1080 (1080p) 60Hz |
| ความสว่าง | 100 Ansi / 6000 Lumens |
| อัตราส่วนคอนทราสต์ | 10000:1 น. |
| จุดสนใจ | คู่มือ |
| การแก้ไข | Trapezoid Correction (Auto vertical, manual side via settings) |
| ลำโพง | Built-in box speaker 4Ω 2W |
| อินเตอร์เฟซพาวเวอร์ | ประเภท C (5V 2A) |
| พอร์ตอินพุต | 1x HD Multimedia Interface, 1x USB Port, 1x AV Interface |
| พอร์ตเอาท์พุท | แจ็คหูฟังขนาด 3.5 มม. |
| ขนาดการฉายภาพ | 14 ถึง 100 นิ้ว |
| Optimal Playback Size | 20-60 นิ้ว |
| Optimal Playback Distance | 0.8ม. ถึง 1.6ม. |
| ขนาด | 5 x 3.4 x 1.9 นิ้ว (12.6 x 8.58 x 4.77 ซม.) |
| น้ำหนักสินค้า | 12.9 ออนซ์ (ประมาณ 365 กรัม) |
| ระบบระบายความร้อน | Innovative cooling fan system (80% noise reduction) |
10. การรับประกันและการสนับสนุน
For warranty information, please refer to the warranty card included with your purchase or contact your retailer. Dpofirs is committed to providing quality products and customer support.
If you encounter any issues or have questions regarding your Dpofirs Small Portable Video Projector, please contact Dpofirs customer support through the retailer's platform or the official Dpofirs webเว็บไซต์เพื่อขอความช่วยเหลือ