1. บทนำ
This manual provides detailed instructions for the setup, operation, maintenance, and troubleshooting of your ATTACK SHARK G3PRO Wireless Gaming Mouse. Please read this manual thoroughly to ensure proper use and to maximize your gaming experience.

ภาพ: โอเวอร์view of the ATTACK SHARK G3PRO mouse and its features, including magnetic fast charging, PAW3311 sensor, web cloud drive, RGB rapid charging dock, and lightweight design.
2. เนื้อหาบรรจุภัณฑ์
ตรวจสอบว่ามีรายการทั้งหมดอยู่ในแพ็คเกจของคุณ:
- ATTACK SHARK G3PRO Wireless Gaming Mouse
- แท่นชาร์จแม่เหล็ก RGB
- ตัวรับสัญญาณ USB 2.4G
- สายชาร์จ/ข้อมูล USB-C ถึง USB-A
- คู่มือการใช้งาน
3. การตั้งค่า
3.1 การชาร์จเริ่มต้น
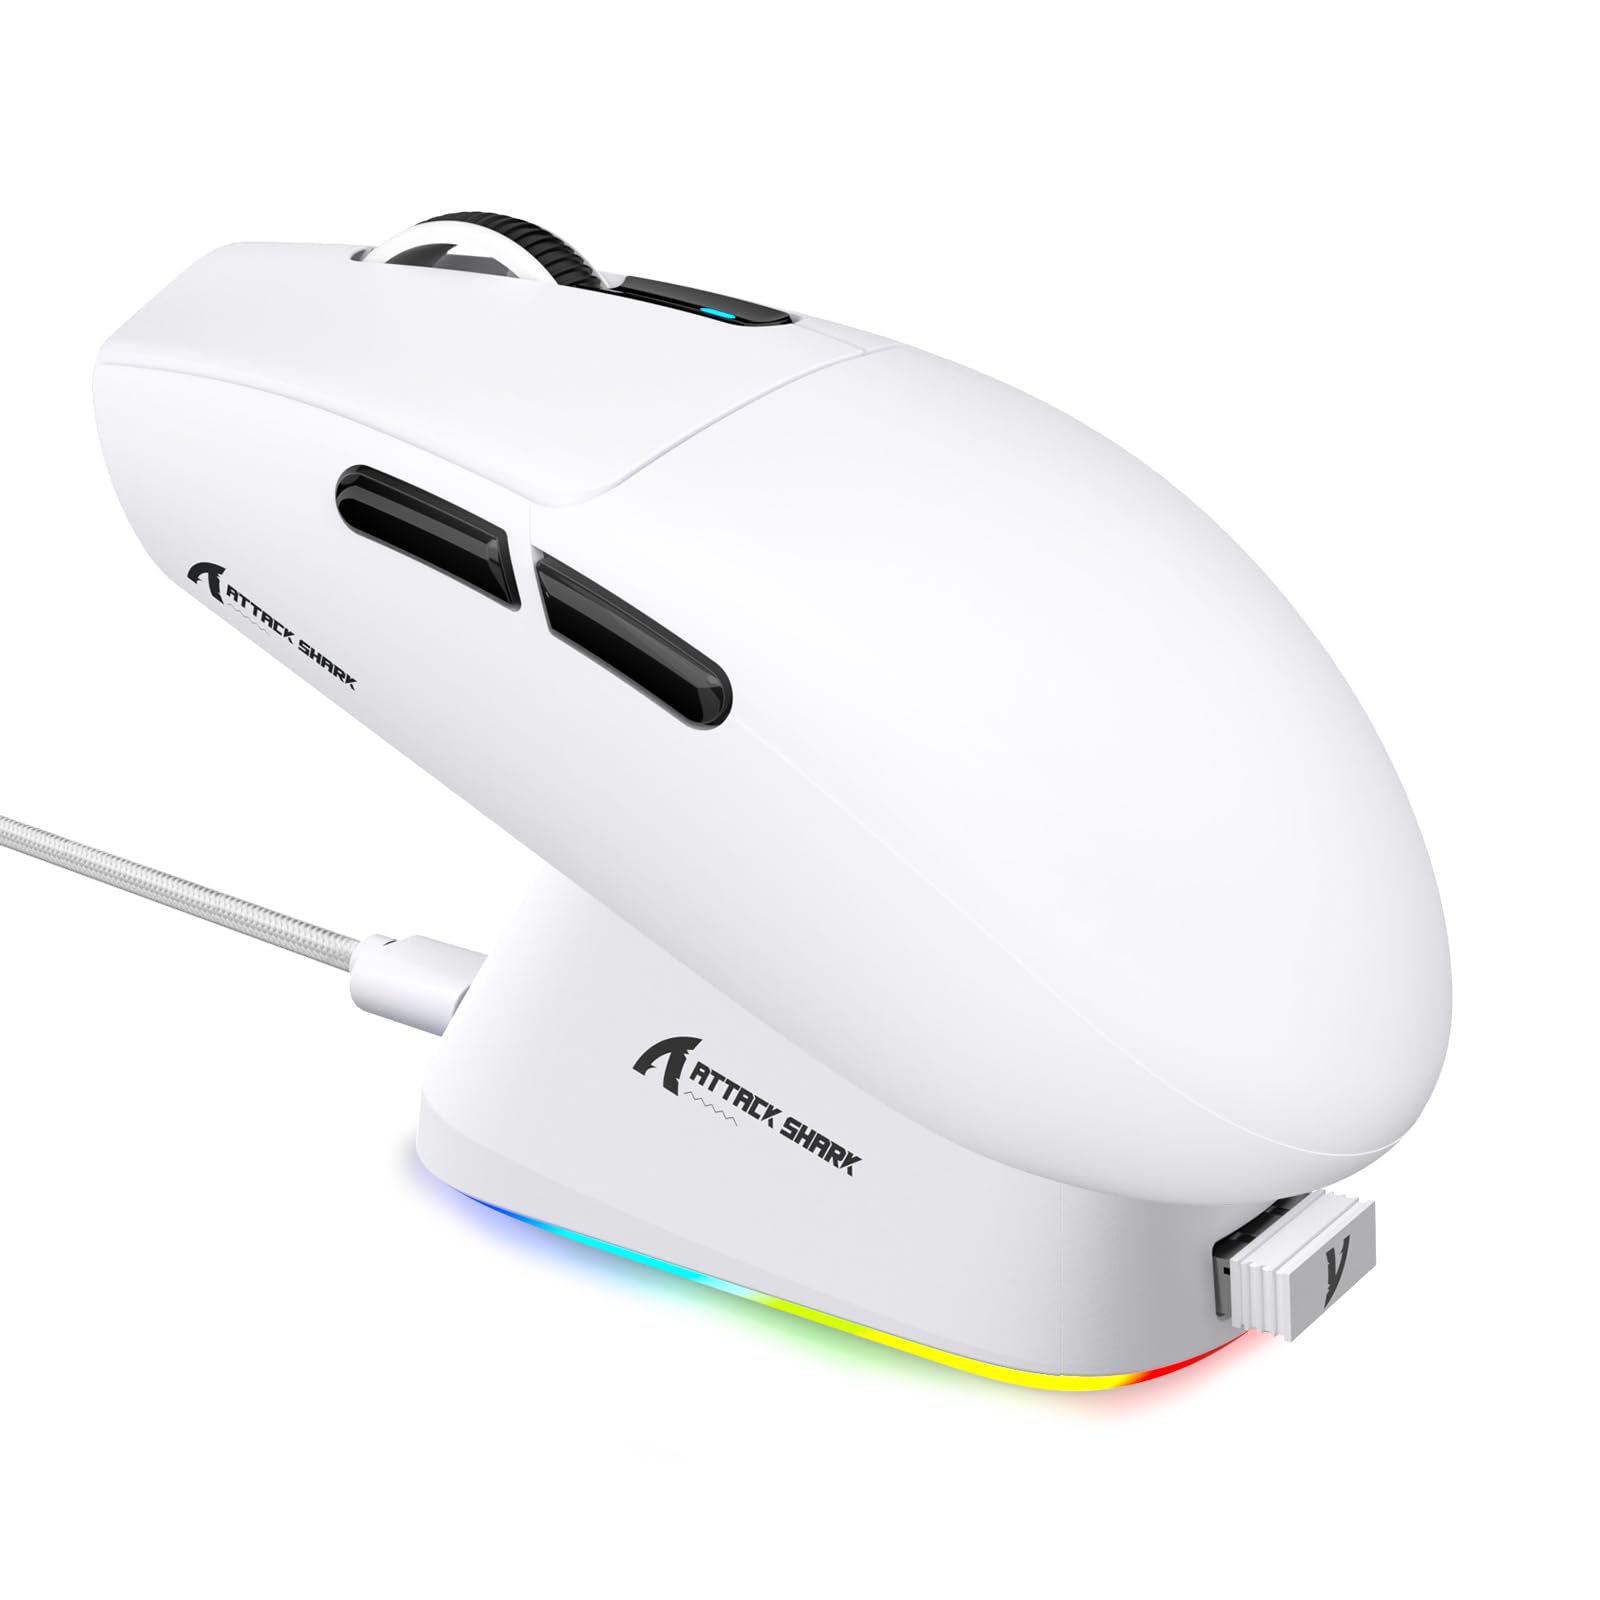
Before first use, it is recommended to fully charge the mouse. Connect the USB-C cable to the charging dock and a power source. Place the mouse onto the magnetic charging dock. The RGB lighting on the dock will indicate charging status.
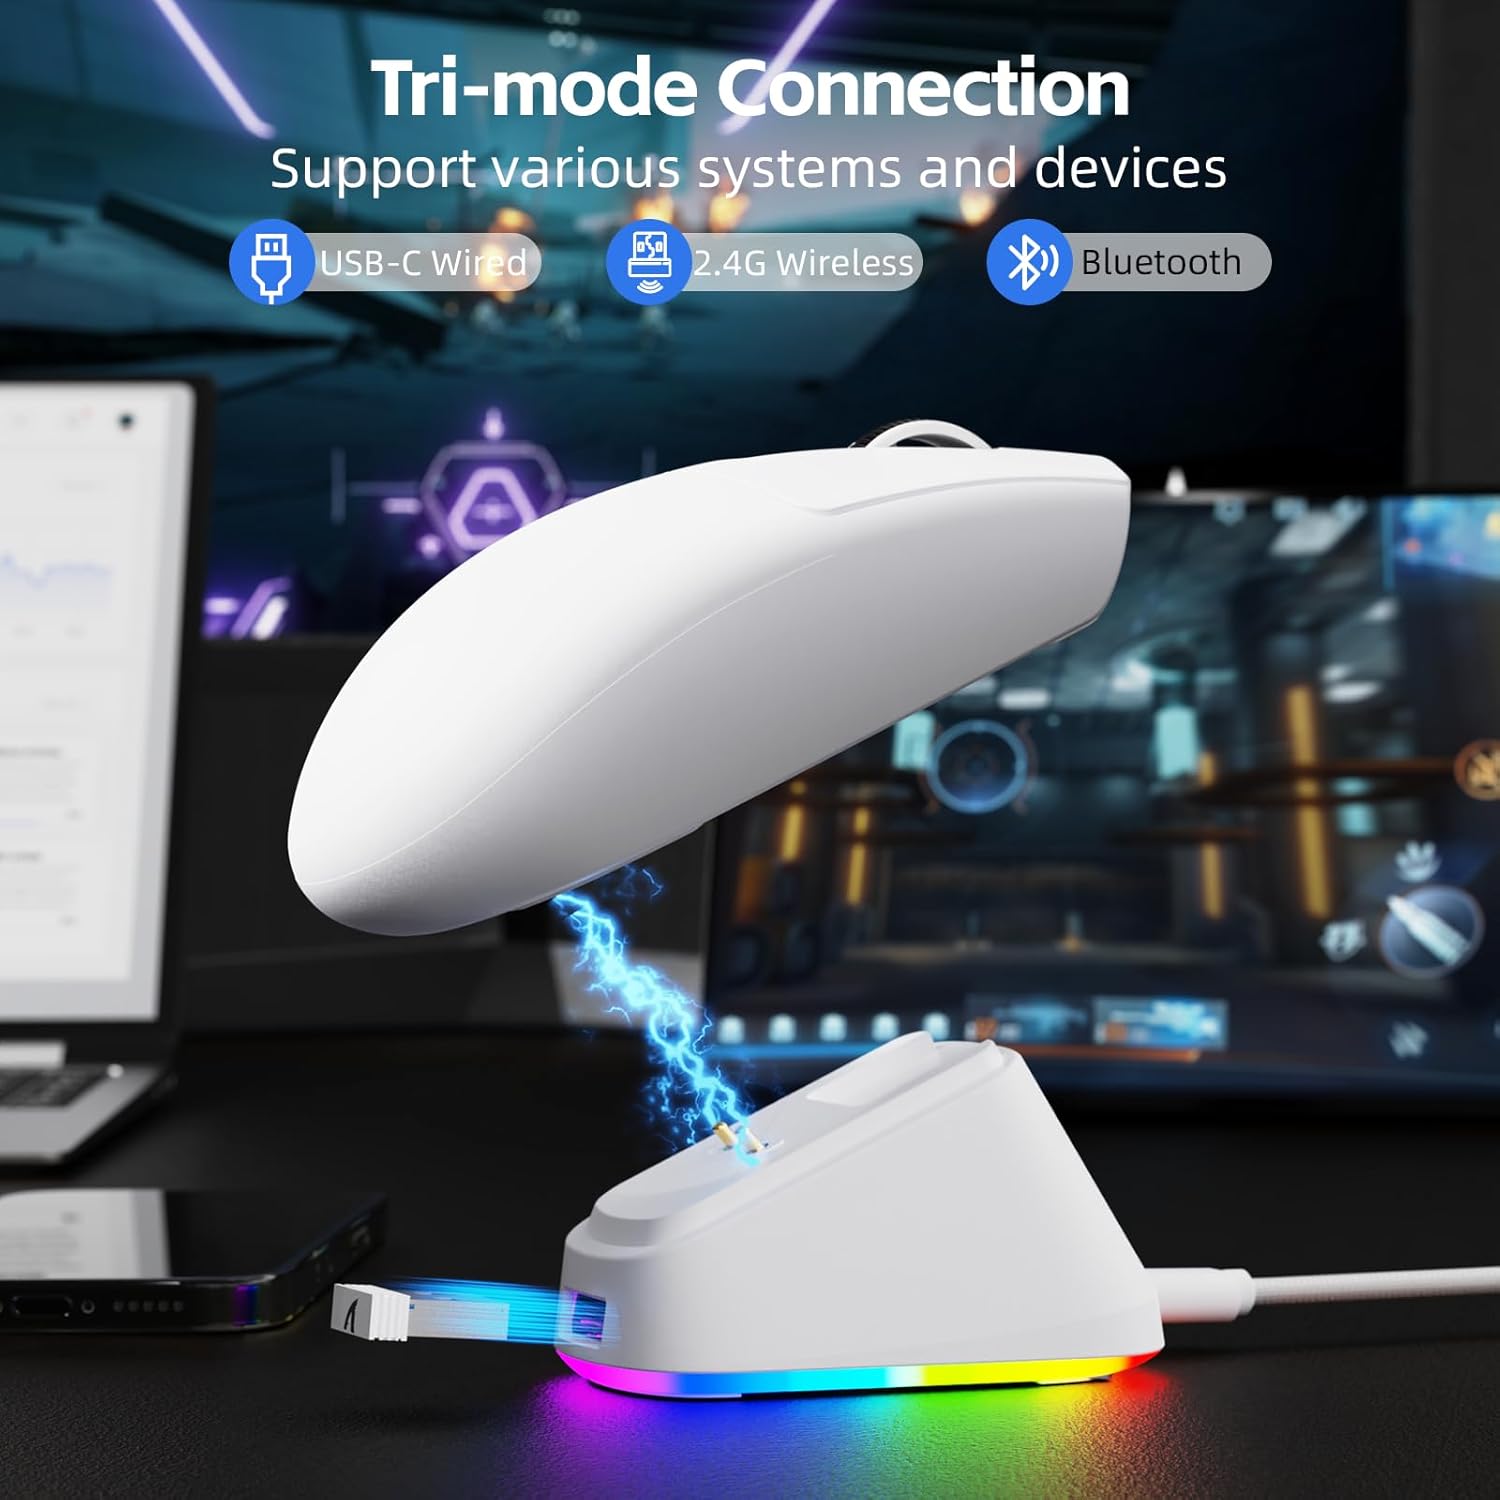
Image: The ATTACK SHARK G3PRO mouse magnetically attached to its RGB charging dock, showing the charging thimbles and USB-C port.
For a visual guide on charging, please watch the following video:
Video: This video demonstrates the magnetic charging dock and its features for the ATTACK SHARK G3PRO Wireless Gaming Mouse.
3.2 การเชื่อมต่อเมาส์
The G3PRO supports three connection modes: 2.4GHz Wireless, Bluetooth, and USB-C Wired. A switch on the bottom of the mouse allows you to select the desired mode.

Image: The ATTACK SHARK G3PRO mouse with visual indicators for Wired, 2.4G, and Bluetooth connectivity modes.
โหมดไร้สาย 2.4GHz:
- Locate the 2.4G USB receiver, typically stored within the charging dock or the mouse itself.
- เสียบตัวรับสัญญาณ USB เข้ากับพอร์ต USB ที่พร้อมใช้งานบนคอมพิวเตอร์ของคุณ
- Set the switch on the bottom of the mouse to "2.4G".
- เมาส์ควรเชื่อมต่อโดยอัตโนมัติ
โหมดบลูทู ธ :
- Set the switch on the bottom of the mouse to "BT".
- บนคอมพิวเตอร์หรืออุปกรณ์ของคุณ ให้ไปที่การตั้งค่าบลูทูธ แล้วเปิดใช้งานบลูทูธ
- ค้นหา new devices and select "ATTACK SHARK G3PRO" to pair.
โหมดสาย USB-C:
- Connect the USB-C cable directly from the mouse to your computer.
- เมาส์นี้จะทำหน้าที่เป็นเมาส์แบบมีสายและชาร์จไปพร้อมๆ กัน
For a visual guide on product features and connectivity, please watch the following video:
Video: This video demonstrates the various color options and the magnetic charging feature of the ATTACK SHARK G3PRO Wireless Gaming Mouse, showcasinก. การออกแบบและฟังก์ชันการใช้งาน
4. การใช้งานเมาส์
4.1 ฟังก์ชันปุ่ม
The ATTACK SHARK G3PRO features 5 programmable buttons:
- คลิกซ้าย: การดำเนินการหลัก
- คลิกขวา: เมนูการดำเนินการรอง/บริบท
- คลิกตรงกลาง/ล้อเลื่อน: Scroll up/down, middle click for universal scroll or other functions.
- ปุ่มไปข้างหน้า: Default for navigating forward in web browsers/folders.
- ปุ่มย้อนกลับ: Default for navigating backward in web browsers/folders.
- สวิตช์ DPI: หมุนเวียนผ่านระดับ DPI ที่ตั้งไว้ล่วงหน้า

Image: A detailed diagram illustrating the location and default functions of the multi-functional buttons on the ATTACK SHARK G3PRO mouse.

ภาพ: ระเบิด view and labeled diagram of the G3PRO mouse components, including buttons, switches, charging points, and the 2.4G/OFF/BT mode switch.
4.2 การปรับ DPI
The mouse features a dedicated DPI switch to cycle through various sensitivity levels, ranging from 800 to 25,000 DPI. The current DPI setting is indicated by an LED light.

Image: A visual representation of the 25,000 DPI optical sensor's precision and how mouse movement trajectory sensitivity scales with DPI settings.
4.3 อัตราการสำรวจความคิดเห็น
The G3PRO supports a 1000Hz polling rate in both wired and 2.4GHz wireless modes, ensuring rapid response times for competitive gaming.

Image: A diagram illustrating the 1000Hz polling rate capability in both wired and wireless modes, highlighting millisecond response times.
5. ซอฟต์แวร์และการปรับแต่ง
Customize your G3PRO mouse settings using the intuitive web driver or downloadable software from ATTACK SHARK. This allows for personalization of DPI, polling rate, macros, and more.
- Web ไดรเวอร์: เข้าถึง web-based configuration tool for quick adjustments without installation.
- Downloadable Software: For advanced customization and profile management, download the dedicated software.

Image: A screenshot of the ATTACK SHARK Hub software interface, showing options for mouse settings, DPI settings, parameter settings, macro editing, and personal center.

Image: The cloud-driven programming interface for the G3PRO mouse, displaying options for button settings, DPI adjustments, polling rate settings, and power management.
6. การบำรุงรักษา
6.1 การทำความสะอาด
เพื่อรักษาประสิทธิภาพการทำงานให้ดีที่สุด ควรทำความสะอาดเมาส์เป็นประจำ ใช้ผ้านุ่มและแห้งเช็ดพื้นผิว สำหรับคราบสกปรกฝังแน่น ให้เช็ดเบาๆamp สามารถใช้ผ้าได้ เพื่อไม่ให้ความชื้นเข้าไปในชิ้นส่วนภายใน หลีกเลี่ยงสารเคมีรุนแรงหรือวัสดุที่มีฤทธิ์กัดกร่อน
6.2 พื้นที่จัดเก็บ
When not in use for extended periods, store the mouse and charging dock in a cool, dry place. Ensure the USB receiver is securely stored, ideally within the charging dock's designated slot, to prevent loss.
7 การแก้ไขปัญหา
| ปัญหา | สาเหตุที่เป็นไปได้ | สารละลาย |
|---|---|---|
| เมาส์ไม่ตอบสนอง (2.4G) | Low battery; Receiver not plugged in; Incorrect mode selected; Driver issue. | Charge the mouse; Ensure receiver is firmly plugged in; Set mouse to "2.4G" mode; Reinstall mouse drivers. |
| เมาส์ไม่ตอบสนอง (บลูทูธ) | Low battery; Bluetooth not enabled on device; Not paired; Incorrect mode selected. | Charge the mouse; Enable Bluetooth on your device; Re-pair the mouse in Bluetooth settings; Set mouse to "BT" mode. |
| แท่นชาร์จ RGB ไม่ติดไฟ | Cable not connected; Power source issue. | Ensure USB-C cable is securely connected to dock and power source; Try a different USB port or power adapter. |
| การติดตามที่ไม่สอดคล้องกัน | Dirty sensor; Uneven surface; Interference (wireless). | Clean the optical sensor; Use a clean, even mouse pad; Reduce wireless interference by moving other devices or using wired mode. |
| ปุ่มไม่ตอบสนอง | ความขัดแย้งของซอฟต์แวร์; ความเสียหายทางกายภาพ | Check software settings for button remapping; Test on another computer; Contact support if physical damage is suspected. |
8. ข้อมูลจำเพาะ
| คุณสมบัติ | รายละเอียด |
|---|---|
| ยี่ห้อ | โจมตีฉลาม |
| แบบอย่าง | จีทูโปร |
| สี | สีขาว |
| เทคโนโลยีการเชื่อมต่อ | การเชื่อมต่อไร้สาย 2.4GHz, บลูทูธ, การเชื่อมต่อแบบมีสาย USB-C |
| เทคโนโลยีตรวจจับการเคลื่อนไหว | ออปติคัล (เซ็นเซอร์ PAW3311) |
| DPI สูงสุด | 25,000 จุดต่อนิ้ว |
| อัตราการสำรวจความคิดเห็น | 1000เฮิรตซ์ |
| การเร่งความเร็ว | 40จี |
| ความเร็วในการติดตาม | 400 IPS |
| สวิตซ์ | Mechanical (100 Million Clicks) |
| ความจุของแบตเตอรี่ | 500mAh |
| อายุการใช้งานแบตเตอรี่ | นานถึง 200 ชั่วโมง |
| น้ำหนัก | 59g ± 3g |
| ปุ่ม | 5 |
| การวางแนวมือ | ถนัดทั้งสองมือ |
| อุปกรณ์ที่รองรับ | แล็ปท็อป, คอมพิวเตอร์ส่วนบุคคล, สมาร์ทโฟน, แท็บเล็ต |
| ระบบปฏิบัติการ | วินโดวส์, แมคโอเอส |
For a comparison of G3 and G3PRO models, refer to the image below:

Image: A table comparing the specifications of the ATTACK SHARK G3 and G3PRO models, highlighting differences in components and features.
9. ข้อมูลด้านความปลอดภัย
- อย่าให้อุปกรณ์สัมผัสกับอุณหภูมิหรือความชื้นสูง
- หลีกเลี่ยงการทำอุปกรณ์หล่นหรือกระแทกอย่างรุนแรง
- เก็บให้พ้นจากมือเด็ก
- ห้ามถอดประกอบหรือดัดแปลงอุปกรณ์ เนื่องจากจะทำให้การรับประกันเป็นโมฆะและอาจทำให้เกิดความเสียหายได้
- Use only the provided charging cable and dock.
10. การรับประกันและการสนับสนุน
The ATTACK SHARK G3PRO Wireless Gaming Mouse comes with a standard manufacturer's warranty. For detailed warranty information, please refer to the warranty card included in your package or visit the official ATTACK SHARK webเว็บไซต์.
For technical support, troubleshooting assistance, or to inquire about replacement parts, please contact ATTACK SHARK customer service through their official webไซต์หรือข้อมูลการติดต่อที่ให้ไว้ในบรรจุภัณฑ์ผลิตภัณฑ์ของคุณ
เป็นทางการ Webเว็บไซต์: ร้าน ATTACK SHARK บน Amazon