1. บทนำ
This manual provides detailed instructions for the setup, operation, and maintenance of your ATTACK SHARK G3PRO Wireless Gaming Mouse. Please read this manual thoroughly to ensure proper use and to maximize the performance of your device.
2. คุณสมบัติของผลิตภัณฑ์
- Pro-Grade Precision & Speed: Equipped with PixArt PAW3311 gaming sensor and Broadcom BK52820 custom MCU for zero latency and pixel-perfect tracking. Adjustable DPI from 100 to 25000, polling rate up to 1000Hz, tracking speed 300IPS, and acceleration 40G.
- Legendary Durability & Tactile Clicks: Features genuine mechanical switches rated for 100 million clicks, providing crisp, responsive, and reliable feedback. The unique F-Switch encoder ensures precise scrolling.
- Ultra-Light Agility & Effortless Glide: Weighs only 59±3 grams, reducing wrist fatigue during extended use. Ergonomic design supports palm, claw, and finger grip styles. Double-layer premium mouse feet offer smooth, consistent glide.
- Seamless Tri-Mode Connectivity: Supports stable 2.4GHz wireless, low-latency Bluetooth, and reliable wired USB-C connections. Quickly switch between modes using the button at the bottom of the mouse. Compatible with desktops, laptops, smartphones, and tablets.
- AI Designed Driver: Utilizes an innovative cloud-driven webpage for customization, eliminating the need for traditional software installation. Allows for DPI adjustment, polling rate, competitive mode, customized buttons, macro recording, and personalized key mapping.
- RGB Backlight Charging Base: The included charging dock features cool RGB backlighting and allows for quick recharging. It also serves as a convenient passthrough for the 2.4GHz USB receiver, optimizing wireless signal reception.
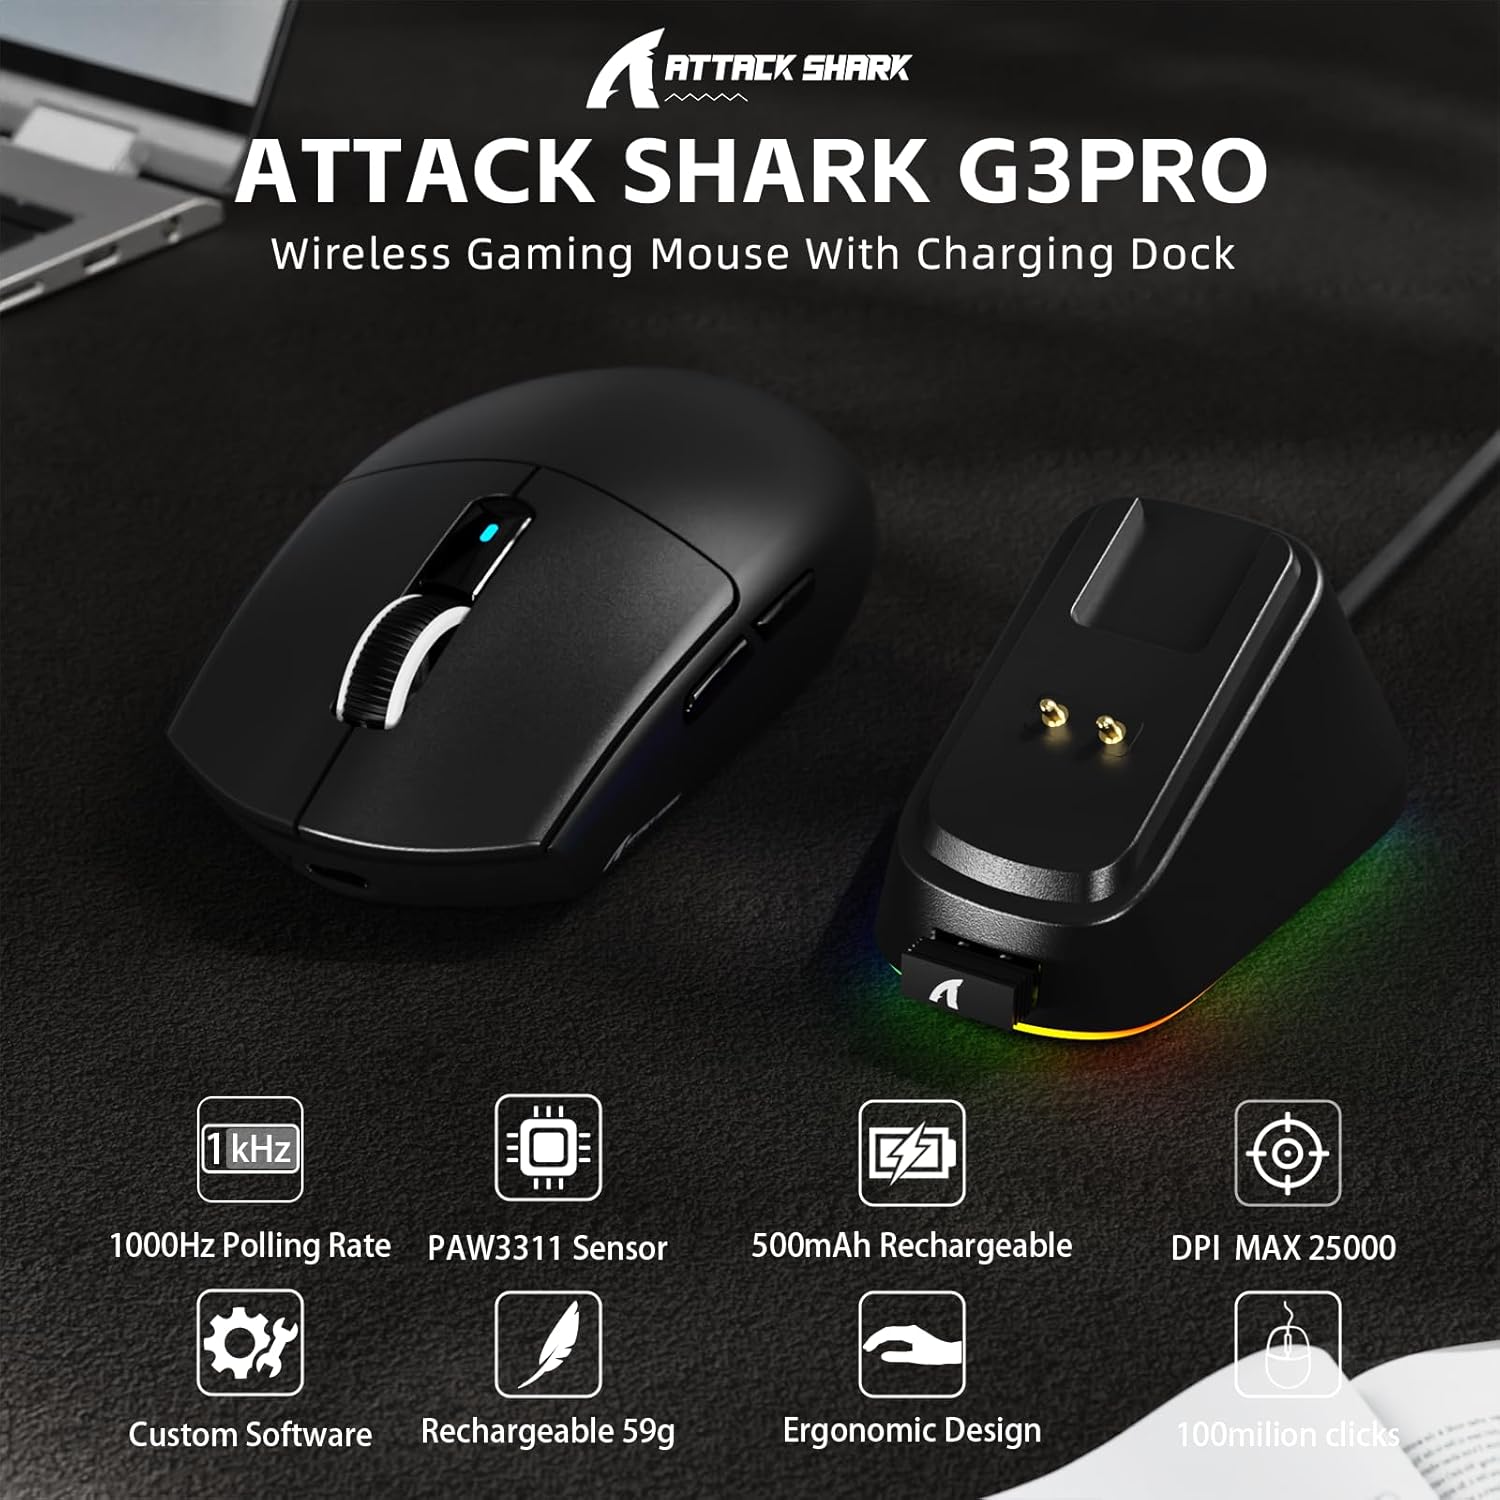
ภาพ: เหนือview of the ATTACK SHARK G3PRO mouse and its charging dock, highlighting key features such as 1000Hz polling rate, PAW3311 sensor, 500mAh rechargeable battery, 25K DPI, custom software, lightweight design, ergonomic shape, and 100 million click lifespan.

Image: A composite image detailing the internal components and features of the G3PRO mouse, including the 1K polling rate, PixArt PAW3311 sensor, Omron microswitches, 500mAh battery, BK52820 MCU, and the web ส่วนต่อประสานไดรเวอร์
3. เนื้อหาบรรจุภัณฑ์
โปรดตรวจสอบว่าสินค้าทั้งหมดมีอยู่ในแพ็คเกจของคุณ:
- ATTACK SHARK G3PRO Wireless Gaming Mouse
- RGB Backlight Charging Dock
- สาย USB-C ถึง USB-A
- USB 2.4GHz Wireless Receiver (often stored inside the mouse or dock)
- คู่มือการใช้งาน
- สติ๊กเกอร์ (อาจแตกต่างกัน)
- Grip Tape (if included with your specific bundle)
4. การตั้งค่า
4.1 การชาร์จเมาส์
Before first use, it is recommended to fully charge the mouse. Connect the USB-C cable to the charging dock and then to a power source (e.g., computer USB port, USB wall adapter). Place the mouse onto the charging dock. The RGB lighting on the dock will indicate charging status.

Image: The ATTACK SHARK G3PRO Wireless Gaming Mouse resting on its RGB backlight charging dock, connected via a USB-C cable. This illustrates the primary charging method.
4.2 การเชื่อมต่อเมาส์
The G3PRO mouse offers three connectivity modes: 2.4GHz Wireless, Bluetooth, and USB-C Wired.

Image: A visual representation of the three connectivity options for the G3PRO mouse: USB-C Wired, 2.4G Wireless, and Bluetooth, showing the mouse interacting with a charging dock and a laptop.
4.2.1 การเชื่อมต่อไร้สาย 2.4GHz
- Locate the USB 2.4GHz receiver. It may be stored in a compartment on the underside of the mouse or within the charging dock.
- Plug the receiver into an available USB port on your computer. For optimal signal, you can plug the receiver into the USB port on the charging dock, then connect the dock to your computer.
- Switch the mode selector switch on the bottom of the mouse to the '2.4G' position.
- The mouse should automatically connect. If not, press and hold the 'Left/Center/Right' buttons simultaneously for 3 seconds to force pairing.
4.2.2 การเชื่อมต่อบลูทูธ
- Switch the mode selector switch on the bottom of the mouse to the 'BT' position.
- บนคอมพิวเตอร์หรืออุปกรณ์ของคุณ ไปที่การตั้งค่าบลูทูธและเปิดใช้งานบลูทูธ
- ค้นหา new devices. The mouse should appear as 'ATTACK SHARK G3PRO' or similar.
- Select the mouse to pair. If prompted, press and hold the 'Left/Center/Right' buttons simultaneously for 3 seconds to force pairing.
4.2.3 การเชื่อมต่อผ่านสาย USB-C
- เสียบปลายสาย USB-C เข้ากับเมาส์ และปลายสาย USB-A เข้ากับคอมพิวเตอร์ของคุณ
- Switch the mode selector switch on the bottom of the mouse to the 'OFF' position (or ensure it's not in 2.4G/BT mode). The mouse will operate in wired mode.
5. คู่มือการใช้งาน
The ATTACK SHARK G3PRO mouse features multiple programmable buttons and adjustable settings for enhanced gaming and productivity.

Image: A detailed diagram illustrating the multi-functional buttons on the G3PRO mouse (Left Key, Right Key, Center Key, Backward Button, Forward Button, DPI Switch) and the components of the charging dock (Type C Port, Charging Thimble, Receiver Interface, RGB Light Switch, Receiver Organizer).
5.1 ฟังก์ชันปุ่ม
- ปุ่มซ้าย: ฟังก์ชั่นคลิกหลัก
- ปุ่มขวา: ฟังก์ชั่นคลิกรอง
- Center Key (Scroll Wheel Click): Middle click function.
- ปุ่มไปข้างหน้า: นำทางไปข้างหน้าใน web เบราว์เซอร์หรือแอพพลิเคชั่น
- ปุ่มย้อนกลับ: นำทางย้อนกลับใน web เบราว์เซอร์หรือแอพพลิเคชั่น
- สวิตช์ DPI: หมุนเวียนผ่านระดับ DPI ที่ตั้งไว้ล่วงหน้า
5.2 การปรับ DPI
Press the DPI switch button (located on the top of the mouse, usually behind the scroll wheel) to cycle through different DPI sensitivity levels. The default DPI settings can be customized using the AI Designed Driver.
5.3 การควบคุมแสง RGB
The RGB lighting on the charging dock can be controlled via a switch on the dock itself. The mouse's internal lighting (if any) and effects can be customized through the AI Designed Driver.
6. Customization (AI Designed Driver)
The ATTACK SHARK G3PRO features an innovative cloud-driven web driver for advanced customization. This eliminates the need for software installation.

Image: A screenshot of the web-based driver interface for the ATTACK SHARK G3PRO mouse, showing options for button settings, DPI settings, parameter settings, macro editing, and a personal center for customization.
6.1 การเข้าถึง Web คนขับรถ
To access the customization options, open a web เบราว์เซอร์และนำทางไปยัง URL provided in the product documentation or on the official ATTACK SHARK website. The driver is designed to automatically identify your computer system.
6.2 ตัวเลือกการปรับแต่ง
ผ่านทาง web คนขับ คุณสามารถ:
- ปรับระดับ DPI และสร้างโปรไฟล์แบบกำหนดเองfiles.
- Modify polling rate.
- Program individual buttons for various functions (e.g., multimedia controls, keyboard shortcuts, macros).
- Record and assign complex macros.
- Personalize key mapping.
- Configure competitive modes and other advanced functions.
7. การชาร์จและแบตเตอรี่
The G3PRO mouse is equipped with a 500mAh built-in battery for extended playtime.
7.1 วิธีการชาร์จ
- ผ่านแท่นชาร์จ: Simply place the mouse onto the RGB backlight charging dock. The magnetic connection will ensure proper alignment and charging.
- ผ่านสาย USB-C: Connect the mouse directly to your computer or a USB power adapter using the provided USB-C cable.
7.2 สถานะแบตเตอรี่
Battery status can typically be monitored through the AI Designed Driver interface or your operating system's Bluetooth device settings.
8. การบำรุงรักษา
To ensure the longevity and optimal performance of your ATTACK SHARK G3PRO mouse, follow these maintenance guidelines:
- การทำความสะอาด: ใช้ผ้านุ่มและแห้งเช็ดเมาส์และแท่นชาร์จ สำหรับคราบสกปรกฝังแน่น ให้เช็ดเบาๆamp cloth can be used, but ensure no moisture enters the device. Avoid harsh chemicals or abrasive materials.
- การดูแลเซ็นเซอร์: รักษาเซ็นเซอร์ออปติคัลที่ด้านล่างของเมาส์ให้สะอาด ปราศจากฝุ่นหรือเศษขยะ ใช้สำลีก้านหรือลมอัดหากจำเป็น
- พื้นที่จัดเก็บ: เมื่อไม่ได้ใช้งานเป็นเวลานาน ควรเก็บเมาส์ไว้ในที่แห้งและเย็น
- หลีกเลี่ยงเงื่อนไขที่รุนแรง: อย่าให้เมาส์สัมผัสกับอุณหภูมิที่สูงหรือต่ำเกินไป แสงแดดโดยตรง หรือความชื้นสูง
9 การแก้ไขปัญหา
If you encounter issues with your ATTACK SHARK G3PRO mouse, please refer to the following common solutions:
| ปัญหา | สาเหตุที่เป็นไปได้ / วิธีแก้ไข |
|---|---|
| เมาส์ไม่ตอบสนอง (ไร้สาย) |
|
| เมาส์ไม่ตอบสนอง (แบบมีสาย) |
|
| การปรับ DPI ไม่ทำงาน |
|
| แท่นชาร์จ RGB ไม่ติดไฟ |
|
| Mouse tracking issues / erratic movement |
|
10. ข้อมูลจำเพาะ
- ยี่ห้อ: โจมตีฉลาม
- แบบอย่าง: จีทูโปร
- สี: สีดำ
- เทคโนโลยีการเชื่อมต่อ: การเชื่อมต่อไร้สาย 2.4GHz, บลูทูธ, การเชื่อมต่อแบบมีสาย USB-C
- เทคโนโลยีการตรวจจับการเคลื่อนไหว: เซ็นเซอร์แบบออปติคอล (PixArt PAW3311 Sensor)
- ช่วง DPI: 100 - 25000 DPI (ปรับได้)
- อัตราการสำรวจความคิดเห็น: สูงถึง 1000Hz
- ติดตามความเร็ว: 300 IPS
- ความเร่ง: 40จี
- สวิตช์: Mechanical (100 million click lifespan)
- ความจุแบตเตอรี่: 500mAh
- น้ำหนัก: 59 ± 3 กรัม
- คุณสมบัติพิเศษ: Ergonomic Design, Lightweight, Programmable Buttons, Rechargeable, Wireless, RGB Charging Dock
- ขนาดแพ็คเกจ: 6.57 x 4.37 x 1.93 นิ้ว
- น้ำหนักสินค้า: 8.1 ออนซ์
11. วิดีโอผลิตภัณฑ์
วิดีโอ: วิดีโอแสดงผลิตภัณฑ์อย่างเป็นทางการasing the ATTACK SHARK G3PRO Wireless Gaming Mouse, highlighting its design, features, and various color options. This video provides a dynamic view of the mouse and its charging dock.
12. การรับประกันและการสนับสนุน
สำหรับข้อมูลการรับประกันและการสนับสนุนทางเทคนิค โปรดดูที่เว็บไซต์อย่างเป็นทางการของ ATTACK SHARK webตรวจสอบเว็บไซต์หรือติดต่อร้านค้าที่คุณซื้อสินค้ามา เก็บหลักฐานการซื้อไว้เพื่อใช้ในการเคลมประกัน


