
การแนะนำ
This manual provides essential information for the setup, operation, maintenance, and troubleshooting of your Vibox I-525 Complete Gaming PC. Please read these instructions carefully before using your new system to ensure optimal performance and longevity.
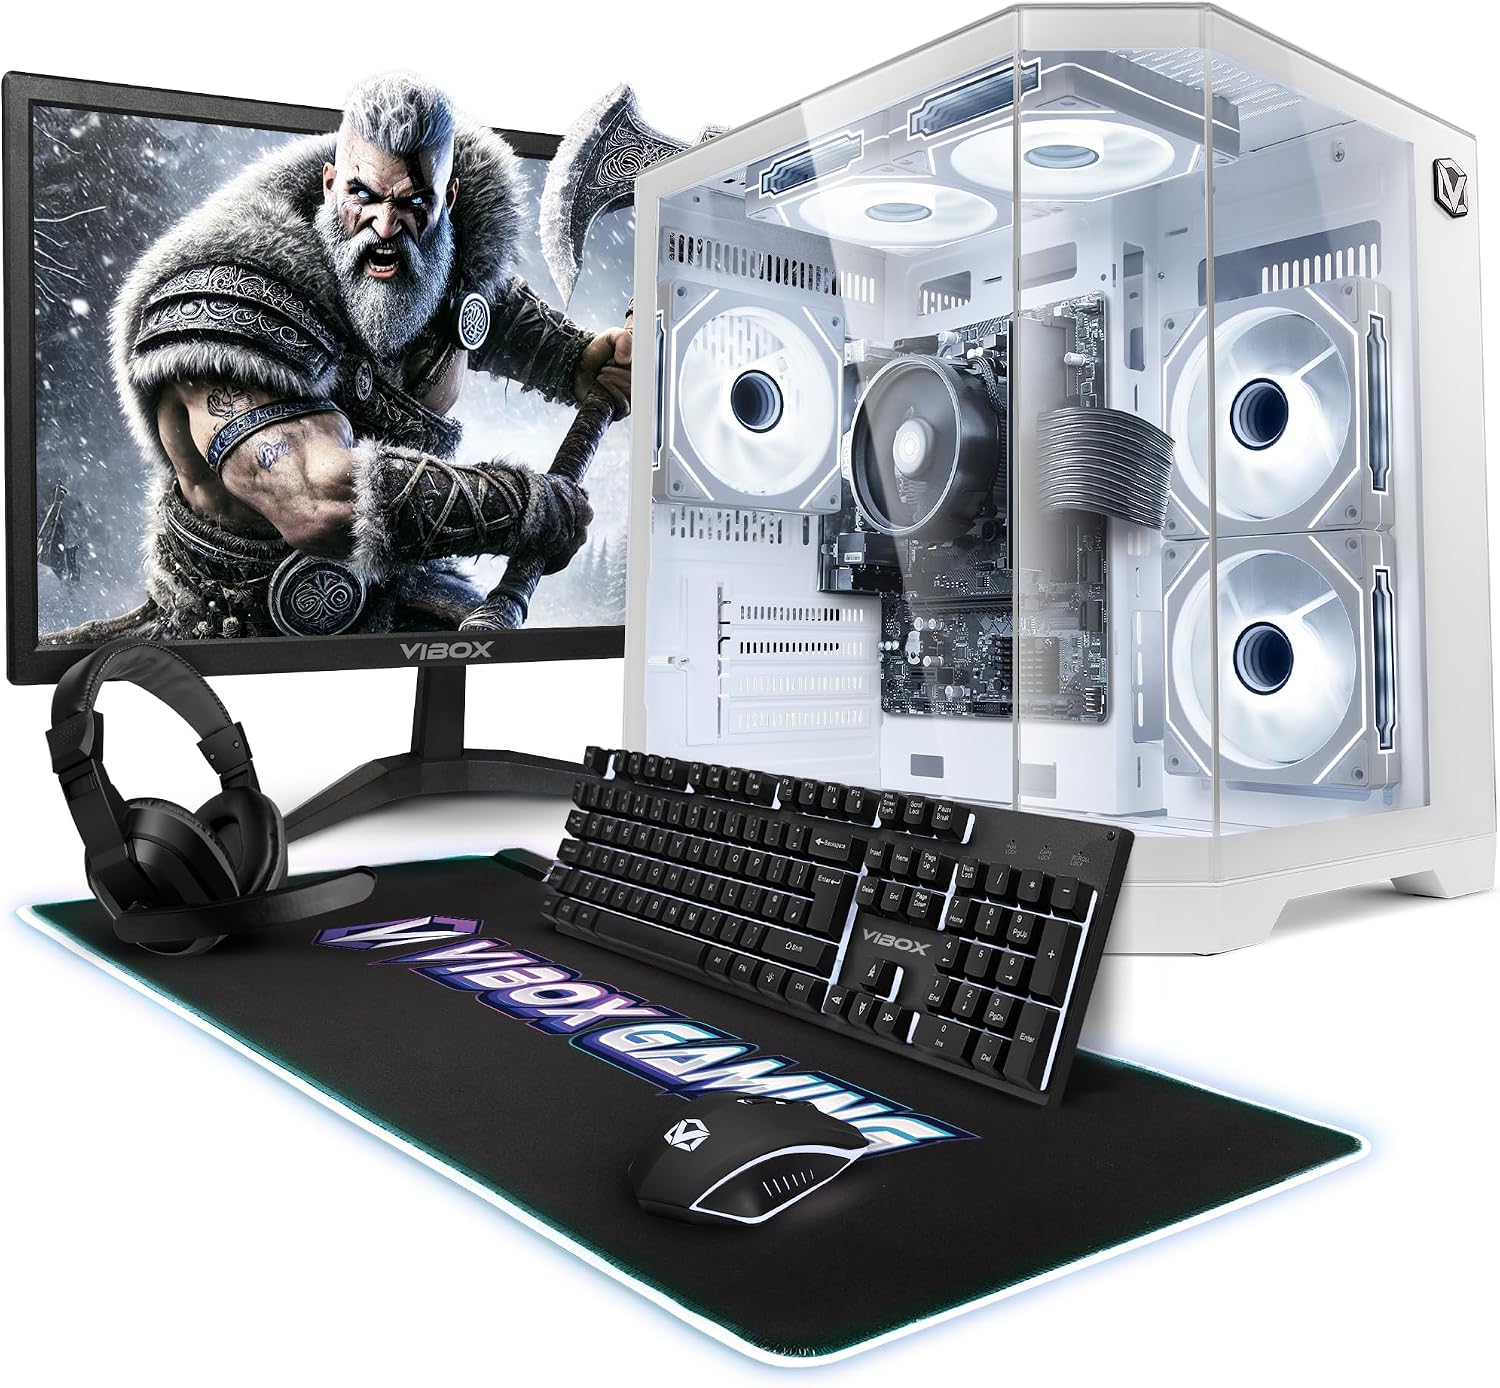
Image: The Vibox I-525 Complete Gaming PC setup, including the tower, 22-inch monitor, gaming keyboard, mouse, and headset.
เนื้อหาแพ็คเกจ
ตรวจสอบว่ามีรายการทั้งหมดอยู่ในแพ็คเกจ:
- Vibox I-525 PC Tower
- จอภาพ 22 นิ้ว
- Gaming Keyboard (AZERTY layout)
- เมาส์สำหรับเล่นเกม
- ชุดหูฟัง
- แผ่นรองเมาส์ LED
- USB Wi-Fi 6 AX900 and Bluetooth 5.4 Adapter
- สายไฟ
- สาย HDMI
คำแนะนำการตั้งค่า
1. การแกะกล่องและการจัดวาง
- Carefully remove all components from their packaging. Retain packaging for future transport or warranty claims.
- Place the PC tower on a stable, flat surface with adequate ventilation. Ensure no vents are obstructed.
- Position the 22-inch monitor on a desk at a comfortable viewความสูงของไอเอ็นจี
2. การเชื่อมต่ออุปกรณ์ต่อพ่วง
- เฝ้าสังเกต: Connect one end of the HDMI cable to the HDMI port on the PC tower and the other end to the HDMI input on the monitor. Connect the monitor's power cable to an electrical outlet.
- คีย์บอร์ดและเมาส์: Connect the USB cables of the gaming keyboard and mouse to any available USB ports on the rear of the PC tower.
- ชุดหูฟัง: Connect the headset's audio jack(s) to the corresponding audio ports on the PC tower (usually green for audio out, pink for microphone in). USB headsets connect to an available USB port.
- USB Wi-Fi/Bluetooth Adapter: Insert the provided USB Wi-Fi 6 AX900 and Bluetooth 5.4 adapter into an available USB port on the PC tower.
- พลัง: Connect the PC tower's power cable to the power supply unit (PSU) input on the rear of the tower, then plug it into an electrical outlet.
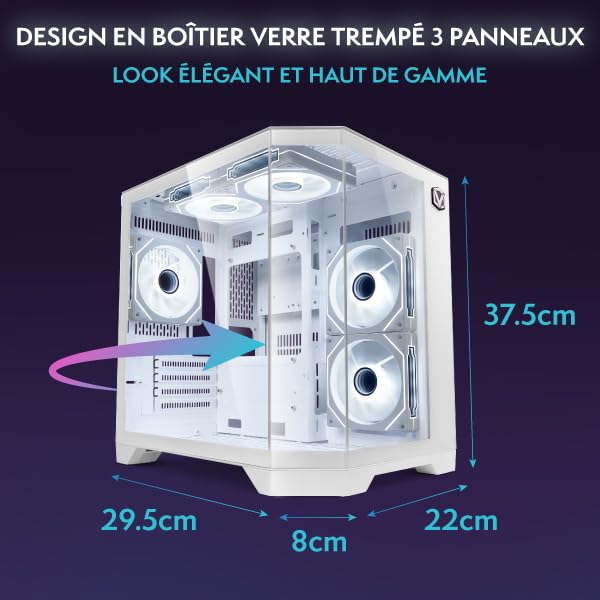
ภาพ: ด้านหลัง view of the Vibox I-525 PC tower, highlighting the various connectivity ports including USB, HDMI, and Ethernet.
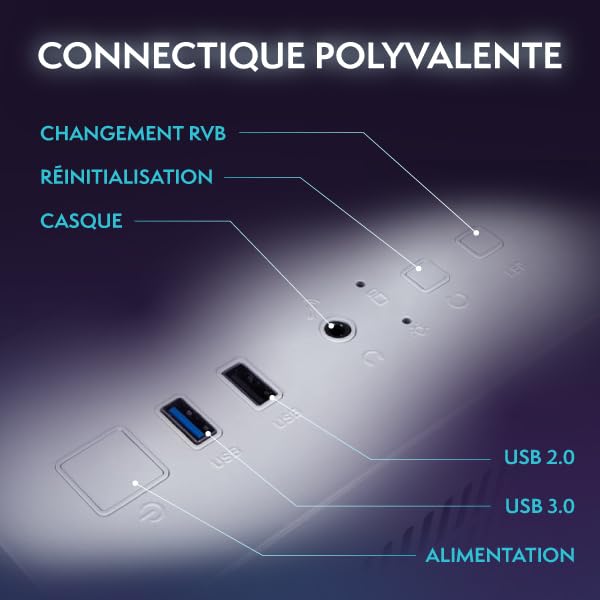
Image: A diagram showing common PC connectivity ports and their functions.
คำแนะนำการใช้งาน
1. เปิดเครื่อง
- ตรวจสอบให้แน่ใจว่าสายเคเบิลทั้งหมดเชื่อมต่ออย่างแน่นหนา
- กดปุ่มเปิด/ปิดที่อยู่ด้านหน้าของเคสคอมพิวเตอร์
- Press the power button on the monitor. The system will boot into Windows 11 Home.
2. การตั้งค่า Windows 11 ครั้งแรก
- Follow the on-screen prompts to complete the Windows 11 initial setup, including language, region, network connection, and user account creation.
- The USB Wi-Fi adapter should automatically be detected. If not, refer to the adapter's specific instructions or Windows device manager.
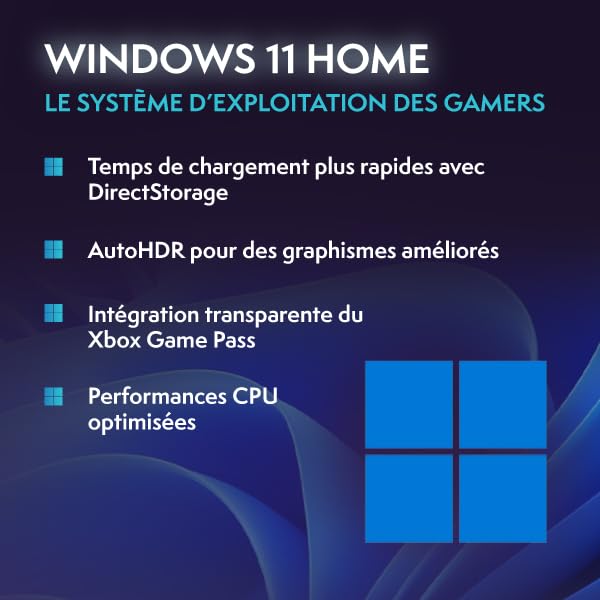
Image: The Windows 11 logo, representing the operating system pre-installed on the PC.
3. การใช้งานพื้นฐาน
- การเล่นเกม: This PC is designed for casual gaming and less demanding titles, utilizing the integrated Radeon Vega 8 graphics.
- การทำงานหลายอย่างพร้อมกัน: The 16GB DDR4 RAM and AMD Ryzen 3 3200G processor support smooth multitasking for productivity and everyday tasks.
- พื้นที่จัดเก็บ: The 480GB SSD provides fast boot times and quick application loading.
การซ่อมบำรุง
1. การทำความสะอาด
- Regularly clean the exterior of the PC tower and monitor with a soft, dry cloth.
- Use compressed air to clear dust from the PC's ventilation grilles and internal components (fans, heatsinks) every few months. Ensure the PC is powered off and unplugged before cleaning.
2. การอัปเดตซอฟต์แวร์
- Keep your Windows 11 operating system updated by regularly checking for updates in the Windows Settings.
- Ensure graphics drivers (AMD Radeon Vega 8) are kept up-to-date for optimal gaming performance.
การแก้ไขปัญหา
ปัญหาทั่วไปและแนวทางแก้ไข
- ไม่มีการแสดงผลบนจอภาพ:
- Check if the monitor is powered on and the power cable is secure.
- Verify the HDMI cable is firmly connected to both the PC and the monitor.
- Ensure the monitor's input source is set to HDMI.
- คอมพิวเตอร์เปิดไม่ติด:
- Check if the power cable is securely connected to the PC and the electrical outlet.
- Ensure the power switch on the PSU (at the back of the PC) is in the 'On' position.
- ไม่มีการเชื่อมต่ออินเทอร์เน็ต (Wi-Fi):
- Ensure the USB Wi-Fi adapter is properly inserted into a USB port.
- Check Windows network settings to ensure Wi-Fi is enabled and you are connected to the correct network.
- รีสตาร์ทเราเตอร์และโมเด็มของคุณ
- ประสิทธิภาพการทำงานช้า:
- ปิดแอพพลิเคชันพื้นหลังที่ไม่จำเป็น
- ตรวจสอบให้แน่ใจว่า Windows และไดรเวอร์ได้รับการอัปเดตแล้ว
- Check available storage space on the 480GB SSD.
ข้อมูลจำเพาะ
| ส่วนประกอบ | รายละเอียด |
|---|---|
| หมายเลขรุ่น | ไอ-525 |
| ระบบปฏิบัติการ | วินโดวส์ 11 โฮม |
| หน่วยประมวลผล (CPU) | AMD Ryzen 3 3200G (4 Cores, 3.6 GHz Base, up to 4.0 GHz Max Boost) |
| กราฟิก (GPU) | Integrated Radeon Vega 8 Graphics (2GB Shared Memory) |
| หน่วยความจำระบบ (RAM) | 16GB DDR4 (2400 MHz), Max 128GB |
| พื้นที่จัดเก็บ | 480GB SSD |
| เฝ้าสังเกต | 22-inch LED, 1920x1080 Pixels Resolution, 16:9 Aspect Ratio |
| การเชื่อมต่อ | Ethernet, HDMI, USB, Wi-Fi 6 AX900, Bluetooth 5.4 |
| เอาท์พุตวิดีโอ | 1 * HDMI XNUMX * |
| วิธีการทำความเย็น | ระบบระบายความร้อนด้วยอากาศ |
| ขนาด (กว้าง x ยาว x สูง) | 35 x 28 x 38 ซม. |
| น้ำหนัก | 16.59 กก. |
| ประเภทปลั๊กไฟ | Type C/EF (2-pin European/Hybrid FR-DE) |
ข้อมูลการรับประกัน
Your Vibox I-525 PC comes with a comprehensive warranty:
- ส่วน: 2 ปี
- แรงงาน: ตลอดอายุการใช้งาน
Please retain your proof of purchase for warranty claims. For detailed terms and conditions, refer to the official Vibox webไซต์หรือติดต่อฝ่ายสนับสนุนลูกค้า
สนับสนุน
If you encounter any issues not covered in this manual or require further assistance, please contact Vibox customer support. You can typically find contact information on the official Vibox webเว็บไซต์.


