
1. บทนำ
This manual provides essential instructions for the safe operation and maintenance of your karuisrc K600GPS-7 GPS Drone. Please read this manual thoroughly before operating the drone to ensure proper usage and to prevent damage or injury. Retain this manual for future reference.
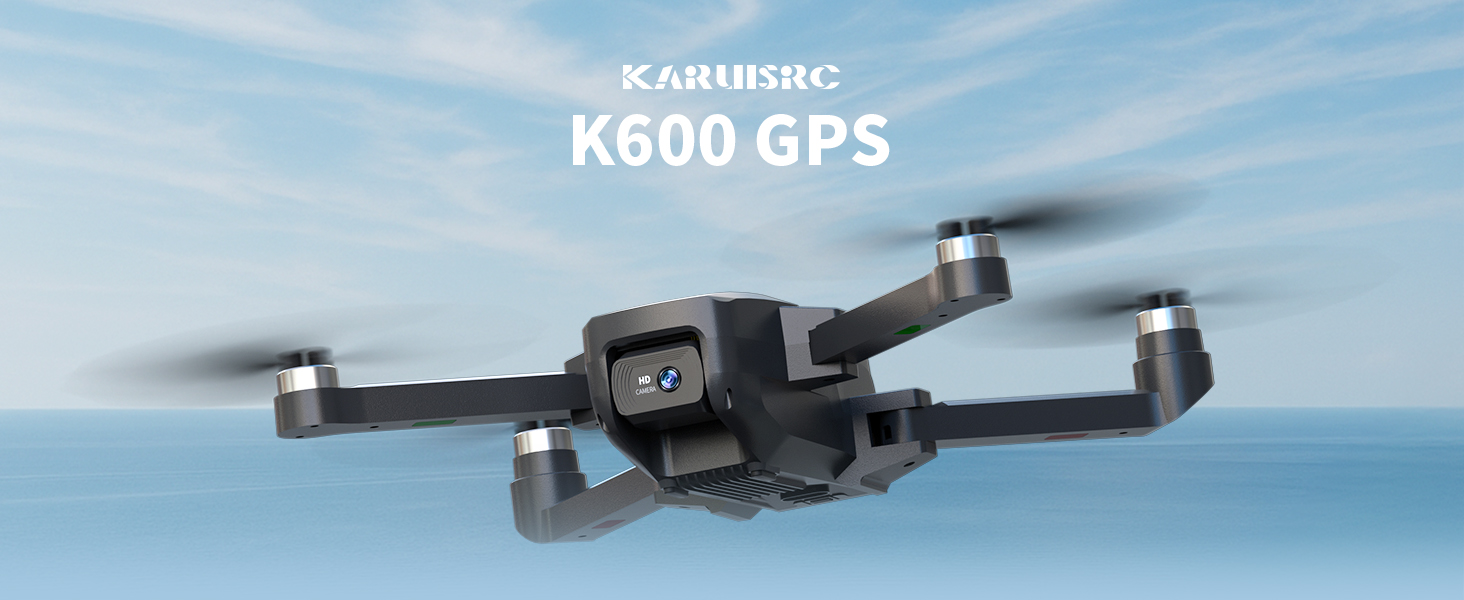
The karuisrc K600GPS-7 drone features a 110° FOV, 90° adjustable 1080P HD camera, 5G Wi-Fi connectivity, a 4.5-inch HD LCD screen on the remote, and a 1312 ft transmission range.
2. คำแนะนำด้านความปลอดภัย
Adhering to these safety guidelines is crucial for safe drone operation and to prevent accidents or damage.
- การตรวจสอบก่อนบิน: Always inspect the drone, remote control, and propellers for any damage before each flight. Ensure batteries are fully charged.
- สภาพแวดล้อม : Do not fly in strong winds, rain, snow, or fog. Maintain clear line of sight with the drone.
- พื้นที่บิน: Operate in open areas, away from people, animals, buildings, and power lines. Avoid flying over crowds or private property.
- ความปลอดภัยของแบตเตอรี่: Use only the provided charger and batteries. Do not overcharge or puncture batteries. Discontinue use if batteries show signs of swelling or damage.
- เคารพความเป็นส่วนตัว: Be mindful of privacy laws when using the camera function.
- คำแนะนำด้านอายุ: This drone is intended for adults.
3. เนื้อหาบรรจุภัณฑ์
ตรวจสอบว่ามีรายการทั้งหมดอยู่ในแพ็คเกจของคุณ:
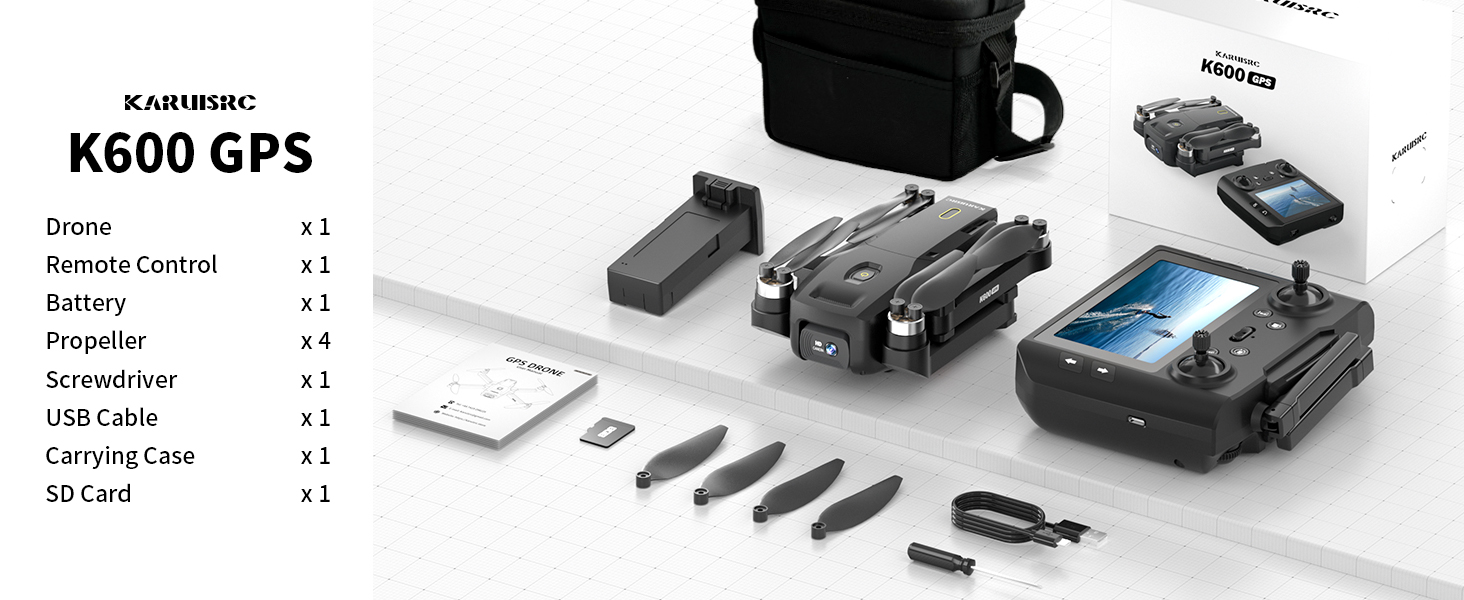
The karuisrc K600GPS-7 package includes the drone, remote control, battery, propellers, screwdriver, USB cable, carrying case, and an SD card.
- karuisrc K600GPS-7 Drone x 1
- Remote Control with 4.5-inch LCD Screen x 1
- Drone Battery (Lithium Ion) x 1
- ใบพัดสำรอง x 4
- ไขควง x 1
- สายชาร์จ USB x 1
- กระเป๋าถือ x 1
- 32GB SD Card x 1
- คู่มือการใช้งาน x 1
4. สินค้าหมดview
4.1 ส่วนประกอบของโดรน

The karuisrc K600GPS-7 drone features a foldable design for portability, equipped with a 1080p HD camera and GPS module.
- แขนพับได้: เพื่อการจัดเก็บและขนส่งแบบกะทัดรัด
- ใบพัด: ใบพัดหลักสี่ใบสำหรับใช้ในการบิน
- กล้อง HD: Front-facing 1080p camera with 90-degree adjustable angle.
- กล้องด้านล่าง: For optical flow positioning and landing assistance.
- โมดูล GPS: ช่วยให้สามารถกำหนดตำแหน่งได้อย่างแม่นยำและมีฟังก์ชันการบินอัจฉริยะ
- ช่องใส่แบตเตอรี่: Houses the removable Lithium Ion flight battery.
4.2 การควบคุมระยะไกล

The remote control for the karuisrc K600GPS-7 features an integrated 4.5-inch HD LCD screen for real-time video feed and flight data.
- หน้าจอ LCD HD ขนาด 4.5 นิ้ว: Displays real-time video feed and flight parameters.
- แท่งควบคุม: คันบังคับด้านซ้ายควบคุมคันเร่ง/การหมุนรอบแกนตั้ง คันบังคับด้านขวาควบคุมการเอียง/การหมุนรอบแกนแนวนอน
- ปุ่มฟังก์ชั่น: Dedicated buttons for one-key takeoff/landing, auto-return, photo/video capture, and speed modes.
- เสาอากาศ: เพื่อการส่งสัญญาณที่เสถียร
- ช่องใส่แบตเตอรี่: For remote control batteries (not included, typically AA).
5. คู่มือการติดตั้ง
5.1 การชาร์จแบตเตอรี่
- เสียงหึ่งๆแบตเตอรี่: Connect the drone battery to the USB charging cable and plug it into a 5V/2A USB adapter (not included). The indicator light will show charging status and turn off when fully charged. Charging time is approximately 120-150 minutes.
- แบตเตอรี่รีโมทคอนโทรล: Insert 3 AA batteries (not included) into the remote control's battery compartment, ensuring correct polarity.
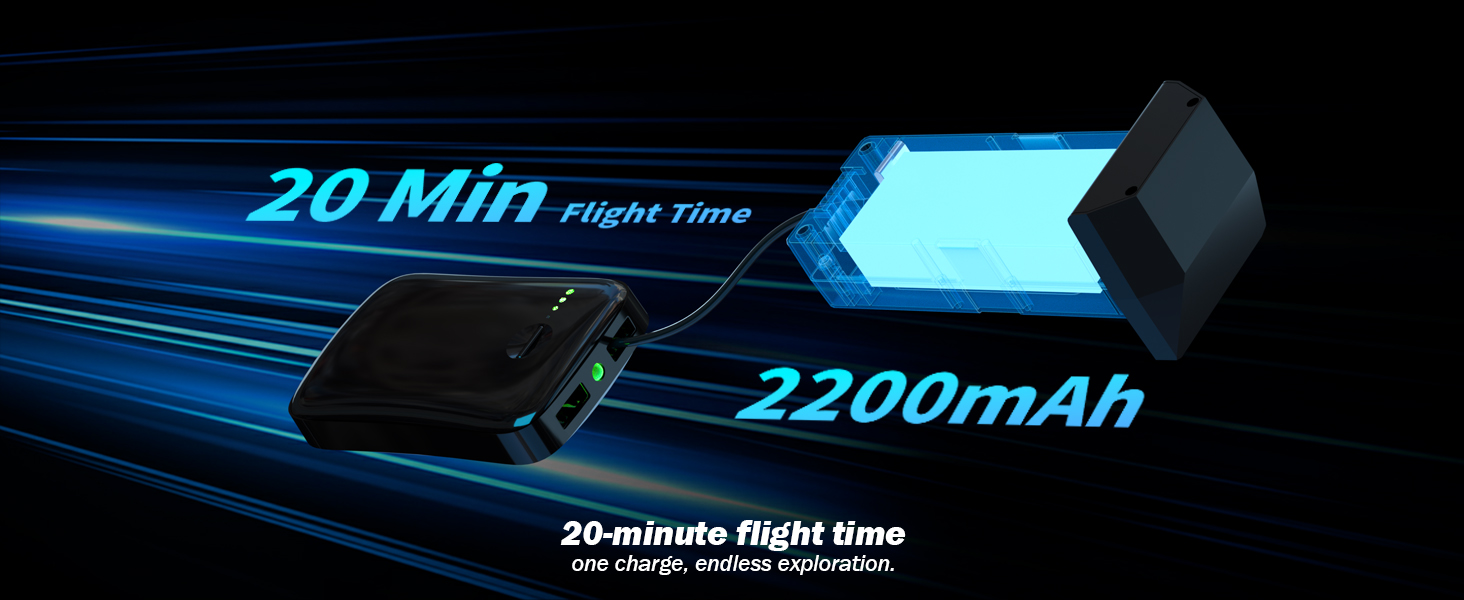
The karuisrc K600GPS-7 drone battery provides approximately 20 minutes of flight time with a 2200mAh capacity.
5.2 การติดตั้งใบพัด
Attach the propellers to the motor shafts according to the markings (A and B) on both the propellers and the drone arms. Use the provided screwdriver to secure them firmly.
5.3 การใส่การ์ด SD
Insert the provided 32GB SD card into the drone's SD card slot. Ensure it is inserted correctly until it clicks into place. This card is used for storing photos and videos.

The karuisrc K600GPS-7 drone supports an SD card for media storage, with a 32GB card included.
5.4 การจับคู่และการปรับเทียบ
- วางโดรนไว้บนพื้นผิวเรียบ
- Turn on the drone, then turn on the remote control. The remote will automatically search for the drone.
- Once paired, perform gyroscope calibration by moving both control sticks to the bottom-left or bottom-right corners simultaneously until the drone's indicator lights flash rapidly and then become solid.
- Perform GPS calibration by rotating the drone horizontally and then vertically as instructed by the remote control's screen or indicator lights. Wait for sufficient GPS satellites to be acquired (usually indicated by solid green lights).
6. คู่มือการใช้งาน
6.1 การควบคุมการบินขั้นพื้นฐาน

Operating the karuisrc K600GPS-7 drone in an open environment allows for optimal flight experience.
- ขึ้น/ลง: Press the one-key takeoff/landing button or push both control sticks to the bottom-outward corners to start/stop motors, then push the left stick up to ascend.
- ขึ้น/ลง: Push the left control stick up/down.
- ไปข้างหน้าไปข้างหลัง: Push the right control stick up/down.
- การบินไปด้านข้างซ้าย/ขวา: Push the right control stick left/right.
- เลี้ยวซ้าย/ขวา (การหมุนตัว): Push the left control stick left/right.
6.2 GPS Intelligent Flight Functions
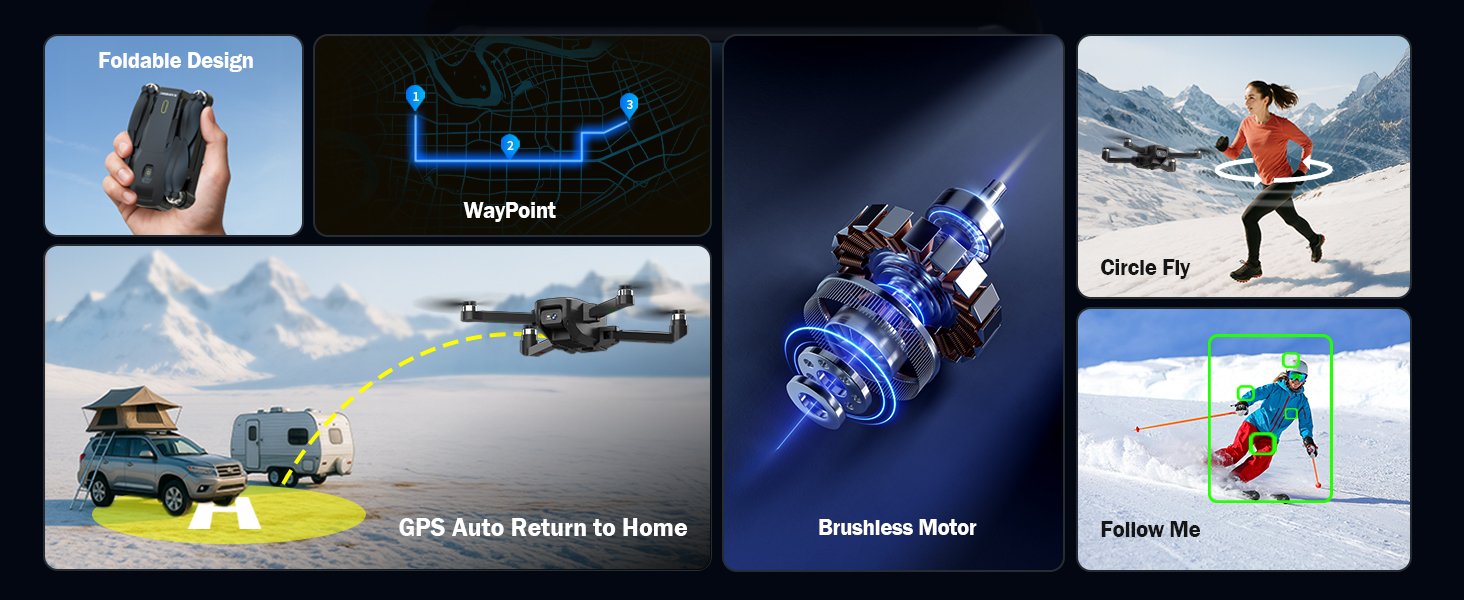
The karuisrc K600GPS-7 drone offers advanced features including WayPoint flight, Circle Fly, GPS Auto Return to Home, and Follow Me mode.
- GPS Auto Return to Home (RTH): The drone will automatically return to its takeoff point if the signal is lost, battery is low, or RTH is manually activated. Ensure sufficient GPS signal before flight.
- โหมดติดตามฉัน: The drone will automatically follow the remote control (or connected smartphone) at a set distance (3-50 meters) and altitude, keeping the subject centered.
- จุดแวะพักเที่ยวบิน: Plan a custom flight path by tapping points on the map within the companion app. The drone will fly along the designated route.
- วงกลมบิน: The drone will orbit around a designated point or the remote control, capturing footagจากมุมมองต่างๆ

The GPS auto-return function ensures the karuisrc K600GPS-7 drone safely returns to its starting point.
6.3 การทำงานของกล้อง

The karuisrc K600GPS-7 features a 1080p HD camera with 90-degree electric adjustment for versatile aerial photography and videography.
- จับภาพ: Press the dedicated photo button on the remote control to take a picture.
- การบันทึกวิดีโอ: กดปุ่มบันทึกวิดีโอโดยเฉพาะเพื่อเริ่มบันทึก กดอีกครั้งเพื่อหยุด
- การปรับมุมกล้อง: Use the designated button or dial on the remote to adjust the camera's vertical angle (90-degree electric adjustment).
- กล้องคู่: Switch between the front and bottom cameras via the remote or companion app for different perspectives.
6.4 LCD Screen Usage
The 4.5-inch HD LCD screen on the remote control provides a clear, real-time view from the drone's camera. It also displays important flight data such as altitude, distance, speed, and battery level. Monitor this information to ensure safe and controlled flight.
7. การบำรุงรักษา
การบำรุงรักษาตามปกติจะช่วยให้โดรนของคุณมีอายุการใช้งานยาวนานและมีประสิทธิภาพสูงสุด
- การทำความสะอาด: Use a soft, dry cloth to clean the drone and remote control. Avoid using solvents or harsh chemicals.
- การตรวจสอบใบพัด: ตรวจสอบใบพัดเป็นประจำว่ามีรอยแตก รอยงอ หรือความเสียหายหรือไม่ เปลี่ยนใบพัดที่เสียหายทันทีโดยใช้อะไหล่ที่ให้มา
- การดูแลแบตเตอรี่ เก็บแบตเตอรี่ไว้ในที่แห้งและเย็น อย่าเก็บแบตเตอรี่ที่ชาร์จเต็มหรือแบตเตอรี่ที่หมดเกลี้ยงไว้นานเกินไป ควรชาร์จแบตเตอรี่ให้เหลือประมาณ 50-60% สำหรับการเก็บรักษาในระยะยาว
- การบำรุงรักษามอเตอร์: รักษามอเตอร์ให้ปราศจากฝุ่นและสิ่งสกปรก ห้ามพยายามหล่อลื่นมอเตอร์ด้วยตนเอง
- พื้นที่จัดเก็บ: When not in use, store the drone and its accessories in the provided carrying case to protect them from dust and physical damage.
8 การแก้ไขปัญหา
โปรดดูหัวข้อนี้เพื่อดูปัญหาทั่วไปและวิธีแก้ไข
| ปัญหา | สาเหตุที่เป็นไปได้ | สารละลาย |
|---|---|---|
| โดรนไม่เปิดเครื่อง | แบตเตอรี่ไม่ได้ชาร์จหรือใส่ไม่ถูกต้อง | Ensure drone battery is fully charged and correctly inserted. |
| รีโมทคอนโทรลเปิดไม่ติด | AA batteries not inserted or depleted. | Insert fresh AA batteries with correct polarity. |
| Drone cannot pair with remote | ลำดับการจับคู่ไม่ถูกต้องหรือมีการรบกวน | Ensure drone and remote are turned on in sequence. Move to an area with less interference. Repeat pairing steps. |
| โดรนลอยไปมาระหว่างบิน | Gyroscope not calibrated or strong wind. | Perform gyroscope calibration on a flat surface. Avoid flying in strong winds. |
| GPS functions not working | Insufficient GPS signal or calibration not performed. | Fly in an open outdoor area. Perform GPS calibration. Wait for sufficient satellite acquisition. |
| คุณภาพของภาพจากกล้องไม่ดี | เลนส์สกปรกหรือสภาพแสงไม่ดี | Clean the camera lens. Ensure adequate lighting for recording. |
| ข้อผิดพลาดการ์ด SD | SD card not inserted correctly or corrupted. | Reinsert the SD card. Try formatting the card (backup data first) or use a different compatible SD card. |
9. ข้อมูลจำเพาะ
| คุณสมบัติ | รายละเอียด |
|---|---|
| ยี่ห้อ | คารุยส์อาร์ซี |
| ชื่อรุ่น | K600GPS-7 |
| คุณสมบัติพิเศษ | Auto Follow, Auto-Landing, GPS Auto Return |
| สี | สีดำ |
| ความละเอียดในการจับภาพวิดีโอ | 1080p |
| เทคโนโลยีการเชื่อมต่อ | ไวไฟ, บลูทูธ |
| ระดับทักษะ | ทั้งหมด |
| น้ำหนักสินค้า | 150 กรัม (5.3 ออนซ์) |
| รูปแบบการจับภาพวิดีโอ | เอ็มพี 4 |
| ประเภทการควบคุม | รีโมทคอนโทรล |
| วัสดุ | พลาสติก |
| ส่วนประกอบของเซลล์แบตเตอรี่ | ลิเธียมไอออน |
| รวมแบตเตอรี่ | Yes (1 Nonstandard Battery for drone) |
| รวมรีโมทคอนโทรล | ใช่ |
| เทคโนโลยีเซ็นเซอร์ออปติคัล | CMOS, CCD |
| ขนาดสินค้า | ยาว 7.09 นิ้ว x กว้าง 1.97 นิ้ว x สูง 8.66 นิ้ว |
| ผู้ผลิต | คารุยส์อาร์ซี |
| วันที่พร้อมใช้งานครั้งแรก | วันที่ 11 มิถุนายน 2025 |
10. การรับประกันและการสนับสนุน
karuisrc is committed to providing quality products and customer satisfaction. For any questions, technical assistance, or warranty claims, please contact our support team.

karuisrc customer support is available Monday to Sunday, 24 hours a day.
- อีเมล: Karuisrc@gmail.com
- โทรศัพท์: +44 7419 298225
Please have your model number (K600GPS-7) and purchase information ready when contacting support.