
การแนะนำ
This manual provides detailed instructions for setting up, operating, and maintaining your Gisotu T1 Magnetic Selfie Monitor Screen. Please read this manual thoroughly before use to ensure optimal performance and safety.
มีอะไรอยู่ในกล่อง
- Vlog Selfie Monitor Screen (x1)
- Bluetooth Remote Control (x1)
- Magnetic Ring (x1)
- คู่มือผู้ใช้ (x1)
- USB A to Type-C cable (x1)

Image: The Gisotu T1 Magnetic Selfie Monitor Screen package contents, showing the monitor, Bluetooth remote, magnetic ring, user manual, and USB-C charging cable.
การตั้งค่า
1. การเปิดเครื่องและการชาร์จ
Before first use, ensure the device is fully charged using the provided USB A to Type-C cable. The charging port is located on the side of the monitor. To power on, slide the power switch to the "ON" position.

ภาพ: รายละเอียด view of the Gisotu T1 monitor's side, highlighting the power switch, Type-C charging port, and indicator light.
2. Attaching the Monitor to Your Phone
The Gisotu T1 features a powerful magnetic grip for secure attachment. For iPhone 12-16 models, the monitor attaches directly. If using an iPhone case, remove it for the most stable connection. For other smartphones, use the included magnetic sheet by peeling off its adhesive backing and securely applying it to your device.
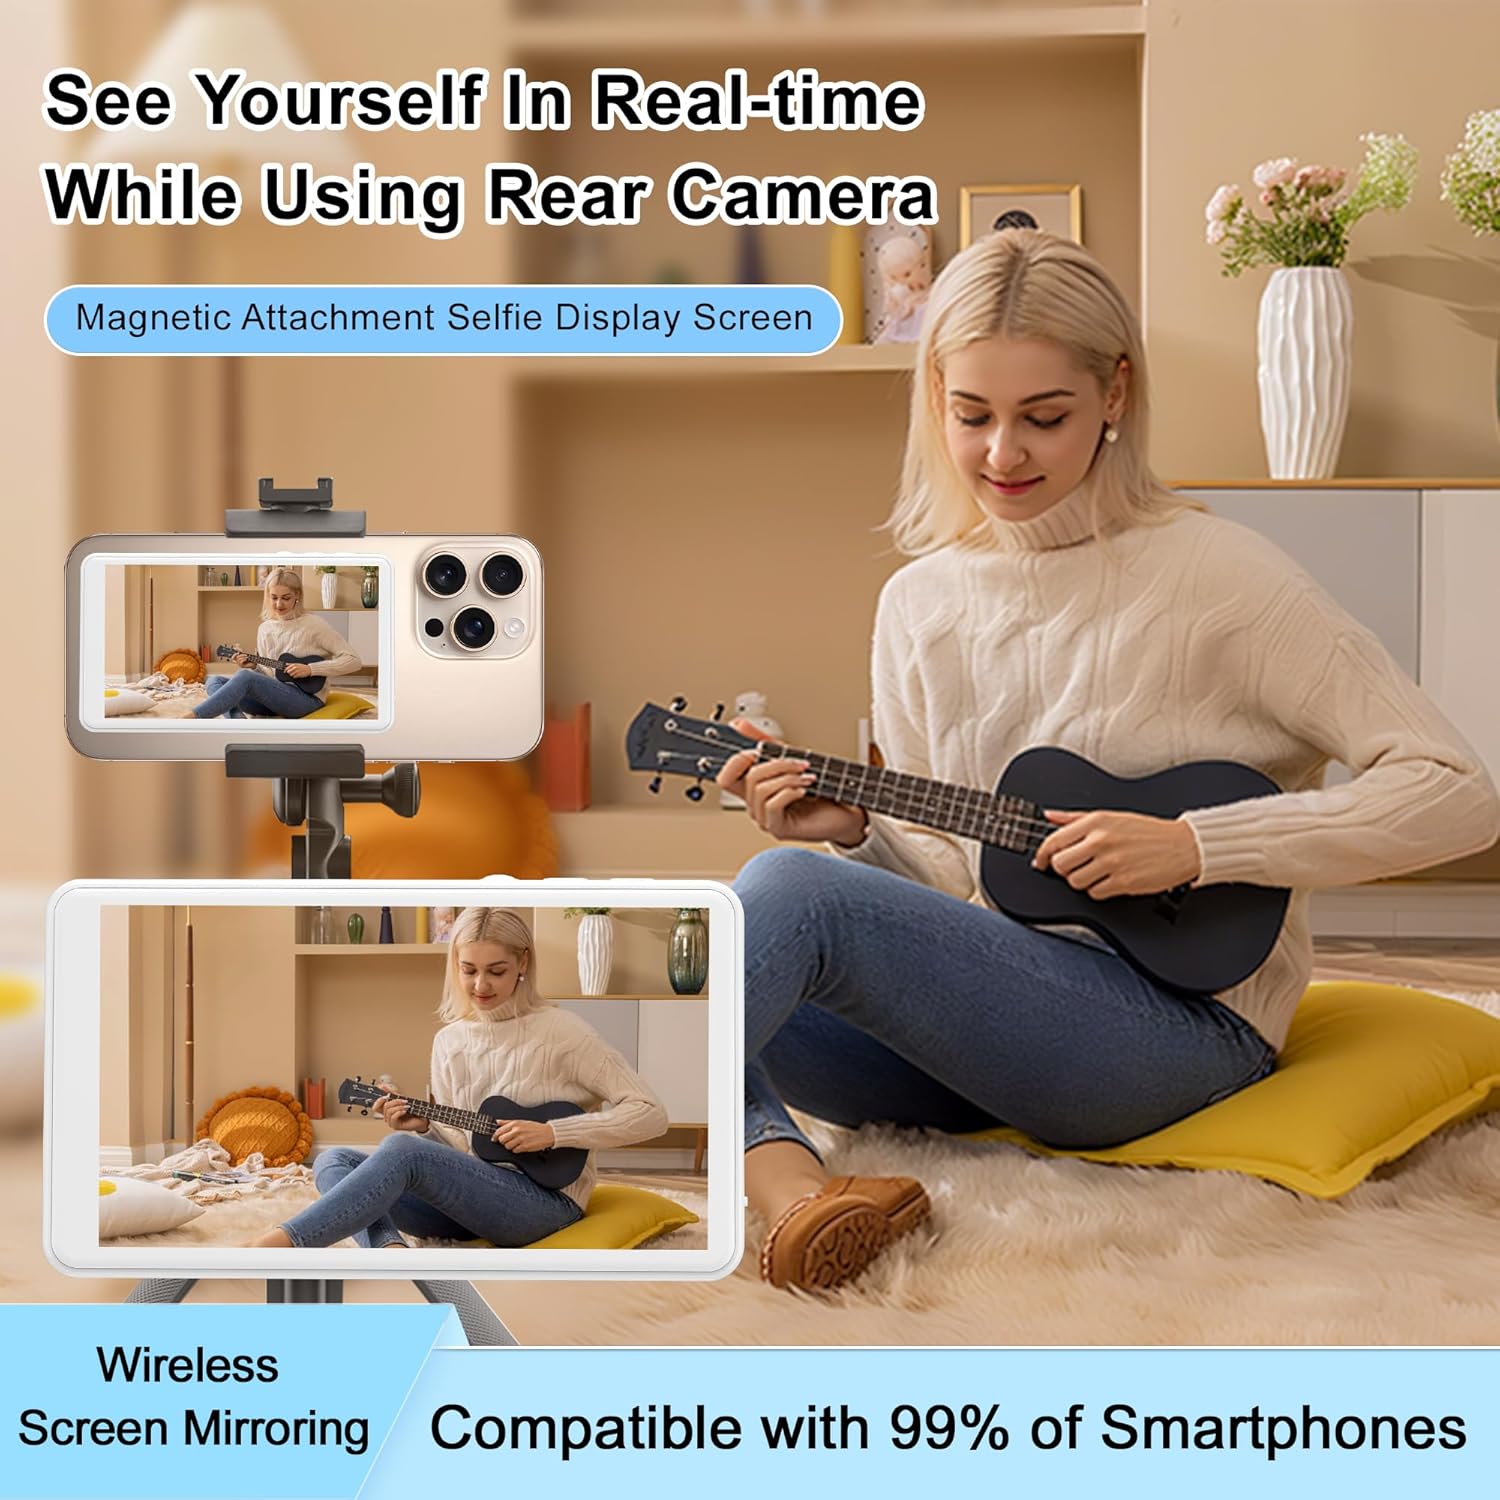
Image: A hand demonstrating the magnetic attachment of the Gisotu T1 monitor to the back of an iPhone.

Image: Illustration of how the magnetic selfie monitor attaches to iPhones and how to use the magnetic ring for other smartphone models.
3. Connecting to Your Phone (Screen Mirroring)
The monitor connects wirelessly via screen mirroring, requiring no additional apps.
For iPhone Devices:
- Swipe down from the top-right corner of your iPhone screen to open the Control Center.
- Tap the "Screen Mirroring" icon.
- In the list of available devices, find and select "Gisotu_p2p".
- For the first connection, you will be prompted to enter a verification code. The default code is "1234".
Video: Demonstrates the screen mirroring connection process for iPhone devices, including swiping down for Control Center, selecting "Screen Mirroring", choosing "Gisotu_p2p", and entering the verification code.
สำหรับอุปกรณ์ Android:
- Swipe down from the top menu on your Android phone to access the "Casting Function" (this may be labeled as "Wireless Projection", "Smart View", or similar depending on your phone model).
- Find and select "Gisotu_p2p" in the list of search devices.
- The first connection may require a verification code "1234".
Video: Illustrates the screen mirroring connection process for Android devices, showing how to access the casting function and connect to "Gisotu_p2p".
4. Connecting the Bluetooth Remote Control
The included Bluetooth remote allows for hands-free photo and video capture.
- เปิดใช้งานรีโมทคอนโทรลบลูทูธ
- บนสมาร์ทโฟนของคุณ ให้ไปที่การตั้งค่าบลูทูธ
- Find and pair with "AB Shutter3".
Video: Shows how to pair the Bluetooth remote control ("AB Shutter3") with a smartphone for remote photo and video capture.
คำแนะนำการใช้งาน
1. Real-time Screen Display
Once connected, the Gisotu T1 monitor will instantly mirror your phone's screen, allowing you to see yourself clearly when using your phone's rear camera for vlogging, live streaming, or taking selfies.
Video: A short demonstration of the Gisotu T1 monitor displaying a smartphone's rear camera view in real-time, enabling users to frame themselves for selfies or vlogs.

Image: A user utilizing the Gisotu T1 monitor to frame herself while recording with the rear camera of her smartphone.
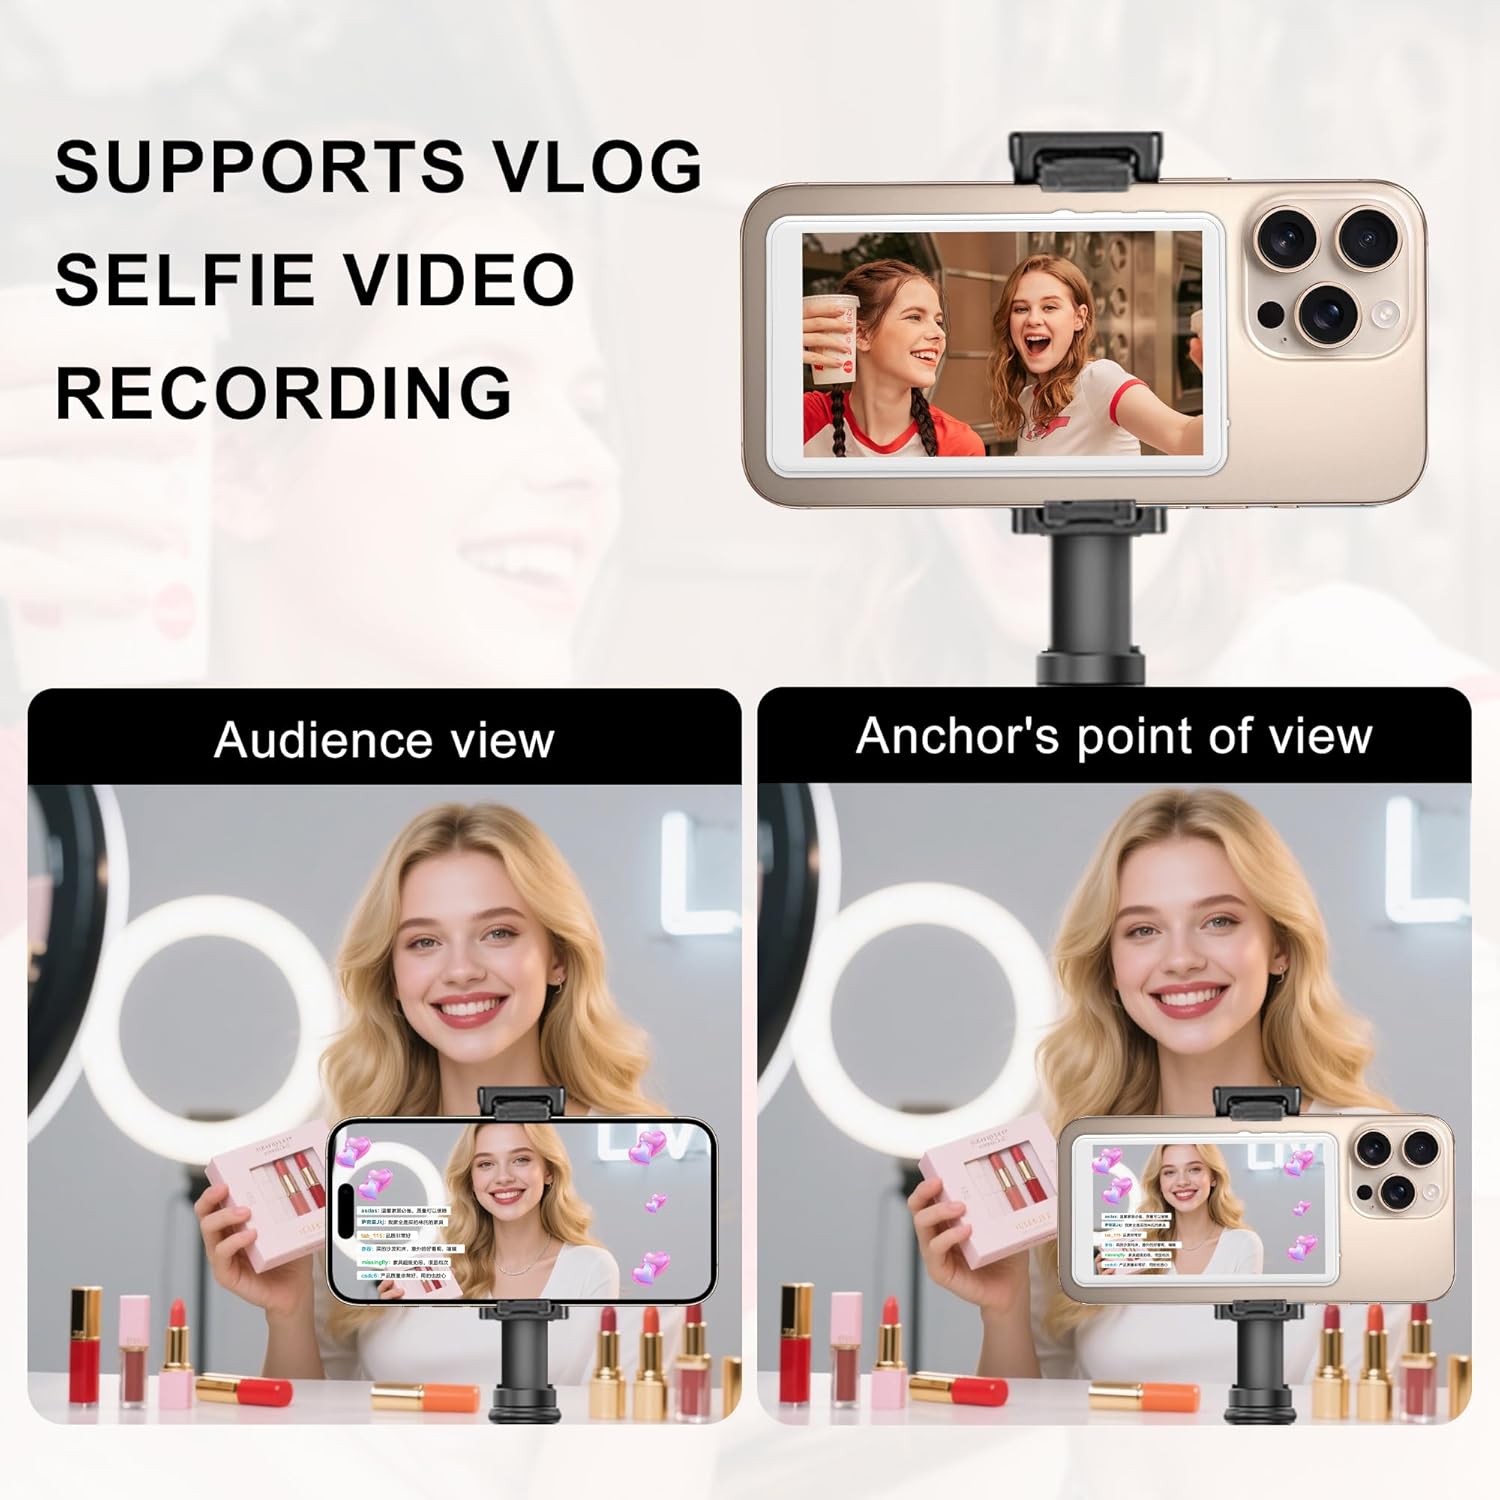
Image: Demonstrates the improved image quality when using the phone's rear camera with the Gisotu T1 monitor compared to the front camera.
2 การหมุนหน้าจอ
The monitor supports 180° rotation and one-touch portrait/landscape switching. Use the dedicated screen rotation button on the side of the monitor to adjust the orientation as needed.

Image: The Gisotu T1 monitor demonstrating its 180-degree rotation capability for flexible viewมุมการเอียง
Video: Shows the screen rotation feature of the Gisotu T1 monitor, allowing users to switch between portrait and landscape views.
3. การปรับความสว่าง
The monitor offers three levels of brightness adjustment (low/medium/high) to ensure optimal visibility in various lighting conditions. Use the brightness adjustment button on the side of the monitor to cycle through the levels.

Image: Illustrates the three adjustable brightness levels (low, medium, high) of the Gisotu T1 monitor for different environments.
Video: Demonstrates how to adjust the brightness of the Gisotu T1 monitor using the dedicated button.
4. การใช้งานรีโมทบลูทูธ
After pairing the Bluetooth remote, you can use it to remotely trigger your phone's camera for photos or start/stop video recording. This is ideal for group photos, vlogging, or any situation where you need to operate your camera from a distance.

Image: A user holding a smartphone with the Gisotu T1 monitor attached, demonstrating the use of the Bluetooth remote control.
การซ่อมบำรุง
- การทำความสะอาด: Use a soft, dry cloth to clean the screen and body of the monitor. Avoid using harsh chemicals or abrasive materials.
- พื้นที่จัดเก็บ: เก็บจอภาพไว้ในที่แห้งและเย็น หลีกเลี่ยงแสงแดดโดยตรงและอุณหภูมิที่สูงหรือต่ำเกินไป
- การดูแลแบตเตอรี่ เพื่อยืดอายุการใช้งานแบตเตอรี่ ควรหลีกเลี่ยงการคายประจุแบตเตอรี่จนหมดบ่อยๆ ควรชาร์จอุปกรณ์เป็นประจำ แม้ว่าจะไม่ได้ใช้งานเป็นเวลานานก็ตาม
การแก้ไขปัญหา
- Monitor not connecting to phone:
- Ensure the monitor is powered on and has sufficient battery.
- Verify Wi-Fi is enabled on your iPhone for connection.
- If "Gisotu_p2p" does not appear in your phone's device list, restart the Selfie Screen and search again.
- Confirm you have entered the correct verification code (default is "1234") for the first connection.
- ความไม่เข้ากัน:
- The Selfie Monitor Screen is ไม่เข้ากัน with iPhone 17 and Google Pixel devices.
- No sound or photography function:
- This device is a sharing screen only. It does not have built-in sound recording or photography capabilities. These functions are handled by your connected smartphone.
- 4K video recording lag on iPhone:
- The iPhone native camera may not support 4K video recording without lag when screen mirroring. For 4K recording, it is recommended to download and use third-party camera apps like Blackmagic Camera.
- 4K 60fps recording is supported for Samsung Galaxy devices.
- Magnetic attachment not stable:
- If using an iPhone case, remove it for the most stable magnetic connection.
- Ensure the magnetic ring (for non-MagSafe phones) is securely attached and properly aligned.
ข้อมูลจำเพาะ
| ขนาดสินค้า | 0.43 x 2.36 x 4.13 นิ้ว |
| น้ำหนักสินค้า | 5 ออนซ์ |
| หมายเลขรุ่นสินค้า | T1 |
| แบตเตอรี่ | ต้องใช้แบตเตอรี่ลิเธียมโพลิเมอร์ 1 ก้อน (รวมอยู่ด้วย) |
| เทคโนโลยีการสื่อสารไร้สาย | บลูทู ธ Wi-Fi |
| เทคโนโลยีการเชื่อมต่อ | บลูทูธ |
| สี | สีขาว |
| ผู้ผลิต | Gisotu |
| วันที่พร้อมใช้งานครั้งแรก | 10 กรกฎาคม 2025 |
การรับประกันและการสนับสนุน
For warranty information and customer support, please refer to the contact details provided by Gisotu at the point of purchase or visit the official Gisotu webไซต์ โปรดเก็บใบเสร็จรับเงินของคุณไว้เป็นหลักฐานการซื้อสำหรับการเรียกร้องการรับประกันใดๆ
เยี่ยมชม Gisotu Store สำหรับผลิตภัณฑ์และการสนับสนุนเพิ่มเติม