
rockspace AC1200
rockspace AC1200 Dual Band WiFi Extender Instruction Manual
แบบ: AC1200
1. สินค้าหมดview
The rockspace AC1200 Dual Band WiFi Extender is designed to expand your existing wireless network coverage, eliminating dead zones and providing a stronger, more reliable internet connection throughout your home or office. It operates on both 2.4 GHz and 5 GHz frequency bands, offering combined speeds up to 733Mbps for various online activities.

Image 1.1: The rockspace AC1200 Dual Band WiFi Extender with its two external antennas and indicator lights.
คุณสมบัติหลัก:
- ขยายการครอบคลุม: Provides 360° signal coverage, extending your WiFi network up to 1292 sq. ft.
- ประสิทธิภาพแบบดูอัลแบนด์: Supports both 2.4 GHz (for wider coverage) and 5 GHz (for faster speeds) bands, with a combined rate of up to 733Mbps.
- เข้ากันได้สากล: Works with all standard 802.11n/g/b/ac routers and gateways.
- ตัวบ่งชี้สัญญาณอัจฉริยะ: Helps identify the optimal placement for the extender by displaying connection status with varied colors.
- ตั้งค่าได้ง่าย: Features a one-press WPS button setup for quick connection to your router.

Image 1.2: Illustration showing how the WiFi extender expands coverage to eliminate dead zones in a multi-story home.
2. คำแนะนำในการตั้งค่า
There are two primary methods to set up your rockspace AC1200 WiFi Extender: using the WPS button or via a web เบราว์เซอร์
2.1. WPS Button Setup (Recommended for quick setup)
The WPS (Wi-Fi Protected Setup) method allows for a quick and easy connection to your existing router.
- เปิดเครื่อง: Plug the WiFi extender into an electrical outlet near your main router. Wait for the Power (PWR) LED to turn solid blue.
- เปิดใช้งาน WPS บน Extender: Press the WPS button on the side of the extender. The WPS LED will start blinking.
- เปิดใช้งาน WPS บนเราเตอร์: Within two minutes, press the WPS button on your main router. Refer to your router's manual if you cannot locate the WPS button.
- เชื่อมต่อ: Wait for the WPS LED on the extender to turn solid blue, indicating a successful connection. This may take a few moments.
- ย้าย: Once connected, unplug the extender and move it to a location halfway between your router and the WiFi dead zone. Plug it into an outlet and wait for the Signal LED to turn blue (indicating a good connection).

Image 2.1: Diagram illustrating the WPS setup process, showing pressing WPS buttons on both the router and the extender.
2.2. Web การตั้งค่าเบราว์เซอร์
If your router does not have a WPS button, or if the WPS method fails, you can set up the extender using a web เบราว์เซอร์
- เปิดเครื่อง: Plug the WiFi extender into an electrical outlet near your main router. Wait for the Power (PWR) LED to turn solid blue.
- Connect to Extender's WiFi: On your computer or smartphone, connect to the extender's default WiFi network (e.g., "rockspace_EXT" or similar, usually found on a label on the device). No password is required initially.
- เข้าสู่หน้าการตั้งค่า: เปิด web browser (e.g., Chrome, Firefox) and enter the default IP address or domain name (e.g., re.rockspace.local or 192.168.0.254) ในแถบที่อยู่
- ปฏิบัติตามคำแนะนำบนหน้าจอ: Create an administrator password, select your existing WiFi network, and enter its password. The extender will then connect to your router.
- ย้าย: Once setup is complete, unplug the extender and move it to an optimal location. Plug it back in and wait for the Signal LED to turn blue.
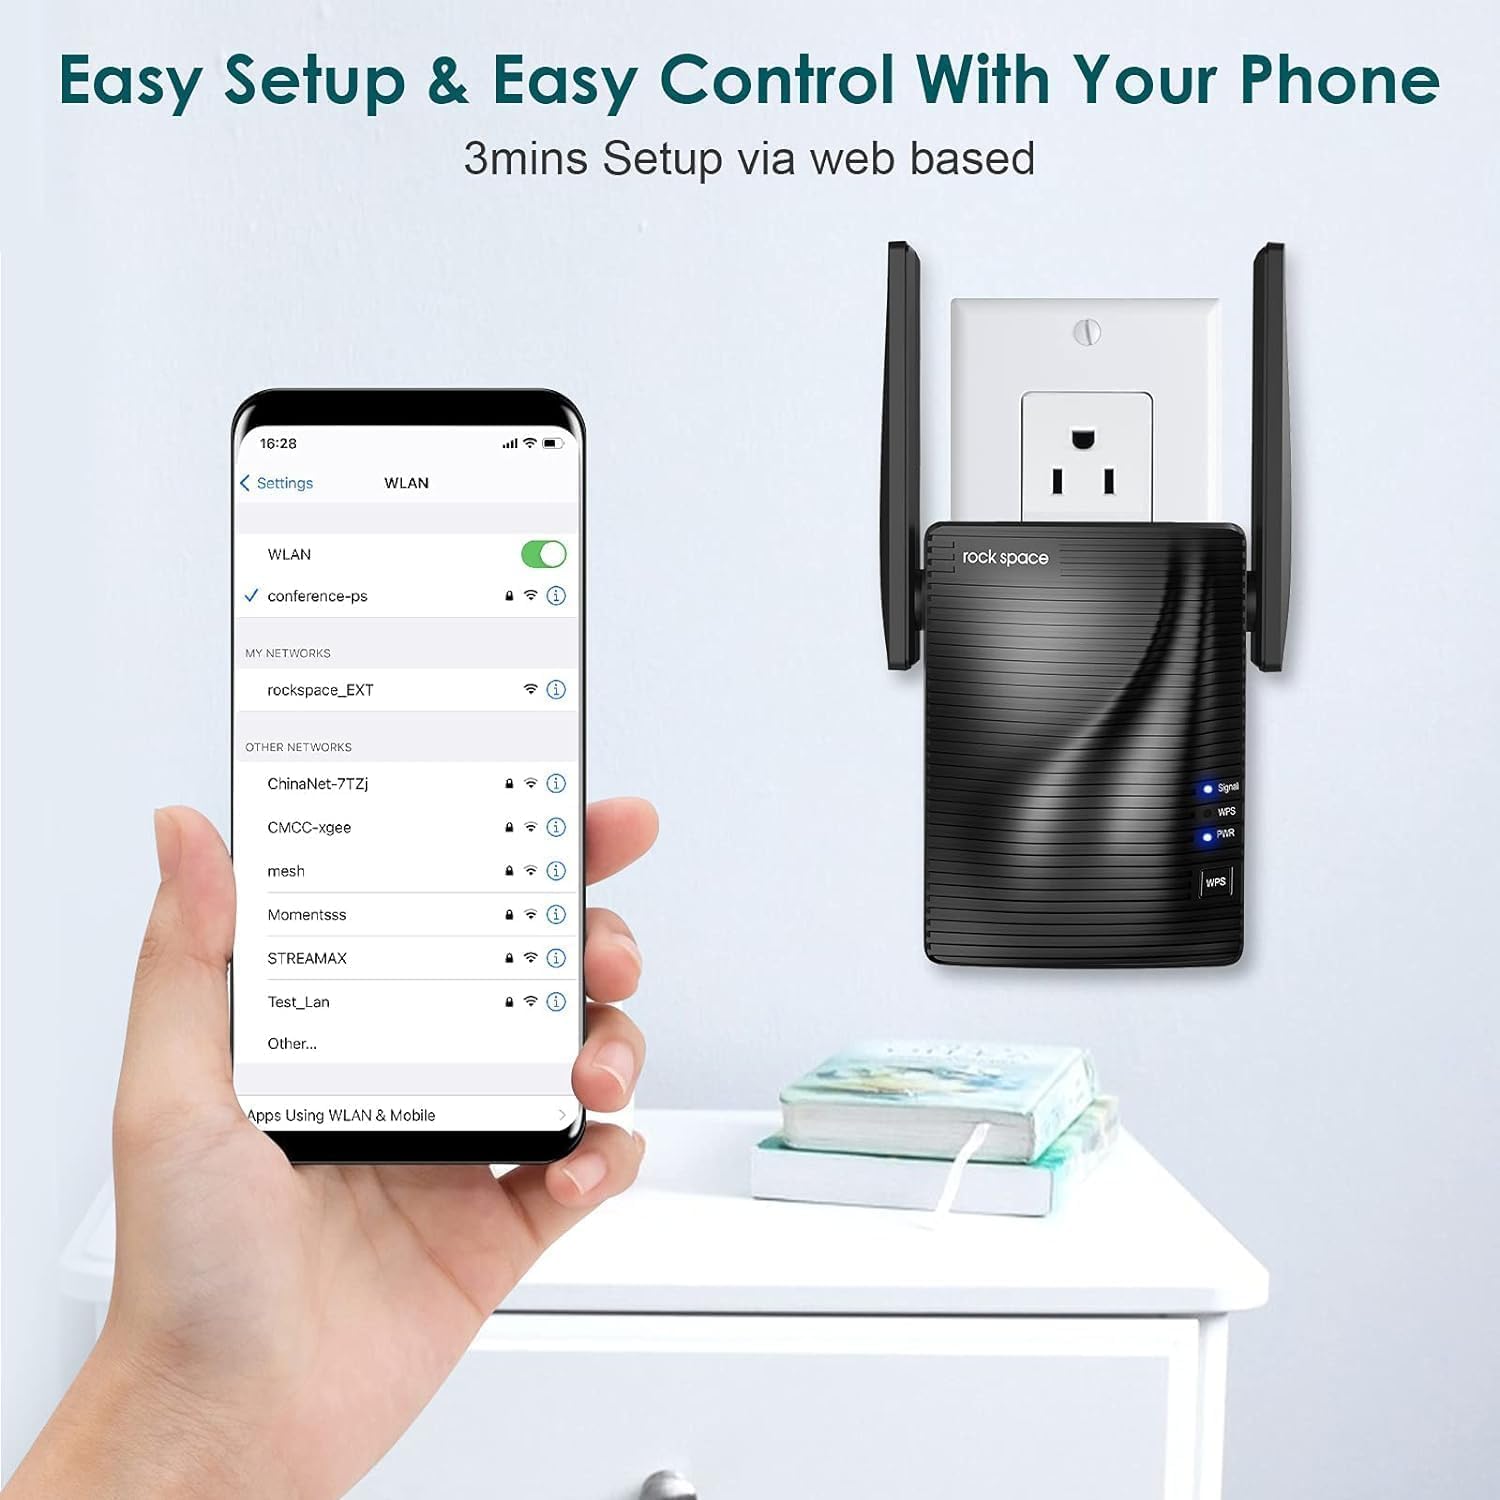
Image 2.2: A smartphone screen showing connection to the extender's WiFi network for webการตั้งค่าตาม
3. คู่มือการใช้งาน
3.1. ทำความเข้าใจไฟแสดงสถานะ
- Power (PWR) LED: Solid blue indicates the extender is powered on.
- ไฟ LED WPS: Blinking indicates WPS pairing mode. Solid blue indicates a successful WPS connection.
- สัญญาณไฟ LED:
- ของแข็งสีฟ้า: Good signal strength from the router.
- สีแดงทึบ: Weak signal strength from the router. Consider relocating the extender closer to the router.
- ปิด: No connection to the router.
3.2. Dual Band Operation
The AC1200 extender creates two extended networks, one for 2.4 GHz and one for 5 GHz. Devices connected to the 2.4 GHz network will generally have a wider range, while devices connected to the 5 GHz network will experience faster speeds, ideal for streaming and gaming.

Image 3.1: Illustration showing devices connected to 2.4GHz and 5GHz bands with their respective speed capabilities.
3.3. การเชื่อมต่อแบบมีสาย
The extender may include an Ethernet port, allowing you to connect a wired device (like a desktop computer, gaming console, or smart TV) to the extended network for a stable, high-speed connection.
4. การบำรุงรักษา
Proper maintenance ensures the longevity and optimal performance of your WiFi extender.
- การทำความสะอาด: Gently wipe the device with a dry, soft cloth. Avoid using liquid cleaners or aerosols.
- การระบายอากาศ : Ensure the extender is placed in a location with adequate airflow to prevent overheating. Do not cover ventilation holes.
- สิ่งแวดล้อม: ควรหลีกเลี่ยงการวางตัวขยายสัญญาณไว้ในที่ที่มีแสงแดดส่องโดยตรง ใกล้แหล่งความร้อน หรือในบริเวณที่มีความชื้นสูง
- อัพเดตเฟิร์มแวร์: Periodically check the rockspace official webเว็บไซต์สำหรับการอัปเดตเฟิร์มแวร์ การอัปเดตเฟิร์มแวร์สามารถปรับปรุงประสิทธิภาพ เพิ่มฟีเจอร์ใหม่ และแก้ไขข้อบกพร่องได้
5 การแก้ไขปัญหา
If you encounter issues with your WiFi extender, try the following troubleshooting steps:
5.1. ไม่มีสัญญาณอินเทอร์เน็ตหรือสัญญาณอ่อน
- ตรวจสอบตำแหน่ง: Relocate the extender closer to your main router. The Signal LED should be solid blue.
- ตรวจสอบการเชื่อมต่อเราเตอร์: Ensure your main router is working correctly and providing internet access.
- Re-setup: Try performing the setup process again, either via WPS or web เบราว์เซอร์
- การรบกวน: Move the extender away from large metal objects, microwaves, cordless phones, or other devices that might cause interference.
5.2. ความเร็วช้า
- ตำแหน่งที่เหมาะสมที่สุด: Ensure the extender is placed in an optimal location (Signal LED solid blue).
- การเลือกวงดนตรี: For speed-intensive tasks, try connecting your device to the 5 GHz extended network if available.
- ความแออัดของเครือข่าย: Too many devices on your network or heavy internet usage can slow down speeds.
5.3. การตั้งค่า WPS ล้มเหลว
- เวลา: Ensure you press the WPS button on both the extender and router within the two-minute window.
- เราเตอร์ WPS: Some routers require WPS to be enabled in their settings. Check your router's manual.
- การตั้งค่าทางเลือก: ใช้ web browser setup method if WPS continues to fail.
5.4. Forgot Administrator Password or Network Name/Password
- รีเซ็ตเป็นค่าเริ่มต้นจากโรงงาน: Locate the reset button (usually a small pinhole) on the extender. With the extender powered on, use a paperclip to press and hold the reset button for about 8-10 seconds until the LEDs flash. The extender will revert to factory default settings, and you will need to set it up again.
6. ข้อมูลจำเพาะ
| คุณสมบัติ | ข้อมูลจำเพาะ |
|---|---|
| แบบอย่าง | เอซี1200 |
| ไร้มาตรฐาน | IEEE 802.11ac/n/g/b |
| ย่านความถี่ | 2.4GHz และ 5GHz |
| Combined Speed | Up to 733 Mbps (300 Mbps for 2.4 GHz, 433 Mbps for 5 GHz) |
| เสาอากาศ | Dual External Antennas |
| พอร์ตอีเทอร์เน็ต | 1x10/100 เมกะบิตต่อวินาที |
| ความปลอดภัย | WPA-PSK/WPA2-PSK |
| ขนาด | 4.8 x 3.86 x 3.43 นิ้ว |
| น้ำหนัก | 9.4 ออนซ์ |
7. ข้อมูลการรับประกัน
rockspace products typically come with a limited warranty. For detailed warranty terms and conditions, please refer to the warranty card included with your product or visit the official rockspace webไซต์ โปรดเก็บใบเสร็จรับเงินไว้เป็นหลักฐานการซื้อสำหรับการเรียกร้องการรับประกัน
8. การสนับสนุนลูกค้า
If you require further assistance or have questions not covered in this manual, please contact rockspace customer support through their official webไซต์หรือข้อมูลการติดต่อที่ให้มาพร้อมกับบรรจุภัณฑ์ผลิตภัณฑ์ของคุณ
Ask a question about this manual
Ask about setup, troubleshooting, compatibility, parts, safety, or missing instructions. Manuals+ will review the question and use this page’s manual context to help answer it.