
1. บทนำ
This user manual provides detailed instructions for the setup, operation, maintenance, and troubleshooting of your TOMLOV DM301 Pro Digital Microscope. Please read this manual thoroughly before using the device to ensure proper functionality and to maximize your viewing and capturing experience.
2. อะไรอยู่ในกล่อง
เมื่อเปิดบรรจุภัณฑ์ โปรดตรวจสอบให้แน่ใจว่าส่วนประกอบทั้งหมดอยู่ในสภาพสมบูรณ์และไม่เสียหาย บรรจุภัณฑ์มาตรฐานประกอบด้วย:
- TOMLOV DM301 Pro Digital Microscope with 7" IPS Display
- สาย USB
- สาย HDMI
- อะแดปเตอร์แปลงไฟ
- Prepared Slides Kit
- คู่มือการใช้งาน
- ผ้าเช็ดทำความสะอาด
- (Optional) Handheld Digital Microscope (P30green model)
- (Optional) 16GB MicroSD Card
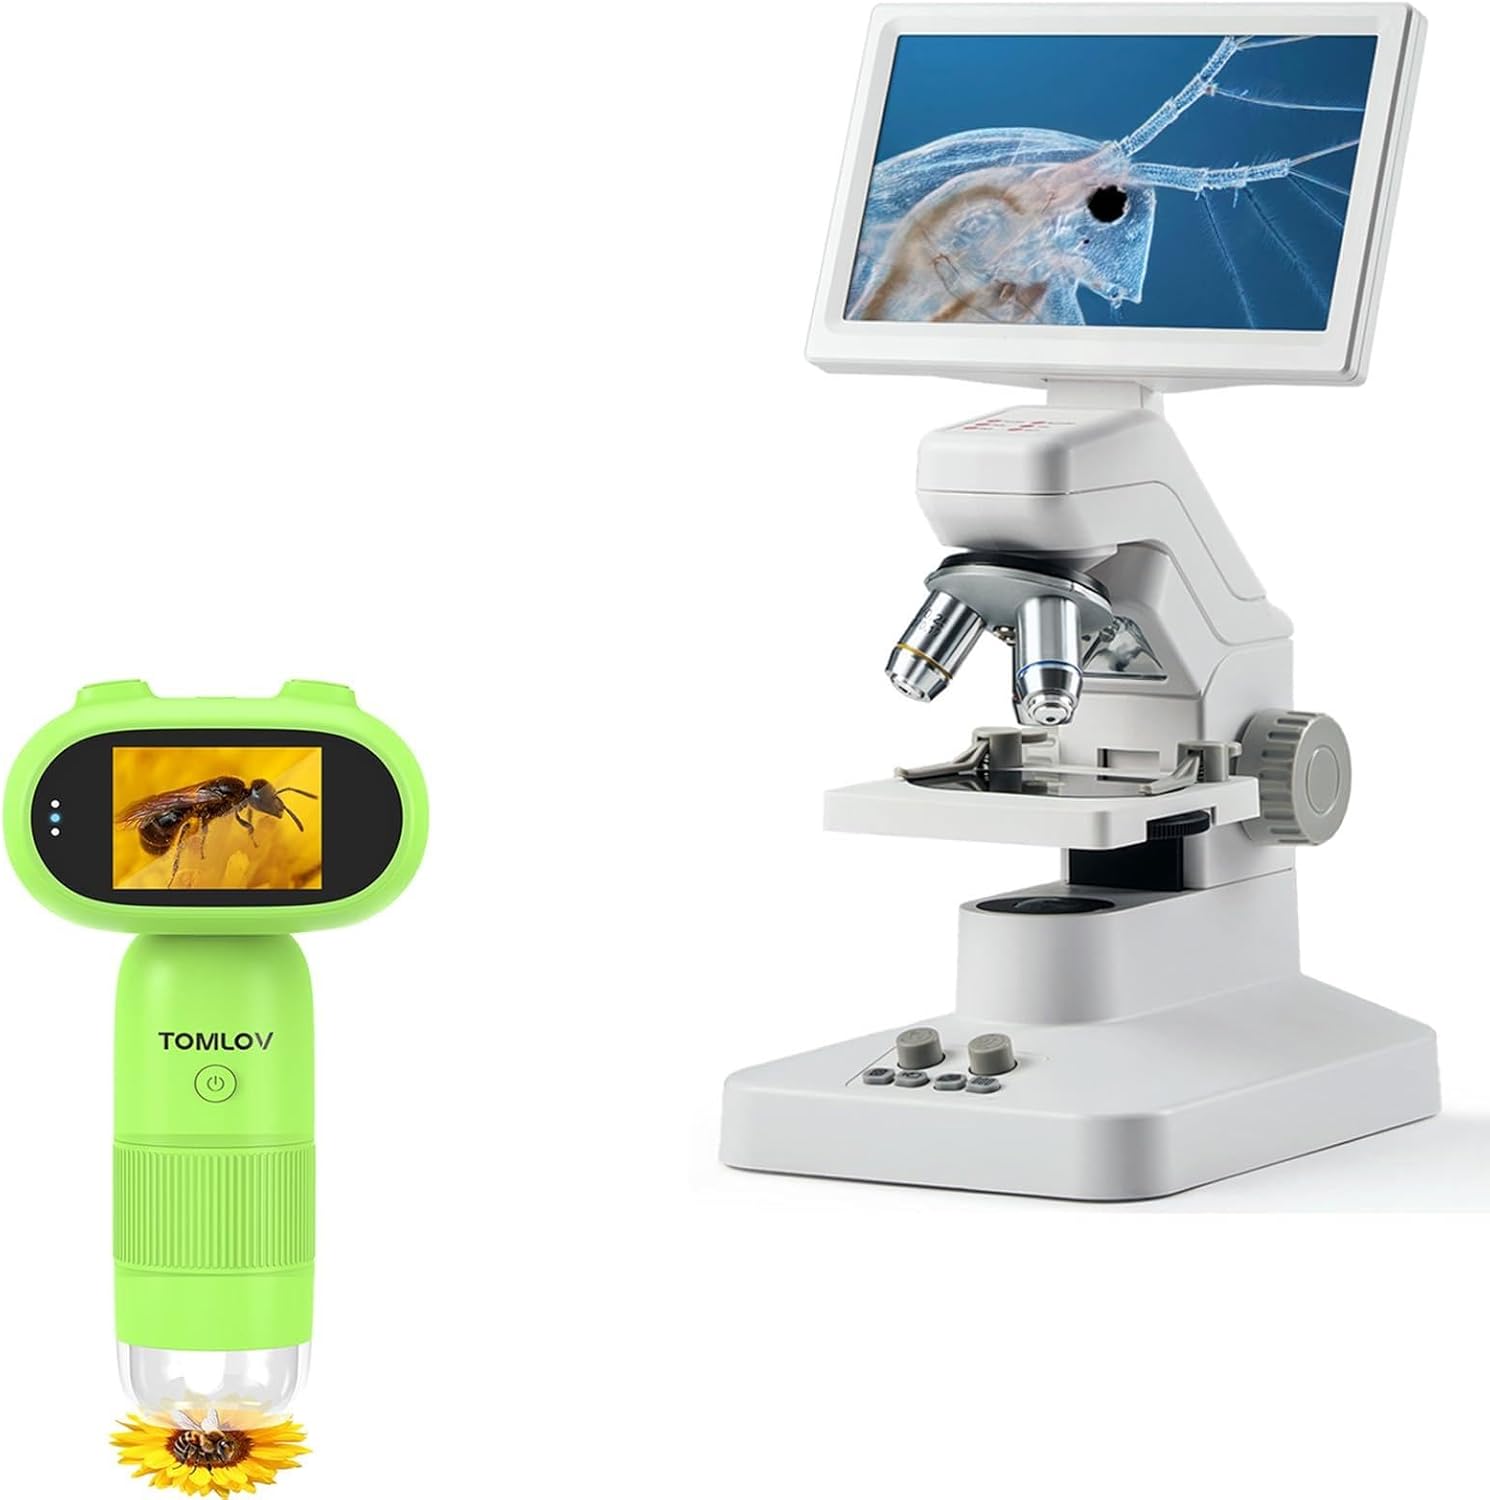
Image: Main components of the TOMLOV DM301 Pro Digital Microscope package, including the primary microscope unit and an optional handheld microscope.

Image: The optional TOMLOV P30green handheld microscope, shown with a 16GB microSD card and a set of prepared slides, indicating included accessories.
3. สินค้าหมดview
Familiarize yourself with the various parts and controls of the TOMLOV DM301 Pro Digital Microscope.
- จอแสดงผล IPS ขนาด 7 นิ้ว: Full-color screen for direct viewการไอเอ็นจี
- เลนส์วัตถุ: Multiple achromatic lenses for various magnifications (e.g., 4X, 10X, 40X).
- ปุ่มปรับโฟกัส: Coarse and fine adjustment for clear imaging.
- Stage: Platform for placing specimens.
- การส่องสว่างด้วยไฟ LED: Top and bottom light sources for optimal specimen viewการไอเอ็นจี
- ปุ่มควบคุม: Power, capture, zoom, menu navigation.
- พอร์ต: USB, HDMI, MicroSD card slot.
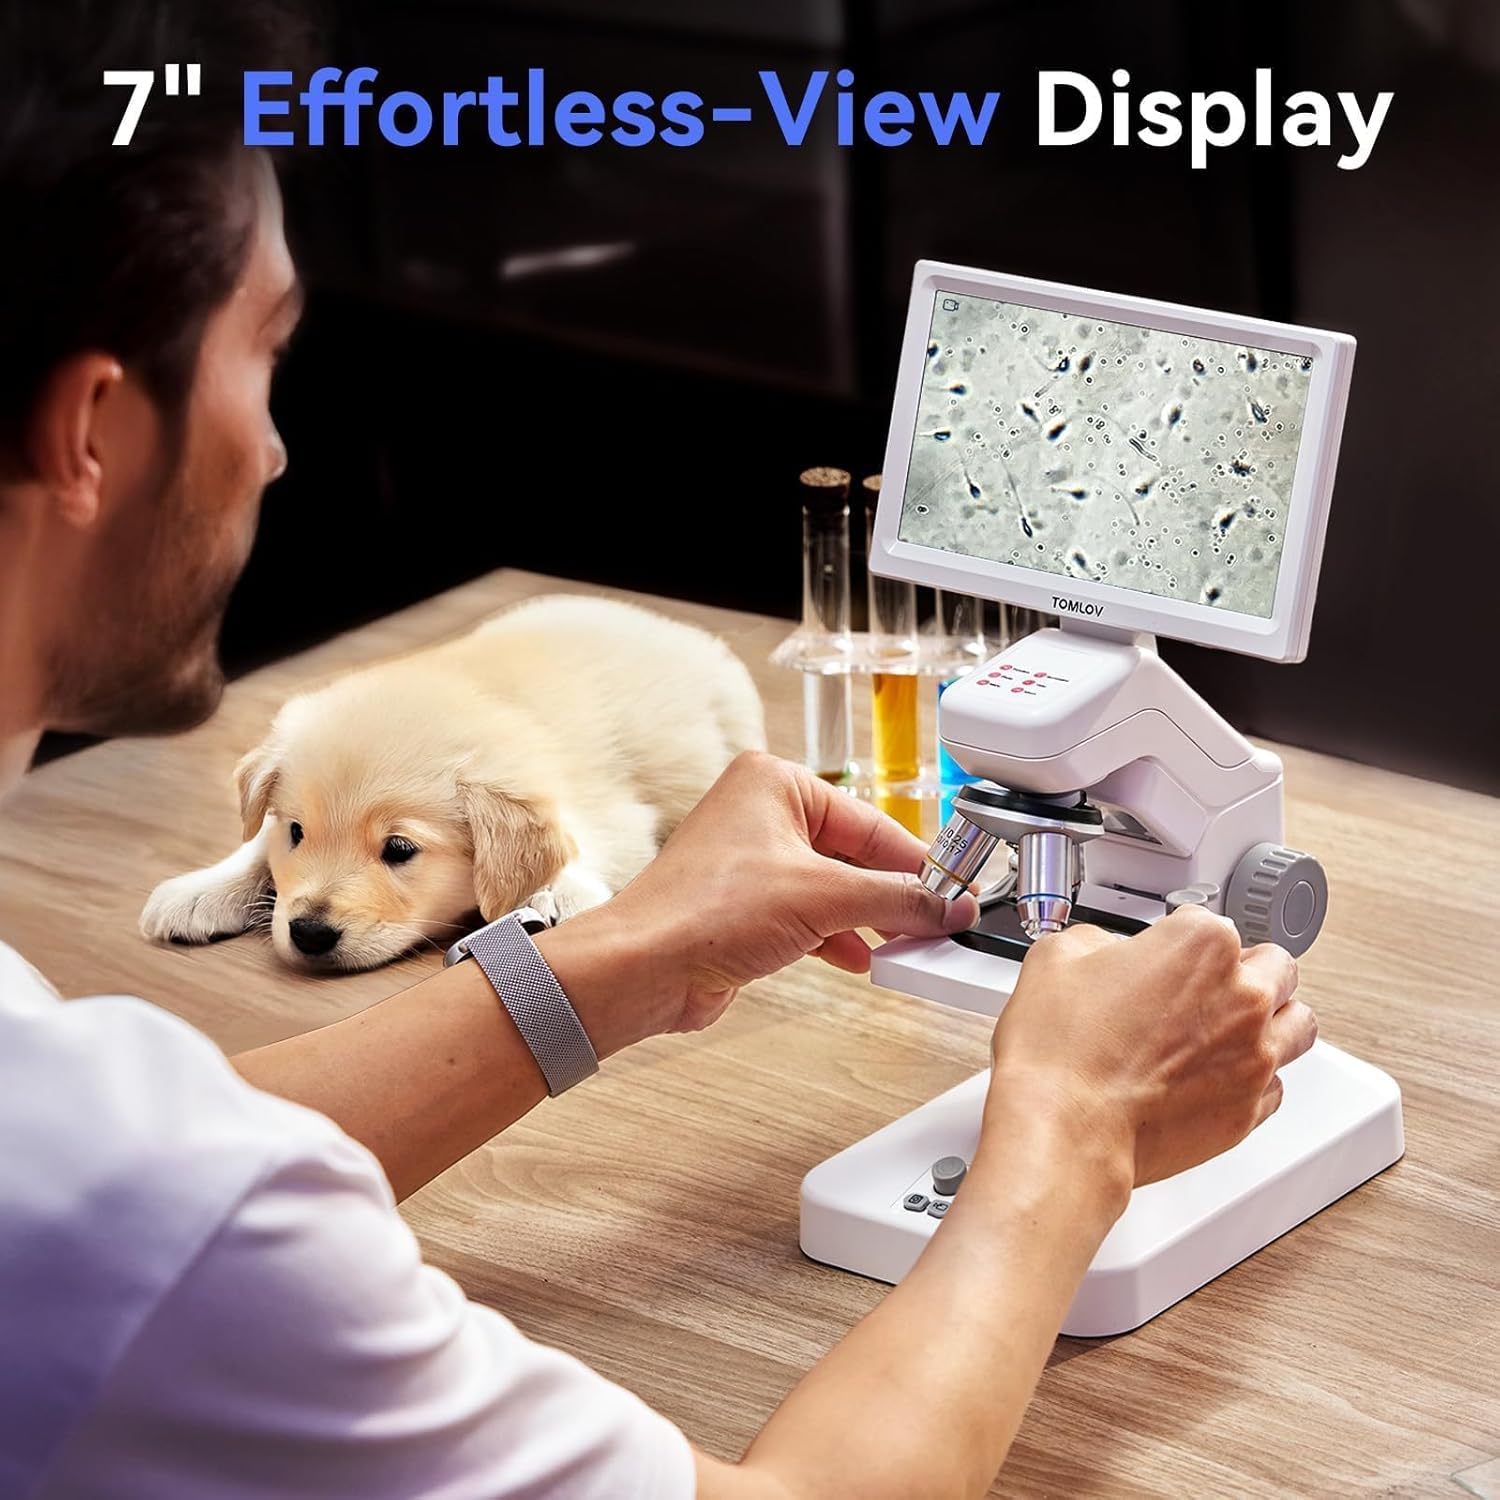
Image: A user observing a specimen through the 7-inch IPS display, highlighting the clear and adjustable viewการสร้างประสบการณ์
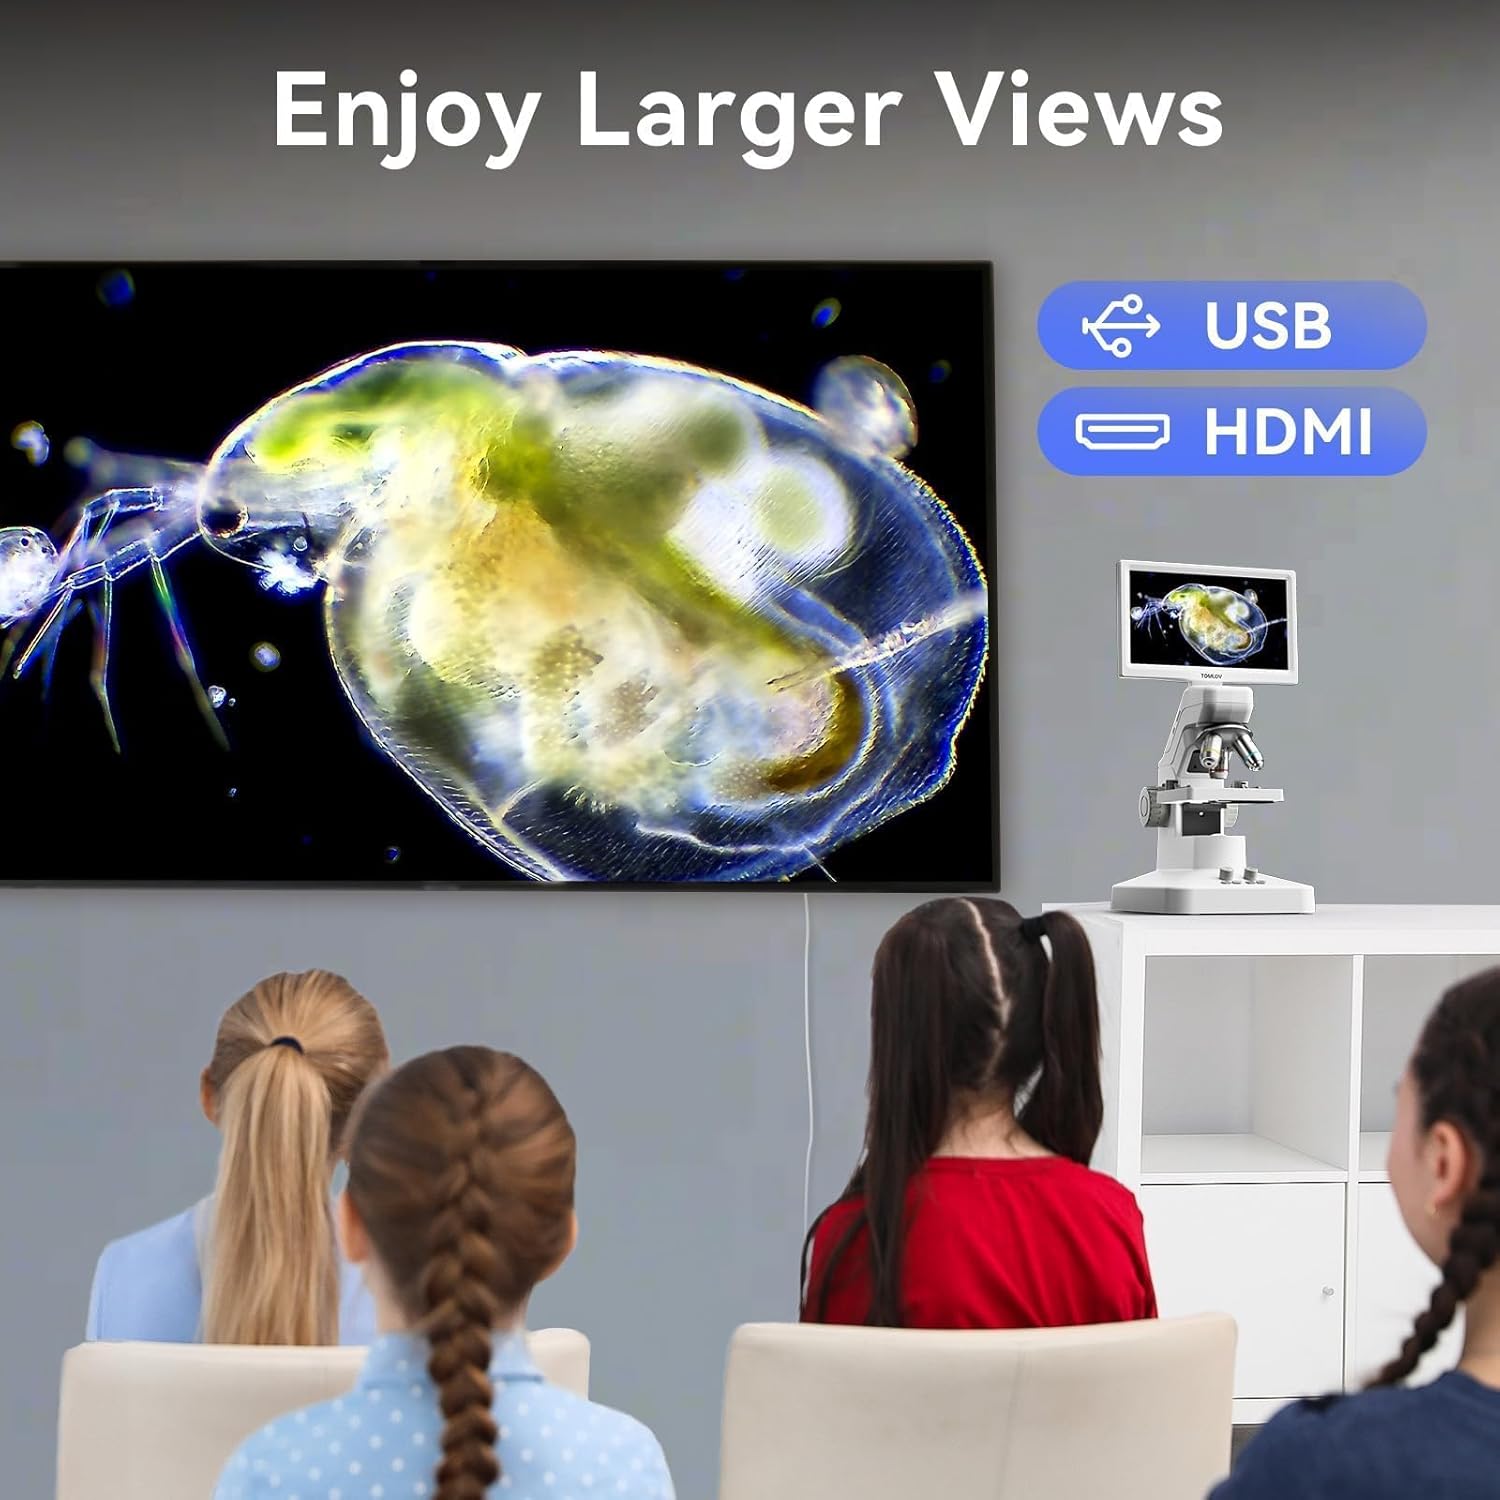
Image: Illustration of the microscope's dual illumination system, featuring both top lighting for opaque objects and bottom lighting for transparent specimens.
4. การตั้งค่า
Follow these steps to set up your TOMLOV DM301 Pro Digital Microscope for first use.
- การแกะกล่อง: นำส่วนประกอบทั้งหมดออกจากบรรจุภัณฑ์อย่างระมัดระวัง
- การเชื่อมต่อไฟฟ้า: Connect the power adapter to the microscope's power input port and plug it into a standard electrical outlet. The microscope can also operate on its built-in rechargeable battery for approximately 3 hours.
- ค่าใช้จ่ายเริ่มต้น: For optimal performance, fully charge the microscope before first use.
- การใส่การ์ด MicroSD (ไม่จำเป็น): If you plan to save photos and videos directly on the device, insert a MicroSD card (up to 32GB, Class 10 recommended) into the designated slot. Ensure the card is inserted correctly until it clicks into place.
- เปิดเครื่อง: Press and hold the power button until the 7" IPS display illuminates.

Image: The TOMLOV DM301 Pro microscope connected to its power adapter, illustrating its rechargeable battery capability with an approximate 3-hour working time.
5. คู่มือการใช้งาน
5.1 Basic Operation and Magnification
- ตัวอย่างสถานที่: Position your prepared slide or object on the microscope stage.
- Adjust Objective Lens: Rotate the revolving nosepiece to select the desired objective lens (e.g., 4X, 10X, 40X). The microscope offers up to 1200X magnification for detailed observation.
- ปรับความสว่าง: Use the controls for the top and bottom LED lights to achieve optimal brightness and contrast for your specimen.
- จุดสนใจ: Use the coarse and fine focus knobs to bring the image into sharp focus on the 7" IPS display.
5.2 การถ่ายภาพและวิดีโอ
The microscope is equipped with an 8MP camera for still images and supports 1080P video recording.
- จับภาพ: Press the dedicated photo button to capture a still image of the current view.
- การบันทึกวิดีโอ: Press the video button to start recording. Press it again to stop recording.
- Captured media is saved to the inserted MicroSD card.

Image: A visual representation of the microscope's capability to capture high-resolution 8MP photos and 1080P videos of microscopic details.
5.3 Wireless Control with App Support
For enhanced control and real-time viewing, download the companion app for iOS or Android devices.
- ดาวน์โหลดแอพ: ค้นหา the official TOMLOV microscope app on the Apple App Store or Google Play Store.
- เชื่อมต่อผ่าน Wi-Fi: Follow the in-app instructions to connect your mobile device to the microscope's Wi-Fi network.
- ฟังก์ชั่นแอพ: The app allows for real-time viewing, digital zooming, and remote capture of photos and videos.

Image: A smartphone screen mirroring the microscope's view, demonstrating the wireless app control feature and indicating availability on App Store and Google Play.
5.4 USB/HDMI Output for Larger Displays
The microscope can be connected to external displays such as TVs, laptops, or projectors for larger-scale viewing without requiring additional drivers.
- การเชื่อมต่อ HDMI: Use the provided HDMI cable to connect the microscope's HDMI output port to an HDMI input port on your TV or monitor.
- การเชื่อมต่อ USB: Connect the microscope to your computer via the USB cable. The microscope will function as a webกล้อง ช่วยให้คุณสามารถ view the live feed on your computer using compatible software.

Image: A family observing microscopic images projected onto a large television screen, illustrating the USB and HDMI output capabilities for group viewการไอเอ็นจี
5.5 Two-Way Measurement
The DM301 Pro supports measurement functions directly on the screen and through PC software.
- Screen Scaleplate: Utilize the on-screen scaleplate for direct measurements of observed specimens.
- PC Software Measurement: When connected to a computer, use the dedicated PC software for more advanced and precise measurement capabilities.

Image: Comparison of the microscope's built-in screen scaleplate for direct measurement and the more detailed measurement interface available through PC software.
6. การบำรุงรักษา
การบำรุงรักษาอย่างถูกวิธีจะช่วยให้กล้องจุลทรรศน์ของคุณมีอายุการใช้งานยาวนานและทำงานได้อย่างมีประสิทธิภาพสูงสุด
- การทำความสะอาดเลนส์: Use a soft, lint-free cloth specifically designed for optical lenses to clean the objective lenses and the display screen. Avoid using abrasive materials or harsh chemicals.
- การทำความสะอาดทั่วไป: Wipe the body of the microscope with a soft, dry cloth. For stubborn dirt, a slightly damp สามารถใช้ผ้าเช็ดทำความสะอาดได้ จากนั้นเช็ดซ้ำด้วยผ้าแห้ง
- พื้นที่จัดเก็บ: Store the microscope in a clean, dry, and dust-free environment when not in use. Use the provided dust cover if available.
- การดูแลแบตเตอรี่ หากเก็บรักษาเป็นเวลานาน ควรชาร์จแบตเตอรี่เป็นระยะเพื่อรักษาสภาพของแบตเตอรี่ให้ดีอยู่เสมอ
7 การแก้ไขปัญหา
โปรดดูตารางต่อไปนี้สำหรับปัญหาที่พบบ่อยและวิธีแก้ไข
| ปัญหา | สาเหตุที่เป็นไปได้ | สารละลาย |
|---|---|---|
| ไม่มีภาพแสดง | Microscope not powered on; low battery; objective lens not properly engaged; illumination off. | Ensure power is on and battery is charged. Rotate objective lens until it clicks into place. Turn on LED illumination. |
| ภาพเบลอ | Out of focus; incorrect objective lens; dirty lens. | Adjust focus knobs. Select appropriate objective lens. Clean objective lens. |
| Cannot connect to Wi-Fi app. | Wi-Fi not enabled on microscope; incorrect password; app not updated. | Ensure microscope Wi-Fi is active. Verify Wi-Fi password. Update app to the latest version. |
| ไม่สามารถบันทึกรูปภาพ/วิดีโอได้ | No MicroSD card inserted; MicroSD card full or corrupted; card not formatted. | ใส่การ์ด MicroSD ลบข้อมูลที่ไม่จำเป็นออก files or replace card. Format the MicroSD card (this will erase all data). |
8. ข้อมูลจำเพาะ
- แบบอย่าง: DM301 โปร
- แสดง: จอ IPS ขนาด 7 นิ้ว
- กำลังขยาย: Up to 1200X (optical and digital combined)
- ความละเอียดกล้อง: 8 Megapixels (for photos)
- ความละเอียดวิดีโอ: 1080พ
- เอาท์พุต: USB, HDMI, Wi-Fi (App Support)
- พื้นที่จัดเก็บ: ช่องเสียบการ์ด MicroSD (รองรับสูงสุด 32GB)
- การให้แสงสว่าง: Top and Bottom LED Light System
- แบตเตอรี่: Rechargeable, approximately 3 hours working time
9. การรับประกันและการสนับสนุน
TOMLOV products are designed for reliability and performance. For specific warranty details and terms, please refer to the warranty card included with your product or visit the official TOMLOV website. For technical support, troubleshooting assistance, or inquiries about replacement parts, please contact TOMLOV customer service through their official channels.
การสนับสนุนทางออนไลน์: Visit the TOMLOV Store on Amazon