1. บทนำ
The LIORQUE Visual Timer, Model TM12, is a versatile 60-minute countdown timer designed for various time management needs. Its visual display helps users of all ages understand the passage of time. This manual provides instructions for setup, operation, and maintenance to ensure optimal performance.

2. คุณสมบัติของผลิตภัณฑ์
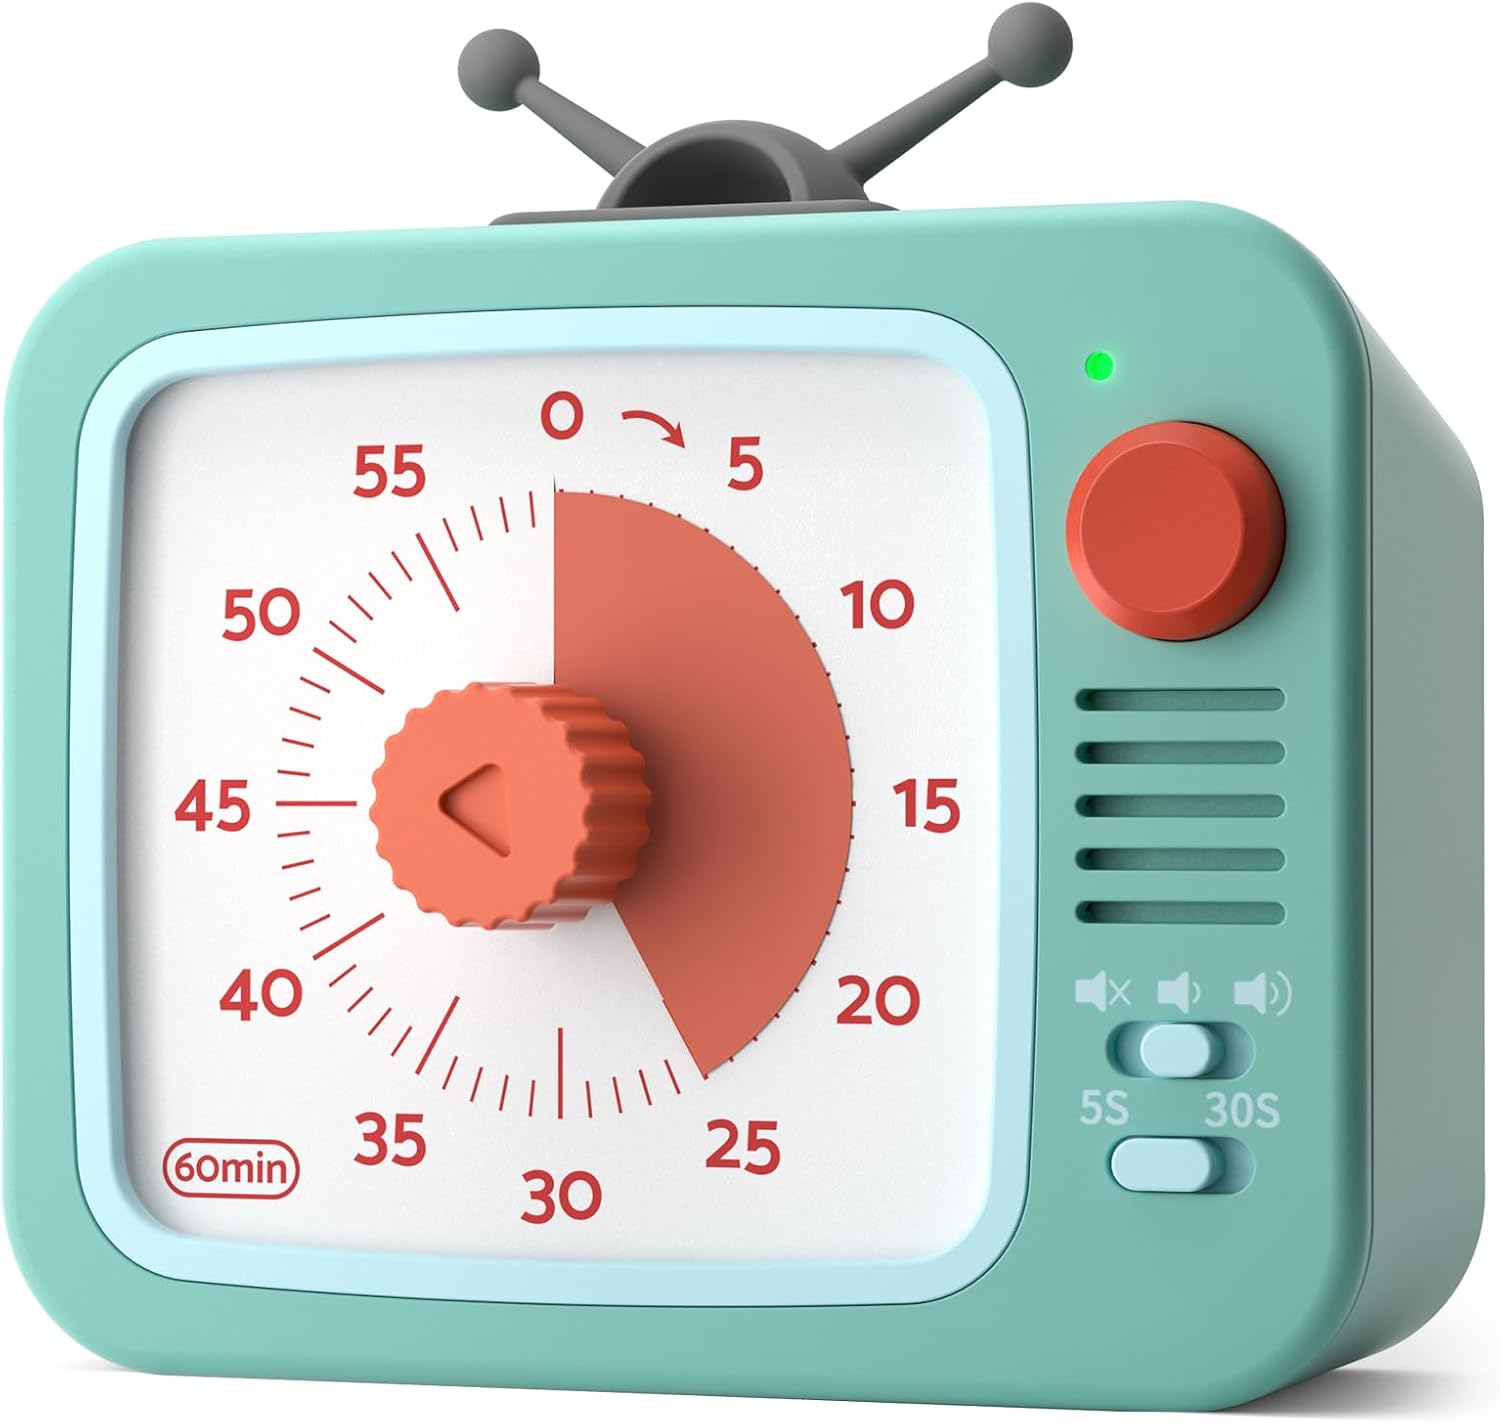
- 60-Minute Visual Countdown: A red disk visually recedes as time expires, providing a clear indication of remaining time without needing to read numbers.
- ฟังก์ชั่นหยุดชั่วคราว: Temporarily halt the countdown by pressing and holding the round button for 3 seconds. The indicator light changes from green to red. Press and hold again for 3 seconds to resume.
- การทำงานเงียบ: Designed with a sophisticated internal structure to minimize ticking sounds, ensuring a distraction-free environment.
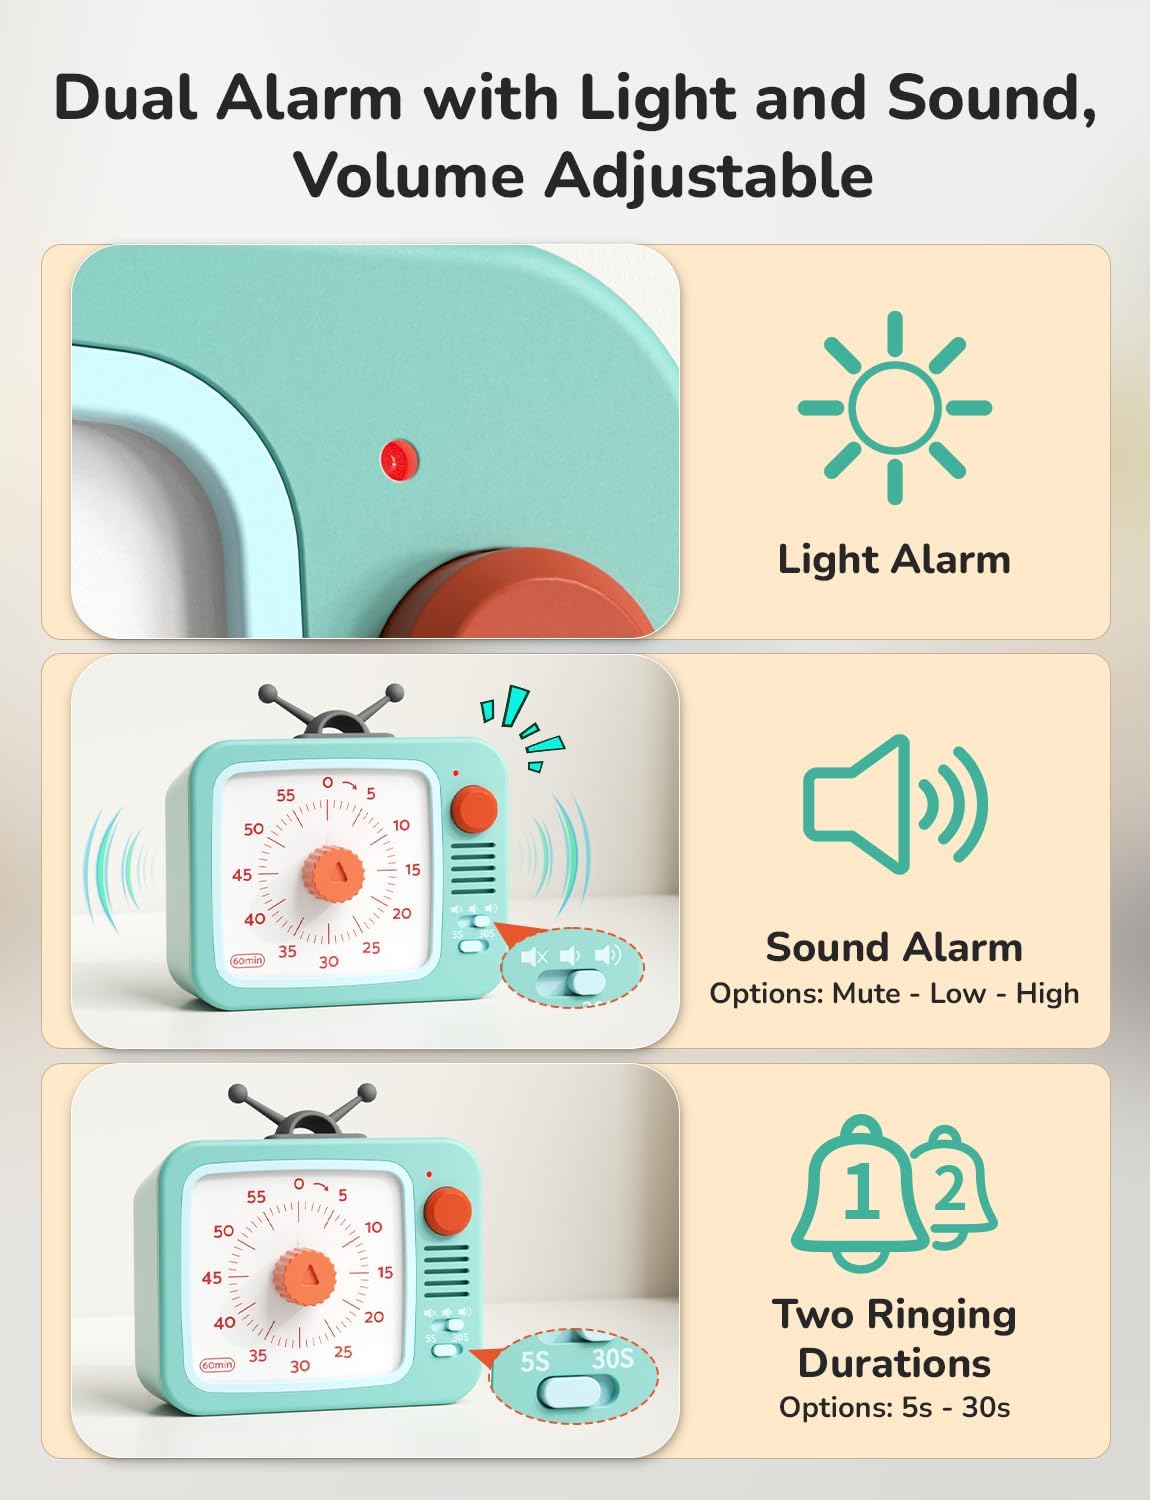
- Adjustable Alarm: Customize the alarm volume (Mute, Low, High) and duration (5 seconds, 30 seconds) using the switches on the side.
- ง่ายต่อการใช้: Simply turn the central knob clockwise to increase time and counter-clockwise to decrease it.
- ตัวเลือกตำแหน่งหลายตำแหน่ง: Can stand freely, be wall-mounted, or magnetically attached to metal surfaces.
- ใช้พลังงานจากแบตเตอรี่: ใช้พลังงานจากแบตเตอรี่ AAA 2 ก้อน (มีมาให้ในชุด)
3. การตั้งค่า
3.1 การติดตั้งแบตเตอรี่
- ค้นหาช่องใส่แบตเตอรี่ที่ด้านหลังของตัวจับเวลา
- เปิดฝาช่องใส่แบตเตอรี่
- Insert 2 AAA batteries, ensuring correct polarity (+/-). The timer comes with batteries pre-installed; remove any protective tab if present.
- ปิดฝาช่องใส่แบตเตอรี่ให้แน่น
4. คู่มือการใช้งาน
4.1 การตั้งเวลา
- Turn the central red knob clockwise to increase the desired time. The red disk will expand to indicate the set duration.
- Turn the knob counter-clockwise to decrease the set time.
- The timer will begin counting down immediately once the knob is released. The red disk will gradually disappear as time elapses.

4.2 ฟังก์ชันหยุดชั่วคราว
- During an active countdown, press and hold the round button on the top right for 3 seconds to pause the timer. The indicator light will change from green to red.
- To resume the countdown, press and hold the round button for another 3 seconds. The indicator light will change back from red to green.

4.3 การตั้งค่าสัญญาณเตือน
- การปรับระดับเสียง: Use the slide switch on the side to select between Mute, Low, or High alarm volume.
- Duration Adjustment: Use the toggle switch to select an alarm duration of either 5 seconds or 30 seconds.
- การหยุดการปลุก: When the timer reaches zero and the alarm sounds, briefly press the round button on the top right to stop the alarm. Alternatively, turn the knob clockwise slightly and then back to zero.
5. ตัวเลือกการจัดวาง
The LIORQUE Visual Timer offers flexible placement to suit your needs:
- ยืนอยู่คนเดียว: Place the timer on any flat surface such as a desk, counter, or table.
- ติดผนัง: Utilize the integrated wall mount hole on the back to hang the timer on a hook or nail.
- การติดแม่เหล็ก: The timer features strong magnets on its back, allowing it to be securely attached to metallic surfaces like refrigerators or whiteboards.

6. การบำรุงรักษา
- การทำความสะอาด: เช็ดตัวจับเวลาด้วยผ้าแห้งเนื้อนุ่ม ห้ามใช้สารทำความสะอาดที่มีฤทธิ์กัดกร่อนหรือแช่ในน้ำ
- การเปลี่ยนแบตเตอรี่: When the timer's performance diminishes or the indicator light fails to illuminate, replace the 2 AAA batteries. Ensure proper disposal of old batteries according to local regulations.
- พื้นที่จัดเก็บ: ควรเก็บนาฬิกาจับเวลาไว้ในที่แห้งและเย็นเมื่อไม่ได้ใช้งานเป็นเวลานาน
7 การแก้ไขปัญหา
- ตัวจับเวลาไม่เริ่มทำงาน: Ensure batteries are correctly installed and have sufficient charge. Remove any protective tab from new batteries.
- สัญญาณเตือนภัยไม่ดัง: Check the volume switch to ensure it is not set to 'Mute'. Verify the alarm duration switch is set correctly.
- เวลาไม่แม่นยำ: Ensure the knob is turned fully to the desired time and released. If issues persist, replace batteries.
8. ข้อมูลจำเพาะ
| คุณสมบัติ | รายละเอียด |
|---|---|
| หมายเลขรุ่น | ทีเอ็ม12 |
| สี | White+green |
| วัสดุ | พลาสติก |
| ขนาดสินค้า | ลึก 4.33 นิ้ว x กว้าง 4.21 นิ้ว x สูง 2.24 นิ้ว |
| น้ำหนักสินค้า | 150 กรัม (5.3 ออนซ์) |
| จำนวนการตั้งค่า | 5 (referring to alarm settings) |
| แบตเตอรี่ | แบตเตอรี่ AAA จำนวน 2 ก้อน (รวมอยู่ด้วย) |
9. การรับประกันและการสนับสนุน
For warranty information or technical support, please refer to the product packaging or contact LIORQUE customer service directly. Keep your purchase receipt for any warranty claims.