
Ashfly inskam380B
Ashfly 500X Handheld Digital Microscope User Manual
Model: inskam380B
1. บทนำ
This manual provides comprehensive instructions for the safe and effective use of your Ashfly 500X Handheld Digital Microscope. Please read this manual thoroughly before operating the device and retain it for future reference.
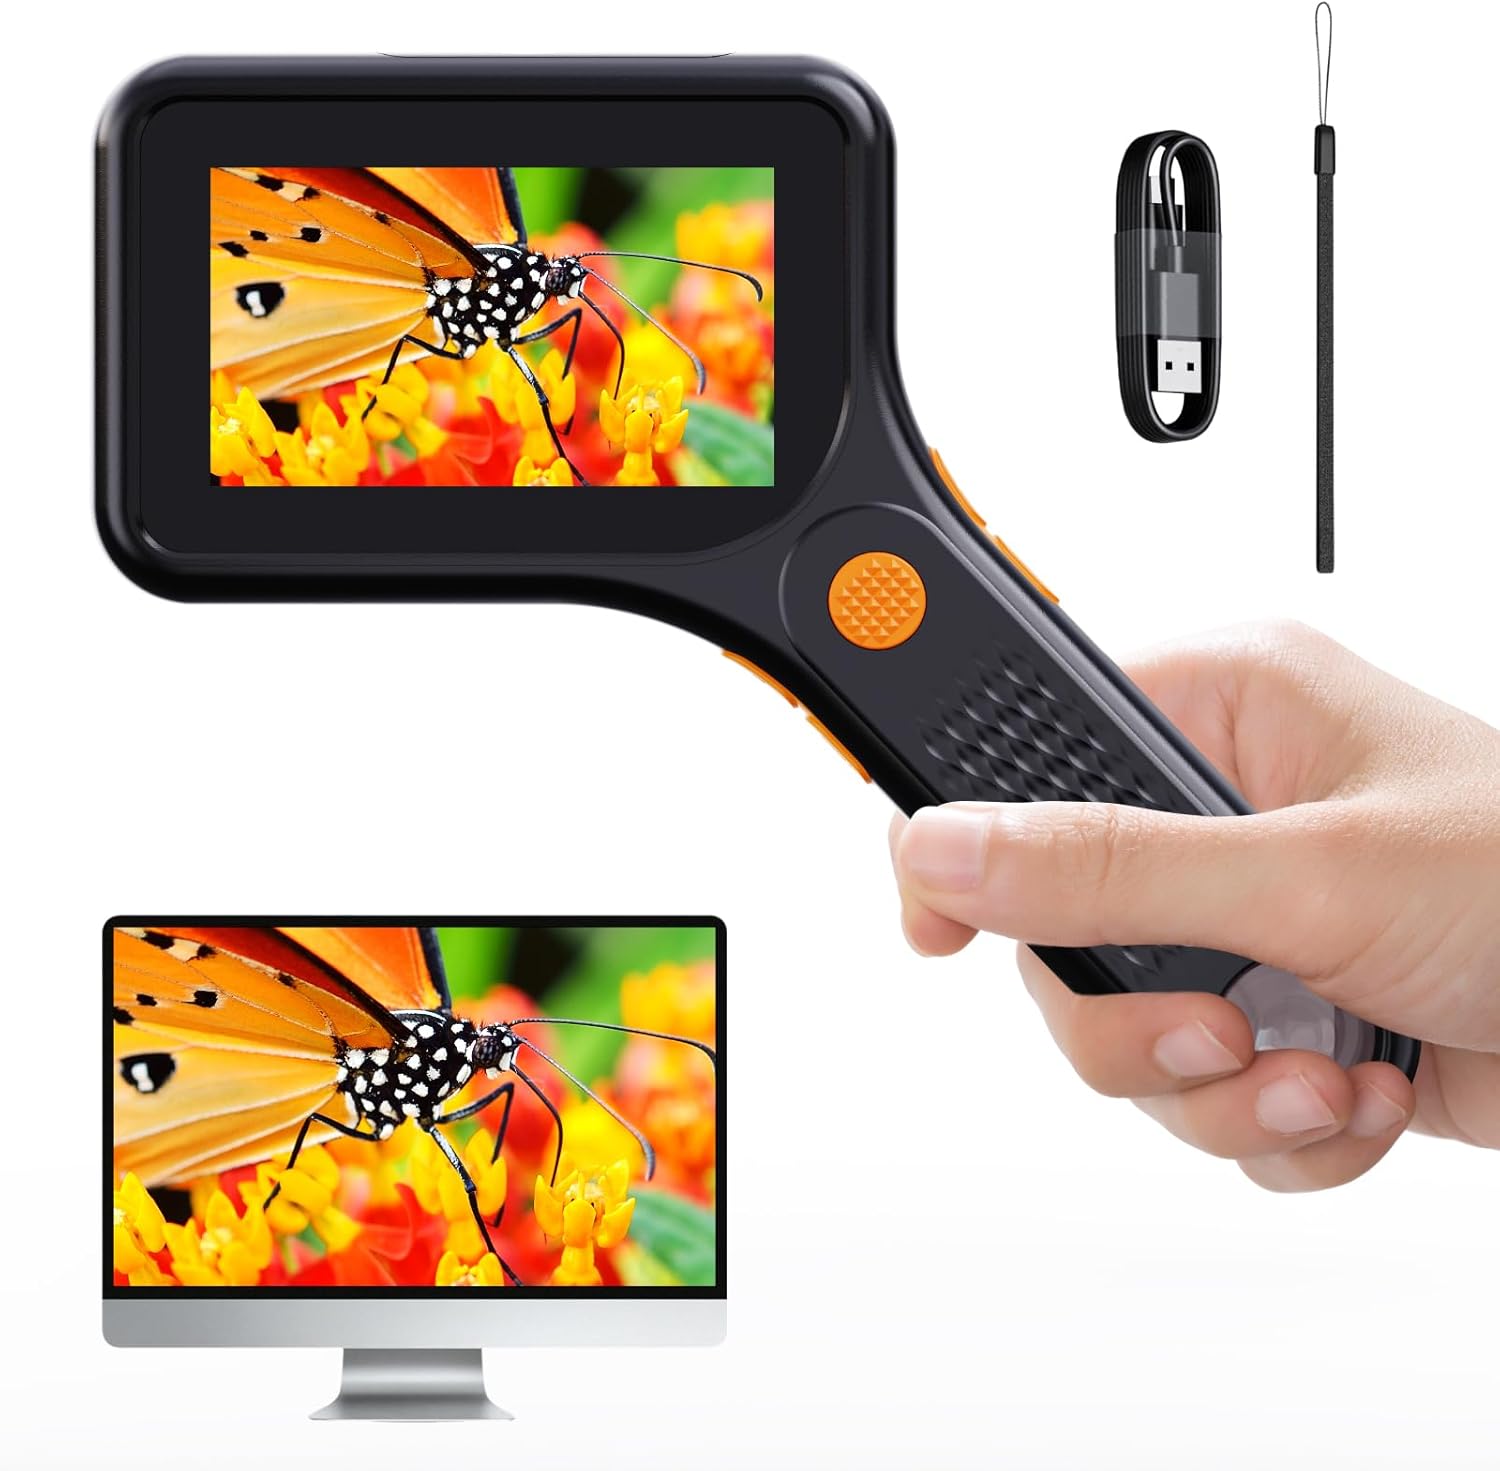
Figure 1: Ashfly 500X Handheld Digital Microscope. This image displays the microscope being held, with its integrated screen showing a magnified butterfly. A computer monitor below also shows the magnified image, illustrating PC compatibility.
2. เนื้อหาบรรจุภัณฑ์
ตรวจสอบว่ามีสินค้าทั้งหมดที่ระบุไว้ด้านล่างอยู่ในแพ็คเกจของคุณ:
- 1 x Ashfly Handheld Digital Microscope
- สายชาร์จ 1 x Type C
- 1 x คู่มือผู้ใช้
- สายคล้องพกพา 1 เส้น

Figure 2: Package Contents. This image shows the Ashfly Digital Microscope, its retail box, a Type C charging cable, a portable strap, and the user manual, indicating all included accessories.
3. ข้อมูลจำเพาะ
| คุณสมบัติ | รายละเอียด |
|---|---|
| ชื่อรุ่น | inskam380B |
| การขยายภาพ | สูงถึง 500X |
| หน้าจอ | จอ LCD HD ขนาด 3 นิ้ว |
| การส่องสว่าง | ไฟ LED ปรับได้ 8 ดวง |
| แบตเตอรี่ | ลิเธียมไออน 900mAh (รวมอยู่ด้วย) |
| อายุการใช้งานแบตเตอรี่ | สูงสุด 150 นาที (ประมาณ 2.5 ชั่วโมง) |
| เวลาในการชาร์จ | ประมาณ 2 ชั่วโมง |
| ความเข้ากันได้ของพีซี | ระบบปฏิบัติการ Windows Vista/XP/7/8/10/11 และ MacOS X 11.0 หรือสูงกว่า |
| พื้นที่จัดเก็บ | Internal (100 photos), supports up to 64GB TF card (not included) |
| วัสดุ | พลาสติก |
| สี | สีดำ |
| ขนาด (กว้าง x ยาว x สูง) | 15.6 ซม. x 13 ซม. (ประมาณ 6.14 x 5.12 นิ้ว) |
| น้ำหนัก | น้ำหนักประมาณ 0.17 กิโลกรัม (0.25 ปอนด์) |

Figure 3: Product Dimensions. This image illustrates the length and width of the microscope, providing a visual reference for its compact size.

Figure 4: Battery Performance. This diagram highlights the 2-hour charging time and approximately 2.5 hours of working time provided by the 900mAh battery.
4. การตั้งค่า
4.1 การชาร์จอุปกรณ์
Before first use, fully charge the microscope. Connect the supplied Type C charging cable to the microscope's charging port and a compatible USB power source (e.g., computer USB port, USB wall adapter). The charging indicator will show the charging status.
4.2 การใส่การ์ด TF (ทางเลือก)
The microscope has internal storage for approximately 100 photos. For extended storage of photos and videos, insert a TF (microSD) card (up to 64GB, not included) into the designated slot. Ensure the card is inserted correctly to avoid damage.
5. คู่มือการใช้งาน
5.1 เปิด/ปิดเครื่อง
- วิธีเปิดเครื่อง: กดปุ่มเปิด/ปิดค้างไว้จนกว่าหน้าจอจะสว่างขึ้น
- วิธีปิดเครื่อง: กดปุ่มเปิด/ปิดค้างไว้จนกว่าหน้าจอจะดับลง
5.2 การสังเกตขั้นพื้นฐาน
Place the microscope flat on the surface of the object you wish to observe. Ensure the object is stable. The microscope features a fixed magnification up to 500X. Avoid touching the lens with your hands during observation.

Figure 5: Optimal Imaging Distance. This image demonstrates the recommended 0.2-inch manual-focus imaging distance from the object for clear observation.
5.3 การปรับแสงไฟ LED
The microscope is equipped with 8 adjustable LED lights to provide optimal illumination. Use the designated buttons (refer to device controls) to cycle through brightness levels (high, medium, low, off) to suit your observation needs and reduce glare.
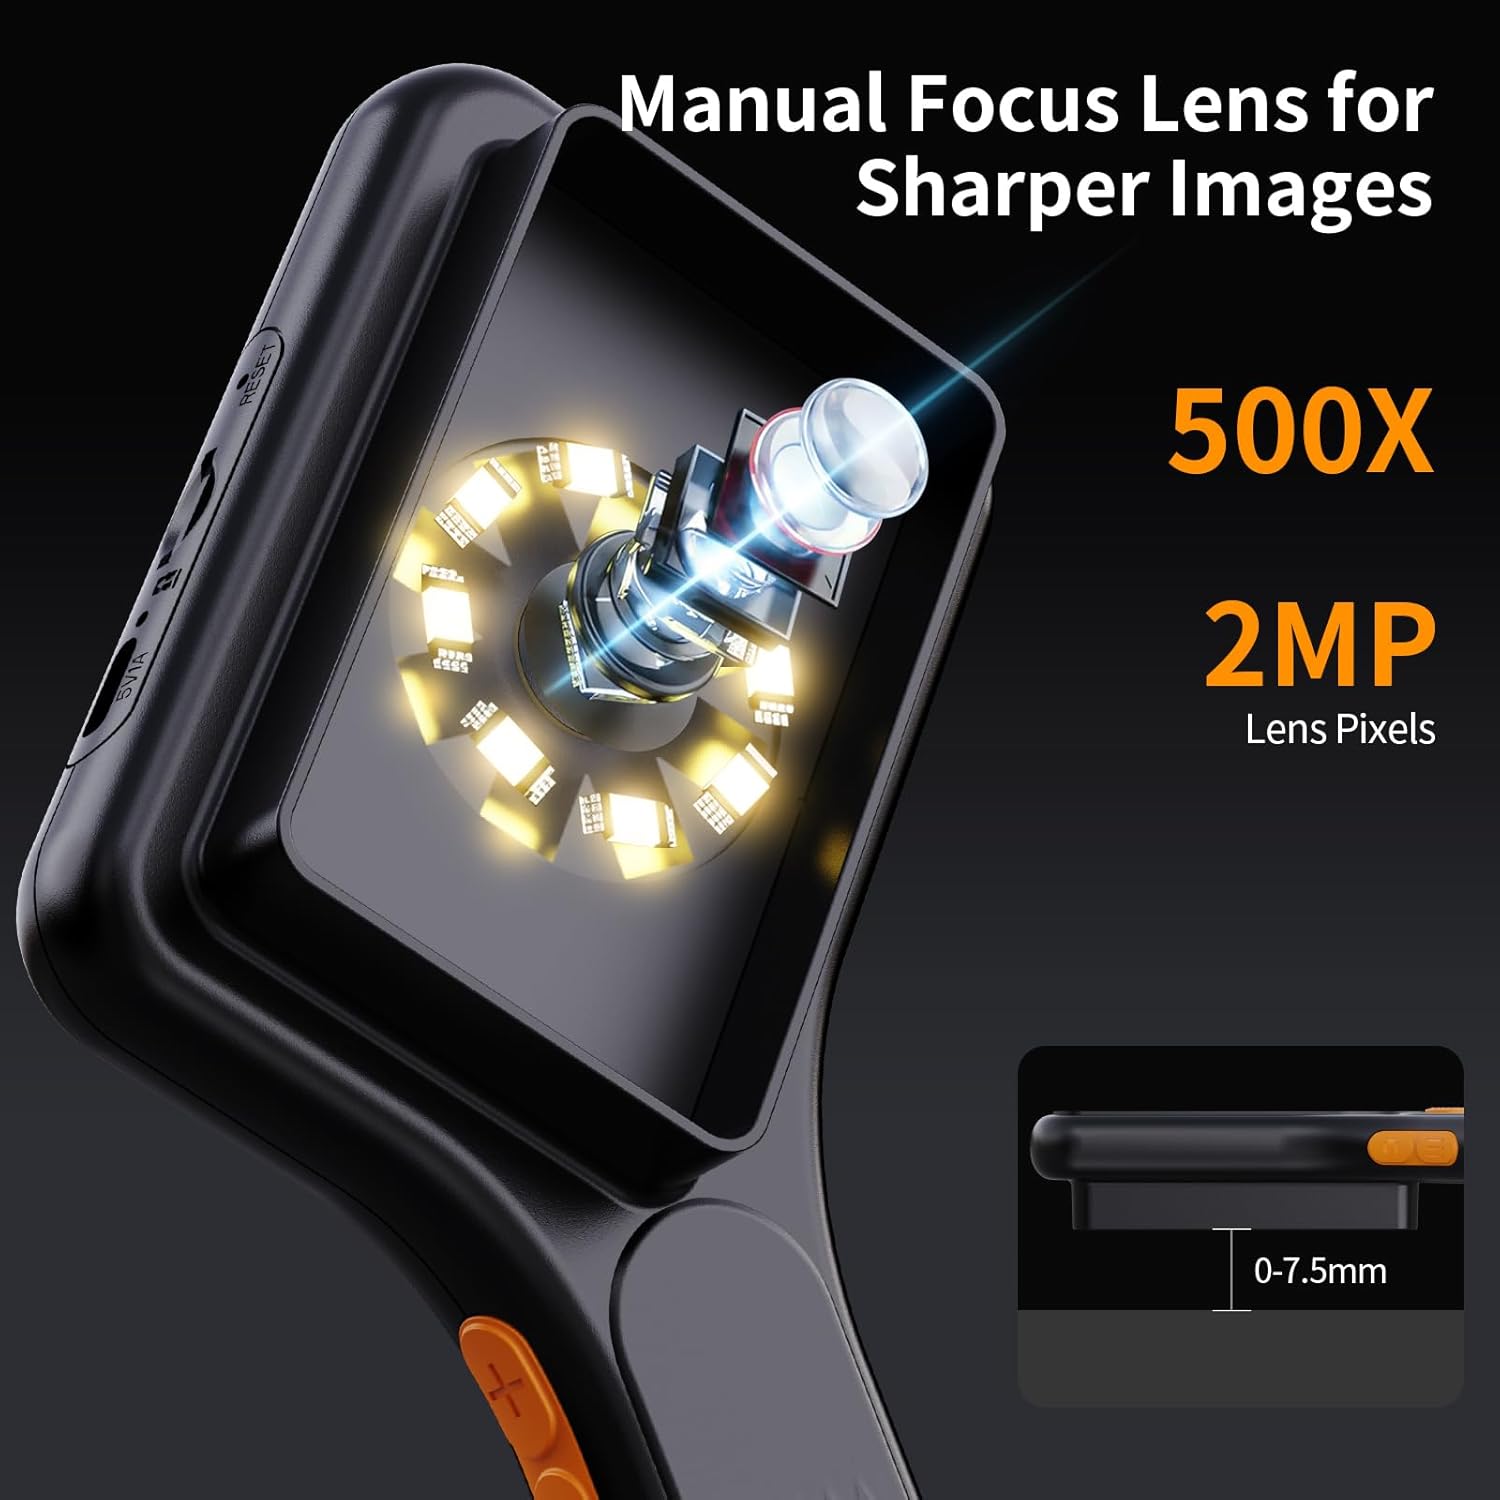
Figure 6: LED Illumination System. This image provides a detailed view of the microscope's lens and the surrounding 8 adjustable LED lights, crucial for illuminating specimens.
5.4 การถ่ายภาพและวิดีโอ
Use the dedicated capture button on the device to take photos or record videos. Images and videos will be saved to the internal storage or the inserted TF card.
5.5 การเชื่อมต่อพีซี
ถึง view magnified images on a larger screen or transfer files, connect the microscope to your computer using the Type C USB cable. The device is compatible with Windows Vista/XP/7/8/10/11 and MacOS X 11.0 or higher. It will be recognized as a webcam or removable storage device, allowing you to access live feed or saved media.
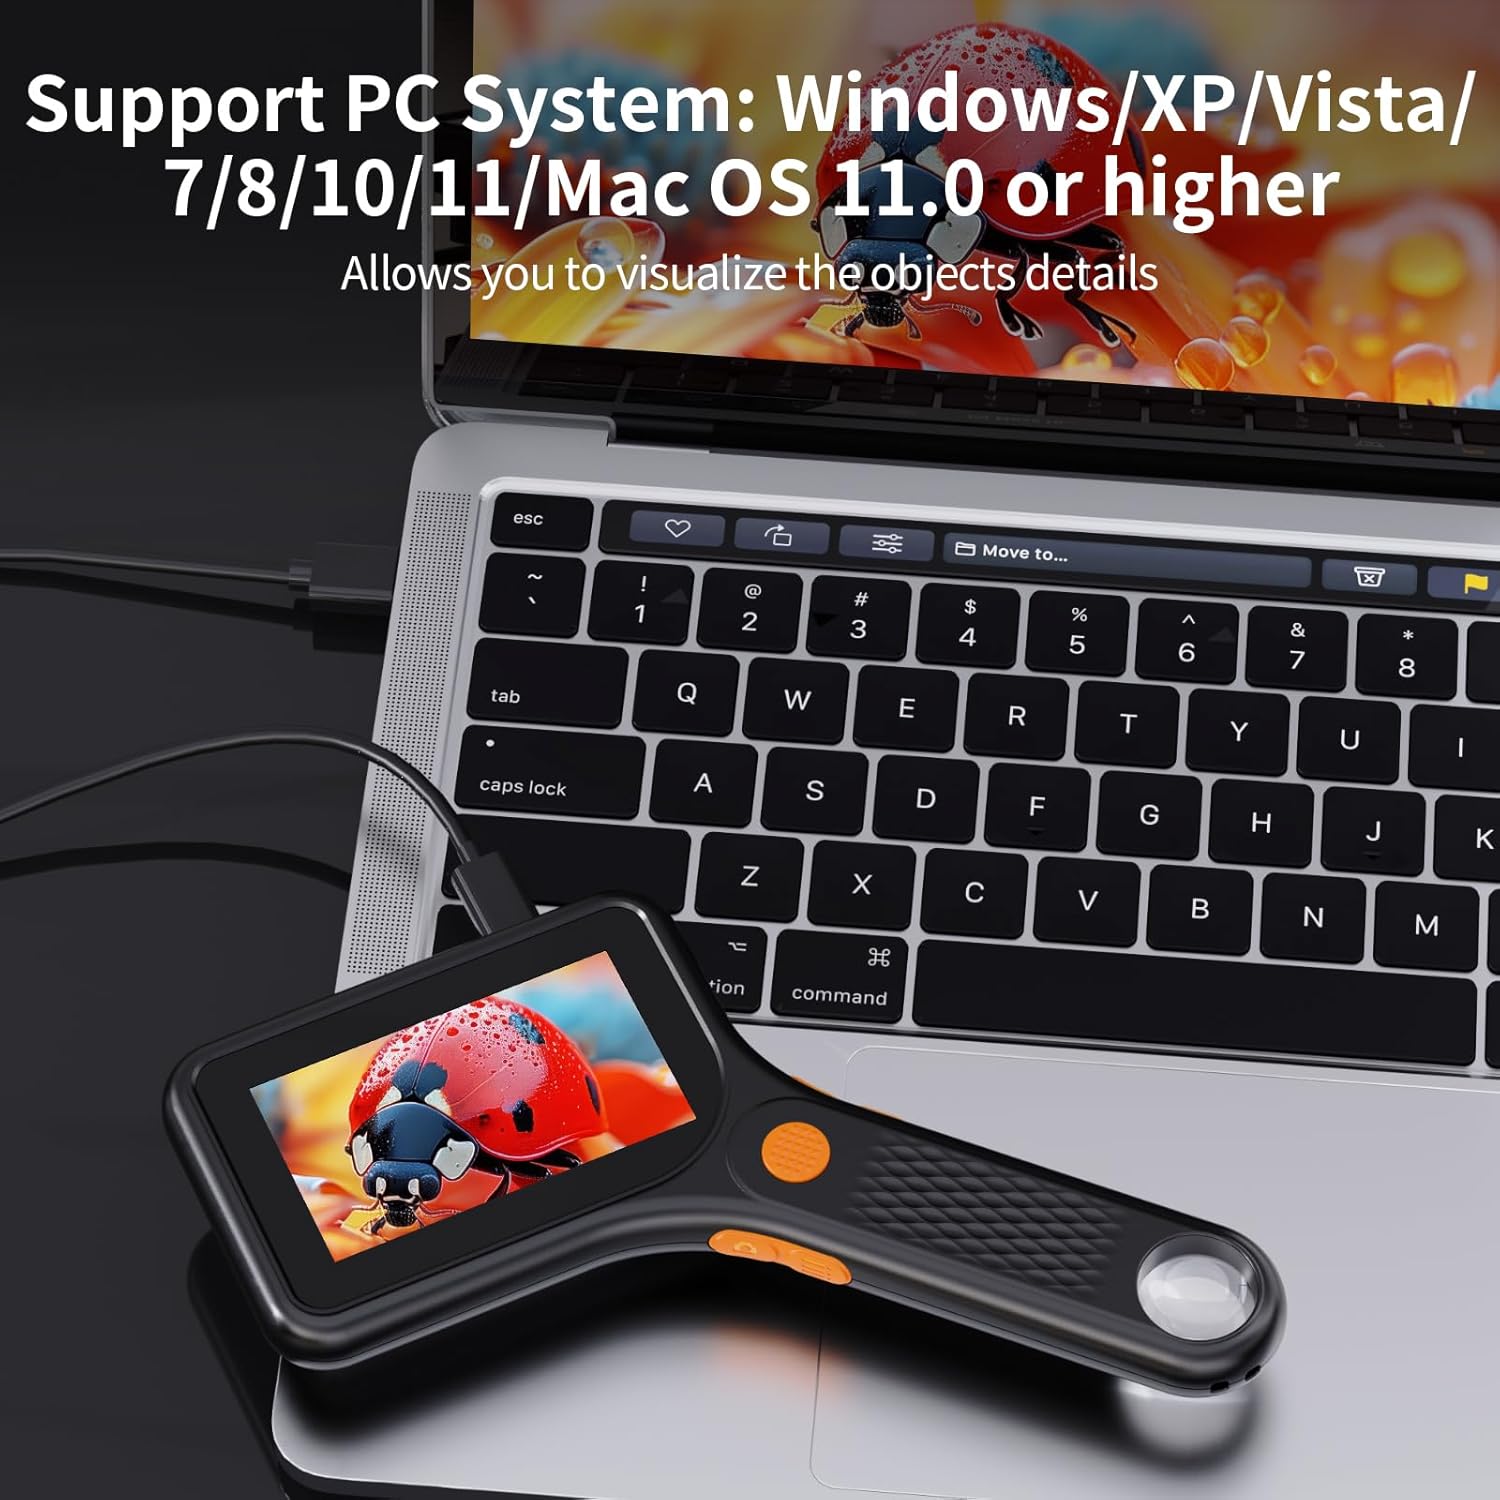
Figure 7: PC Connectivity. This image shows the microscope connected to a laptop via USB, demonstrating its capability to display magnified views on a larger computer screen.

Figure 8: Multi-Purpose Use. This image illustrates the microscope's versatility, showing its PC view capability, and examples of captured video (water droplets on a leaf) and photo (ladybug on a flower).
6. สถานการณ์การใช้งาน
The Ashfly Handheld Digital Microscope is suitable for a wide range of applications, including but not limited to:
- Circuit Board Inspection: Examine circuit board damage, soldering, and repairs.
- Coin and Stamp ของสะสม: Observe fine details on currency and philatelic items.
- Jewelry and Gemstone Appraisal: Inspect intricate designs and characteristics of precious items.
- Biological Observation: Study plant structures, insects, and other small organisms.
- Textile and Material Analysis: Examine fabric weaves and material integrity.
- วัตถุประสงค์ทางการศึกษา: Ideal for classroom use and fostering scientific curiosity.

Figure 9: Diverse Applications. This collage showcases the microscope's utility across various fields, from inspecting electronics and currency to observing natural specimens like plants and insects.

Figure 10: Circuit Board Inspection. This image demonstrates the microscope's use for detailed visual inspection of electronic circuit boards, useful for repair and analysis.
7. การบำรุงรักษา
7.1 การทำความสะอาดเลนส์และหน้าจอ
Gently wipe the lens and screen with a soft, lint-free cloth. For stubborn smudges, use a specialized lens cleaning solution. Avoid abrasive materials or harsh chemicals that could scratch the surfaces.
7.2 พื้นที่จัดเก็บ
Store the microscope in a cool, dry place away from direct sunlight and extreme temperatures. When not in use for extended periods, ensure the battery is partially charged (around 50%) to prolong its lifespan.
8 การแก้ไขปัญหา
| ปัญหา | สาเหตุที่เป็นไปได้ | สารละลาย |
|---|---|---|
| อุปกรณ์ไม่เปิดเครื่อง | แบตเตอรี่อ่อน | Charge the device fully using the provided Type C cable. |
| ภาพเบลอ | Incorrect distance from object; dirty lens. | Adjust the microscope's distance to the object (approx. 0.2 inches). Clean the lens with a soft cloth. |
| ไม่สามารถเชื่อมต่อกับพีซีได้ | Incorrect cable; driver issue; incompatible OS version. | Ensure you are using the correct Type C USB cable. Try a different USB port. Verify your operating system meets the minimum requirements (Windows Vista/XP/7/8/10/11, MacOS X 11.0 or higher). |
| ไม่สามารถบันทึกรูปภาพ/วิดีโอได้ | TF card full or not inserted correctly; internal storage full. | ตรวจสอบการเสียบการ์ด TF ลบไฟล์เก่าออก files or replace TF card. If no TF card, ensure internal storage is not full. |
| ไฟ LED ไม่ทำงาน | Lights turned off or low battery. | Adjust LED brightness settings. Charge the device. |
9. การรับประกันและการสนับสนุน
Ashfly provides technical support for this product. For any issues not covered in this manual or for further assistance, please contact Ashfly customer service. Refer to your purchase documentation for specific warranty terms and contact information.
คำอธิบายการรับประกัน: Provide technical support.
Ask a question about this manual
Ask about setup, troubleshooting, compatibility, parts, safety, or missing instructions. Manuals+ will review the question and use this page’s manual context to help answer it.